ES 7.8 速成笔记(上)

一、下载安装
下载地址: https://www.elastic.co/cn/downloads/elasticsearch (目前最新版本为7.8)
本文以mac版本为例,下载后解压即可。
终端命令行直接输入
./elasticsearch-7.8.0/bin/elasticsearch
即可启动,停止的话直接kill进程。
启动成功后,可以浏览http://localhost:9200/,如果看出类似下面的输出,就表示ok了
{
  "name" : "lpt45125.local",
  "cluster_name" : "elasticsearch",
  "cluster_uuid" : "W56eUV3PTemAWBwmEx7CcQ",
  "version" : {
    "number" : "7.8.0",
    "build_flavor" : "default",
    "build_type" : "tar",
    "build_hash" : "757314695644ea9a1dc2fecd26d1a43856725e65",
    "build_date" : "2020-06-14T19:35:50.234439Z",
    "build_snapshot" : false,
    "lucene_version" : "8.5.1",
    "minimum_wire_compatibility_version" : "6.8.0",
    "minimum_index_compatibility_version" : "6.0.0-beta1"
  },
  "tagline" : "You Know, for Search"
}
二、安装浏览器插件(可选)
google浏览器上建议安装2个插件:
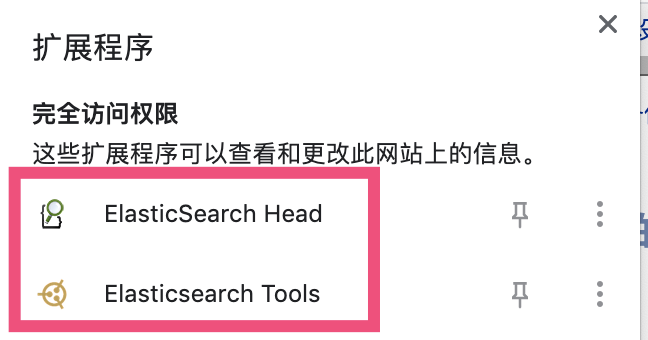
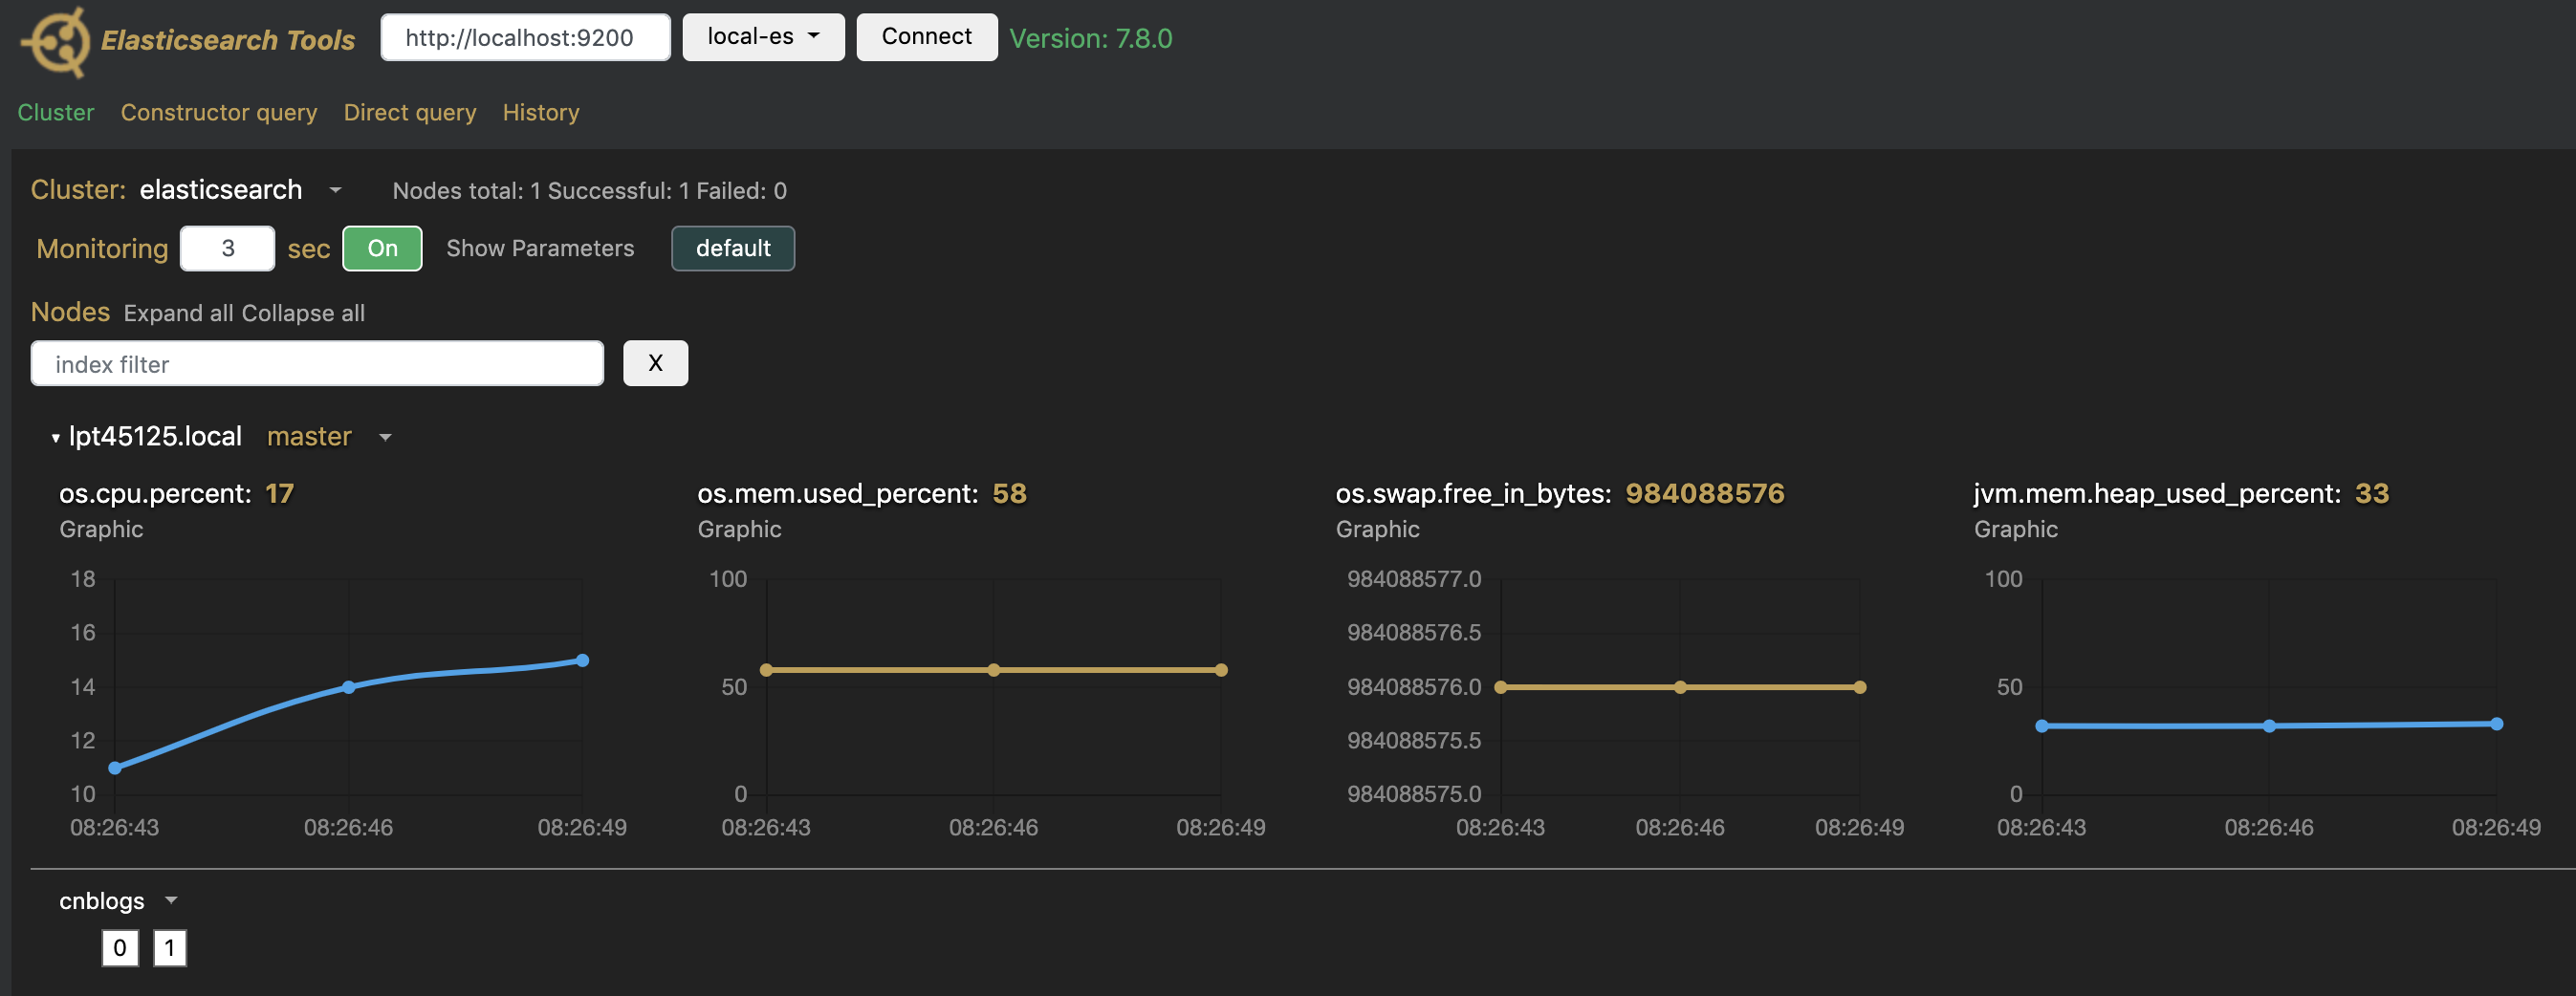
有了这2个后,可以直观的在浏览器中用可视化方式管理ES。这2个插件的效果如下:
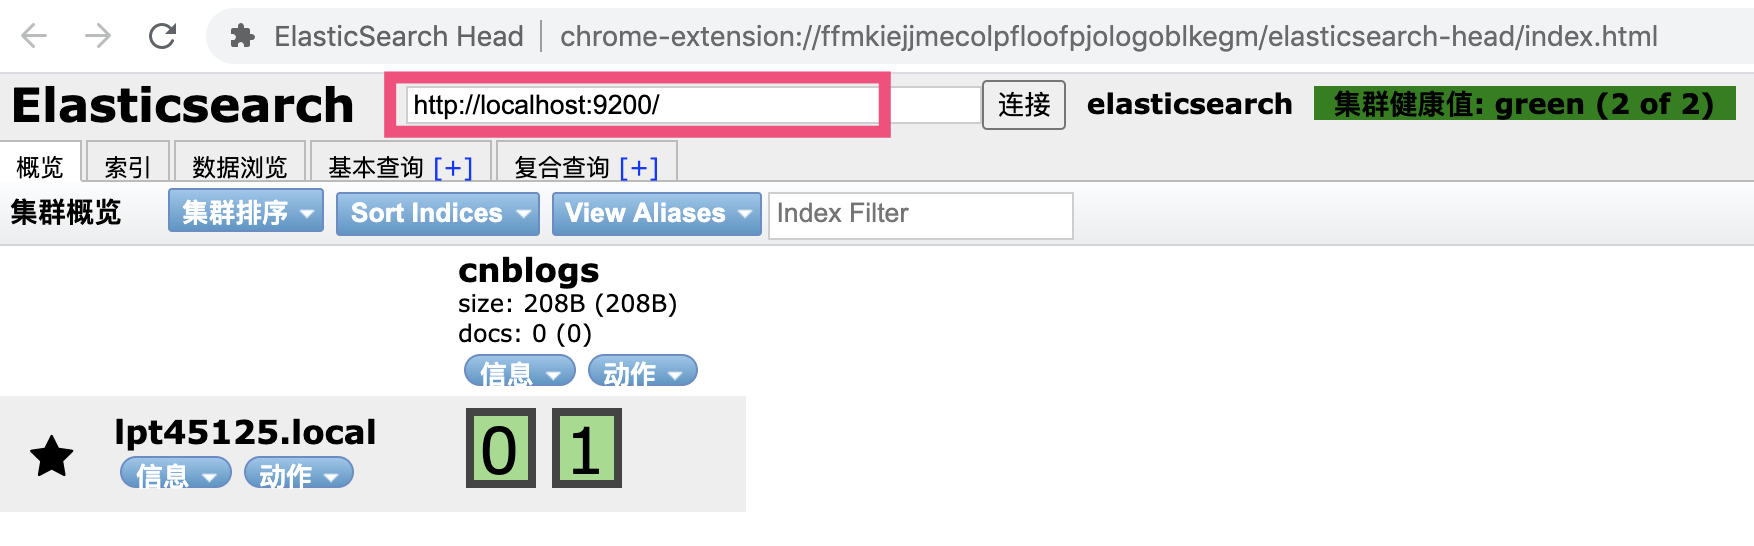
可以看出ES集群的健康状况,索引基本信息,包括浏览索引里的数据。
三、基本操作
3.1 创建索引
ES中的索引类似mysql中的table,是用来存储数据的基本单位。
PUT http://localhost:9200/cnblogs (注:cnblogs为要创建的索引名,可自行命名)
{
    "mappings": {
        "properties": {
            "blog_id": {
                "type": "long"
            },
            "blog_title": {
                "type": "text"
            },
            "blog_category": {
                "type": "keyword"
            },
            "blog_content": {
                "type": "text"
            }
        }
    },
    "settings": {
        "index": {
            "number_of_shards": 2,
            "number_of_replicas": 0
        }
    }
}
向ES集群的url,put上述json,就会创建一个cnblogs的索引(相当于在mysql中建了一张名为cnblogs的表),只不过ES在“建表”时,还可以指定分片数和副本数(类似于mysql中的分库分表个数,以及slave从库个数)。mappings.properties节点的内容,相当于表中的字段定义。ES中的字段类型,可以参考 https://www.elastic.co/guide/en/elasticsearch/reference/current/mapping.html
3.2 删除索引
DELETE http://localhost:9200/cnblogs (注:cnblogs为要删除的索引名)
用postman之类的,发一条DELETE操作即可,更多索引相关的操作,可参考 https://www.elastic.co/guide/en/elasticsearch/reference/current/index.html
3.3 添加单条记录
注:在index中创建的数据,准确来讲,ES中称为document。
POST http://localhost:9200/cnblogs/_doc
{
   "blog_id":10000001,
   "blog_title":"ES 7.8速成笔记",
   "blog_content":"这是一篇关于ES的测试内容by 菩提树下的杨过",
   "blog_category":"ES"
}
注1:上述语句执行后,该自动生成一个id,在返回结果中也能看到(即:下面的_id字段)
{
    "_index": "cnblogs",
    "_type": "_doc",
    "_id": "RSYlZXMBw3XehDWN1Hbf",
    "_version": 1,
    "result": "created",
    "_shards": {
        "total": 1,
        "successful": 1,
        "failed": 0
    },
    "_seq_no": 1,
    "_primary_term": 1
}
如果连续POST相同的内容,将生成多条内容一样的记录(即:重复记录)
当然,也可以在POST时,就指定id,比如:
http://localhost:9200/cnblogs/_doc/123 (最后的123即为id)
{
    "_index": "cnblogs",
    "_type": "_doc",
    "_id": "123",
    "_version": 1,
    "result": "created",
    "_shards": {
        "total": 1,
        "successful": 1,
        "failed": 0
    },
    "_seq_no": 6,
    "_primary_term": 1
}
返回结果也能看到"_id":"123",如果重复提交1次,ES会自动认为是对_id:123的记录做update,从返回结果也能看出来:
{
    "_index": "cnblogs",
    "_type": "_doc",
    "_id": "123",
    "_version": 2,
    "result": "updated",
    "_shards": {
        "total": 1,
        "successful": 1,
        "failed": 0
    },
    "_seq_no": 7,
    "_primary_term": 1
}
这时"result":"updated"已经不是再created,而且_version也变成了2。 更多创建文档的细节,可以参考 https://www.elastic.co/guide/en/elasticsearch/reference/current/docs-index_.html
3.4 批量添加记录
从mysql向ES迁移数据时,批量操作很有用,ES中称为bulk操作,比如我们要向cnblogs,1次添加多条记录:
POST http://localhost:9200/cnblogs/_bulk
{"index":{"_id":1}}
{"blog_title":"第1篇标题","blog_content":"测试内容1"}
{"index":{}}
{"blog_id":11,"blog_title":"第2篇标题","blog_content":"测试内容2","blog_category":"test"}
注1:基本格式为2行,第1行为元数据定义,即:{"index":{"_id":1}},第2行为紧接下来的操作,即:{"blog_title":"第1篇标题","blog_content":"测试内容1"}
注2:最后要有一个空行(即:\n)
操作完成后,可以看到多了2行数据:

更多bulk操作的细节,可参考https://www.elastic.co/guide/en/elasticsearch/reference/current/docs-bulk.html
3.5 删除记录
删除单条记录 DELETE http://localhost:9200/cnblogs/_doc/1 (最后的值为_id的值)
当然也可以用刚学到的bulk操作,批量删除
PUT http://localhost:9200/cnblogs/_bulk
{"delete":{"_id":"mCZQZXMBw3XehDWN9HYJ"} }
{"delete":{"_id":"mSZSZXMBw3XehDWNSnZT"} }
{"delete":{"_id":"fiZHZXMBw3XehDWNkXYf"} }
{"delete":{"_id":"lyZQZXMBw3XehDWN9HYJ"} }
3.6 更新记录
更新操作跟mysql中的有很大区别,新手容易踩坑,先创建一条记录,方便后面讲解
POST http://localhost:9200/cnblogs/_doc/1
{
   "blog_id":10000001,
   "blog_title":"ES 7.8速成笔记",
   "blog_content":"这是一篇关于ES的测试内容by 菩提树下的杨过",
   "blog_category":"ES"
}
完成后,就能看到这条记录了

接下来,改下json内容,变成:
POST http://localhost:9200/cnblogs/_doc/1
{
   "blog_title":"ES 7.8速成笔记(修改后的版本)"
}
返回结果:
{
    "_index": "cnblogs",
    "_type": "_doc",
    "_id": "1",
    "_version": 2,
    "result": "updated",
    "_shards": {
        "total": 1,
        "successful": 1,
        "failed": 0
    },
    "_seq_no": 3,
    "_primary_term": 1
}
提示更新完成,但是看记录,会发现其它字段值全被清掉了!

也就是说,如果我们只想更新某个字段的值,这样是不行的,必须先从ES中查出旧记录,然后所有字段值全赋上旧值,再更新指定字段,做全量提交才能达到预期,所以不推荐这种方法。
正确方法:
POST http://localhost:9200/cnblogs/_update/1
{
    "doc": {
        "blog_title": "ES 7.8速成笔记(新标题)"
    }
}

update细节可参考https://www.elastic.co/guide/en/elasticsearch/reference/current/docs-update.html
出处:http://yjmyzz.cnblogs.com
本文版权归作者和博客园共有,欢迎转载,但未经作者同意必须保留此段声明,且在文章页面明显位置给出原文连接,否则保留追究法律责任的权利。

 浙公网安备 33010602011771号