

本文基于8-LTC2308控制器设计——Quartus工程创建基础上继续创建软件工程。
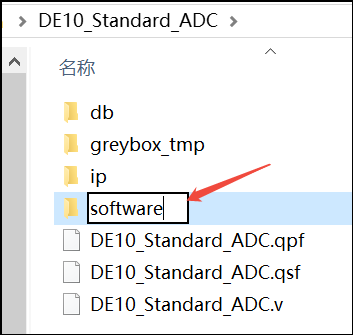
1.在你的Quartus工程路径下创建一个software文件夹:
2. 在开始菜单里面找到Nios II工具,点击打开它:

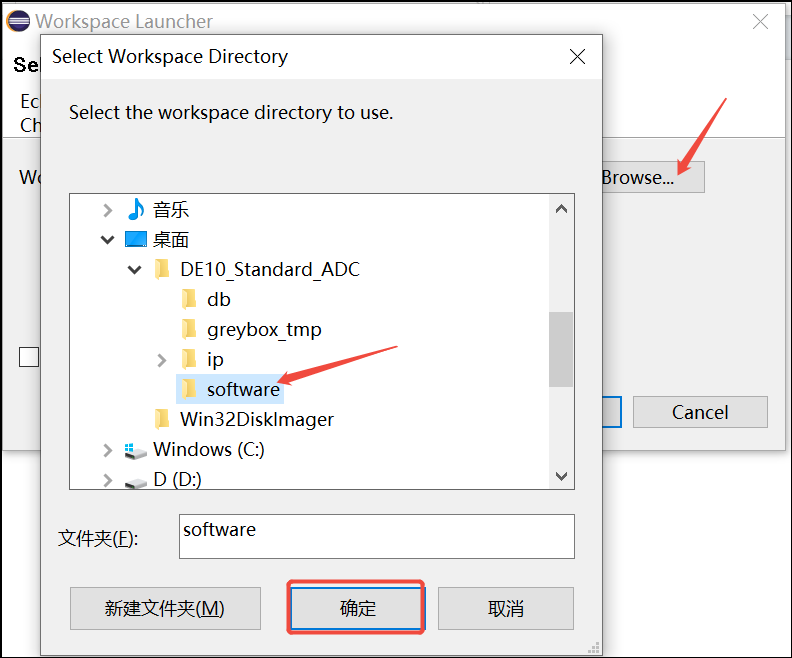
3. 点击Browse...找到software文件,点击确定:
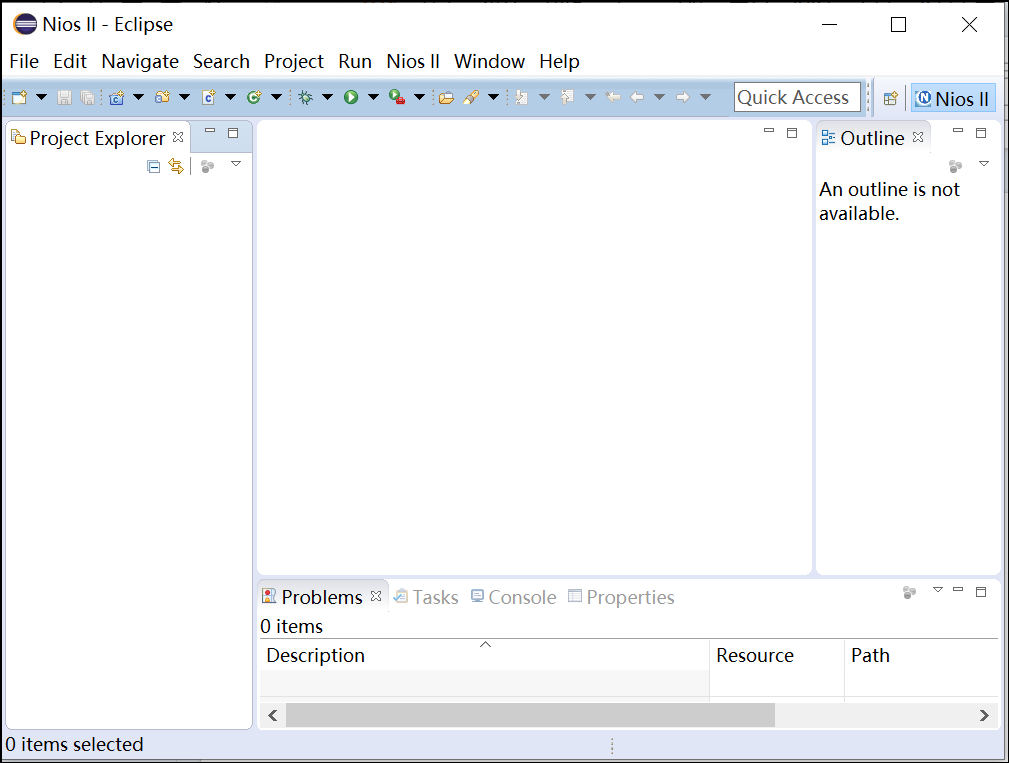
4. 弹出如下窗口:
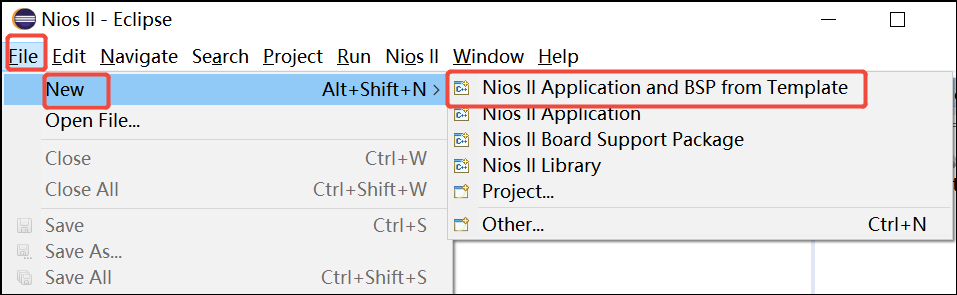
5. 点击File——New——Nios II Application and BSP from Template:
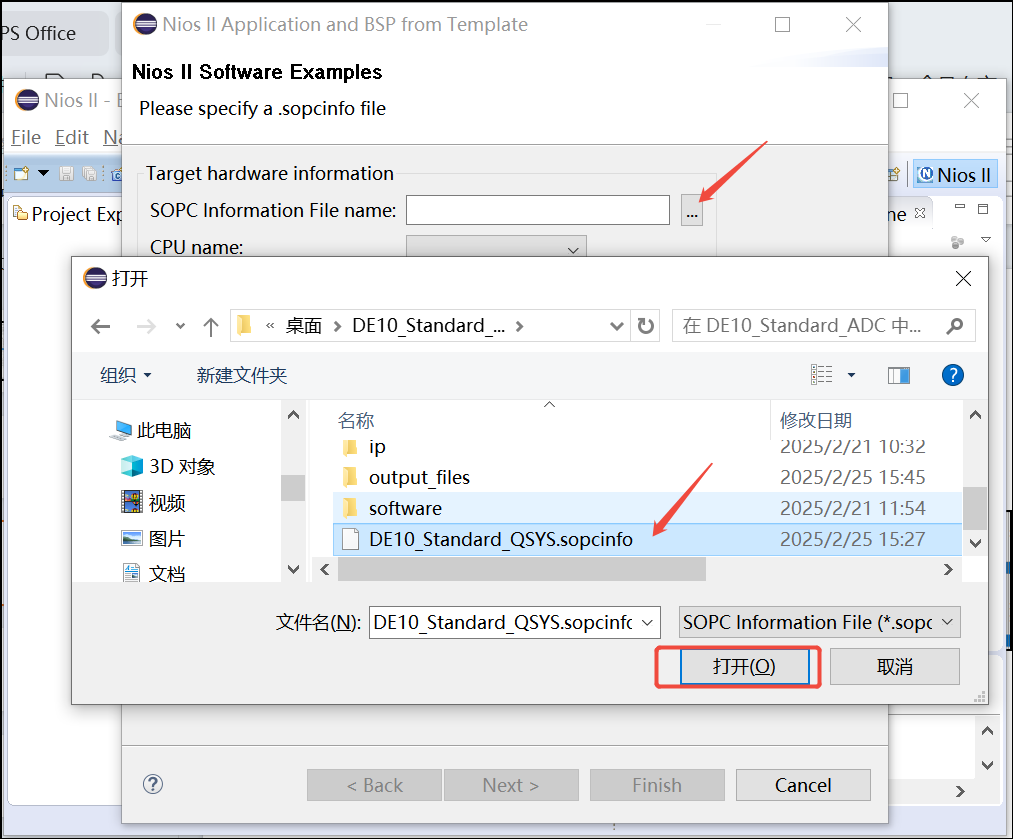
6. 点击SOPC Information File name 处的...打开SOPC文件选择窗口,选择DE10_Standard_QSYS.sopcinfo文件:
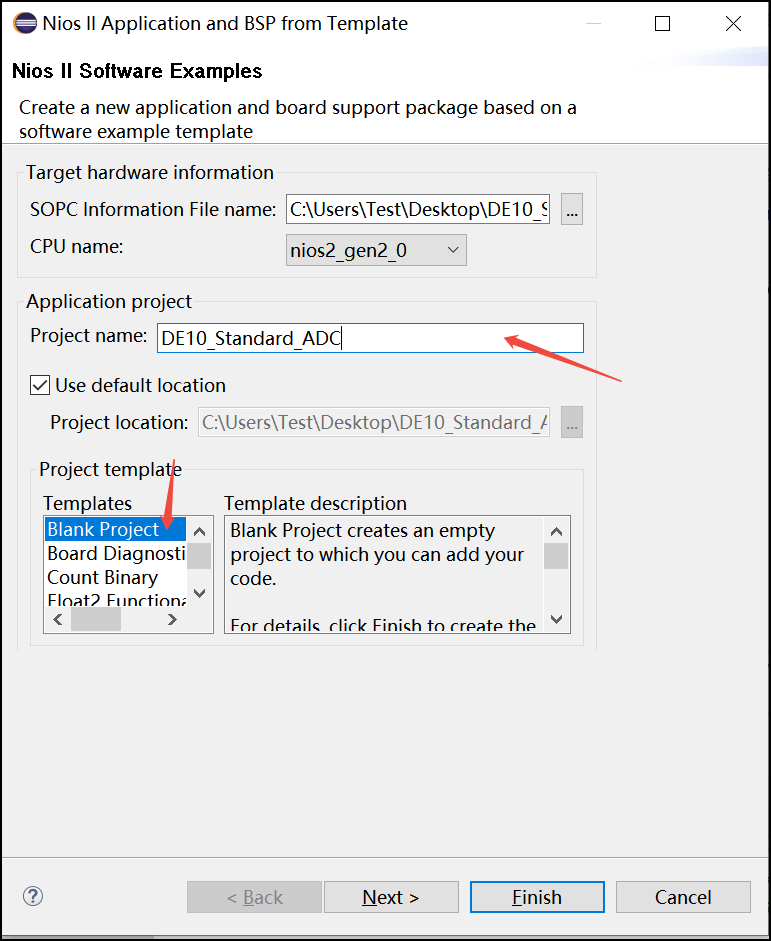
7. 在Project name 处填上软件工程的名称DE10_Standard_ADC, 然后选择Blank Project:
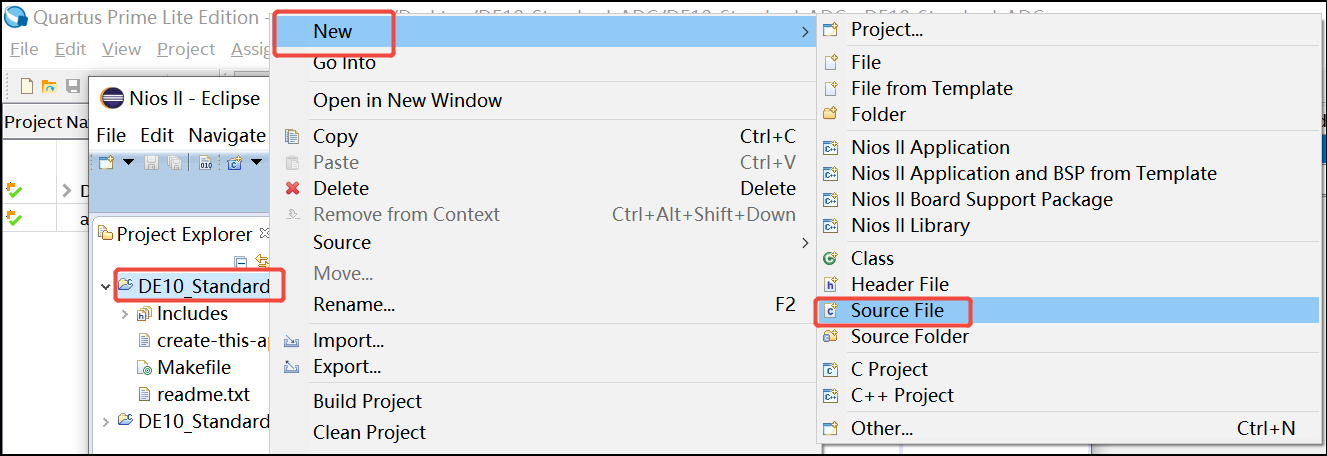
8. 在 Project Explorer 中,选中 DE10_Standard_ADC,右键,选择 New --> Source File,
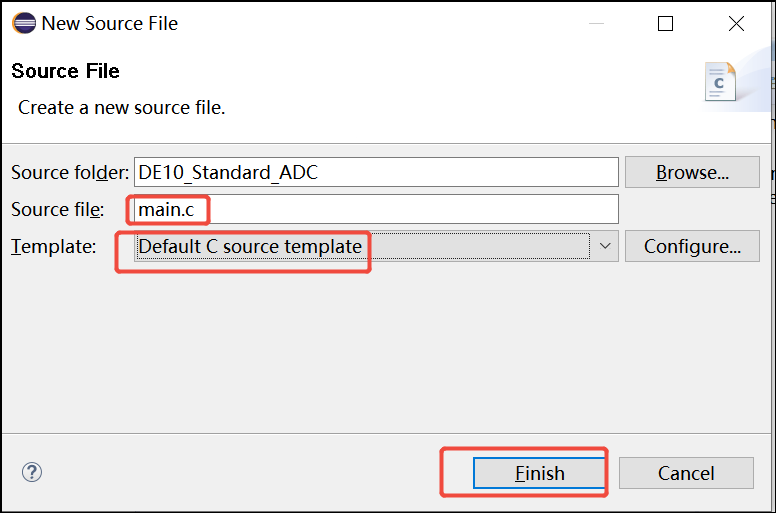
9. 在Source file 处填上main.c,Template选择Default C sourcetemplate:
10. 然后将如下代码拷贝到main.c文件当中:
#include <stdio.h>
#include <io.h>
#include <unistd.h>

#include "system.h"

void main(void){
    int ch = 0;
    const int nReadNum = 10; // max 1024
    int i, Value, nIndex=0;

    printf("ADC Demo\r\n");
    while(1){
        ch = IORD(SW_BASE, 0x00) & 0x07;

        printf("======================= %d, ch=%d\r\n", nIndex++, ch);
        // set measure number for ADC convert
        IOWR(ADC_LTC2308_BASE, 0x01, nReadNum);


        // start measure
        IOWR(ADC_LTC2308_BASE, 0x00, (ch << 1) | 0x00);
        IOWR(ADC_LTC2308_BASE, 0x00, (ch << 1) | 0x01);
        IOWR(ADC_LTC2308_BASE, 0x00, (ch << 1) | 0x00);
        usleep(1);

        // wait measure done
        while ((IORD(ADC_LTC2308_BASE,0x00) & 0x01) == 0x00);

        // read adc value
        for(i=0;i<nReadNum;i++){
            Value = IORD(ADC_LTC2308_BASE, 0x01);
            printf("CH%d=%.3fV (0x%04x)\r\n", ch, (float)Value/1000.0, Value);
        }

        usleep(200*1000);
    } // while
}
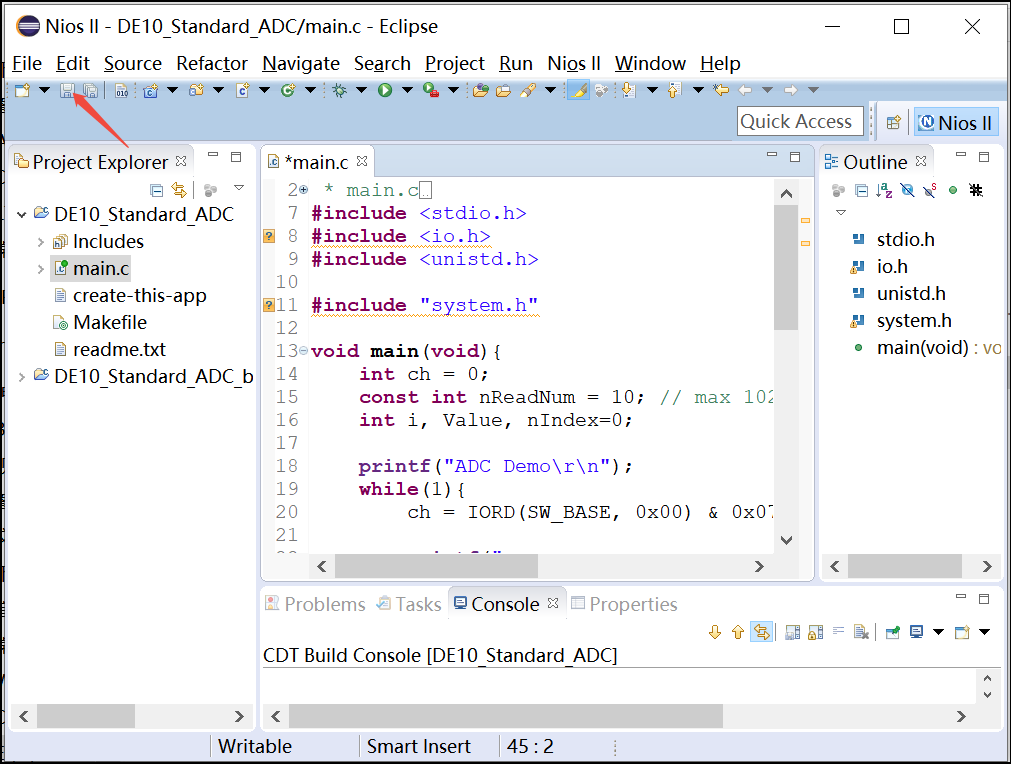
11. 点击Save 按钮进行main.c文件保存:
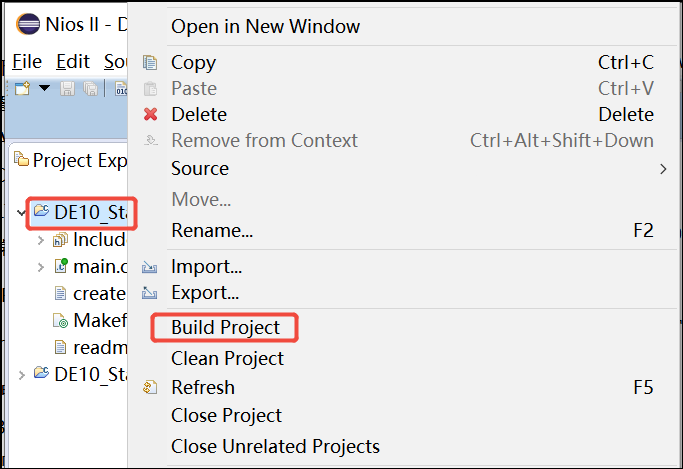
12.右击DE10_Standard_ADC选择Build Project 进行工程编译:
这时候会在~DE10_Standard_ADC\software\DE10_Standard_ADC文件里面生成DE10_Standard_ADC.elf文件。
接下来按照1-【友晶科技TERASIC】基于FPGA实现LTC2308控制器的设计——总概述去测试即可。
往期推荐阅读:
无

 浙公网安备 33010602011771号