Vue cli之路由router
一、安装路由
Vue-router用于提供给vue项目在开发中用于绑定url和组件页面的关系的核心插件。
默认情况下,vue没有提供路由的功能,所以我们使用vue-router,并需要在项目根目录。
npm install vue-router
安装了vue-router插件以后,我们必须要对路由进行初始化并且还要绑定组件与url地址之间的路由映射关系。
首页,我们需要在一个单独的目录router下创建路由文件index.js,实例化路由对象并绑定组件和url地址的关系。
二、基本使用
在src路径下创建router/index.js,代码:
import VueRouter from "vue-router";
import Vue from "vue";

Vue.use(VueRouter);

import Home from "../views/Home";
import HelloWorld from "../components/HelloWorld";
import Forecast from "../components/Forecast";


export default new VueRouter({
  mode: "history", // hash 表示以地址栏的哈希值作为路径,history以历史对象的url作为路径
  routes:[  // 路由列表,里面的每一个成员都是一个url地址和组件的映射关系
    {
      path: "/",
      component: Home,
    },
    {
      path: "/hi",
      component: HelloWorld,
    },
    {
      path: "/index",
      component: Forecast,
    }
  ]
});
main.js,代码:
// The Vue build version to load with the `import` command
// (runtime-only or standalone) has been set in webpack.base.conf with an alias.
import Vue from 'vue'    // 没有声明路径,则默认从node_module中导包过来
import App from './App'  // 如果由声明了路径,则表示从当前文件出发根据路径关系进行导报
import axios from "axios";
import router from "./router/index";  // 导入路由对象
// 初始化axios对象
Vue.prototype.$http = axios.create();
Vue.config.productionTip = false

/* eslint-disable no-new */
new Vue({
  el: '#app',
  router,
  components: { App },
  template: '<App/>'
})
App.vue,代码:
<template>
  <div id="app">
    <!--    <HelloWorld msg="Welcome to Your Vue.js App"/>-->
    <!--    <Home></Home>-->
    <router-view></router-view>
  </div>
</template>

<script>
// import HelloWorld from './components/HelloWorld.vue'
// import Home from './views/Home'

export default {
  name: 'App',
  components: {
    // HelloWorld
    // Home
  }
}
</script>

<style>
#app {
  font-family: Avenir, Helvetica, Arial, sans-serif;
  -webkit-font-smoothing: antialiased;
  -moz-osx-font-smoothing: grayscale;
  text-align: center;
  color: #2c3e50;
  margin-top: 60px;
}
</style>
三、页面跳转
vue-router提供了2种写法让我们实现页面跳转。
1、通过router-link来跳转
App.vue,代码:
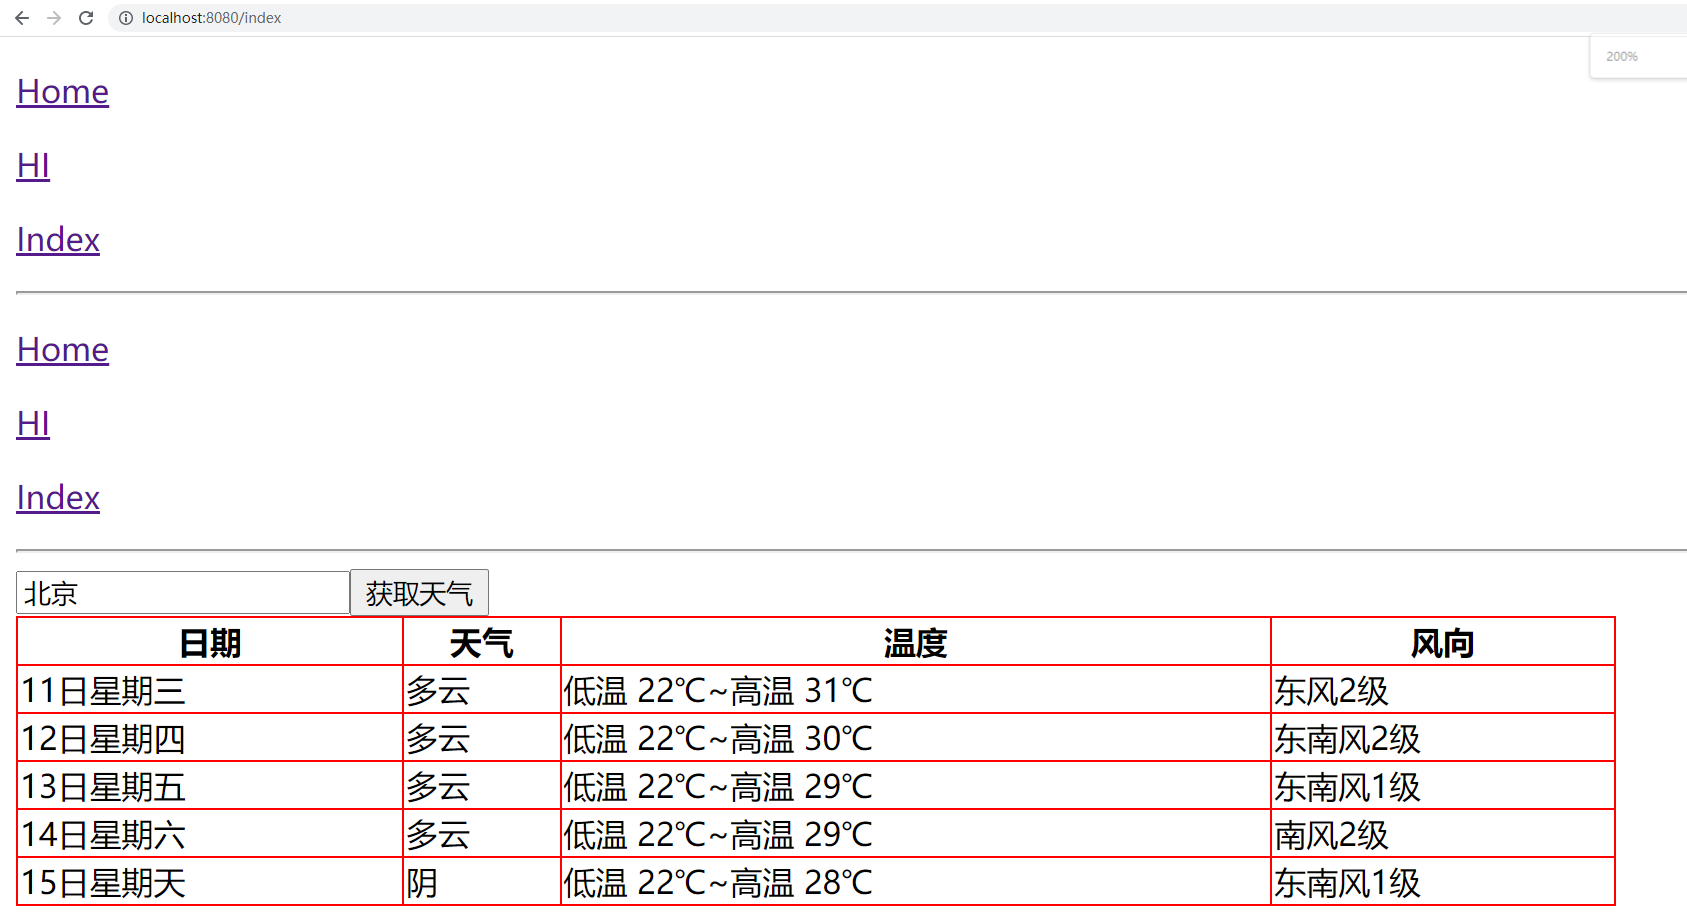
<template>
  <div id="app">
    <p><a href="/">Home</a></p>
    <p><a href="/hi">HI</a></p>
    <p><a href="/index">Index</a></p>

    <hr>
    <p>
      <router-link to="/">Home</router-link>
    </p>
    <p>
      <router-link to="/hi">HI</router-link>
    </p>
    <p>
      <router-link :to="url">Index</router-link>
    </p>

    <hr>
    <router-view></router-view>
  </div>
</template>

<script>
export default {
  name: 'App',  // 组件名
  data() {
    return {
      url: "/index",
    }
  },
  components: { // 子组件

  }
}
</script>

<style>

</style>
注意:一般在开发中不会在App.vue编写具体的代码,我们这里仅仅是为了方便学习演示。
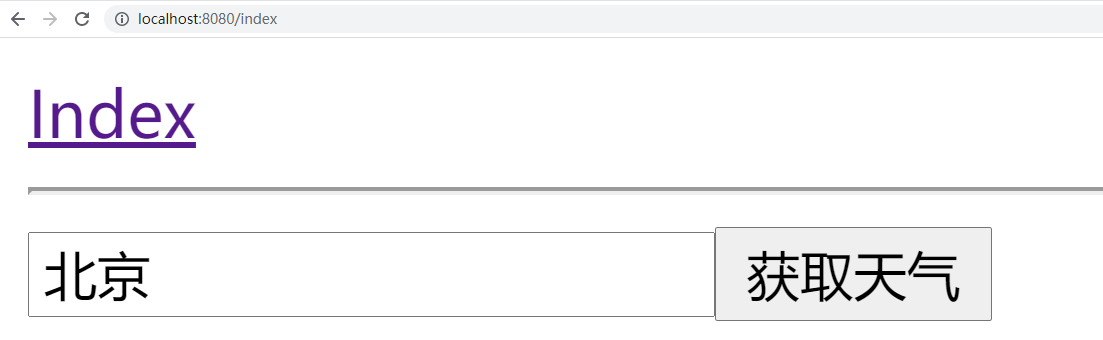
2、通过this.$router来跳转
App.vue,代码:
<template>
  <div id="app">

    <a href="" @click.prevent="goto">Index</a>
    <hr>
   <router-view></router-view>
  </div>
</template>

<script>
export default {
  name: 'App',  // 组件名
  data(){
    return {
       url: "/index",
       user: "root",
    }
  },
  methods:{
    goto(){
      // 页面跳转
      if(this.user === "root"){
        this.$router.push("/index"); // ajax页面跳转到指定的路由地址
        // this.$router.back(); // 跳转返回上一页
        // this.$router.go(-1); // -1相当于back,后退一页
        // this.$router.go(1); // 1表示forward,前进一页
      }
    }
  },
  components: { // 子组件

  }
}
</script>

<style>

</style>
四、传递参数
vue-router提供了2种用于开发中传递参数的方式给我们使用。
1、路径参数
url地址的路径作为变量,传递参数到下一个页面组件中进行获取使用。
router/index.js,代码:
import VueRouter from "vue-router";
import Vue from "vue";
Vue.use(VueRouter);
import Home from "../views/Home";
import HelloWorld from "../components/HelloWorld";
import Forecast from "../components/Forecast";
import Article from "../components/Article";
export default new VueRouter({
mode: "history", // hash 表示以地址栏的哈希值作为路径,history以历史对象的url作为路径
routes:[ // 路由列表,里面的每一个成员都是一个url地址和组件的映射关系
{
path: "/",
component: Home,
},
{
path: "/hi",
component: HelloWorld,
},
{
path: "/index",
component: Forecast,
},
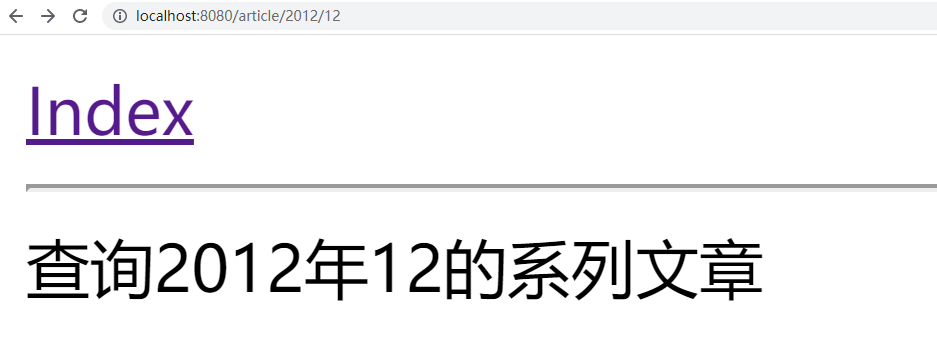
{
path: "/article/:year/:month",
component: Article,
},
]
});
Article.vue,代码:
<template>
  <div>
    查询{{year}}年{{month}}的系列文章
  </div>
</template>

<script>
export default {
  name: "Article",
  data(){
    return {
      year: 0,
      month: 0,
    }
  },
  created() {
    this.year = this.$route.params.year;
    this.month = this.$route.params.month;
  }
}
</script>

<style scoped>

</style>
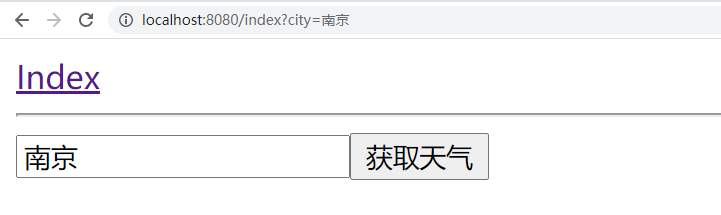
2、查询参数
url地址的查询字符串作为参数,在下一个页面组件中进行获取使用。
App.vue:
<template>
  <div id="app">
    <a href="" @click.prevent="goto">Index</a>
    <hr>
   <router-view></router-view>
  </div>
</template>

<script>
export default {
  name: 'App',  // 组件名
  data(){
    return {
       url: "/index",
       user: "root",
    }
  },
  methods:{
    goto(){
      // 页面跳转
      if(this.user === "root"){
        this.$router.push("/index?city=南京"); // ajax页面跳转到指定的路由地址
      }
    }
  },
  components: { // 子组件

  }
}
</script>

<style>

</style>
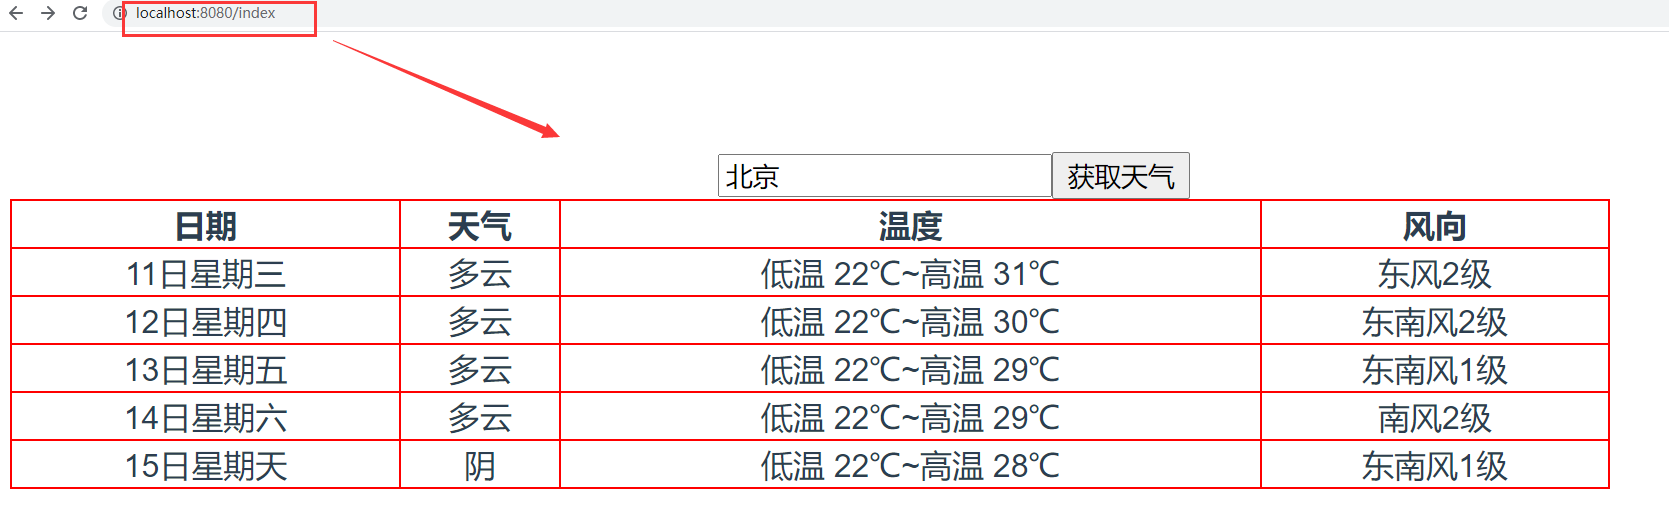
Forecast.vue,代码:
<template>
  <div>
    <input type="text" v-model="city">
    <button @click="get_weather">获取天气</button>
    <table v-if="weather_list.length>1">
      <tr>
        <th>日期</th>
        <th>天气</th>
        <th>温度</th>
        <th>风向</th>
      </tr>
      <tr v-for="weather in weather_list">
        <td>{{weather.date}}</td>
        <td>{{weather.type}}</td>
        <td>{{weather.low}}~{{weather.high}}</td>
        <td>{{weather.fengxiang}}{{weather.fengli|format}}</td>
      </tr>
    </table>
  </div>
</template>

<script>
export default {
  name: "Index",
  data(){
    return {
      city: "北京",
      weather_list:[],
    }
  },
  filters:{
    format(content){
      return content.replaceAll("<![CDATA[","").replaceAll("]]>","");
    }
  },

  created(){
      // 任意一个组件中都可以获取查询参数
      console.log(this.$route.query); // 获取所有的查询参数
      if(this.$route.query.city){
         this.city = this.$route.query.city
      }

  },
  methods:{
    get_weather(){
      // 发送http请求获取天气
      this.$http.get("http://wthrcdn.etouch.cn/weather_mini",{
        params:{
          city: this.city,
        }
      }).then(response=>{
        console.log(response.data.data.forecast);
        this.weather_list = response.data.data.forecast;
      }).catch(error=>{
        console.log(error);
      })
    }
  }
}
</script>

<style scoped>
table{
  width: 800px;
  border-collapse: collapse;
}
td,th{
  border: 1px solid red;
}
</style>

 浙公网安备 33010602011771号