Django操作redis
一、环境安装
基本环境:
Python环境:Python 3.8.16
Django环境:4.1
redis环境:参考搭建 https://www.cnblogs.com/yclh/p/14742336.html
并且已经添加了myApp的应用
安装redis的包:
pip install django-redis
二、配置文件
打开Django的配置文件,比如说setting.py,里面设置CACHES项
CACHES = {
"default": {
"BACKEND": "django_redis.cache.RedisCache",
"LOCATION": "redis://127.0.0.1:6379",
"OPTIONS": {
"CLIENT_CLASS": "django_redis.client.DefaultClient",#连接池
"CONNECTION_POOL_KWARGS": {"max_connections": 100},#连接池
"SOCKET_CONNECT_TIMEOUT": 5, # 连接redis超时时间,单位为秒
"SOCKET_TIMEOUT": 5, # redis读写操作超时时间,单位为秒
# "PASSWORD": "123",
}
}
}
三、myApp里配置路径和编写view的方法
1、配置路径
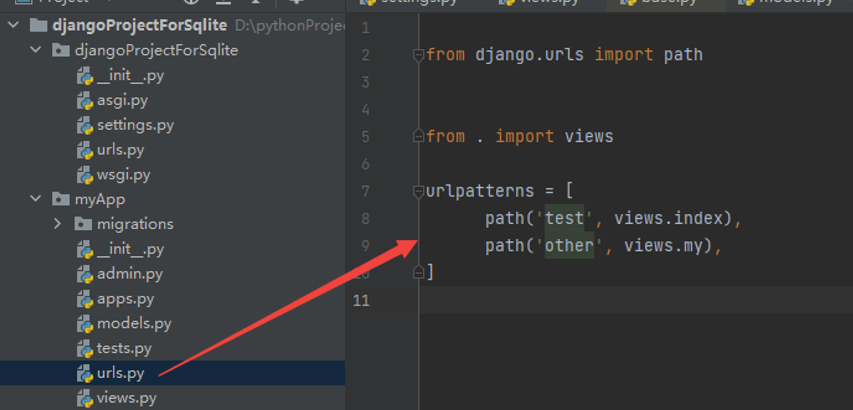
2、编写view的方法
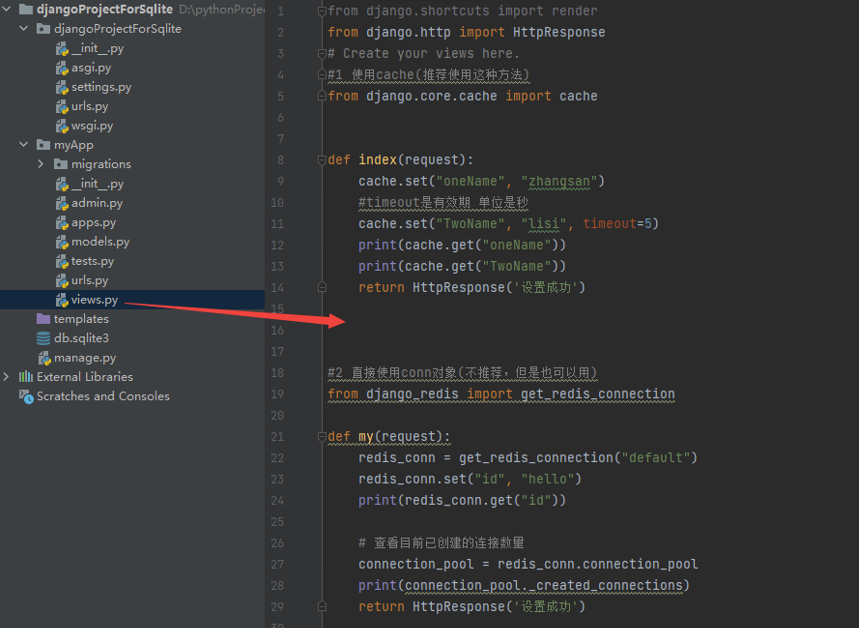
from django.shortcuts import render
from django.http import HttpResponse
# Create your views here.
#1 使用cache(推荐使用这种方法)
from django.core.cache import cache


def index(request):
    cache.set("oneName", "张三")
    #timeout是有效期 单位是秒
    cache.set("TwoName", "lisi", timeout=5)
    print(cache.get("oneName"))
    print(cache.get("TwoName"))
    return HttpResponse('设置成功')


#2 直接使用conn对象(不推荐,但是也可以用)
from django_redis import get_redis_connection

def my(request):
    redis_conn = get_redis_connection("default")
    redis_conn.set("id", "hello")
    print(redis_conn.get("id"))

    # 查看目前已创建的连接数量
    connection_pool = redis_conn.connection_pool
    print(connection_pool._created_connections)
    return HttpResponse('设置成功')
四、验证效果
注:结合控制台的输出,验证从redis里取数据
1、进入redis客户端
127.0.0.1:6379> keys *
(empty list or set)
没有主键信息
2、浏览器访问http://127.0.0.1:8000/redis/test
127.0.0.1:6379> keys *
1) ":1:TwoName"
2) ":1:oneName"
有两个key了,过5秒钟在次查看
127.0.0.1:6379> keys *
1) ":1:oneName"
TwoName过期就从redis里自动删除了
3、浏览器访问http://127.0.0.1:8000/redis/other
127.0.0.1:6379> keys *
1) "id"
2) ":1:oneName"
说明view里写的两种方式都可以操作redis

 浙公网安备 33010602011771号