

深度学习的始祖框架,grandfather级别的框架 —— Theano —— 示例代码学习(4)
实战(DenseLayer):
下面用本篇的内容,写一个全连接层,实现前向传播、反向传播和参数更新。并用它实现一个3输入1输出的单层感知机,拟合函数y = x0 + x1 + x2。
代码:
import theano
import theano.tensor as TT
import numpy as np
import pylab


class Dataset():
    def __init__(self, nsample, batchsize, nin):
       self.nsample = nsample
       self.batchsize = batchsize
       self.batch_num = nsample / batchsize
       self.data_x = np.array(np.random.rand(self.nsample*nin))\
                       .reshape(nsample,nin).astype('float32')
       self.data_y = self.data_x.sum(axis=1, keepdims=True)

    def reset(self):
       self.batch_cnt = 0
       self.indeces = np.array(range(self.nsample))
       np.random.shuffle(self.indeces)
       self.data_x = self.data_x[self.indeces]
       self.data_y = self.data_y[self.indeces]

    def read(self):
       self.batch_cnt += 1
       if self.batch_cnt > self.batch_num:
           return None
       batchsize = self.batchsize
       i = self.batch_cnt - 1
       xsample = self.data_x[i*batchsize:(i+1)*batchsize]
       ysample = self.data_y[i*batchsize:(i+1)*batchsize]
       return xsample, ysample


Identity = lambda x:x
ReLU = lambda x: TT.maximum(x, 0.0)
Sigmoid = lambda x: TT.nnet.sigmoid(x)
Tanh = lambda x: TT.tanh(x)


class DenseLayer():
    def __init__(self, nin, nout, activation):
       self.activation = eval(activation)
       w_init = np.random.rand(nin*nout)\
                    .reshape((nin, nout)).astype('float32')
       b_init = np.random.rand(nout).reshape(nout).astype('float32')
       self.w = theano.shared(value=w_init, borrow=True)
       self.b = theano.shared(value=b_init, borrow=True)

    def feedforward(self, x):
       return self.activation(TT.dot(x, self.w) + self.b)


if __name__ == '__main__':

    nin = 3
    nout = 1

    x = TT.fmatrix('x')
    y = TT.fmatrix('y')

    model = DenseLayer(nin, nout, activation='Identity')
    out = model.feedforward(x)

    loss = TT.mean(TT.sqr(y - out)) # 均方误差作为损失函数
    f_loss = theano.function([x, y], loss)

    (grad_w, grad_b) = TT.grad(loss, [model.w, model.b]) # 损失函数对参数的导数
    lr = TT.fscalar('lr')
    f_update = theano.function([x,y,lr], [grad_w, grad_b],
                updates=[(model.w, model.w - lr * grad_w),
                         (model.b, model.b - lr * grad_b)],
                allow_input_downcast=True)


    epoch = 1
    learn_rate = 0.01
    batch_err = []
    data = Dataset(nsample=1024, batchsize=512, nin=3)
    for epo in range(epoch):
       data.reset()
       while True:
           batchdata = data.read()
           if batchdata is None:
              break
           xsample, ysample = batchdata
           # print(ysample.shape)
           batch_error = f_loss(xsample, ysample) # 计算batch损失
           print(batch_error)
           f_update(xsample, ysample, learn_rate) # 更新参数
           batch_err.append(batch_error)

    pylab.plot(batch_err, marker='o')
    pylab.show()
运行结果:

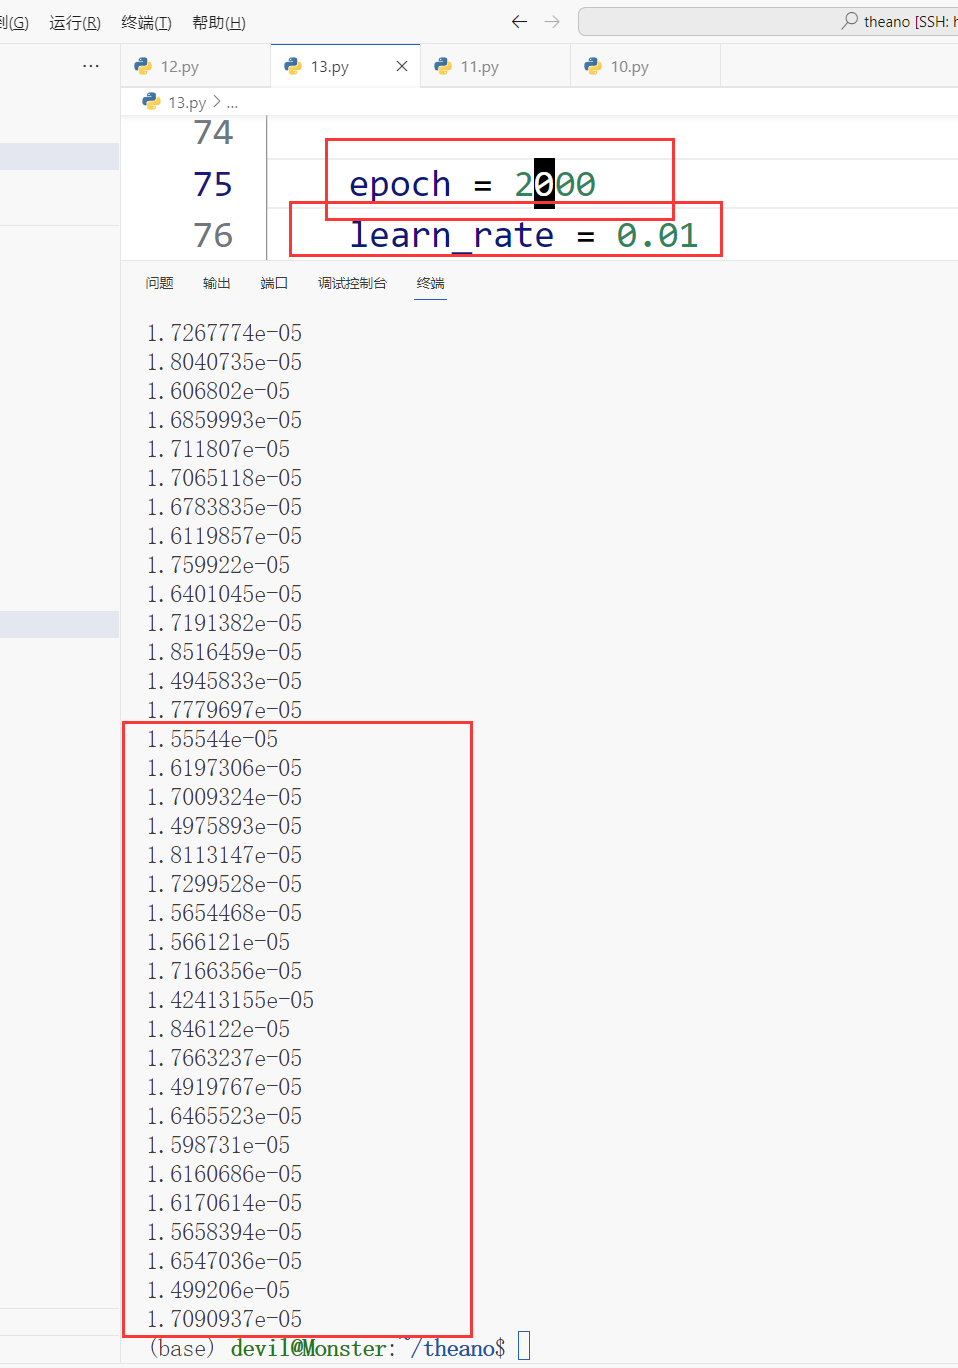
增加epoch数量,如2000,运行结果:
参考:
https://zhuanlan.zhihu.com/p/24218567
本博客是博主个人学习时的一些记录,不保证是为原创,个别文章加入了转载的源地址,还有个别文章是汇总网上多份资料所成,在这之中也必有疏漏未加标注处,如有侵权请与博主联系。
如果未特殊标注则为原创,遵循 CC 4.0 BY-SA 版权协议。
posted on 2024-02-12 18:54 Angry_Panda 阅读(51) 评论(0) 收藏 举报


 浙公网安备 33010602011771号