

深度学习(可视化特征图)
深度学习骨干网络一般会包含很多层,这里写了一个脚本,可以保存骨干网络的所有特征图。
代码主要用了get_graph_node_names和create_featrue_extractor这两个函数。
get_graph_node_names是得到所有特征节点名字。
create_featrue_extractor是提取对应节点输出的特征tensor。
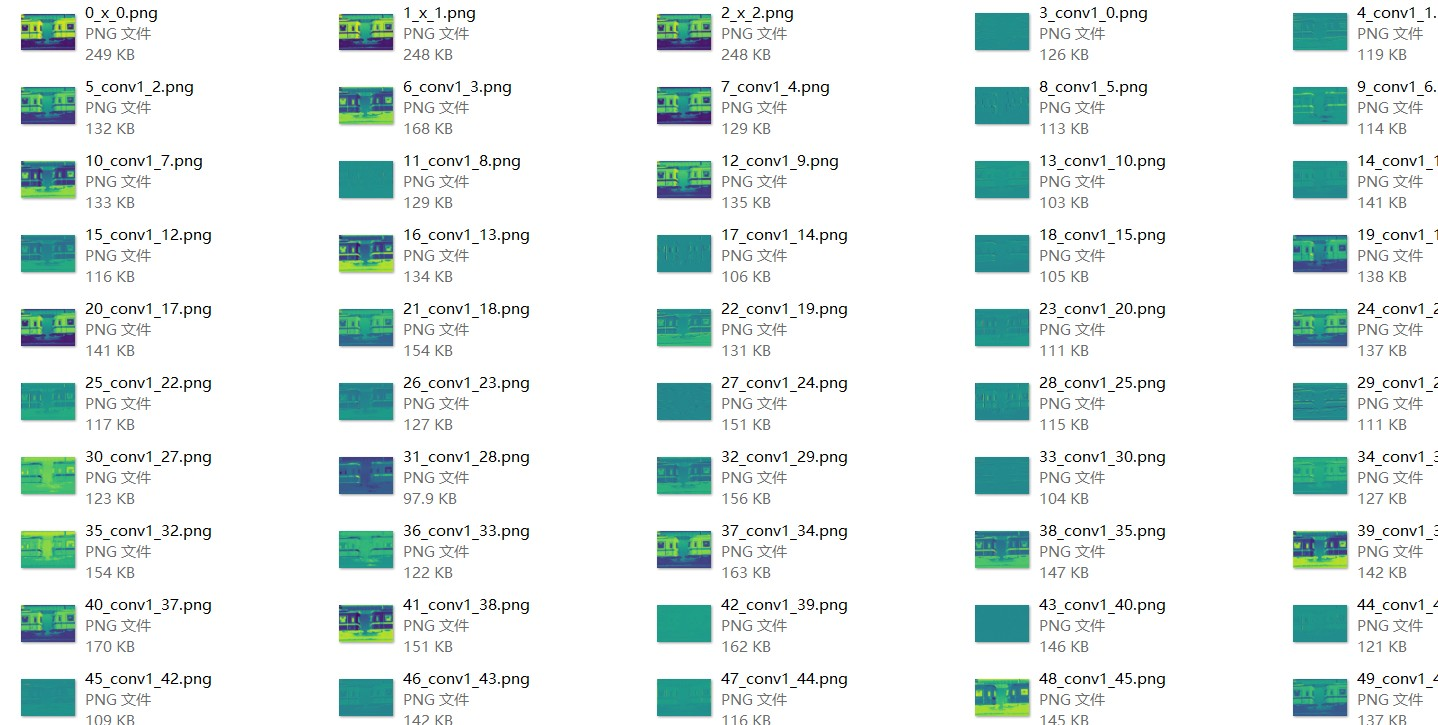
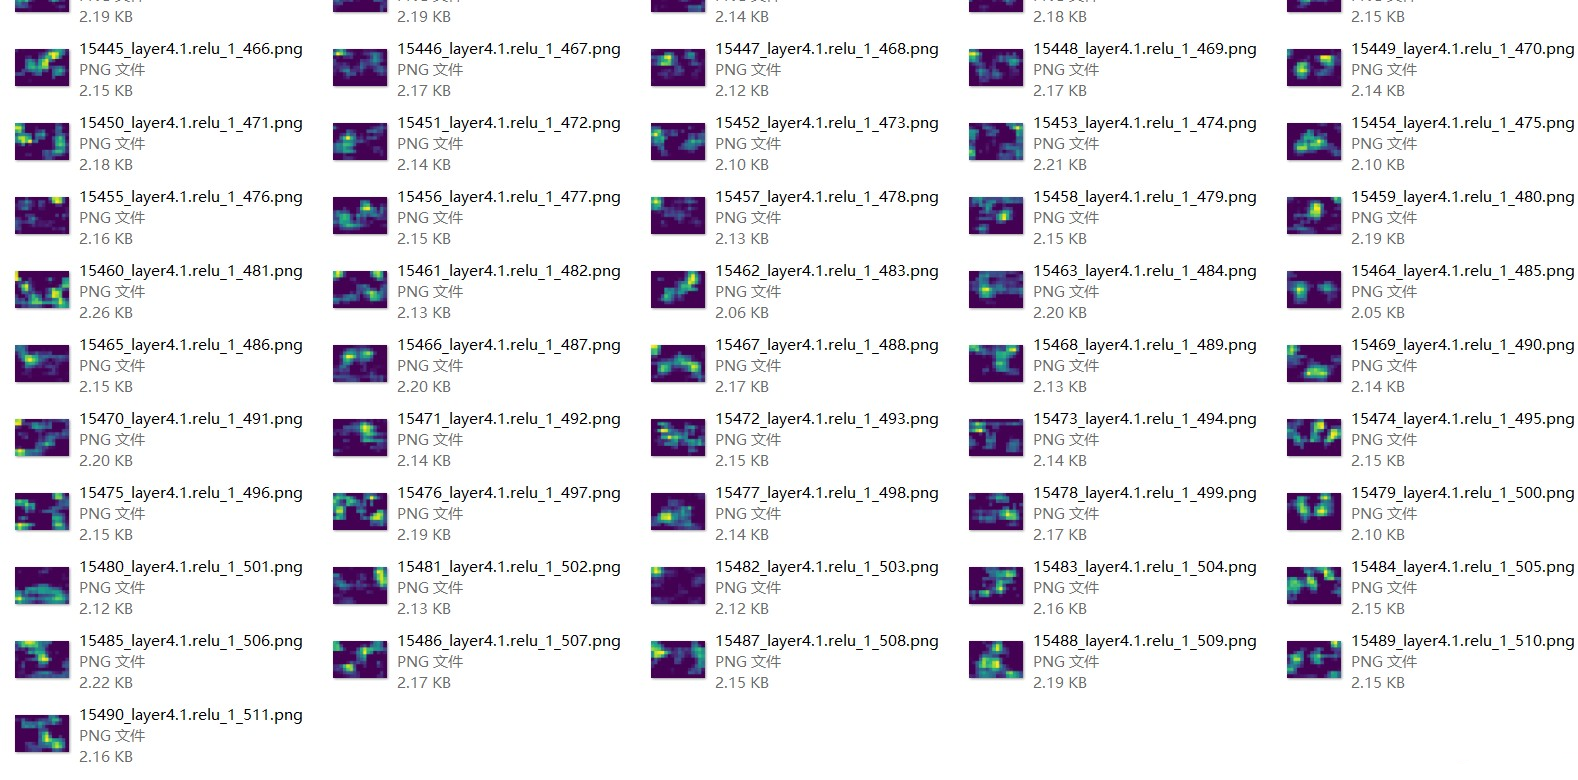
下面以resnet18为例,一共得到15491个特征图。
import torchvision
from PIL import Image
import torchvision.transforms as transforms
from matplotlib import pyplot as plt
from torchvision.models.feature_extraction import create_feature_extractor,get_graph_node_names

toTensor = transforms.ToTensor()

model = torchvision.models.resnet18(pretrained=True)
#model = torchvision.models.efficientnet_b0(pretrained=True)

feature_nodes, _ = get_graph_node_names(model)
features = create_feature_extractor(model, return_nodes=feature_nodes)

img = Image.open("1.jpg")
img = toTensor(img).unsqueeze(0)
out = features(img)

print(list(out))

count = 0
for feature_name in list(out):
    feature = out[feature_name]
    if len(feature.shape)==4:
        B,C,H,W = feature.shape
        if H >1 and W>1:
            for c in range(C):
                fig = plt.figure(1)
                plt.axis('off')
                print(feature.shape)
                plt.imshow(feature[0][c].detach().numpy())
                plt.savefig('./output/'+str(count)+'_'+feature_name+'_'+str(c)+'.png',bbox_inches='tight',pad_inches=0)
                count +=1
                plt.clf()
所有输出保存成图像,这里用plt输出保存,可以保证特征图像素一样多。
没选择cv2或PIL保存图像的原因是这两个库会保存原始图像,而后面的特征图越来越小,不好直观的看出区别。
下面是一些保存的图像:

 浙公网安备 33010602011771号