CentOS7 Haproxy2.2.2部署示例
前端机:172.16.186.141
后端1:172.16.186.142
后端2:172.16.186.143
后端2台机上都要安装httpd或nginx
后端机1和2:yum -y install httpd
后端机1:echo "<h1> it's web1 </h1>" >>/var/www/html/index.html
后端机2:echo "<h1> it's web2 </h1>" >/var/www/html/index.html
后端机1和2:systemctl start httpd
下载地址:http://download.openpkg.org/components/cache/haproxy/
前端机上先安装lua5.3版本,否则后面后报错
wget -c http://www.lua.org/ftp/lua-5.3.5.tar.gz
yum -y install readline-devel gcc gcc-c++ systemd-devel pcre-devel openeel openssl-devel
tar -zxvf lua-5.3.5.tar.gz
cd lua-5.3.5
make linux
make install INSTALL_TOP=/usr/local/lua
编译安装
打开IP转发
echo "net.ipv4.ip_forward = 1" >> /etc/sysctl.conf && sysctl -p
#前端机上下载并安装haproxy
wget -c http://download.openpkg.org/components/cache/haproxy/haproxy-2.2.2.tar.gz
tar zxvf haproxy-2.2.2.tar.gz
cd haproxy-2.2.2/
make -j $(nproc) TARGET=linux-glibc USE_OPENSSL=1 USE_ZLIB=1 USE_LUA=1 LUA_LIB=/usr/local/lua/lib/ LUA_INC=/usr/local/lua/include/ USE_PCRE=1 USE_SYSTEMD=1
make install PREFIX=/usr/local/haproxy
cp /usr/local/haproxy/sbin/haproxy /usr/sbin/
cp ./examples/haproxy.init /etc/init.d/haproxy
chmod 755 /etc/init.d/haproxy
创建运行用户
useradd haproxy -s /sbin/nologin
vim /usr/local/haproxy/haproxy.cfg #新创建该文件
global
daemon
maxconn 256
defaults
mode http
timeout connect 5000ms
timeout client 50000ms
timeout server 50000ms
stats uri /status
stats auth zp:123456
frontend http-in
bind *:80
default_backend servers
backend servers
server server1 172.16.186.142:80 maxconn 32 check inter 2000 rise 2 fall 5
server server2 172.16.186.143:80 maxconn 32 check inter 2000 rise 2 fall 5
启动haproxy
haproxy -f /usr/local/haproxy/haproxy.cfg
ps: 停止haproxy: pkill haproxy
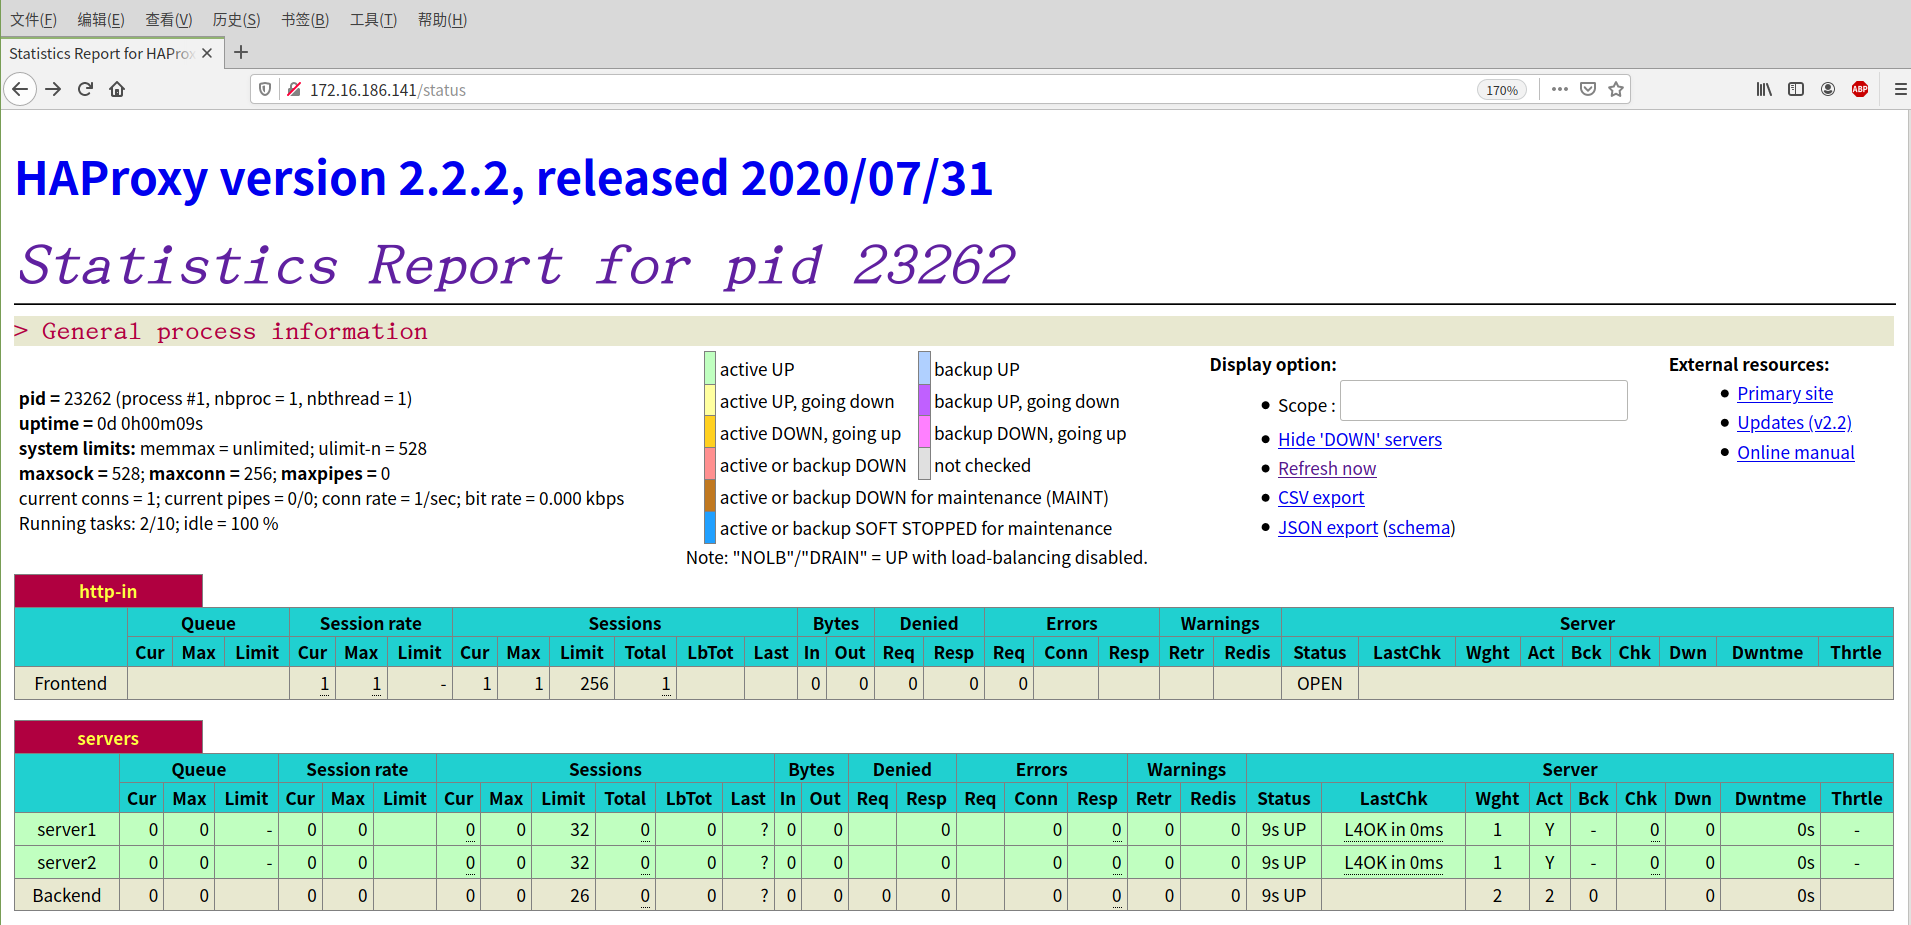
浏览器访问http://172.16.186.141/status

也可以使用浏览器访问172.16.186.141,每次刷新的内容都和上一次不一样
.
.
.
.
游走在各发行版间老司机QQ群:905201396
不要嫌啰嗦的新手QQ群:756805267
Debian适应QQ群:912567610


 浙公网安备 33010602011771号