

在wp7.0时,Silverlight和XNA是两个功能界线十分清晰的框架,仅管有一些XNA中的API可以用到Silverlight里(可以看我的博客一起学windows phone7开发(二十七. XNA在Silverlight 中的应用)),也需要自已模拟XNA的运行环境,否则无法应用。并且功能有限,只能播放声音或捕捉用户输入,而无法绘制图像,更不用说加载3D图像了。现在wp7.1使这两个框架变的模糊了,在Silverlight应用程序中,可以完整的使用XNA API了。
1. 创建XNA in Silverlight的工程
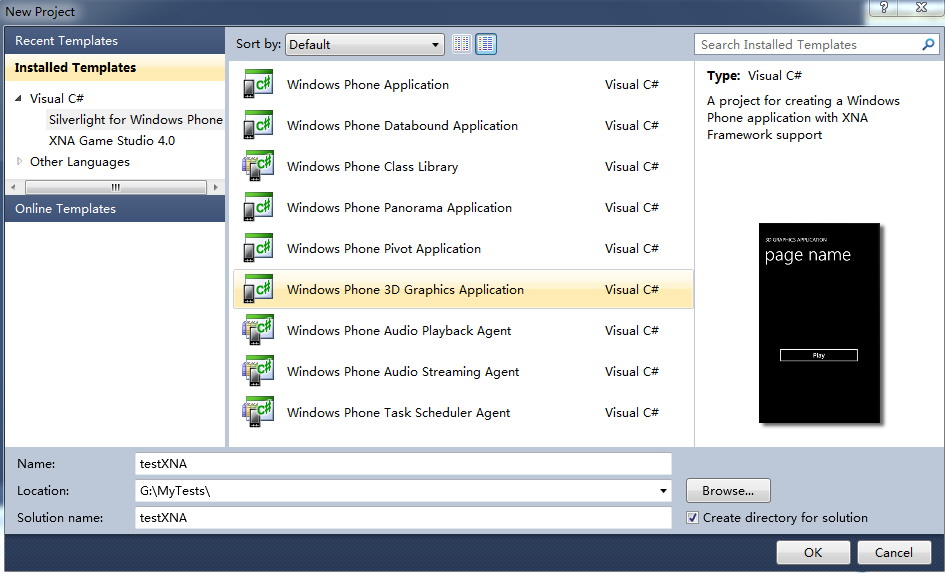
首先在新建工程模板窗口中选择Windows Phone 3D Graphics Application模板,创建一个XNA in Silverlight的工程。
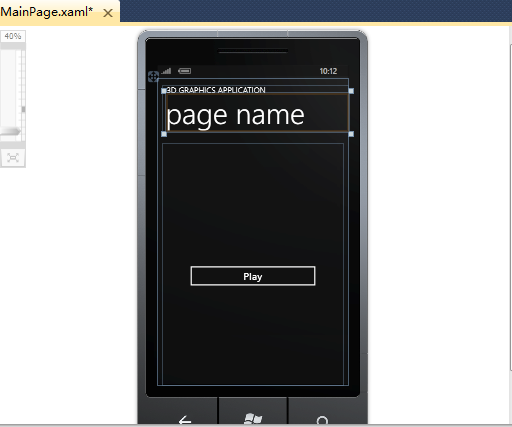
工程建创好后,可以看到已经有一个完整的示例在这里了。
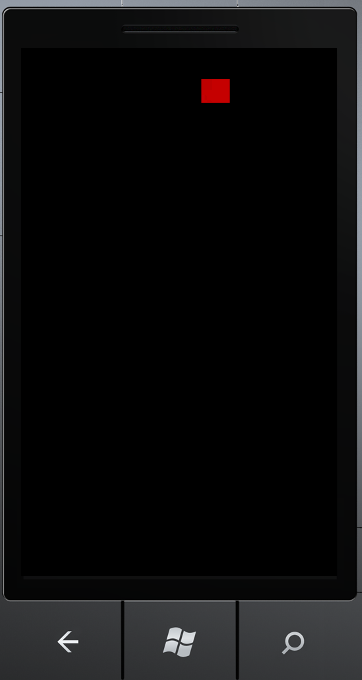
运行这个工程,可以看到是一个2d碰撞的小示例。
在项目面板中可以看到包含了三个工程,第一个是Silverlight应用程序工程,第二个是一个XNA Library工程用于Silverlight与XNA 的连接,可以看到在Silverlight工程的References中包含了这个库。 与XNA十分相同,也同样有Content工程,用来加载XNA的资源,如声音、图片、字体、3d模型等。这些资源就是通过这个库加入到Silverlight工程中的。
、
打开GamePage.xaml可以看到,只有页面相关的XAML,再也没有其他的XAML代码了,因为图像的显示部分全部由XNA来完成了。
打开GamePage.xaml.cs文件,可以看到如下代码:
timer = new GameTimer();
timer.UpdateInterval = TimeSpan.FromTicks(333333);
timer.Update += OnUpdate;
这和我之前的博客里的模拟XNA代码十分相似,但是这个timer不是DispatherTimer 而是一个全新的类GameTimer 。
另外还可以看到一个全新类SharedGraphicsDeviceManager,也正是因为有了这个类,那可以实现XNA在Silverlight中的图像加载或3d模型的加载和绘制。如果对XNA比较熟悉的话,可以看到其他的代码基本上和XNA是一样的。同样使用content.Load<Texture2D>("redRect")来加载资源,只是这个content来自于content = (Application.Current as App).Content;也同样使用spriteBatch.Begin();
spriteBatch.Draw(texture, spritePosition, Color.White);
spriteBatch.End();
来绘制资源,只是这个spriteBatch来自于spriteBatch = new SpriteBatch(SharedGraphicsDeviceManager.Current.GraphicsDevice)。
2. 一个3d的示例
在之前我的博客里有一个加载3d模型的示例(一起学WP7 XNA游戏开发(六. 3d Model的载入)),现在看加何在Silverlight应用程序中实现。
代码只要做稍稍的修改就可以正确运行了。
在OnNavigatedTo中加载内容。
protected override void OnNavigatedTo(NavigationEventArgs e)
{
// Set the sharing mode of the graphics device to turn on XNA rendering
SharedGraphicsDeviceManager.Current.GraphicsDevice.SetSharingMode(true);
spriteBatch = new SpriteBatch(SharedGraphicsDeviceManager.Current.GraphicsDevice);
LoadContent();
// Start the timer
timer.Start();
base.OnNavigatedTo(e);
}
在timer的update事件响应函数中更新状态。
private void OnUpdate(object sender, GameTimerEventArgs e)
{
// TODO: Add your update logic here
// Move the sprite around.
UpdateSprite(e);
}
在timer的Draw事件应用函数中绘制资源
private void OnDraw(object sender, GameTimerEventArgs e)
{
SharedGraphicsDeviceManager.Current.GraphicsDevice.Clear(Color.CornflowerBlue);
SharedGraphicsDeviceManager.Current.GraphicsDevice.BlendState = BlendState.Opaque;
SharedGraphicsDeviceManager.Current.GraphicsDevice.RasterizerState = RasterizerState.CullCounterClockwise;
SharedGraphicsDeviceManager.Current.GraphicsDevice.DepthStencilState = DepthStencilState.Default;
SharedGraphicsDeviceManager.Current.GraphicsDevice.SamplerStates[0] = SamplerState.LinearWrap;
tankModel.CopyAbsoluteBoneTransformsTo(tankBonesTransforms);
Matrix wheelRotation = Matrix.CreateRotationX(wheelRotationValue);
Matrix steerRotation = Matrix.CreateRotationY(steerRotationValue);
Matrix turretRotation = Matrix.CreateRotationY(turretRotationValue);
Matrix cannonRotation = Matrix.CreateRotationX(cannonRotationValue);
Matrix hatchRotation = Matrix.CreateRotationX(hatchRotationValue);
leftBackWheelBone.Transform = wheelRotation * leftBackWheelTransform;
rightBackWheelBone.Transform = wheelRotation * rightBackWheelTransform;
leftFrontWheelBone.Transform = wheelRotation * leftFrontWheelTransform;
rightFrontWheelBone.Transform = wheelRotation * rightFrontWheelTransform;
leftSteerBone.Transform = steerRotation * leftSteerTransform;
rightSteerBone.Transform = steerRotation * rightSteerTransform;
turretBone.Transform = turretRotation * turretTransform;
cannonBone.Transform = cannonRotation * cannonTransform;
hatchBone.Transform = hatchRotation * hatchTransform;
Matrix projection = Matrix.CreatePerspectiveFieldOfView(MathHelper.PiOver4,
SharedGraphicsDeviceManager.Current.GraphicsDevice.Viewport.AspectRatio,
10,
2000);
Matrix view = Matrix.CreateLookAt(new Vector3(1500, 550, 0) * 1 + new Vector3(0, 150, 0),
new Vector3(0, 150, 0),
Vector3.Up);
foreach (ModelMesh m in tankModel.Meshes)
{
foreach (BasicEffect be in m.Effects)
{
be.World = tankBonesTransforms[m.ParentBone.Index];
be.View = view;
be.Projection = projection;
be.EnableDefaultLighting();
be.PreferPerPixelLighting = false;
be.SpecularColor = new Vector3(0.8f, 0.8f, 0.6f);
be.SpecularPower = 16;
be.TextureEnabled = true;
}
m.Draw();
}
}
运行效果:
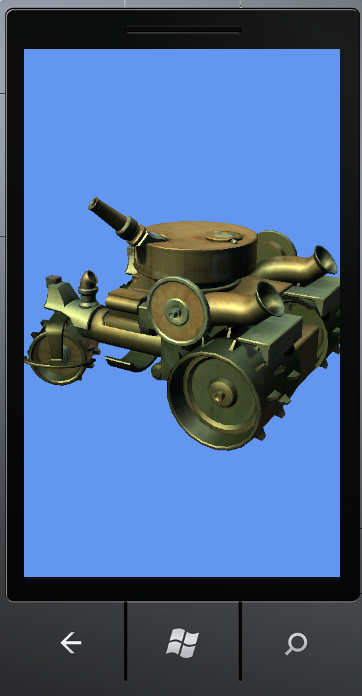
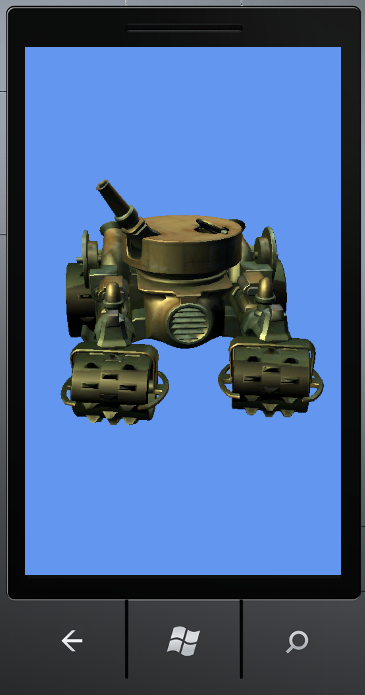
可以看到与XNA工程的效果是完全一样的。这样结合了Silverlight与XNA的应用,将会使开发更容易,也可以使两个平台的优点更好的融合。
示例代码:http://www.52winphone.com/bbs/viewthread.php?tid=744&extra=page%3D1

 浙公网安备 33010602011771号