
【Qt6】QML 信号
1. 信号和信号处理器
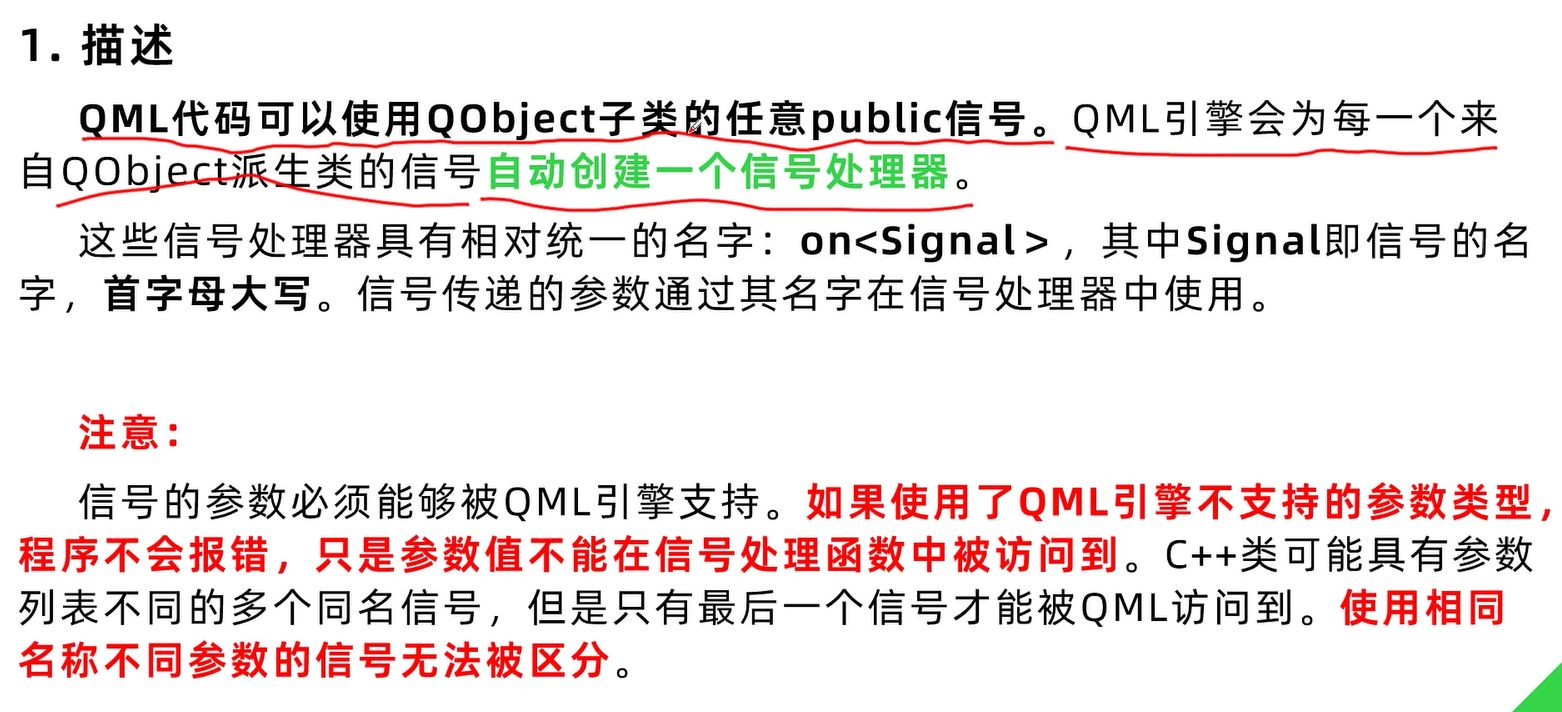
信号是发生事件的对象发射的通知
信号发射后可以通过信号处理器获得通知并进行处理
2. 信号处理器声明语法
on<Signal>
on: 固定关键字
Signal: 信号名,首字母必须大写
3. 信号声明语法
signal<signalName>([<parameterName>:<parameterType>[,...]])
同一作用域信号名必须唯一
import QtQuick

Window {
    width: 640
    height: 480
    visible: true
    title: qsTr("Hello World")

    signal position(x:real,y:real) // 声明一个信号

    onPosition: { // on+信号名   信号处理机
        console.log("x:"+x +" y:"+y)
    }

    MouseArea {
        anchors.fill: parent
        onPressed: {
            position(mouse.x,mouse.y) // 发送一个信号
        }
    }
}
4. 属性值改变信号
QML类型提供内建属性值改变信号,这个属性属性值改变就会自动发出信号
语法是
on<属性值名>Changed: {
	// 处理...
}
// qt6信号处理使用组件内参数时,需要显示指定
	onSwipe: (direction)=>{
		switch(direction){
			case "down":{
				  console.log("down")
			}break
		}
	}
import QtQuick
import QtQuick.Controls

Window {
    width: 640
    height: 480
    visible: true
    title: qsTr("Hello World")

    signal position(x:real,y:real) // 定义一个信号

    Label {
        id: label
        text: "Released"
        font.pixelSize: 48
        anchors.centerIn: parent
        onTextChanged: {        //属性值改变信号
            console.log("Text change");
        }
    }
    onPosition: { // on+信号名   信号处理机
        console.log("x:"+x +" y:"+y)
    }

    MouseArea {
        anchors.fill: parent

        onPressed: {
            position(mouse.x,mouse.y) // 发送一个信号
            label.text = "Clicked"
        }
        onReleased: {
            label.text = "Released"
        }
    }
}
一般用于组件封装,将内层的一些函数回调暴露到组件最外层,使用时再定义处理逻辑
// 定义组件
MyComp{
	id: myComp
	signal clicked() // 信号
	MouseArea:{
		anchors.fill:parent
		onClicked:{
			myComp.clicked() // 回调
		}
	}
}

// 使用组件,定义内部信号处理,on信号名
MyComp{
	onClicked(){
		// 回调逻辑
	}
}
5. Connections
用于连接外部对象的信号。可以接受指定目标的任意信号
在qml和c++项目开发过程中更加通用
5.1 在QML中使用
import QtQuick
import QtQuick.Controls

Window {
    width: 640
    height: 480
    visible: true
    title: qsTr("Hello World")

    // 连接button1,信号被分发到这
    Connections {
        target: button1 // button1的信号都被分发到这,会调用同名的信号处理函数
        // 同名信号处理函数
        function onClicked(){
            console.log("cnnection func")
        }
    }
	// 被连接对象
    Button {
        id: button1
        width: 200
        height: 100
        text: "button1"
        font.pixelSize: 30
        onClicked: {
            console.log("button1 func")
        }
    }

}
Connections函数定义也可以直接和原组件相同,可能报警告
// function onClicked(){
//     console.log("cnnection func")
// }
onClicked: {
	console.log("button1 func")
}
5.2 与C++联合使用
语法 1
Connections{
	target: cppObj
	onSignal:{
		// To do someting...
	}
}

// Qt6后推荐写法
Connections{
	target: cppObj
	function onSignal(var){
		// To do someting...
	}
}
设置定时器和信号槽
updateTimer = new QTimer();
    updateTimer->start(1000); // 每 1s emit timeout()
    connect(updateTimer,SIGNAL(timeout()),this,SLOT(slotUpdateTimer()));// 绑定信号的槽函数
定时器信号处理发送另一个自定义信号并传参
// 槽函数,cpp内部信号处理
void MyClass::slotUpdateTimer(){
    setStatus(!status);

    // 获取当前日期和时间 <QDateTime>
    QDateTime currentTime = QDateTime::currentDateTime();
    QTime currentTimeOnly = currentTime.time();
    QString time = currentTimeOnly.toString("HH:mm:ss");
    emit updateTime(time); // 发送 update信号
}
qml中捕获信号并处理
// #2 链接C++内部发出的信号并处理
Connections {
	target: ui // 信号来自的对象
	// 信号  on + 信号名(大驼峰)
	onUpdateTime:{ // 形参被隐式传递
		timelabel.text = time
	}
}
Label{
	id:timelabel
	horizontalAlignment: Text.AlignHCenter
	verticalAlignment: Text.AlignVCenter
	color: "black"
	font.pixelSize: 32
	text: "00:00:00"
}
也可以使用此种写法
Connections{
	target: ui
	function onUpdateTime(time){
		timelabel.text = time
	}
}
语法 2
直接绑定到C++对象的属性再使用信号处理器
在C++内部修改属性使用信号和槽和定时器
将属性通过 Q_PROPERTY 暴露给QML,来桥接变化
桥接二者属性
property bool status: ui.status
// 使用qml的信号处理器
onStatusChanged: {
	statusRect.color = status ? "limegreen" : "red"
}
6. connect()函数
将信号与多个函数关联
import QtQuick
import QtQuick.Controls

Window {
    width: 640
    height: 480
    visible: true
    title: qsTr("Hello World")

    signal msgRcv(string person, string notice)

    Component.onCompleted: {
        // 信号与函数绑定,可以将一个信号与多个函数关联
        msgRcv.connect(sendToPost,sendToPost2)
    }

    function sendToPost(person, notice) {
        console.log("sendToPost>> person:" + person + " notice: " + notice)
    }

    function sendToPost2(person, notice) {
        console.log("sendToPost2>> person:" + person + " notice: " + notice)
    }

    Button {
        id: button1
        width: 200
        height: 100
        text: "button1"
        font.pixelSize: 30

        onClicked: {
            // 在这里触发信号
            msgRcv("Alice", "Hello from button1")
        }
    }
}

 浙公网安备 33010602011771号