Robot Studio 使用笔记
安装版本2020.1,额外安装了Robotware6.10.02
新建 Solution With Empty Station,点击Create
从Home,ABB library选择机器人。此时注意点击File,保存。
不然Virtual Controller里面的From Layout可能是灰色的。
Virtual Controller------->From Layout---->选择合适的Robotware(6.10.02),系统点亮。
基本界面操作:
0. Ctrl加上左键 移动整体,Ctrl Shift左键 旋转
1.此时,点击对应的 ,可以拖动轴和线性拖动等。(记录各个轴初始位置:0,-130,30,0,40,0,135)
2.当某个手臂被选中时,菜单出现Modify项目,
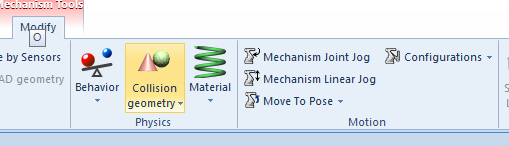
点击Joint Jog或者Linear Jog,在界面中控制机械臂姿态
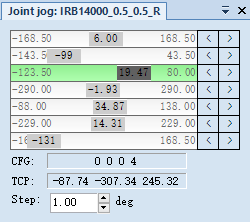
除了拖动,还可以 点击数字,回车输入数字。
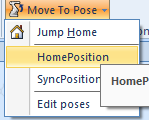
点击HomePosition 回到初始位置。
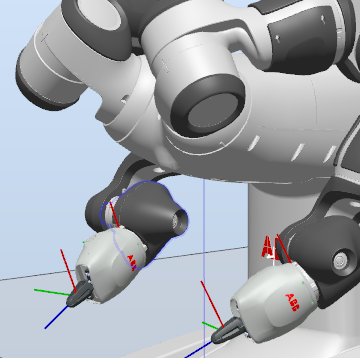
3.Import Library--->Equipment--->Tools,Smart Gripper,在Layout中,将智能爪 拖动到一个手臂。
4创建路径
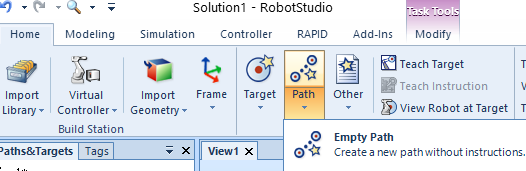
在Paths&Targets中激活左臂或者右臂,然后在Home-->Path-->EmptyPath,
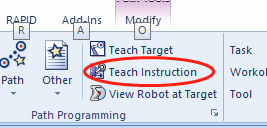
对于某个位置,点击Teach Instruction
这里创建4个点,
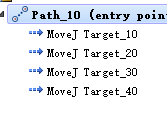

然后右键该路径,Move along path,模拟运行。
5.创建Target,拖动到路径,同步到Rapid,模拟运行。
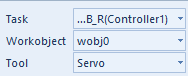
先以右臂为例,工具中心点使用Servo,
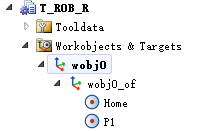
在初始位置,点击Teach Target,会生成一个Target,命名为Home
向左移动一定位置,点击Teach Target,命名为P1.
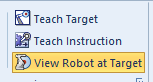
(额外:如果高亮选择View Robot as Target),点击不同的Target的时候,会直接显示手臂在当前Target下的姿态。
右键Paths&Procedures,点击Create Path

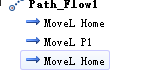
一条命名为main,另一条自定义为 Path_Flow1

右下角选择好, ,
,
将Target拖入到Path_Flow1中,
将Path_Flow1拖动到main中,
点击Synchronize,同步到Rapid中,
点击Play,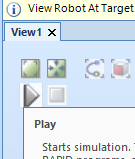
模拟,看到右臂在home,p1,home位置运动。
,
参考教程https://www.youtube.com/watch?v=CUXYfFio5Vc,
其他教程
https://new.abb.com/products/robotics/robotstudio/downloads
https://new.abb.com/products/robotics/robotstudio/tutorials
https://www.youtube.com/watch?v=7g5ViG5wBQk
https://www.bilibili.com/video/BV1xp4y1e7TM/?spm_id_from=333.337.search-card.all.click&vd_source=d54cc08413bbb7829f5cb475f673e79b
使用yumi
https://forums.robotstudio.com/discussion/10170/getting-the-motor-torque-of-yumi

 浙公网安备 33010602011771号