Kubernetes进阶实战读书笔记:Helm基础
一、Helm基础
1、Charts管理程序包使用优势
简单来说Helm就是Kubernetes的应用程序包管理器、它将一个应用的相关资源组织成为Charts,并通过Charts管理程序包其使用优势可简单总结为如下几个方面:
管理复杂应用:Charts能够描述哪怕是最复杂的程序结构、其提供了可重复使用的应用安装的定义
易于升级:使用就地升级和自定义钩子来解决更新的难题
简单分享:Charts易于通过公共或私有服务完成版本化、分享及主机构建
回滚:可使用"helm rollback" 命令轻松实现快速回滚
2、Helm的核心术语
- Charts:即一个Helm程序包、包含了运行一个Kubernetes应用所需的镜像、依赖关系和资源定义等、必要时还会包含Service的定义;它类似于APT的dpkg文件或者yum的rpm文件
- Repository:Charts仓库、用于集群中存储和分发Charts、类似于Perl的CPAN、或者Python的PyPI
- Config:应用程序实例化安装运行时使用的配置信息
- Release:应用程序实例化配置后运行于Kubernetes集群中的一个Charts实例;在同一个集群上、一个Charts可以使用不同的Config重复安装多次、每次安装都会创建一个新的Release
事实上、Charts更像是存储于Kubernetes集群之外的程序、它的每次安装是指在集群中使用专用配置运行一个示例、执行活成有点类似于在操作系统上基于程序启动一个进程
二、Helm架构
Helm主要由Helm客户端、Tiller服务器和Charts仓库组成
1、Helm客户端
Helm客户端是命令行客户端工具、采用go语言编写、基于gRPC协议与 Tiller server交互、它主要完成如下任务
1、本地Charts开发
2、管理Charts仓库
3、与Tiller服务器交互:发送Charts以安装、查询Release的相关信息以及升级或卸载已有的Release
2、Tiller server
Tiller server运是托管运行于集群之中的容器化服务应用、它接受来自Helm客户端的请求、并在必要时与Kubernetes api server进行交互、它主要完成以下任务
1、监听来自于Helm客户端的请求
2、合并Charts和配置以构建一个Release
3、向Kubernetes集群安装Charts并对相应的Release进行跟踪
4、升级和卸载Charts

通常、用于helm客户端本地遵循其格式编写Charts文件、而后即可部署于Kubernetes集群之上运行为一个特定的Release仅在有分发需求时、才应该将同一应用的Charts文件
打包成归档压缩格式提交到特定的Charts仓库、仓库既可以运行为公共托管平台也可以是用户自建的服务器、仅供特定的组织或个人使用
三、 安装Helm Client
1、下载


2、安装
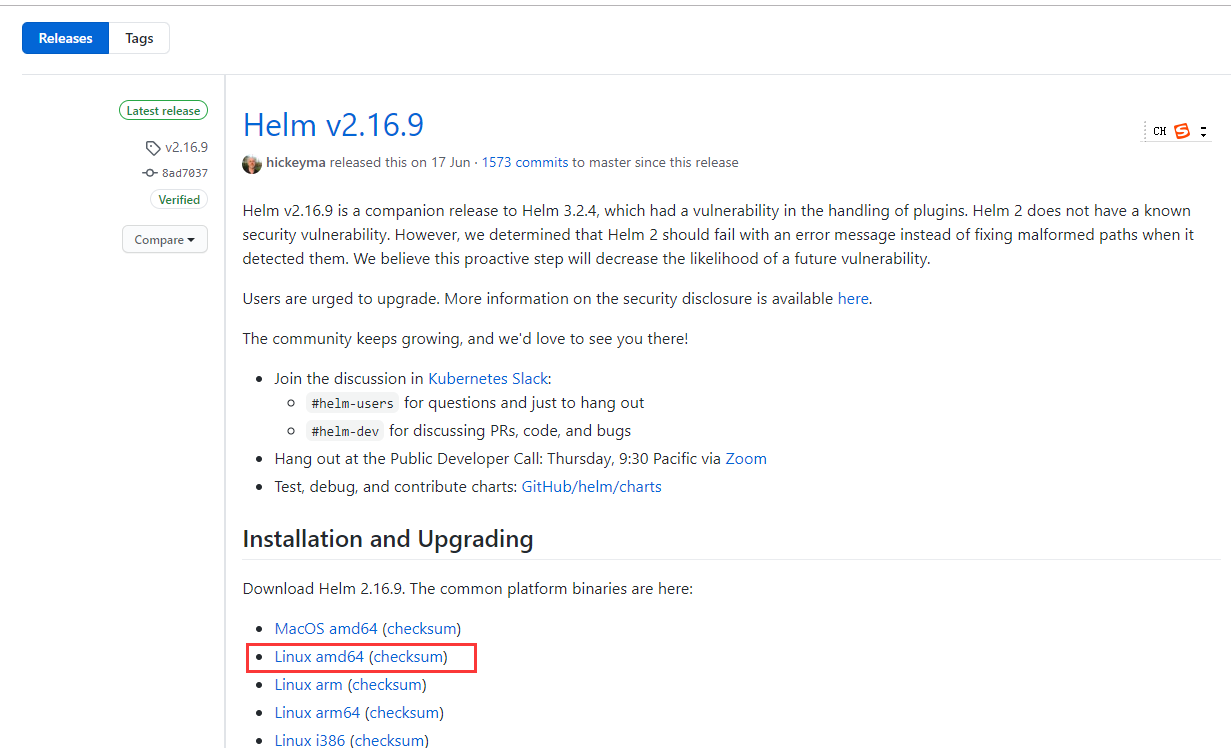
wget https://get.helm.sh/helm-v2.16.9-linux-amd64.tar.gz
tar xf helm-v2.16.9-linux-amd64.tar.gz
mv linux-amd64/helm  /usr/local/bin/
helm help
3、查看帮助
[root@master src]# helm help
The Kubernetes package manager

To begin working with Helm, run the 'helm init' command:

	$ helm init

This will install Tiller to your running Kubernetes cluster.
It will also set up any necessary local configuration.

Common actions from this point include:

- helm search:    Search for charts
- helm fetch:     Download a chart to your local directory to view
- helm install:   Upload the chart to Kubernetes
- helm list:      List releases of charts

Environment:

- $HELM_HOME:           Set an alternative location for Helm files. By default, these are stored in ~/.helm
- $HELM_HOST:           Set an alternative Tiller host. The format is host:port
- $HELM_NO_PLUGINS:     Disable plugins. Set HELM_NO_PLUGINS=1 to disable plugins.
- $TILLER_NAMESPACE:    Set an alternative Tiller namespace (default "kube-system")
- $KUBECONFIG:          Set an alternative Kubernetes configuration file (default "~/.kube/config")
- $HELM_TLS_CA_CERT:    Path to TLS CA certificate used to verify the Helm client and Tiller server certificates (default "$HELM_HOME/ca.pem")
- $HELM_TLS_CERT:       Path to TLS client certificate file for authenticating to Tiller (default "$HELM_HOME/cert.pem")
- $HELM_TLS_KEY:        Path to TLS client key file for authenticating to Tiller (default "$HELM_HOME/key.pem")
- $HELM_TLS_ENABLE:     Enable TLS connection between Helm and Tiller (default "false")
- $HELM_TLS_VERIFY:     Enable TLS connection between Helm and Tiller and verify Tiller server certificate (default "false")
- $HELM_TLS_HOSTNAME:   The hostname or IP address used to verify the Tiller server certificate (default "127.0.0.1")
- $HELM_KEY_PASSPHRASE: Set HELM_KEY_PASSPHRASE to the passphrase of your PGP private key. If set, you will not be prompted for the passphrase while signing helm charts

Usage:
  helm [command]

Available Commands:
  completion  Generate autocompletions script for the specified shell (bash or zsh)
  create      Create a new chart with the given name
  delete      Given a release name, delete the release from Kubernetes
  dependency  Manage a chart's dependencies
  fetch       Download a chart from a repository and (optionally) unpack it in local directory
  get         Download a named release
  help        Help about any command
  history     Fetch release history
  home        Displays the location of HELM_HOME
  init        Initialize Helm on both client and server
  inspect     Inspect a chart
  install     Install a chart archive
  lint        Examines a chart for possible issues
  list        List releases
  package     Package a chart directory into a chart archive
  plugin      Add, list, or remove Helm plugins
  repo        Add, list, remove, update, and index chart repositories
  reset       Uninstalls Tiller from a cluster
  rollback    Rollback a release to a previous revision
  search      Search for a keyword in charts
  serve       Start a local http web server
  status      Displays the status of the named release
  template    Locally render templates
  test        Test a release
  upgrade     Upgrade a release
  verify      Verify that a chart at the given path has been signed and is valid
  version     Print the client/server version information

Flags:
      --debug                           Enable verbose output
  -h, --help                            help for helm
      --home string                     Location of your Helm config. Overrides $HELM_HOME (default "/root/.helm")
      --host string                     Address of Tiller. Overrides $HELM_HOST
      --kube-context string             Name of the kubeconfig context to use
      --kubeconfig string               Absolute path of the kubeconfig file to be used
      --tiller-connection-timeout int   The duration (in seconds) Helm will wait to establish a connection to Tiller (default 300)
      --tiller-namespace string         Namespace of Tiller (default "kube-system")

Use "helm [command] --help" for more information about a command.
四、安装Tiller server
1、创建相关ServiceAccount
[root@master chapter15]# cat tiller-rbac.yaml
apiVersion: v1
kind: ServiceAccount
metadata:
name: tiller
namespace: kube-system
---
apiVersion: rbac.authorization.k8s.io/v1beta1
kind: ClusterRoleBinding
metadata:
name: tiller
roleRef:
apiGroup: rbac.authorization.k8s.io
kind: ClusterRole
name: cluster-admin
subjects:
- kind: ServiceAccount
name: tiller
namespace: kube-system

/opt/pod/Kubernetes_Advanced_Practical/chapter15


[root@master chapter15]# kubectl apply -f tiller-rbac.yaml
serviceaccount/tiller created
clusterrolebinding.rbac.authorization.k8s.io/tiller created
2、初始化
而后使用如下命令进行Tiller server环境的初始化、完成Tiller server安装
[root@master chapter15]# helm init --service-account tiller --tiller-image registry.cn-hangzhou.aliyuncs.com/google_containers/tiller:v2.16.6 --stable-repo-url https://kubernetes.oss-cn-hangzhou.aliyuncs.com/charts
$HELM_HOME has been configured at /root/.helm.
Warning: Tiller is already installed in the cluster.
(Use --client-only to suppress this message, or --upgrade to upgrade Tiller to the current version.)
helm init命令进行初始化时、Kubernetes集群会到gcr.io/kubernetes-helm/上获取需要的镜像,镜像标签同HELM的版本号、请确保Kubernetes集群能够访问此镜像仓库
3、查看pod
[root@master chapter15]# kubectl get pods -n kube-system -l app=helm
NAME READY STATUS RESTARTS AGE
tiller-deploy-57d54b6d77-pqffr 1/1 Running 0 100s
4、查看helm客户端和服务版本
[root@master chapter15]# helm version
Client: &version.Version{SemVer:"v2.16.9", GitCommit:"8ad7037828e5a0fca1009dabe290130da6368e39", GitTreeState:"clean"}
Server: &version.Version{SemVer:"v2.16.6", GitCommit:"dd2e5695da88625b190e6b22e9542550ab503a47", GitTreeState:"clean"}
如果希望在安装时自定义一些参数以设定其运行机制、例如Tiller的版本或者在kubernetes集群上的目标名称空间、则可以以类似如下方式使用命令
--canary-image #安装canary分治、即项目Master的分支
--tiller-image #安装指定版本的镜像、默认同HELM 版本
--tiller-image registry.cn-hangzhou.aliyuncs.com/google_containers/tiller:v2.16.6
--kube-context string Name of the kubeconfig context to use
安装至指定的kubernetes集群
--tiller-namespace string Namespace of Tiller (default "kube-system")
安装至指定的名称空间、默认为kube-system此外、tiller将数据存储与ConfigMap资源中、因此卸载后重新安装并不会导致数据丢失、必要时、管理员可以放心重新安装或升级
5、卸载tiller的方法常用的有两种方式
方法一:
[root@master chapter15]# kubectl delete deployment tiller-deploy -n kube-system
deployment.apps "tiller-deploy" deleted
方法二:
helm reset
五、helm快速入门
1、删除默认的源
[root@master chapter15]# helm repo remove stable
"stable" has been removed from your repositories
2、增加新的国内镜像源
[root@master chapter15]# helm repo add stable https://kubernetes.oss-cn-hangzhou.aliyuncs.com/charts
"stable" has been added to your repositories
3、查看helm源添加情况
[root@master chapter15]# helm repo list
NAME URL
local http://127.0.0.1:8879/charts
stable	https://kubernetes.oss-cn-hangzhou.aliyuncs.com/charts
4、更新helm源仓库
[root@master chapter15]# helm repo update
Hang tight while we grab the latest from your chart repositories...
...Skip local chart repository
...Successfully got an update from the "stable" chart repository
Update Complete.
5、查找
[root@master chapter15]# helm search
NAME CHART VERSION	APP VERSION DESCRIPTION
stable/acs-engine-autoscaler 2.1.3 2.1.1 Scales worker nodes within agent pools
......
stable/kubed 0.3.0 0.4.0 Kubed by AppsCode - Kubernetes daemon

stable/zetcd 0.1.6 0.0.3 CoreOS zetcd Helm chart for Kubernetes

[root@master chapter15]# helm search redis
NAME CHART VERSION	APP VERSION	DESCRIPTION
stable/redis 1.1.15 4.0.8 Open source, advanced key-value store. It is often referr...
stable/redis-ha	2.0.1 Highly available Redis cluster with multiple sentinels an...
stable/sensu 0.2.0 Sensu monitoring framework backed by the Redis transport

[root@master chapter15]# helm search stable/redis
NAME CHART VERSION	APP VERSION	DESCRIPTION
stable/redis 1.1.15 4.0.8 Open source, advanced key-value store. It is often referr...
stable/redis-ha	2.0.1 Highly available Redis cluster with multiple sentinels an...
官方可用的Chart列表:https://hub.kubeapps.com/

6、安装测试
[root@master chapter15]# helm install stable/redis -n redis --dry-run   #先执行安装测试
[root@master chapter15]# helm install stable/redis -n redis
[root@master charts]# helm status redis
LAST DEPLOYED: Mon Jul 13 11:59:50 2020
NAMESPACE: default
STATUS: DEPLOYED

RESOURCES:
==> v1/ConfigMap
NAME DATA AGE
redis 3 3h11m
redis-health 6 3h11m

==> v1/Pod(related)
NAME READY STATUS RESTARTS AGE
redis-master-0 0/1 Pending 0 3h11m
redis-master-0 0/1 Pending 0 3h11m

==> v1/Secret
NAME TYPE DATA AGE
redis Opaque 1 3h11m

==> v1/Service
NAME TYPE CLUSTER-IP EXTERNAL-IP PORT(S) AGE
redis-headless ClusterIP None <none> 6379/TCP 3h11m
redis-master ClusterIP 10.108.50.254 <none> 6379/TCP 3h11m
redis-slave ClusterIP 10.103.111.23 <none> 6379/TCP 3h11m

==> v1/StatefulSet
NAME READY AGE
redis-master 0/1 3h11m
redis-slave 0/2 3h11m
7、状态注释提示:
NOTES:
This Helm chart is deprecated

Given the `stable` deprecation timeline (https://github.com/helm/charts#deprecation-timeline), the Bitnami maintained Redis Helm chart is now located at bitnami/charts (https://github.com/bitnami/charts/).

The Bitnami repository is already included in the Hubs and we will continue providing the same cadence of updates, support, etc that we've been keeping here these years. Installation instructions are very similar, just adding the _bitnami_ repo and using it during the installation (`bitnami/<chart>` instead of `stable/<chart>`)

```bash
$ helm repo add bitnami https://charts.bitnami.com/bitnami
$ helm install my-release bitnami/<chart> # Helm 3
$ helm install --name my-release bitnami/<chart> # Helm 2
```

To update an exisiting _stable_ deployment with a chart hosted in the bitnami repository you can execute
```bash $ helm
repo add bitnami https://charts.bitnami.com/bitnami
$ helm upgrade my-release bitnami/<chart>
```

Issues and PRs related to the chart itself will be redirected to `bitnami/charts` GitHub repository. In the same way, we'll be happy to answer questions related to this migration process in this issue (https://github.com/helm/charts/issues/20969) created as a common place for discussion.

** Please be patient while the chart is being deployed **
Redis can be accessed via port 6379 on the following DNS names from within your cluster:

redis-master.default.svc.cluster.local for read/write operations
redis-slave.default.svc.cluster.local for read-only operations


To get your password run:

export REDIS_PASSWORD=$(kubectl get secret --namespace default redis -o jsonpath="{.data.redis-password}" | base64 --decode)

To connect to your Redis server:

1. Run a Redis pod that you can use as a client:

kubectl run --namespace default redis-client --rm --tty -i --restart='Never' \
--env REDIS_PASSWORD=$REDIS_PASSWORD \
--image docker.io/bitnami/redis:5.0.7-debian-10-r32 -- bash

2. Connect using the Redis CLI:
redis-cli -h redis-master -a $REDIS_PASSWORD
redis-cli -h redis-slave -a $REDIS_PASSWORD

To connect to your database from outside the cluster execute the following commands:

kubectl port-forward --namespace default svc/redis-master 6379:6379 &
redis-cli -h 127.0.0.1 -p 6379 -a $REDIS_PASSWORD
8、列出已经安装生成的Release
[root@master charts]# helm list
NAME REVISION	UPDATED STATUS CHART APP VERSION	NAMESPACE
redis	1 Mon Jul 13 11:59:50 2020	DEPLOYED	redis-10.5.7	5.0.7 default
9、删除Release
[root@master chapter15]# helm delete redis
[root@master charts]# helm delete redis #删除
release "redis" deleted
10、升级回滚
[root@master charts]# helm upgrade #升级应用
[root@master charts]# helm rollback #回滚应用
[root@master charts]# helm history #获取指定的release变更历史

 浙公网安备 33010602011771号