导入pfx证书
证书系列:
2:导入pfx证书
本文分享从Micrsoft Manange Console(简写为 MMC)中导入PFX证书的内容,您可以按住“Windows + R”,从Run对话框中输入mmc,打开MMC界面。
一:添加管理单元(snap-in)
从File主菜单中选择“Add/Remove Snap-in”,打开“Add or Remove Snap-ins”对话框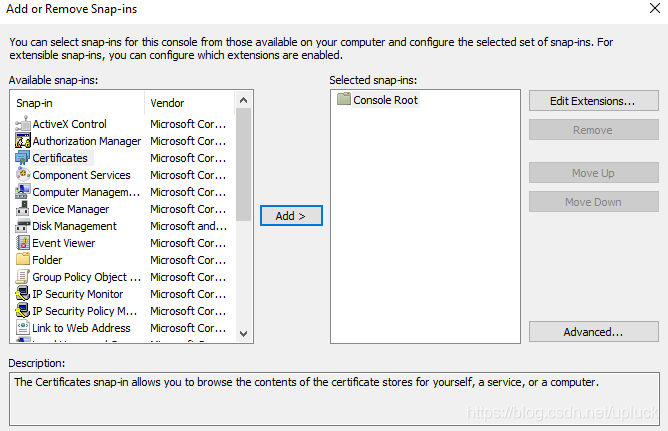
从左侧的“Available snap-ins”列表中选择Certificates,点击"Add >",打开“Certificates snap-in”对话框,选择“Computer account”: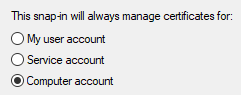
选择snap-in管理的机器,选择“Local computer: (the computer this console is running on)”: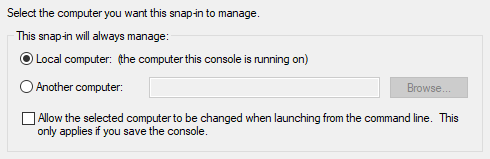
二:导入PFX证书
点击PFX证书文件,打开"Certificate Import Wizard",选择“Local Machine”作为Store Location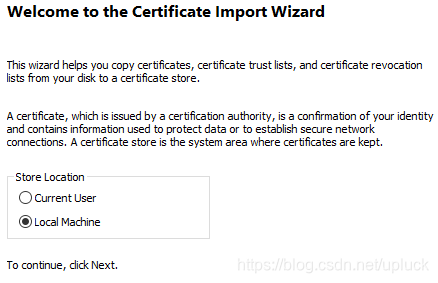
点击Next按钮,进入到“File to Import”对话框,File name就是PFX证书文件的存储位置: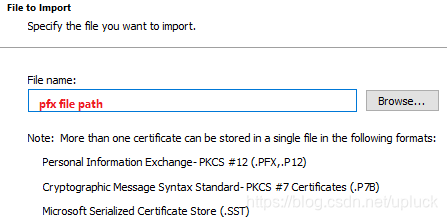
在Password文本框中输入保护证书密钥的密码,对于“Import options”,需要注意“Mark this key as exportable. This will allow you to back up or transport your keys at a later time”,这个选项表示:“标志此密钥为可导出密钥。这将允许您稍后备份或传输密钥”,出于安全性考虑,该选项默认是不勾选的,如果不勾选,下次从MMC导出该证书时,就无法导出pfx格式了,只能导出不包含私钥的cer格式了。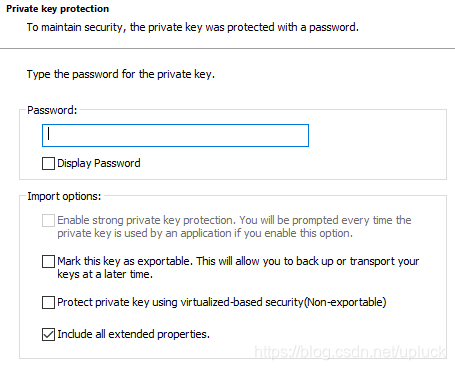
设置证书存储的store,选择“Automatically select the certificate store based ont the type of certificate”: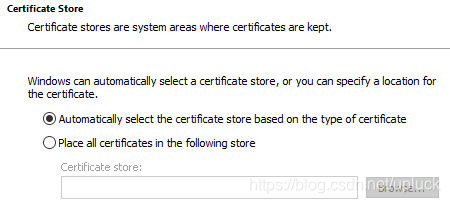
最后检查证书导入向导的设置,点击Finish按钮,完成证书的导入: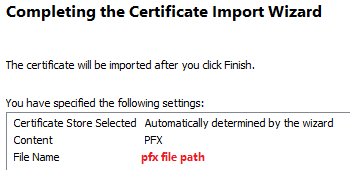
参考文档:

 浙公网安备 33010602011771号