
在Visual Studio 2017上配置并使用OpenGL
作者:凯鲁嘎吉 - 博客园 http://www.cnblogs.com/kailugaji/
首先在Windows下安装Visual Studio 2017,参考Visual Studio 2017的安装与使用。
1. 下载glut库文件
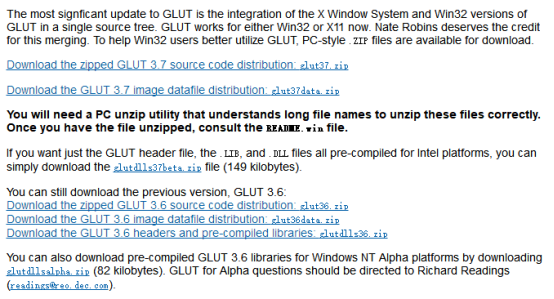
在GLUT - The OpenGL Utility Toolkit:https://www.opengl.org/resources/libraries/glut/glut_downloads.php#windows中点击“GLUT for Microsoft Windows 95 & NT users”,选择“If you want just the GLUT header file, the .LIB, and .DLL files all pre-compiled for Intel platforms, you can simply download the glutdlls37beta.zip file (149 kilobytes).”并点击下载。

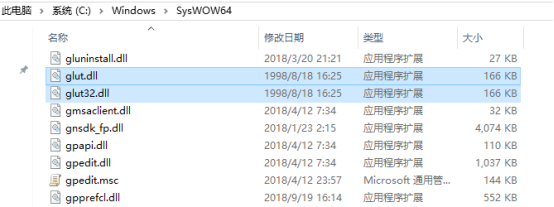
下载完并解压之后,会出现如下几个文件:

2. 配置glut库文件
找到vs2017的安装目录,我的安装路径为D:\VS2017\VC\Tools\MSVC\14.16.27023\include\,创建一个名为gl的文件夹,并将解压的glut.h文件复制其中。

再找到路径为 D:\VS2017\VC\Tools\MSVC\14.16.27023\lib\x86,将解压到的glut.lib,glut32.lib复制其中。

最后把解压到的glut.dll和glut32.dll复制到C:\Windows\System32文件夹内(32位系统)或C:\Windows\SysWOW64(64位系统)。
3. 安装Nuget程序包
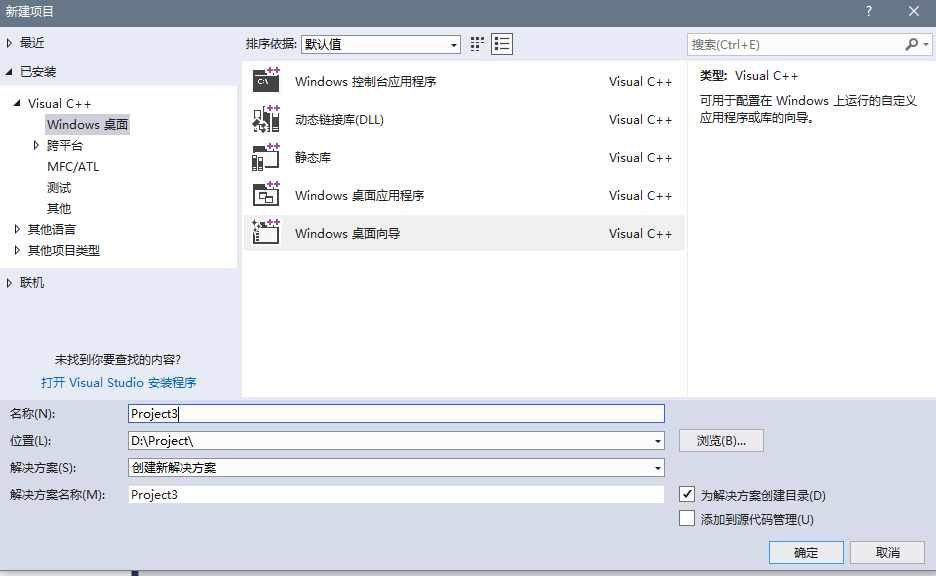
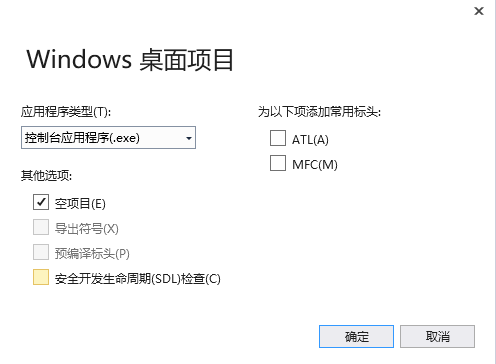
新建项目“Windows桌面向导”,选择“空项目”。
“项目”->“管理Nuget程序包”

“浏览”->“搜索nupengl”

将“nupengl.core.redist”与“nupengl.core”下载下来。
4. 运行程序
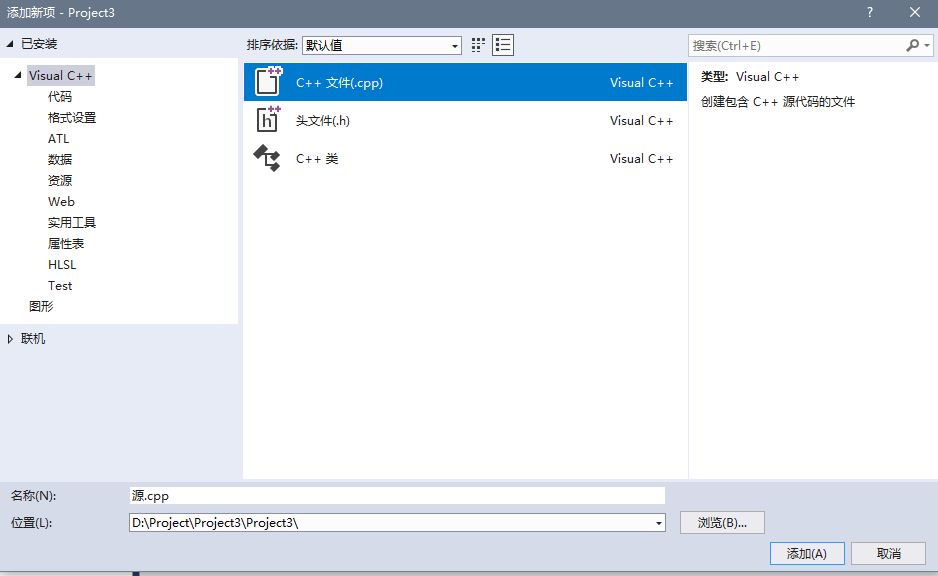
“项目”->“添加新项”->“C++文件”,新建一个“.cpp”文件。
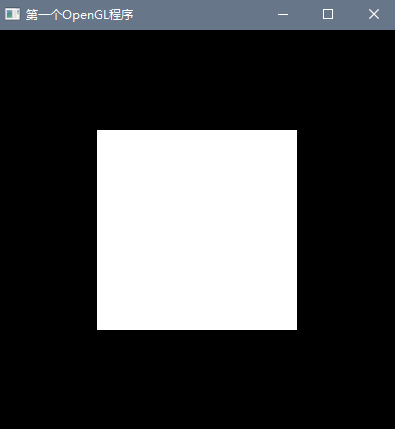
编写第一个OpenGL程序,并按“F5”键运行。
#include <GL/glut.h>
void myDisplay(void)
{
	glClear(GL_COLOR_BUFFER_BIT);
	glRectf(-0.5f, -0.5f, 0.5f, 0.5f);
	glFlush();
}

int main(int argc, char *argv[])
{
	glutInit(&argc, argv);
	glutInitDisplayMode(GLUT_RGB | GLUT_SINGLE);
	glutInitWindowPosition(100, 100);
	glutInitWindowSize(400, 400);
	glutCreateWindow("第一个OpenGL程序");
	glutDisplayFunc(&myDisplay);
	glutMainLoop();
	return 0;
}
显示出一个黑色背景上的白色矩形图。
注意:每次新建一个项目时,都应重新安装“nupengl.core.redist”与“nupengl.core”这两个文件。

 浙公网安备 33010602011771号