[LLM/Python] MindSearch: AI搜索引擎(Apache 2.0)
概述:MindSearch
MindSearch是一个由上海人工智能实验室推出的开源AI搜索引擎框架
- 具有与 Perplexity.ai Pro 相同的性能。
- url
20250211: 600 fork / 5.9k star
- 开源协议: Apache 2.0
- 主要编程语言:JavaScript / Python / Docker
MindSearch 安装 on Windows
- OS : Windows 10 家庭版
Step1 安装开源 conda 环境管理器(Miniforge),并安装Python环境
- step1.1 MiniForge(开源conda环境管理器)的安装
- step1.2 创建专用的Python环境
cmd:
> conda create -n mind-search-env python=3.12
> conda activate mind-search-env
Step2 下载并解压 MindSearch 安装包
- 下载安装包
git clone -b v0.1.0 git@github.com:InternLM/MindSearch.git
或 https://github.com/InternLM/MindSearch/archive/refs/tags/v0.1.0.zip
- 推荐版本
- b832275 : 2024.7
- v0.1.0 : 2024.11 【博主使用的版本】
- 解压

Step3 安装依赖包
- 确保/追加:
requirements.txt依赖清单的包版本
pydantic==2.7.4
jsonpatch>=1.33
以防止:(pydantic为例)
Installing collected packages: pydantic
以防止安装依赖报时,报错:
ERROR: pip's dependency resolver does not currently take into account all the packages that are installed. This behaviour is the source of the following dependency conflicts.
langchain 0.3.13 requires pydantic<3.0.0,>=2.7.4, but you have pydantic 2.6.4 which is incompatible.
langchain-core 0.3.28 requires pydantic<3.0.0,>=2.7.4; python_full_version >= "3.12.4", but you have pydantic 2.6.4 which is incompatible.
langsmith 0.2.6 requires pydantic<3.0.0,>=2.7.4; python_full_version >= "3.12.4", but you have pydantic 2.6.4 which is incompatible.
pydantic-settings 2.7.0 requires pydantic>=2.7.0, but you have pydantic 2.6.4 which is incompatible.
Successfully installed pydantic-2.6.4
- 打开CMD窗口,执行:
//设置镜像源
C:\Users\xxx> python -m pip config set global.index-url https://mirrors.aliyun.com/pypi/simple

(mind-search-env) C:\Users\xxx> D:
(mind-search-env) D:\> cd D:\Workspace\CodeRepositories\MindSearch

(mind-search-env) D:\Workspace\CodeRepositories\MindSearch> pip install -r requirements.txt -i https://mirrors.aliyun.com/pypi/simple
Step4 设置环境变量
配置环境变量(OpenAI、Silion大模型的AK/SK、BASE URL)
- 在设置API之前,需要配置环境变量。将
.env.example文件重命名为.env并填写所需的值。
mv .env.example .env
# Open .env and add your keys and model configurations
附件:申请/配置OpenAI大模型的AK/SK
OPENAI_API_KEY='sk-XPxxxxxxxx7QfL9xxx'
# https://api.openai.com/v1  https://api.openai.com/v1/chat/completions
OPENAI_API_BASE='https://api.chatanywhere.tech/v1'
OPENAI_MODEL='gpt-3.5-turbo'
附件:申请/配置SILICON(硅基流动)大模型的AK/SK
SILICON_API_KEY='sk-gzjtxxxxxxifnpllxxx'
SILICON_MODEL='internlm/internlm2_5-7b-chat'
- 打开官网,注册硅基流动的账号(如果注册过,则直接登录即可)。
- 在完成注册后,打开 https://cloud.siliconflow.cn/account/ak 来准备 API Key。
首先创建新 API 密钥,然后点击密钥进行复制,以备后续使用。

复制密钥备用
export SILICON_API_KEY=sk-odfiftjbwwmwoycqxypwjijkfsmizeplumhlmifajwggtsij
Step5 启动 MindSearch API 服务
- 启动 FastAPI Server.
# [x] python -m mindsearch.app --lang en --model_format internlm_server --search_engine DuckDuckGoSearch --asy
# [√] python -m mindsearch.app --lang en --model_format internlm_silicon --search_engine DuckDuckGoSearch
python -m mindsearch.app --lang cn --model_format internlm_silicon --search_engine DuckDuckGoSearch
--lang: 模型的语言(en:英文 /cn: 中文)--model_format: 模型的格式
internlm_serverfor InternLM2.5-7b-chat with local server. (InternLM2.5-7b-chat has been better optimized for Chinese.)gpt4for GPT4. if you want to use other models, please modify models
--search_engine: 搜索引擎
DuckDuckGoSearch: DuckDuckGo 搜索引擎BingSearchBraveSearch: Brave search web api engineGoogleSearch: Google Serper web search api engineTencentSearch: Tencent search api engine.
请将Web搜索引擎API密钥设置为
WEB_SEARCH_API_KEY环境变量,除非你使用的是DuckDuckGo,或TencentSearch要求 Secret ID 为TENCENT_SEARCH_SECRET_KEY,密钥为TENCENT_SEARCH_SECRET_KEY。
--asy: 部署异步代理注:
v0.1.0暂不支持此参数

Step6 启动 MindSearch 前端
提供以下前端界面
方式1:React
- 前置步骤:安装 nodejs/npm
- 【推荐文献】
//参考脚本:
# Install Node.js and npm
# for Ubuntu
sudo apt install nodejs npm

# for windows
# download from:
https://nodejs.org/zh-cn/download/prebuilt-installer
https://nodejs.org/dist/v20.11.1/node-v20.11.1-win-x64.zip
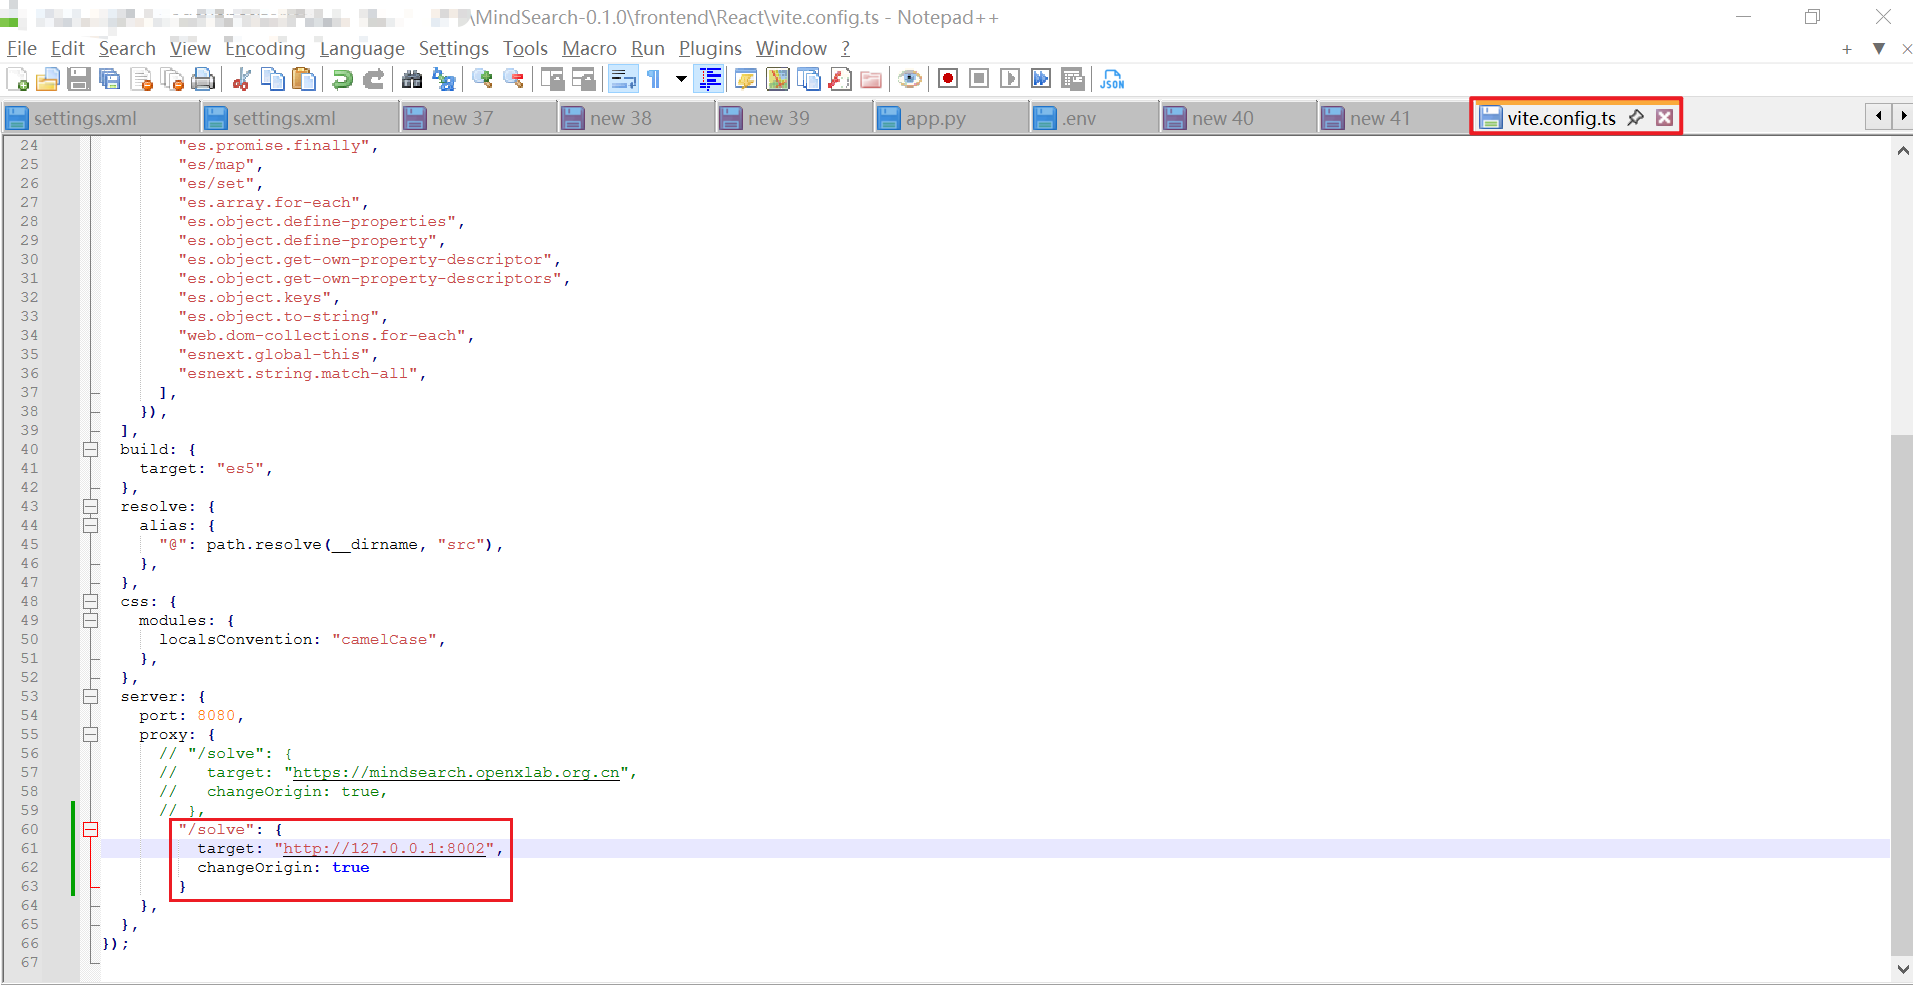
- 配置
Vite
首先配置
Vite代理的后端URL。
HOST="127.0.0.1"  # 修改成你需要的
PORT=8002
sed -i -r "s/target:\s*\"\"/target: \"${HOST}:${PORT}\"/" frontend/React/vite.config.ts
- 安装npm的依赖,并启动
建议:提前设置好 npm 的镜像源,以提高安装依赖包的速度。
# Install dependencies and startup

cd frontend/React
npm install
npm start
详情亦可参见: React
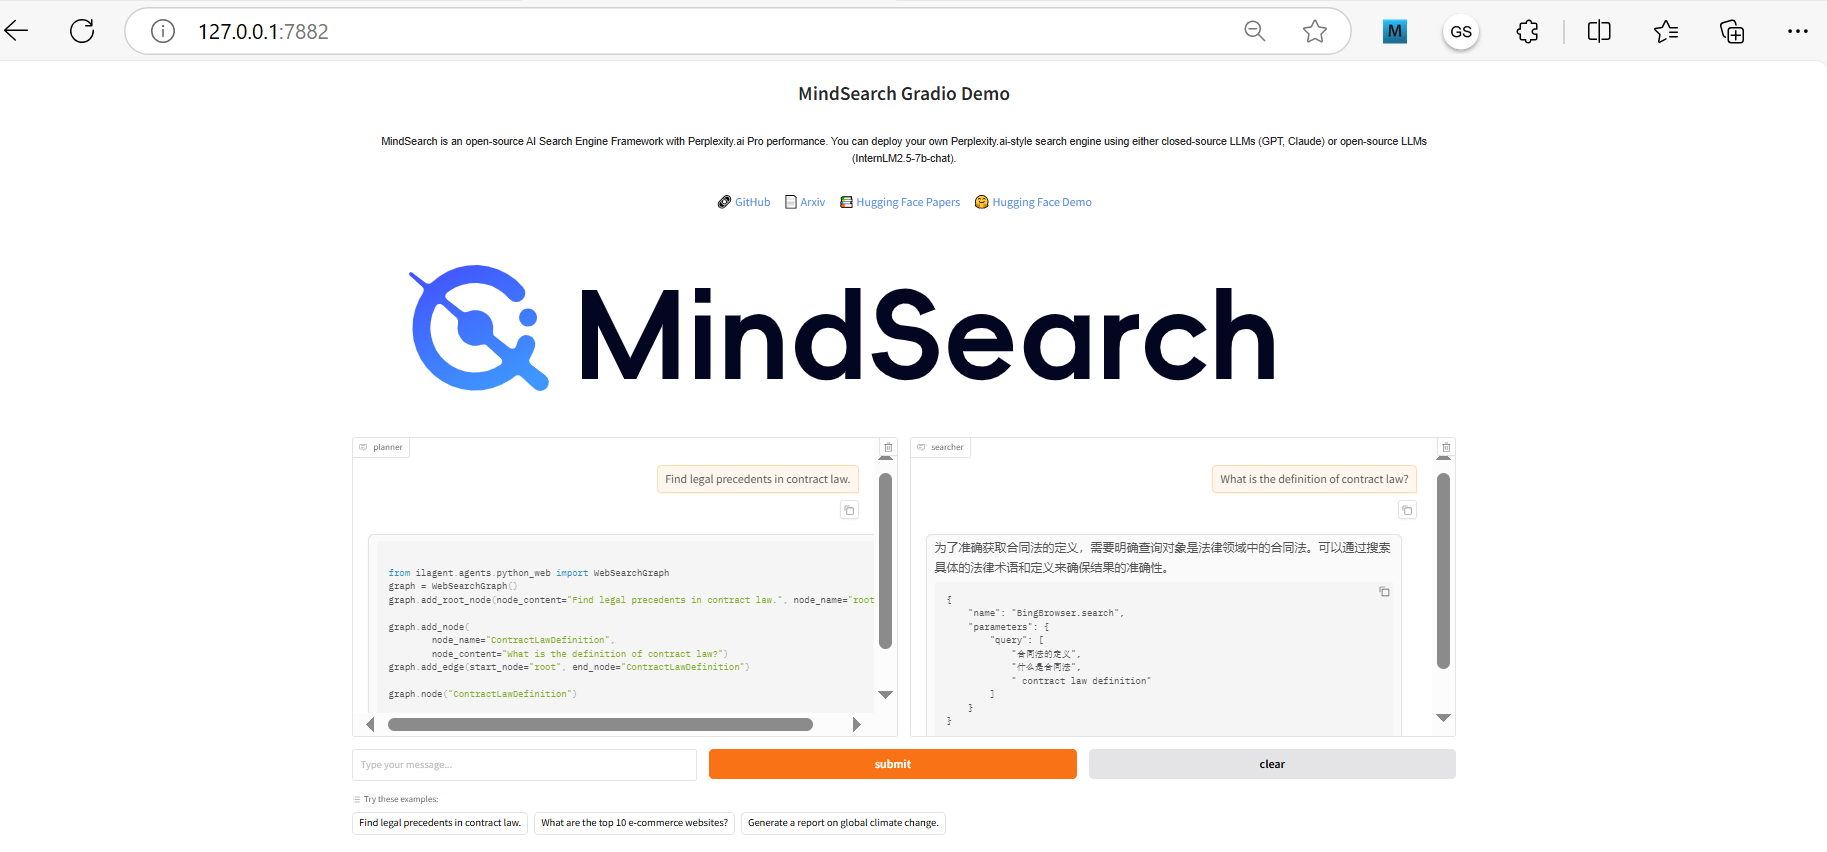
方式2:Gradio
- 基于Gradio(快速创建Web 应用的框架)部署
- 推荐文献
python frontend/mindsearch_gradio.py
方式3:Streamlit
streamlit run frontend/mindsearch_streamlit.py
X 参考文献
- MindSearch

本文作者:
千千寰宇
本文链接: https://www.cnblogs.com/johnnyzen
关于博文:评论和私信会在第一时间回复,或直接私信我。
版权声明:本博客所有文章除特别声明外,均采用 BY-NC-SA 许可协议。转载请注明出处!
日常交流:大数据与软件开发-QQ交流群: 774386015 【入群二维码】参见左下角。您的支持、鼓励是博主技术写作的重要动力!
本文链接: https://www.cnblogs.com/johnnyzen
关于博文:评论和私信会在第一时间回复,或直接私信我。
版权声明:本博客所有文章除特别声明外,均采用 BY-NC-SA 许可协议。转载请注明出处!
日常交流:大数据与软件开发-QQ交流群: 774386015 【入群二维码】参见左下角。您的支持、鼓励是博主技术写作的重要动力!

 浙公网安备 33010602011771号