
skywalking学习之路---skywalking环境从零搭建部署
介绍
SkyWalking项目是由华为大牛吴晟开源的个人项目,目前已经加入Apache孵化器。SkyWalking项目的核心目标是针对微服务、Cloud Native、容器化架构提供应用性能监控和分布式调用链追踪功能,目前链路追踪和监控应用支持的组件包括主流框架和容器,如dubbo、motan、spring boot、spring cloud等。
整体架构如下图示:

整体主要分为三个部分:
1.skywalking-collector:链路数据归集器,数据可以保存在H2或ElasticSearch
2.skywalking-web:web的可视化管理后台,可以查看归集的数据
3.skywalking-agent:探针,用来收集和推送数据到归集器
环境搭建
接下来就从零开始搭建一套skywalking环境
第一步:安装Elasticsearch
1.下载Elasticsearch
curl -L -O https://artifacts.elastic.co/downloads/elasticsearch/elasticsearch-5.6.10.tar.gz
2.解压压缩包
tar -vxf elasticsearch-5.6.10.tar.gz
3.配置elasticsearch参数
cd /elasticsearch-5.6.10/config
vim elasticsearch.yml
设置参数:
cluster.name: CollectorDBCluster
node.name: CollectorDBCluster
network.host: 127.0.0.1
4.启动ElasticSearch
./bin/elasticsearch
发现启动失败,提示报错
OpenJDK 64-Bit Server VM warning: If the number of processors is expected to increase from one, then you should configure the number of parallel GC threads appropriately using -XX:ParallelGCThreads=N
OpenJDK 64-Bit Server VM warning: INFO: os::commit_memory(0x0000000085330000, 2060255232, 0) failed; error='Cannot allocate memory' (errno=12)
#
# There is insufficient memory for the Java Runtime Environment to continue.
# Native memory allocation (mmap) failed to map 2060255232 bytes for committing reserved memory.
# An error report file with more information is saved as:
# /home/elasticsearch-5.6.10/hs_err_pid1738.log
查询资料发现是jvm内存设置问题,继续修改参数配置。
cd config
vim jvm.options
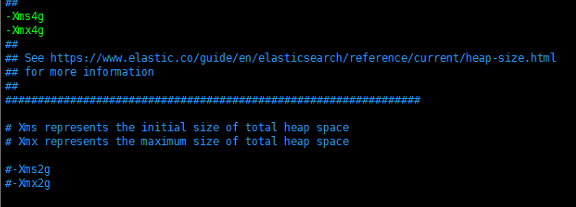
设置参数 -Xms4g 和 -Xmx4g 将-Xms2g和-Xmx2g注释 如下图示
再重新启动elasticsearch,发现再次启动失败,错误信息为:
Exception in thread "main" java.lang.RuntimeException: don't run elasticsearch as root.
        at org.elasticsearch.bootstrap.Bootstrap.initializeNatives(Bootstrap.java:93)
        at org.elasticsearch.bootstrap.Bootstrap.setup(Bootstrap.java:144)
        at org.elasticsearch.bootstrap.Bootstrap.init(Bootstrap.java:285)
        at org.elasticsearch.bootstrap.Elasticsearch.main(Elasticsearch.java:35)
        Refer to the log for complete error details.
原因是Elasticsearch是不允许使用root账户启动,所以需要切换到其他用户再启动,最终elasticsearch启动成功。
[2019-03-26T23:40:37,583][INFO ][o.e.n.Node               ] [] initializing ...
[2019-03-26T23:40:37,677][INFO ][o.e.e.NodeEnvironment    ] [5DFSDCK] using [1] data paths, mounts [[/ (/dev/disk1s1)]], net usable_space [187.5gb], net total_space [233.4gb], spins? [unknown], types [apfs]
[2019-03-26T23:40:37,678][INFO ][o.e.e.NodeEnvironment    ] [5DFSDCK] heap size [1.9gb], compressed ordinary object pointers [true]
[2019-03-26T23:40:37,679][INFO ][o.e.n.Node               ] node name [5DFSDCK] derived from node ID [5DFSDCK_QhibMsJg734Ysg]; set [node.name] to override
[2019-03-26T23:40:37,679][INFO ][o.e.n.Node               ] version[5.6.10], pid[22167], build[b727a60/2018-06-06T15:48:34.860Z], OS[Mac OS X/10.13.6/x86_64], JVM[Oracle Corporation/Java HotSpot(TM) 64-Bit Server VM/1.8.0_191/25.191-b12]
[2019-03-26T23:40:37,679][INFO ][o.e.n.Node               ] JVM arguments [-Xms2g, -Xmx2g, -XX:+UseConcMarkSweepGC, -XX:CMSInitiatingOccupancyFraction=75, -XX:+UseCMSInitiatingOccupancyOnly, -XX:+AlwaysPreTouch, -Xss1m, -Djava.awt.headless=true, -Dfile.encoding=UTF-8, -Djna.nosys=true, -Djdk.io.permissionsUseCanonicalPath=true, -Dio.netty.noUnsafe=true, -Dio.netty.noKeySetOptimization=true, -Dio.netty.recycler.maxCapacityPerThread=0, -Dlog4j.shutdownHookEnabled=false, -Dlog4j2.disable.jmx=true, -Dlog4j.skipJansi=true, -XX:+HeapDumpOnOutOfMemoryError, -Des.path.home=/Users/xingwuxu/tools/elasticsearch-5.6.10]
[2019-03-26T23:40:38,317][INFO ][o.e.p.PluginsService     ] [5DFSDCK] loaded module [aggs-matrix-stats]
[2019-03-26T23:40:38,317][INFO ][o.e.p.PluginsService     ] [5DFSDCK] loaded module [ingest-common]
[2019-03-26T23:40:38,317][INFO ][o.e.p.PluginsService     ] [5DFSDCK] loaded module [lang-expression]
[2019-03-26T23:40:38,317][INFO ][o.e.p.PluginsService     ] [5DFSDCK] loaded module [lang-groovy]
[2019-03-26T23:40:38,317][INFO ][o.e.p.PluginsService     ] [5DFSDCK] loaded module [lang-mustache]
[2019-03-26T23:40:38,317][INFO ][o.e.p.PluginsService     ] [5DFSDCK] loaded module [lang-painless]
[2019-03-26T23:40:38,317][INFO ][o.e.p.PluginsService     ] [5DFSDCK] loaded module [parent-join]
[2019-03-26T23:40:38,317][INFO ][o.e.p.PluginsService     ] [5DFSDCK] loaded module [percolator]
[2019-03-26T23:40:38,317][INFO ][o.e.p.PluginsService     ] [5DFSDCK] loaded module [reindex]
[2019-03-26T23:40:38,317][INFO ][o.e.p.PluginsService     ] [5DFSDCK] loaded module [transport-netty3]
[2019-03-26T23:40:38,318][INFO ][o.e.p.PluginsService     ] [5DFSDCK] loaded module [transport-netty4]
[2019-03-26T23:40:38,318][INFO ][o.e.p.PluginsService     ] [5DFSDCK] no plugins loaded
[2019-03-26T23:40:39,595][INFO ][o.e.d.DiscoveryModule    ] [5DFSDCK] using discovery type [zen]
[2019-03-26T23:40:39,976][INFO ][o.e.n.Node               ] initialized
[2019-03-26T23:40:39,976][INFO ][o.e.n.Node               ] [5DFSDCK] starting ...
[2019-03-26T23:40:40,167][INFO ][o.e.t.TransportService   ] [5DFSDCK] publish_address {127.0.0.1:9300}, bound_addresses {[::1]:9300}, {127.0.0.1:9300}
[2019-03-26T23:40:43,226][INFO ][o.e.c.s.ClusterService   ] [5DFSDCK] new_master {5DFSDCK}{5DFSDCK_QhibMsJg734Ysg}{PFrWZNI9RHWNAneytiifdA}{127.0.0.1}{127.0.0.1:9300}, reason: zen-disco-elected-as-master ([0] nodes joined)[, ]
[2019-03-26T23:40:43,242][INFO ][o.e.h.n.Netty4HttpServerTransport] [5DFSDCK] publish_address {127.0.0.1:9200}, bound_addresses {[::1]:9200}, {127.0.0.1:9200}
[2019-03-26T23:40:43,243][INFO ][o.e.n.Node               ] [5DFSDCK] started
[2019-03-26T23:40:43,248][INFO ][o.e.g.GatewayService     ] [5DFSDCK] recovered [0] indices into cluster_state
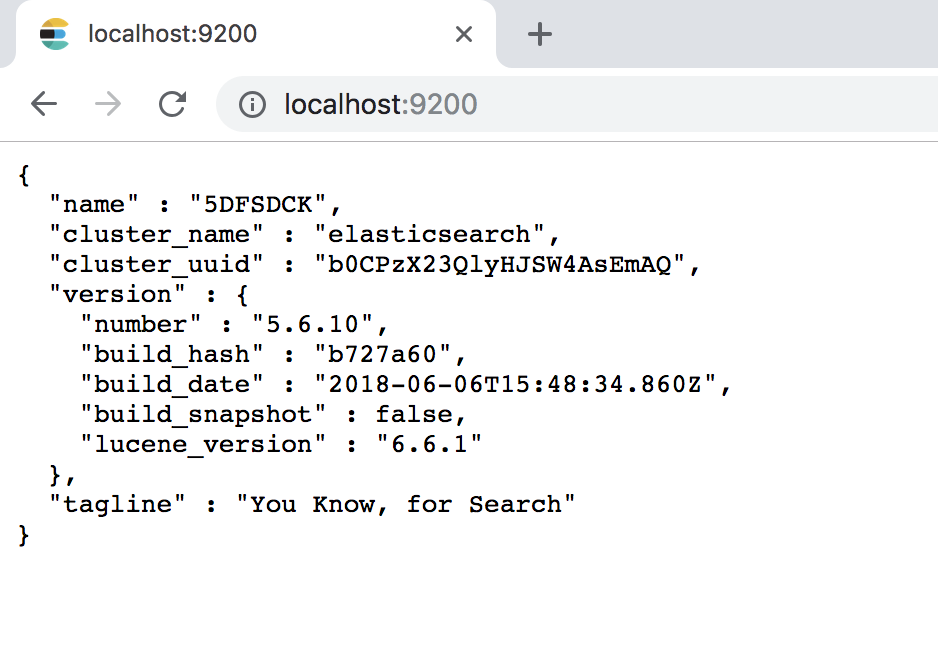
ElasticSearch启动成功,监听9200端口,此时在浏览器打开127.0.0.1:9200即可看到ElasticSearch的基本信息
第二步:安装skywalking
第一步:下载skywalking
第二步:解压压缩包
tar -vxf -vxf
第三步:修改配置文件,将数据存储h2配置注射,并取消es的注释
storage:
#  h2:
#    driver: ${SW_STORAGE_H2_DRIVER:org.h2.jdbcx.JdbcDataSource}
#    url: ${SW_STORAGE_H2_URL:jdbc:h2:mem:skywalking-oap-db}
#    user: ${SW_STORAGE_H2_USER:sa}
  elasticsearch:
    # nameSpace: ${SW_NAMESPACE:""}
    clusterNodes: ${SW_STORAGE_ES_CLUSTER_NODES:localhost:9200}
    indexShardsNumber: ${SW_STORAGE_ES_INDEX_SHARDS_NUMBER:2}
    indexReplicasNumber: ${SW_STORAGE_ES_INDEX_REPLICAS_NUMBER:0}
第四步:启动skywalking,执行bin目录下的start.sh命令
./start.sh
日志打印:
SkyWalking OAP started successfully!
SkyWalking Web Application started successfully!
skywalking启动成功,打开浏览器,在浏览器中输入地址localhost:8080会显示如下界面
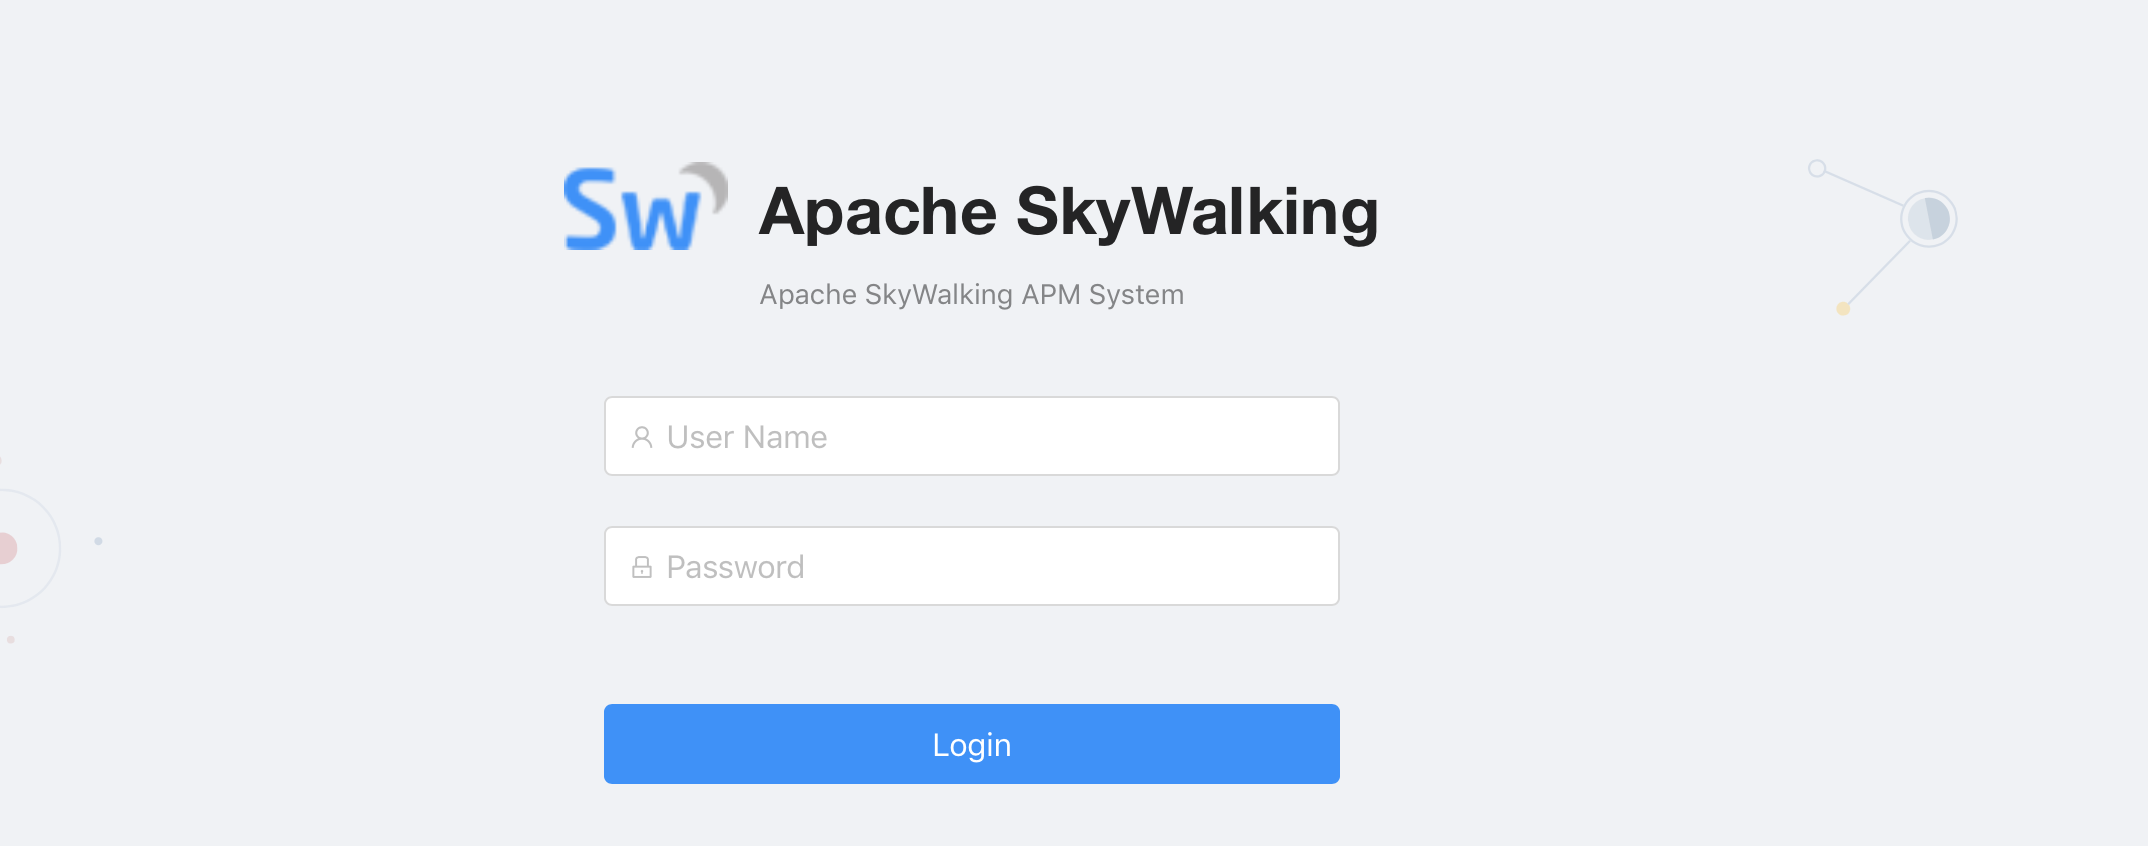
skywalking后台默认登陆用户密码为:admin/admin,登陆之后界面为:
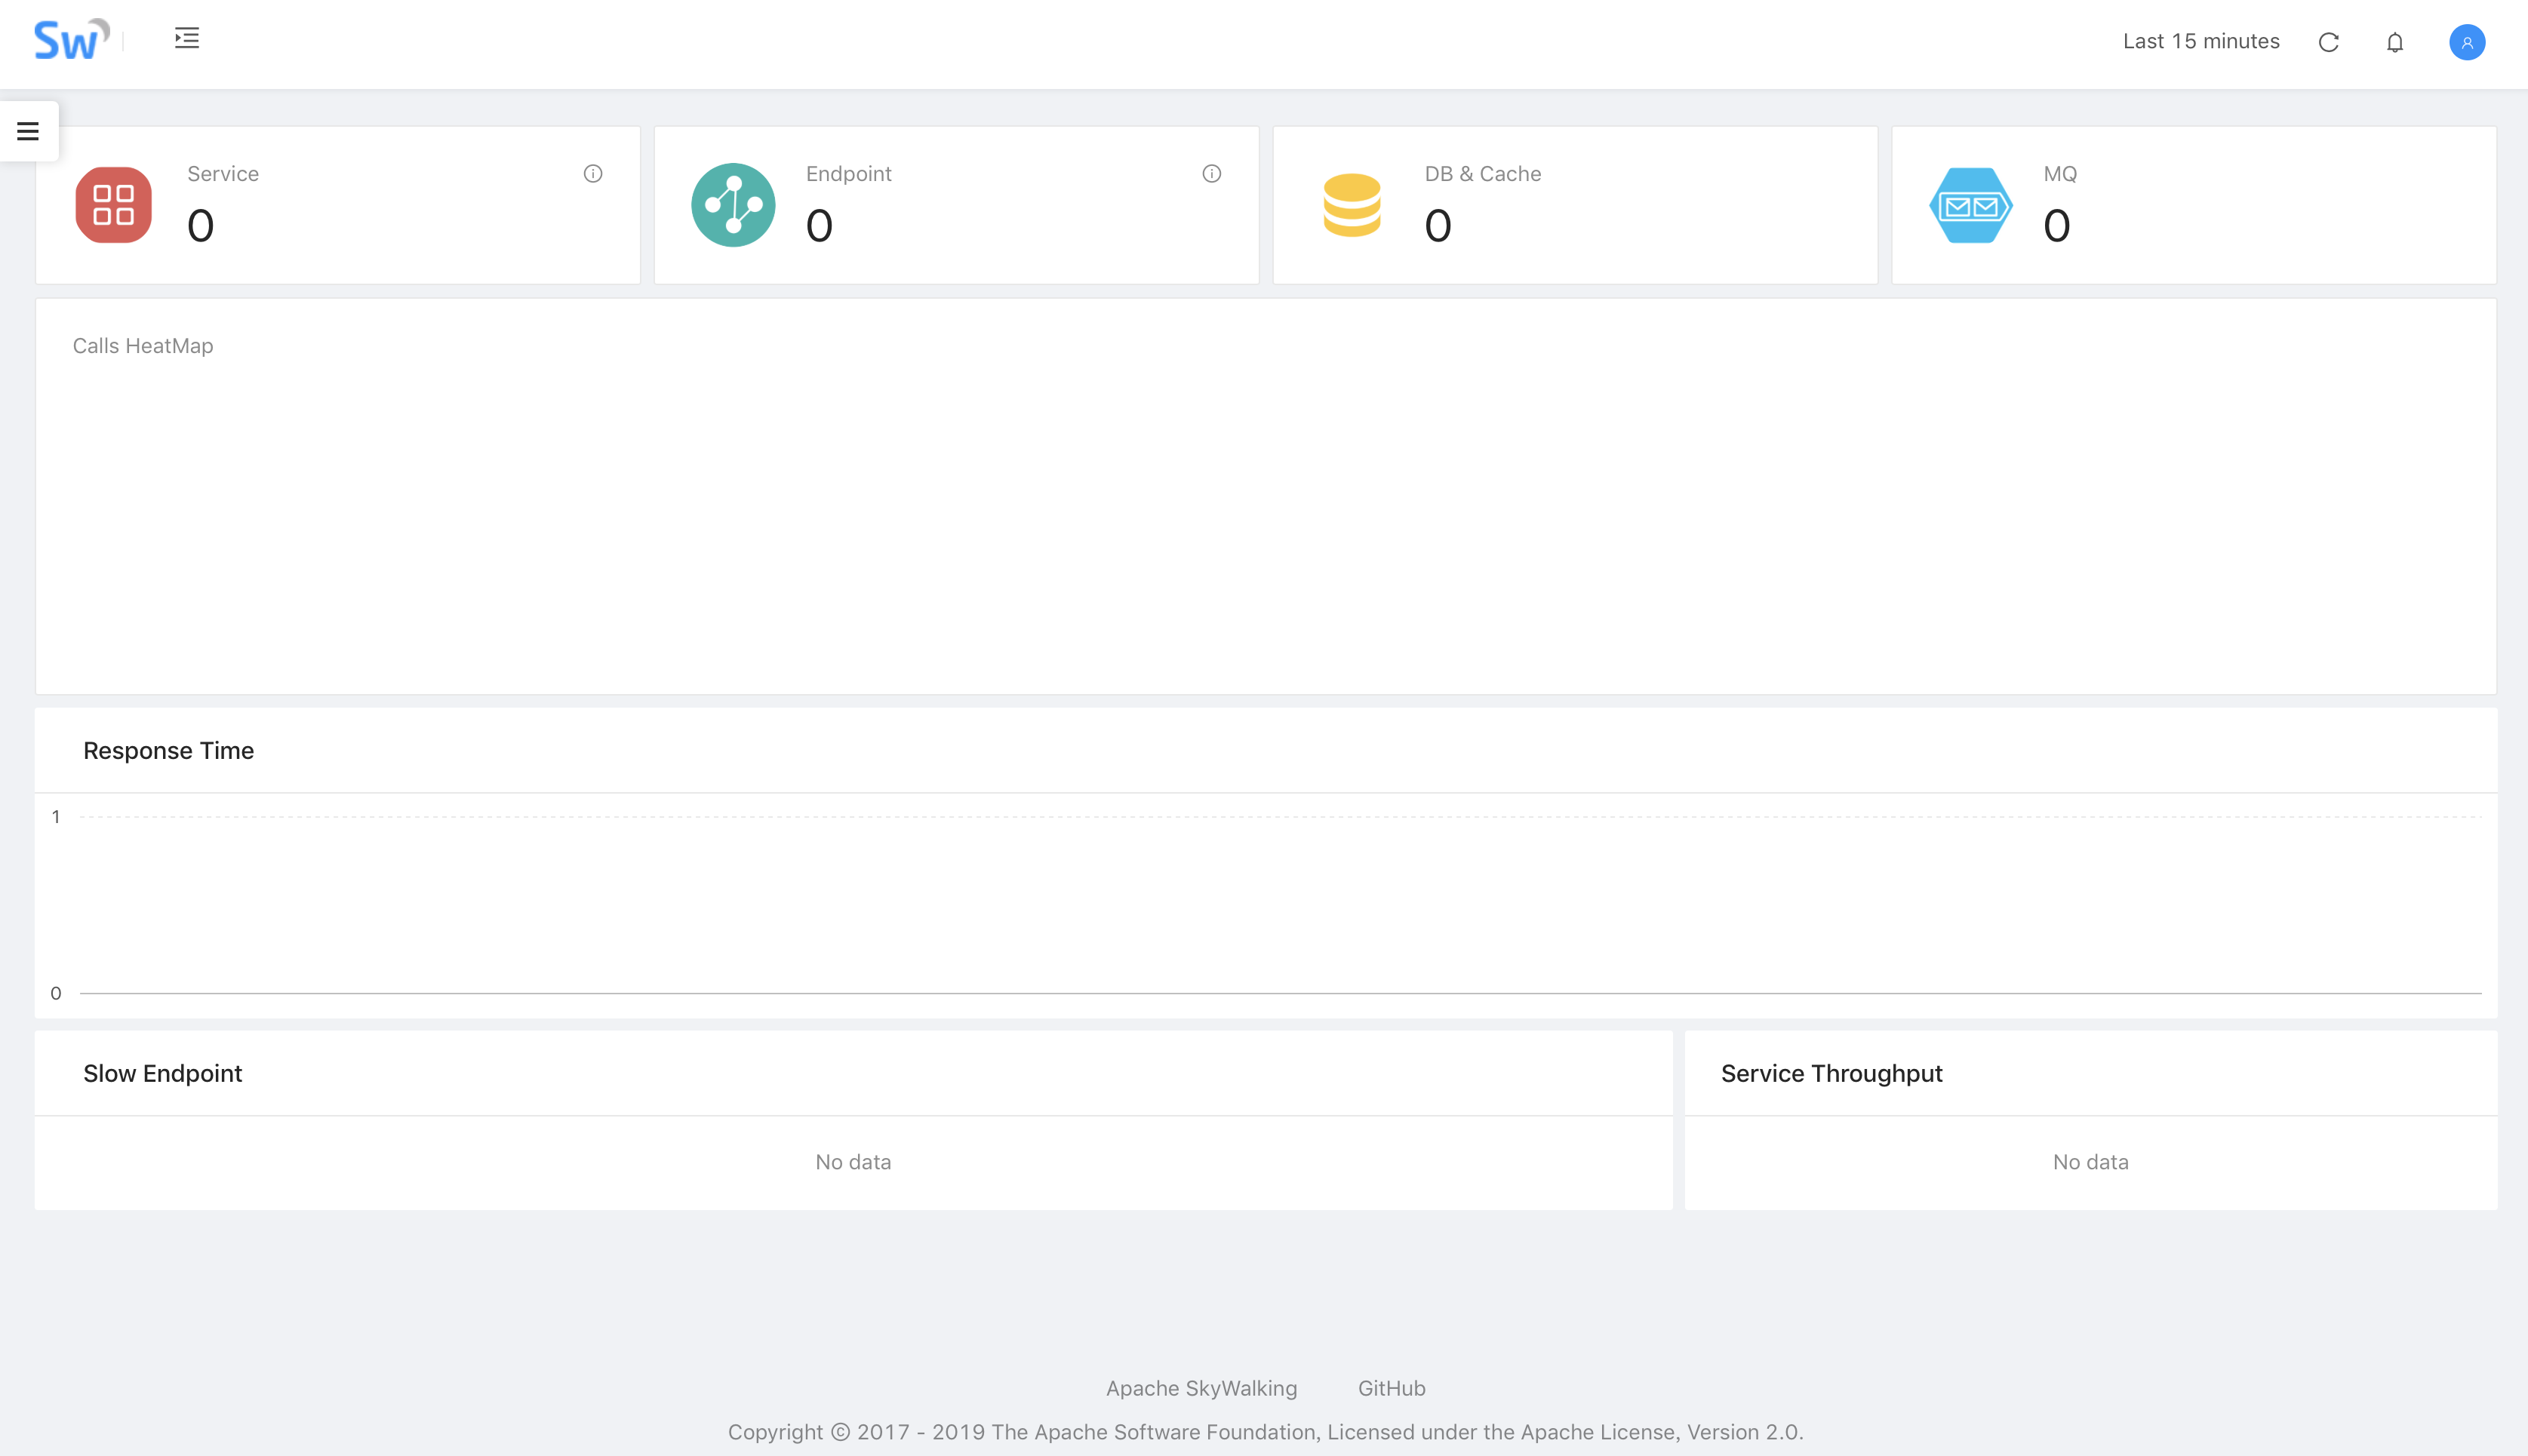
至此skywalking的基本环境搭建已完成,接下来就在实践中看看skywalking具体都有哪些功能及具体该怎么用?

 浙公网安备 33010602011771号