
UWP 应用程序内购
今天来说一下应用程序内购的问题,这里面有坑,给自己做个笔记,也给需要的人提个醒。
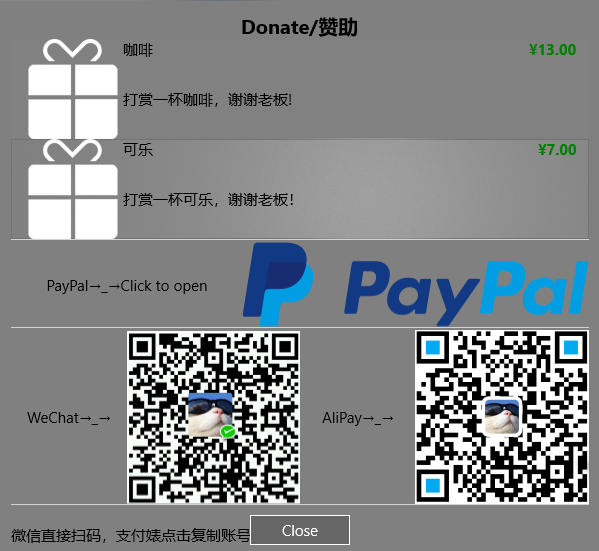
我目前的需要是可以允许用户捐赠赞助App的形式内购,最终效果如下
只讲上面的列表部分,下面的就是图片布局啥的,没意思了
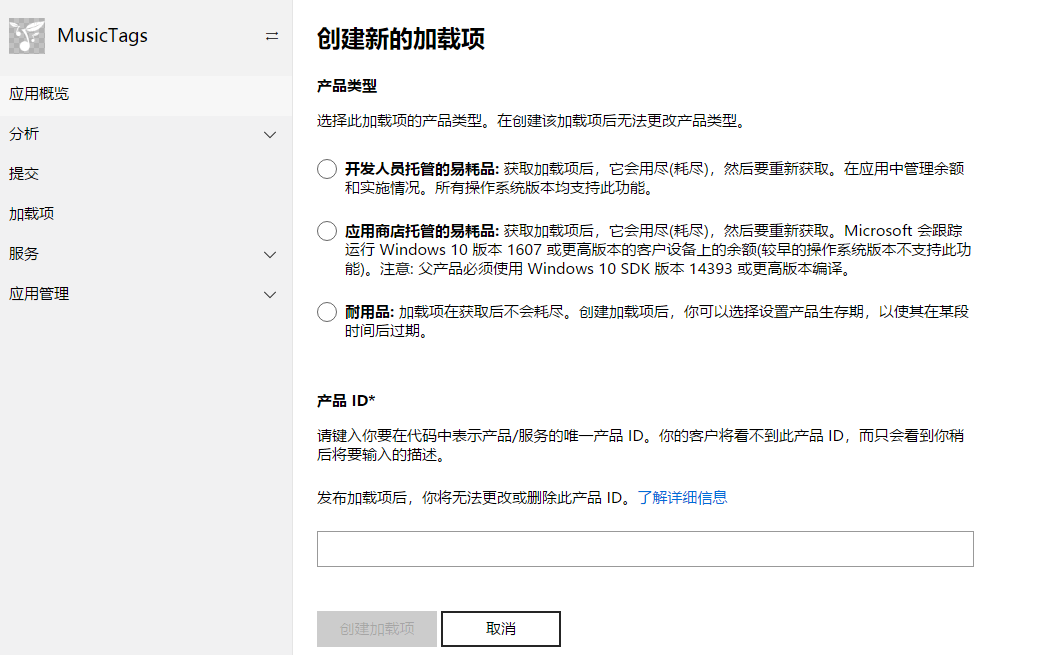
应用程序内购,在商店后台叫做“加载项”,你需要按照流程一步一步创建新的加载项即可。。。产品类型我选择的是耐用性(Durable),你也可以选择其他,具体看官方解释
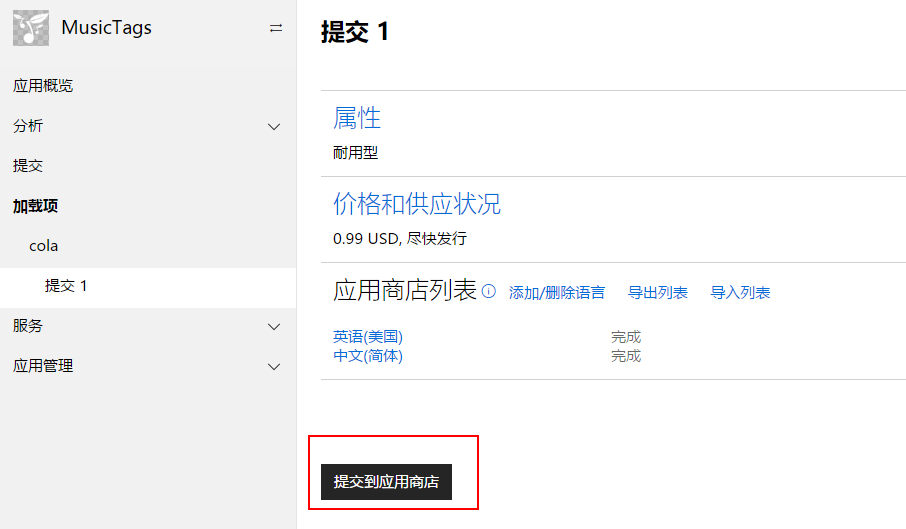
创建好之后,需要提交应用商店审核。
注意!!!坑爹的地方来了
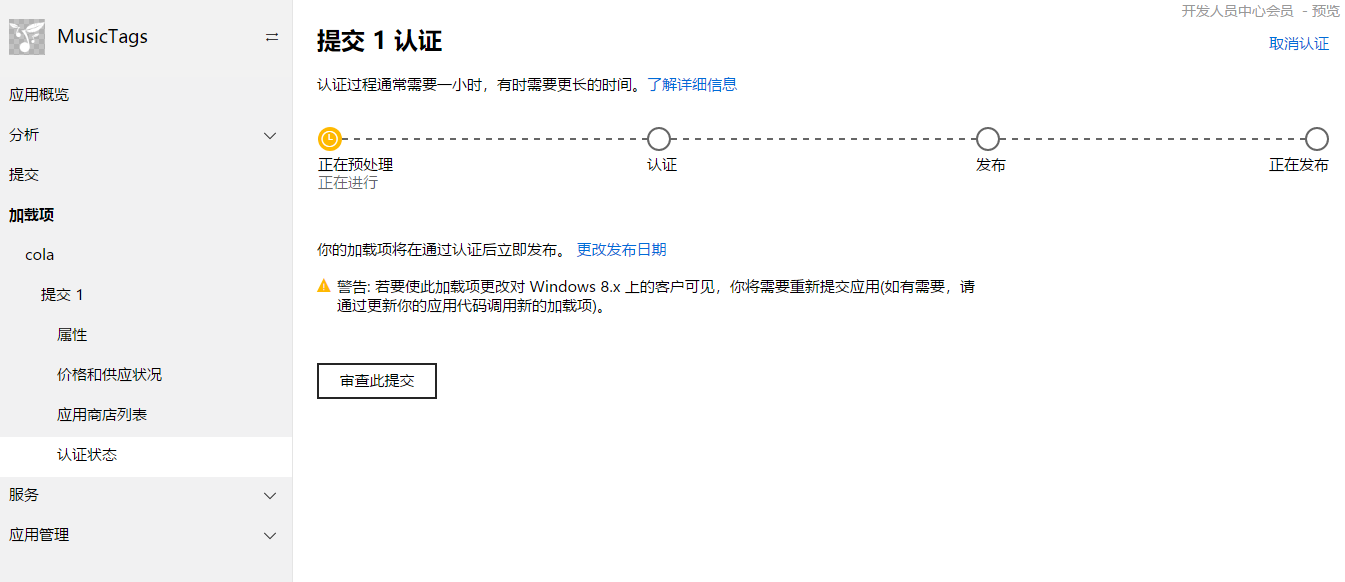
这面即使商店认证通过,你的App也获取不到你创建的加载项!!!【没错,微软经常把你们当爹的,坑的就是你们】
解决办法:
App不是也有一个提交么,要提交一次App更新,并且认证通过,这样才能算是真正的审核通过!!!
=========================华丽丽的分割线=========================
下面开始撸xaml代码了
       <ListView Grid.Row="1" x:Name="listProducts" IsItemClickEnabled="True" SelectionMode="Single" ItemClick="listProducts_ItemClick">
                <ListView.ItemContainerStyle>
                    <Style TargetType="ListViewItem">
                        <Setter Property="HorizontalContentAlignment" Value="Stretch"></Setter>
                    </Style>
                </ListView.ItemContainerStyle>
                <ListView.ItemTemplate>
                    <DataTemplate>
                        <Grid BorderBrush="White" BorderThickness="0,0,0,0">
                            <Grid.ColumnDefinitions>
                                <ColumnDefinition Width="100"/>
                                <ColumnDefinition Width="4*"/>
                            </Grid.ColumnDefinitions>
                            <Image Stretch="UniformToFill" Source="{Binding ProductImage}"/>
                            <Grid Grid.Column="1">
                                <Grid.RowDefinitions>
                                    <RowDefinition Height="2*"/>
                                    <RowDefinition Height="8*"/>
                                </Grid.RowDefinitions>
                                <Grid>
                                    <Grid.ColumnDefinitions>
                                        <ColumnDefinition Width="*"/>
                                        <ColumnDefinition Width="*"/>
                                    </Grid.ColumnDefinitions>
                                    <TextBlock Text="{Binding Title}" VerticalAlignment="Center"/>
                                    <TextBlock Grid.Column="1" FontWeight="Bold" Foreground="Green" Text="{Binding Price}" HorizontalAlignment="Right" VerticalAlignment="Center"/>
                                </Grid>
                                <TextBlock Grid.Row="1" TextWrapping="WrapWholeWords" Text="{Binding Description}" VerticalAlignment="Center"/>
                            </Grid>
                        </Grid>
                    </DataTemplate>
                </ListView.ItemTemplate>
            </ListView>
用这个列表来装新建的加载项
然后在用户点击“赞助”按钮的时候相应一个事件,来向应用商店发送请求,下载你的加载项内容。
    StoreContext context = null;
    public async Task GetAddOnInfo()
        {
            if (context == null)
            {
                context = StoreContext.GetDefault();
                // If your app is a desktop app that uses the Desktop Bridge, you
                // may need additional code to configure the StoreContext object.
                // For more info, see https://aka.ms/storecontext-for-desktop.
            }

            // Specify the kinds of add-ons to retrieve.
            string[] productKinds = { "Durable" };
            List<String> filterList = new List<string>(productKinds);

            StoreProductQueryResult queryResult = await context.GetAssociatedStoreProductsAsync(productKinds);

            if (queryResult.ExtendedError != null)
            {
                // The user may be offline or there might be some other server failure.
                return;
            }

            //后面有代码接着
        }
蓝后定义一个Product类
public class Product
    {
        public string StoreId { get; set; }

        public string Title { get; set; }

        public string Description { get; set; }

        public string Price { get; set; }

        public string ProductImage { get; set; }

    }
接上面的代码,根据返回的结果,循环添加在列表的 ItemsSource即可。
      foreach (KeyValuePair<string, StoreProduct> item in queryResult.Products)
            {
                // Access the Store product info for the add-on.
                StoreProduct product = item.Value;

                // Use members of the product object to access listing info for the add-on...
                Product pd = new Product()
                {
                    StoreId = product.StoreId,
                    Title = product.Title,
                    Price = product.Price.FormattedPrice,
                    Description = product.Description,
                    ProductImage = product.Images[0].Uri.OriginalString
                };

                lProducts.Add(pd);
            }

            listProducts.ItemsSource = lProducts;
这样也就完成了加载项的列表显示。
=========================华丽丽的分割线=========================
但是你光显示也不行啊,我要点击,内购哇!!!
所以接着撸代码
private async void listProducts_ItemClick(object sender, ItemClickEventArgs e)
        {
            StoreContext context = StoreContext.GetDefault();
            var product = e.ClickedItem as Product;
            var result = await context.RequestPurchaseAsync(product.StoreId);
            if (result.Status == StorePurchaseStatus.Succeeded)
            {
                // 成功购买
                textPurchaseResult.Text = "Thank you.";
            }
            else if (result.Status == StorePurchaseStatus.AlreadyPurchased)
            {
                // 已经购买过了
                textPurchaseResult.Text = "You have already purchased.";
            }
            else if (result.Status == StorePurchaseStatus.NotPurchased)
            {
                // 用户没购买,即用户中途取消了操作
                textPurchaseResult.Text = "You have canceled the purchase.";
            }
            else if (result.Status == StorePurchaseStatus.ServerError || result.Status == StorePurchaseStatus.NetworkError)
            {
                // 发生错误
                textPurchaseResult.Text = "Sorry, something went wrong with the microsoft server or something else.";
            }
        }
OK!!!碎觉!!!


 浙公网安备 33010602011771号