
Oracle Linux 7.9 上安装 19C 单实例数据库系列教程(四):安装数据库
现在我们已经能用 oracle 用户登录,开始安装 19C 软件。19C 使用基于镜像的安装方式,只需要把安装包解压到 ORACLE_HOME 所在的目录,然后启动安装程序按提示进行安装。
我们采用 OFA(Optimal Flexible Architecture: 见参考链接) 推荐的目录结构,即 ORACLE_HOME 为 /u01/app/oracle/product/19.0.0/dbhome_1,ORACLE_BASE 为 /u01/app/oracle。并且在本篇中先进行 19C 软件安装,下一篇中我们将进行数据库创建。
下面我们开始安装过程:
一、登录 oracle 用户
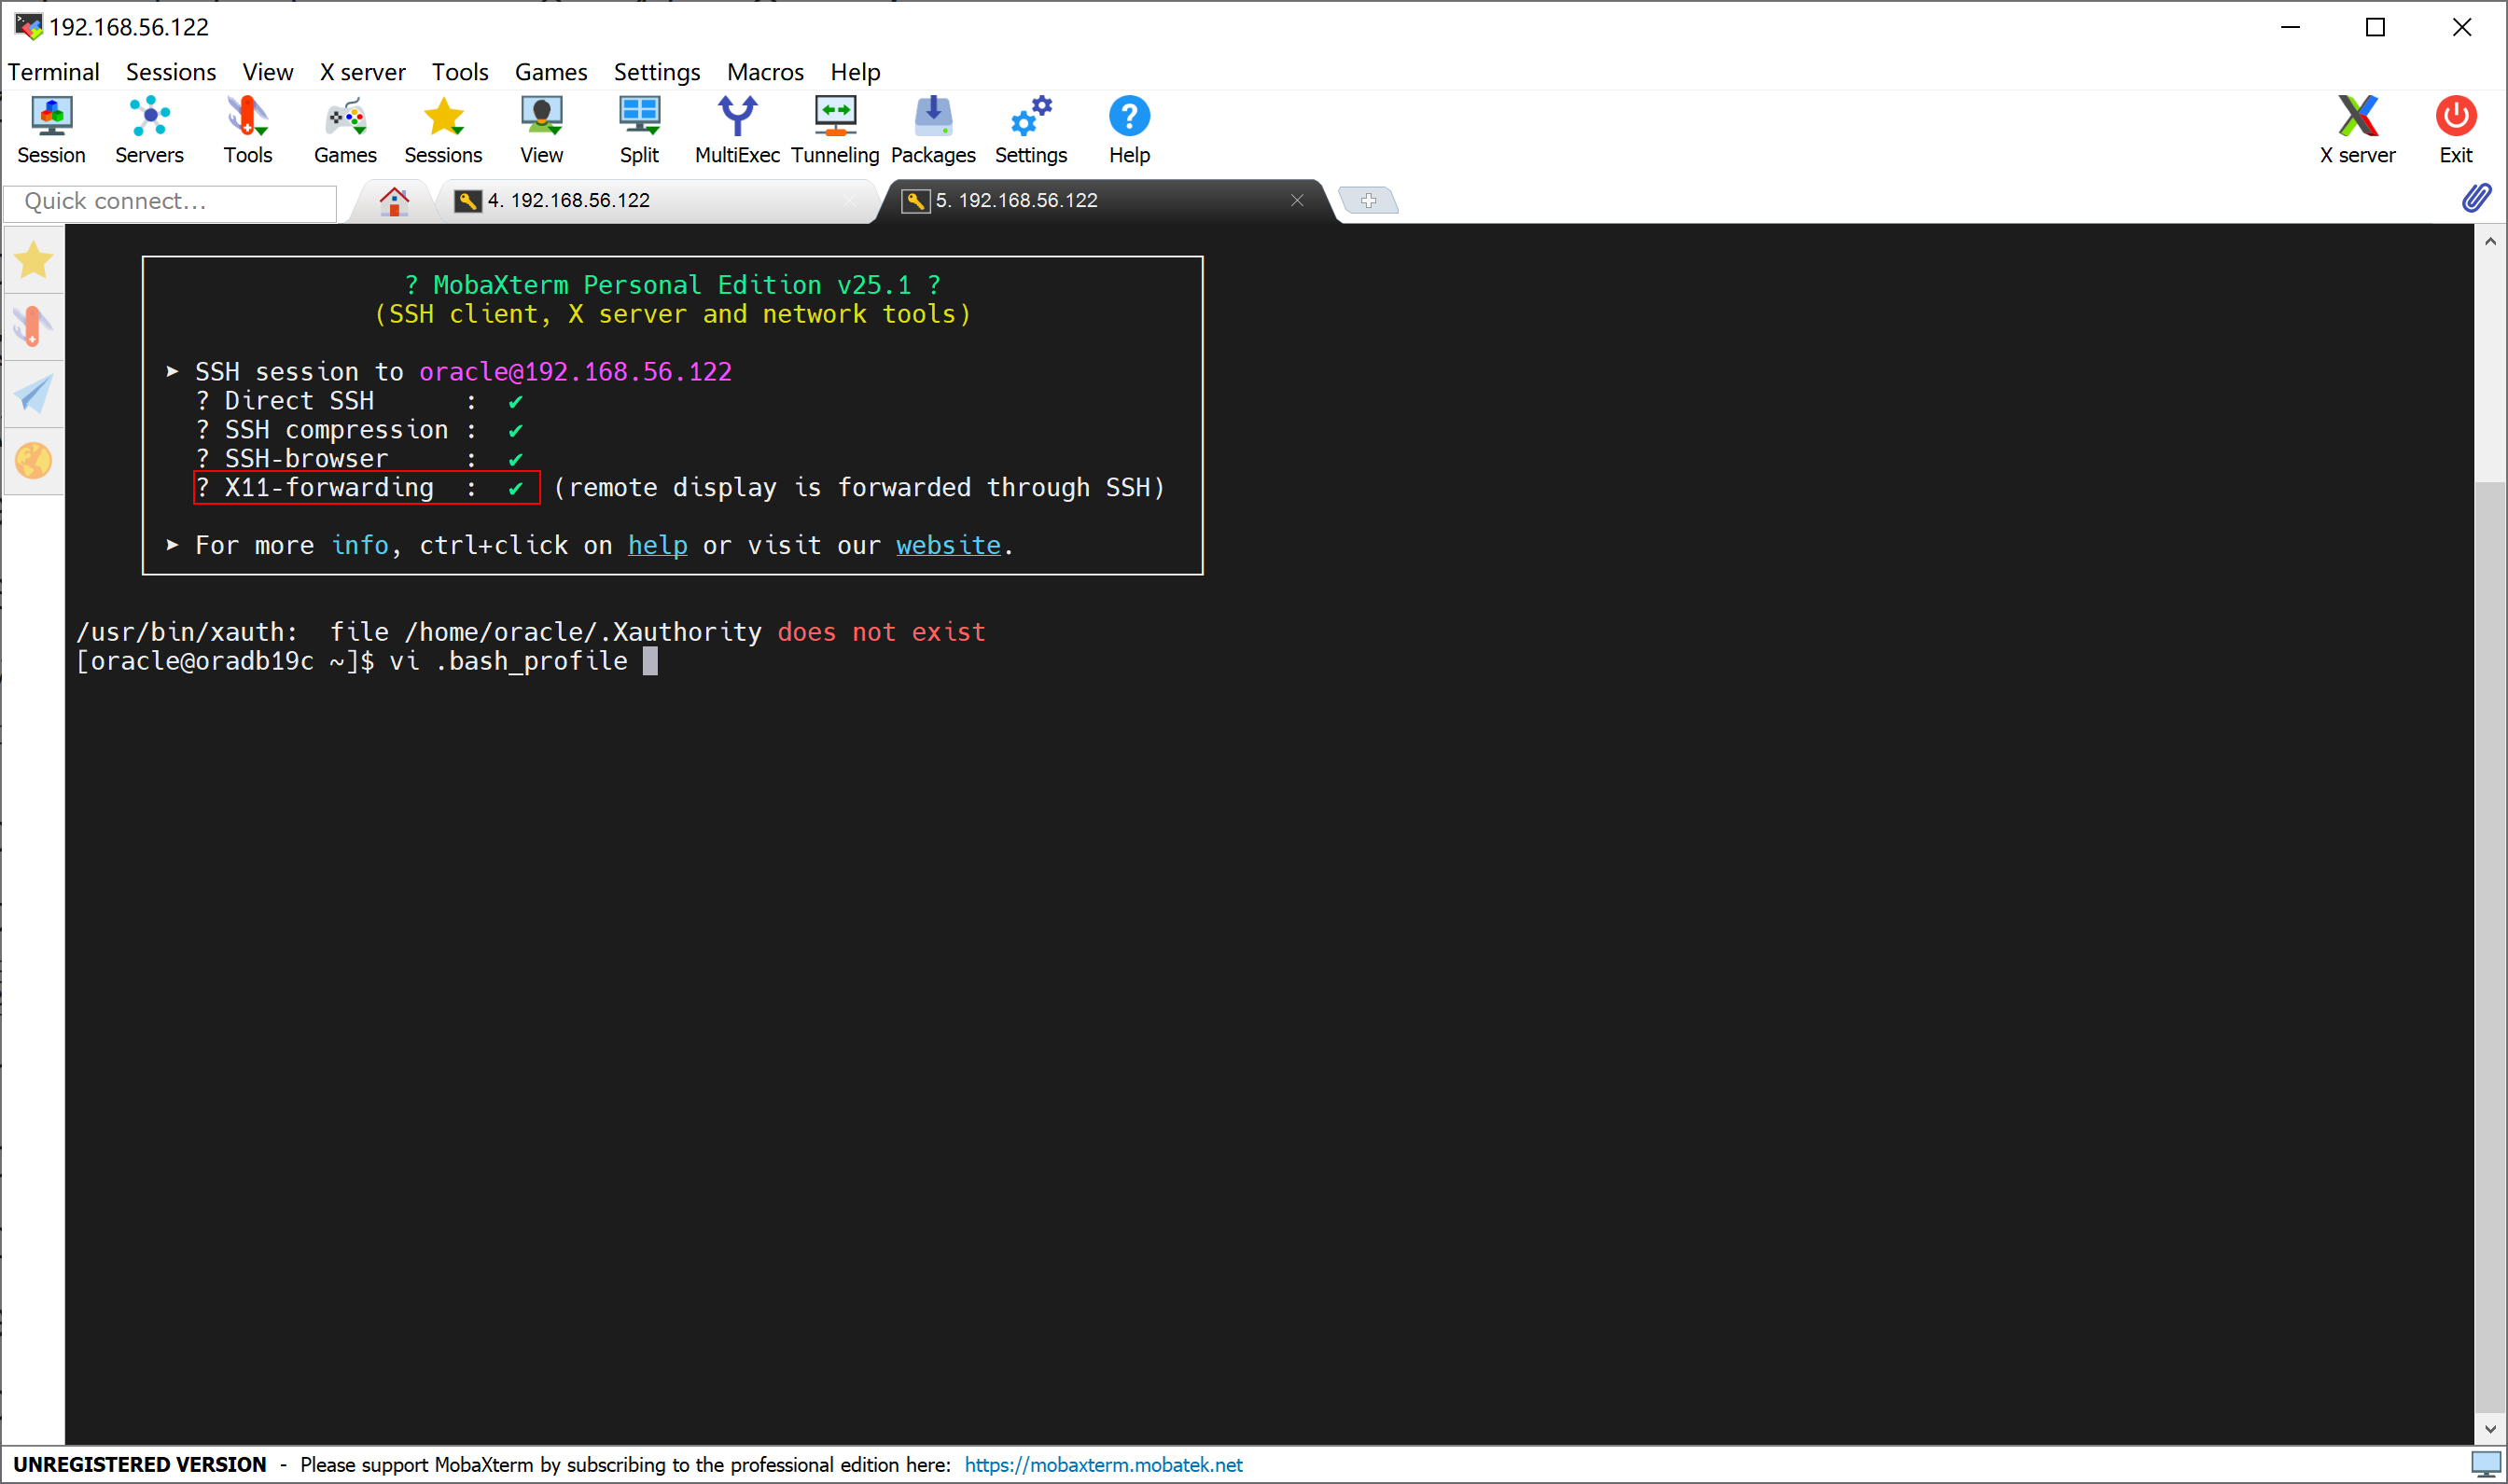
使用 MobaXterm 工具登录 oracle 用户,X11-Forwarding 能够让安装程序窗口通过 XWindow 显示在我们的宿主机上,需要是打勾开启的状态。
二、配置用户环境变量
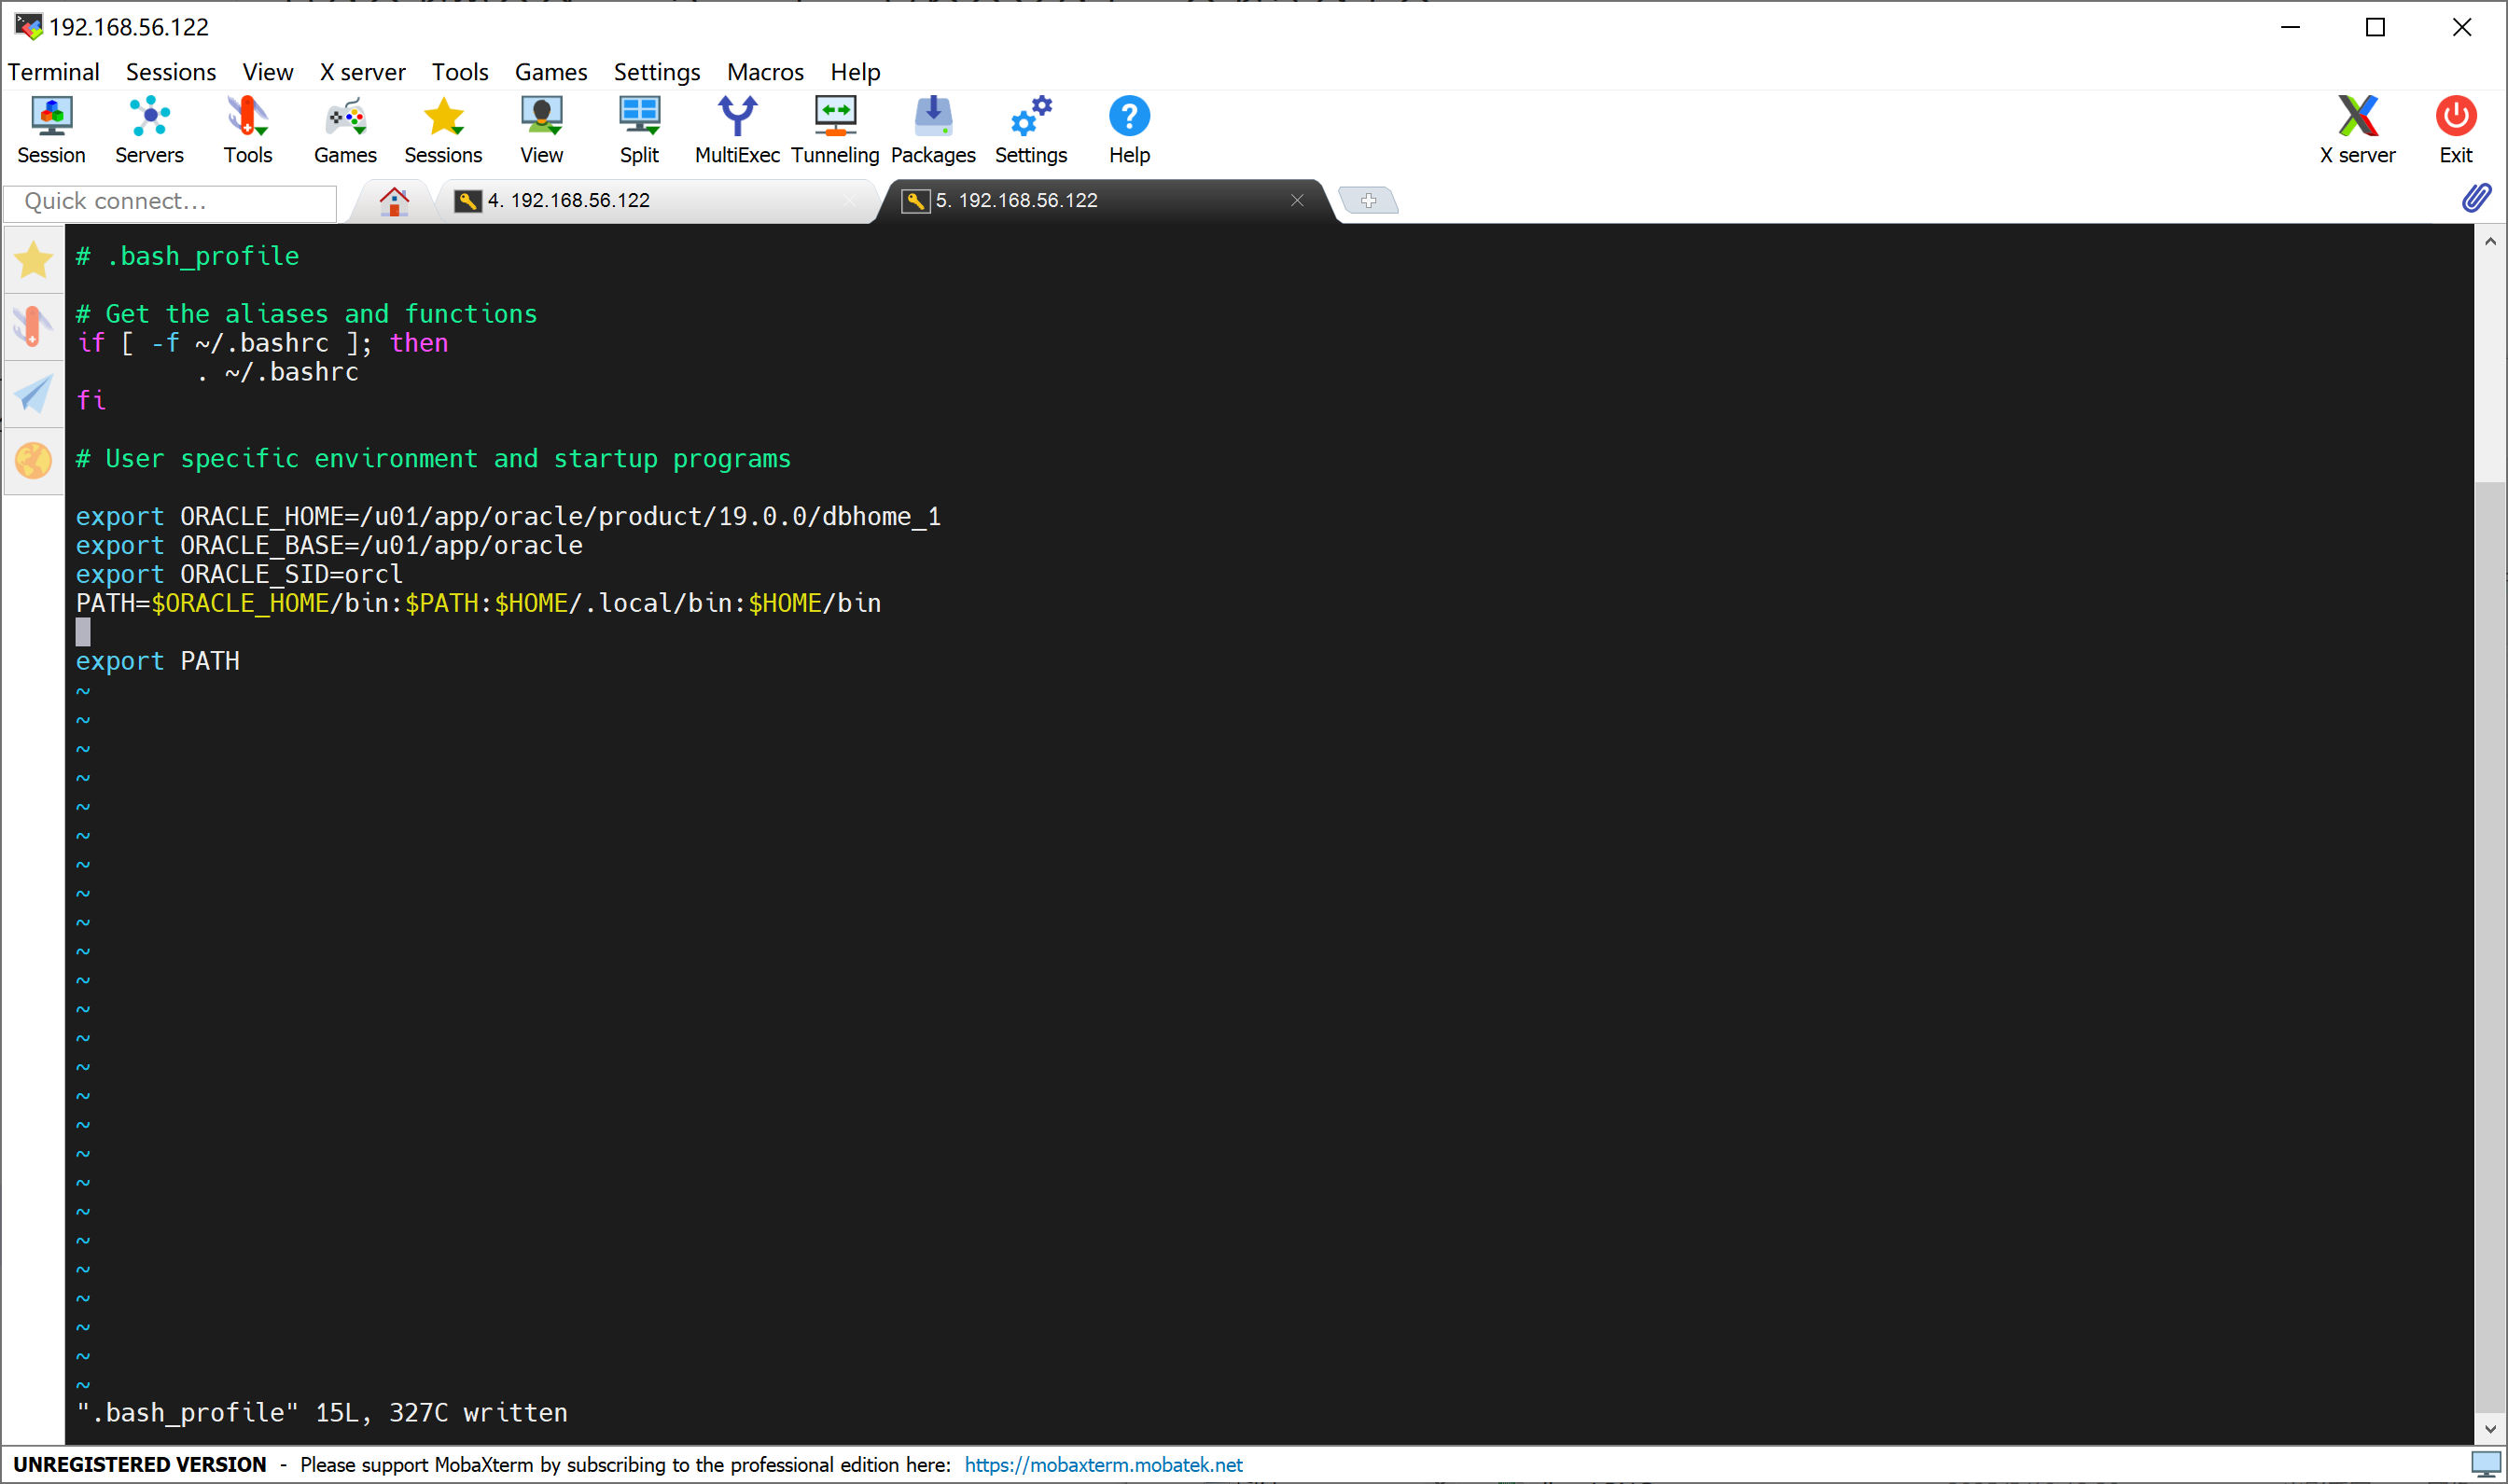
设置 ~/.bash_profile 文件设置 ORACLE_HOME, ORACLE_BASE, ORACLE_SID 等环境变量,并把 ORACLE_HOME/bin 目录增加到 PATH 中,修改完后使用 . (点操作符)使修改对当前会话生效。
三、解压 19C 安装文件,启动安装程序
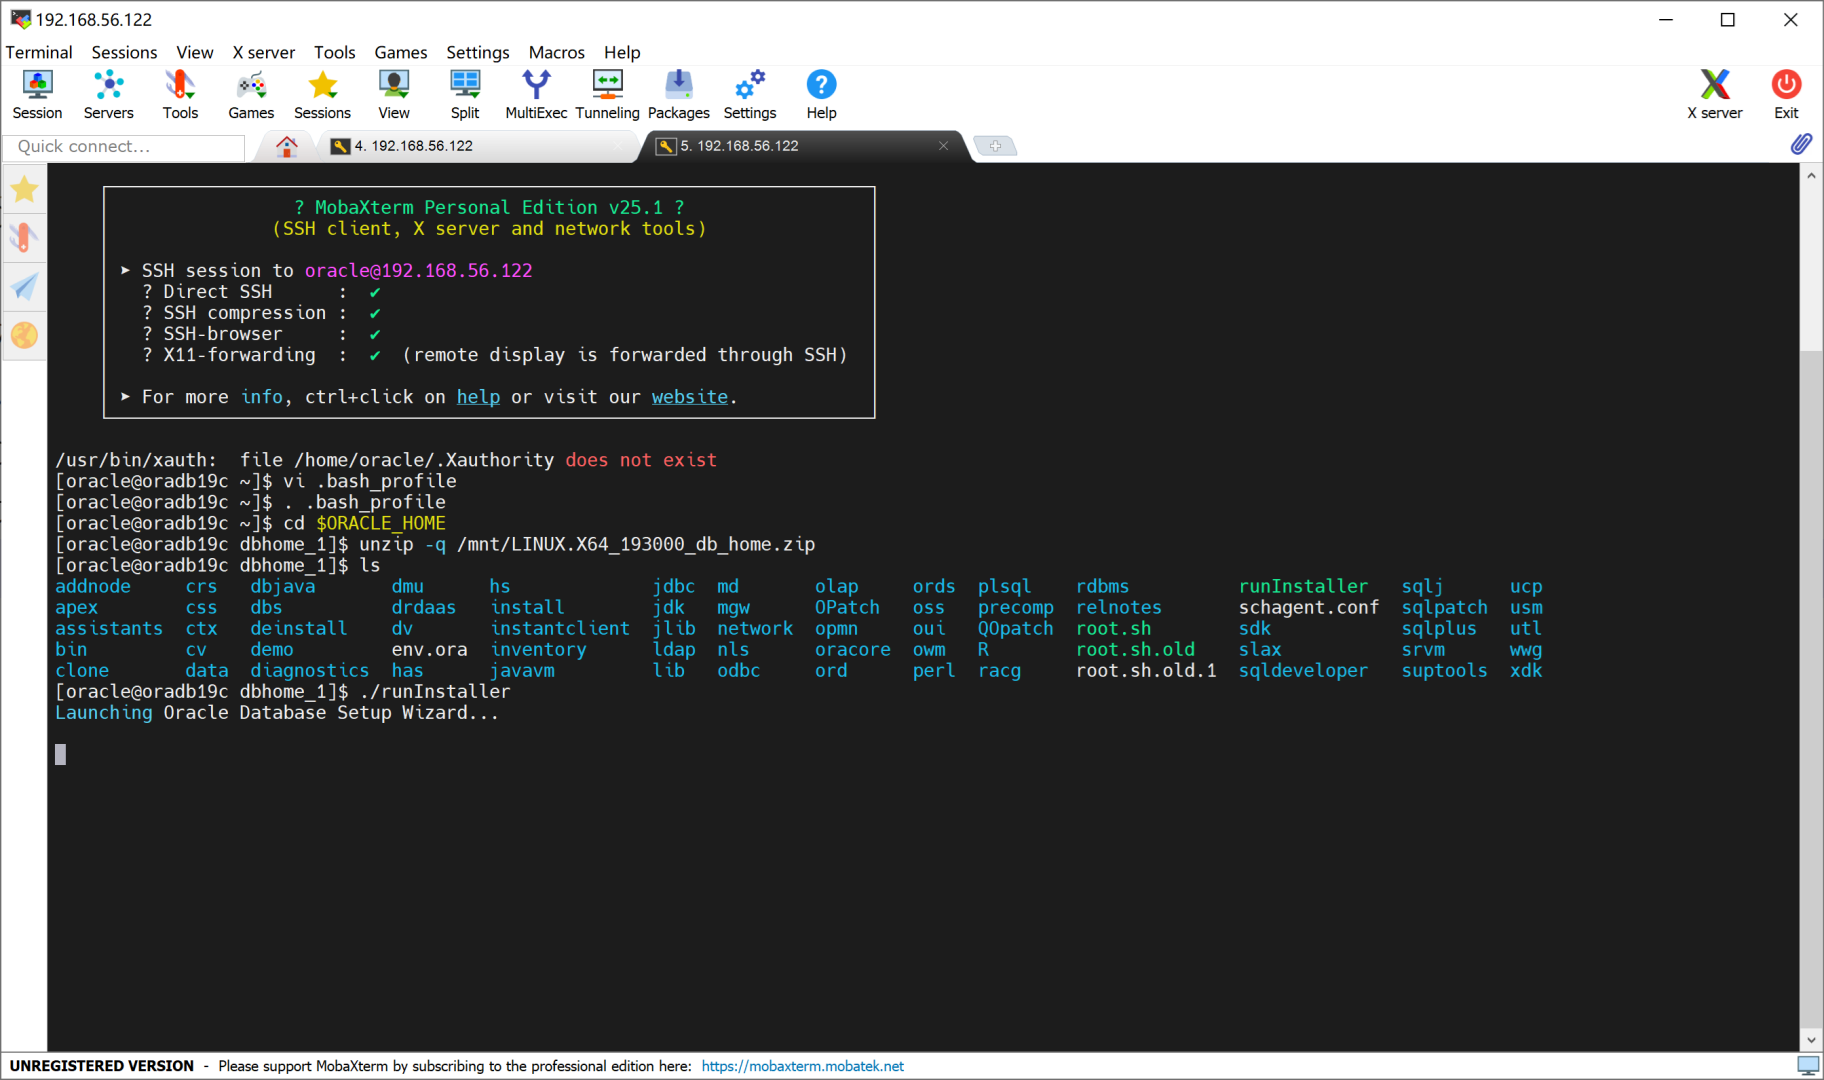
[oracle@oradb19c ~]$ cd $ORACLE_HOME
[oracle@oradb19c dbhome_1]$ unzip -q /mnt/LINUX.X64_193000_db_home.zip
[oracle@oradb19c dbhome_1]$ ./runInstaller
四、各安装步骤设置
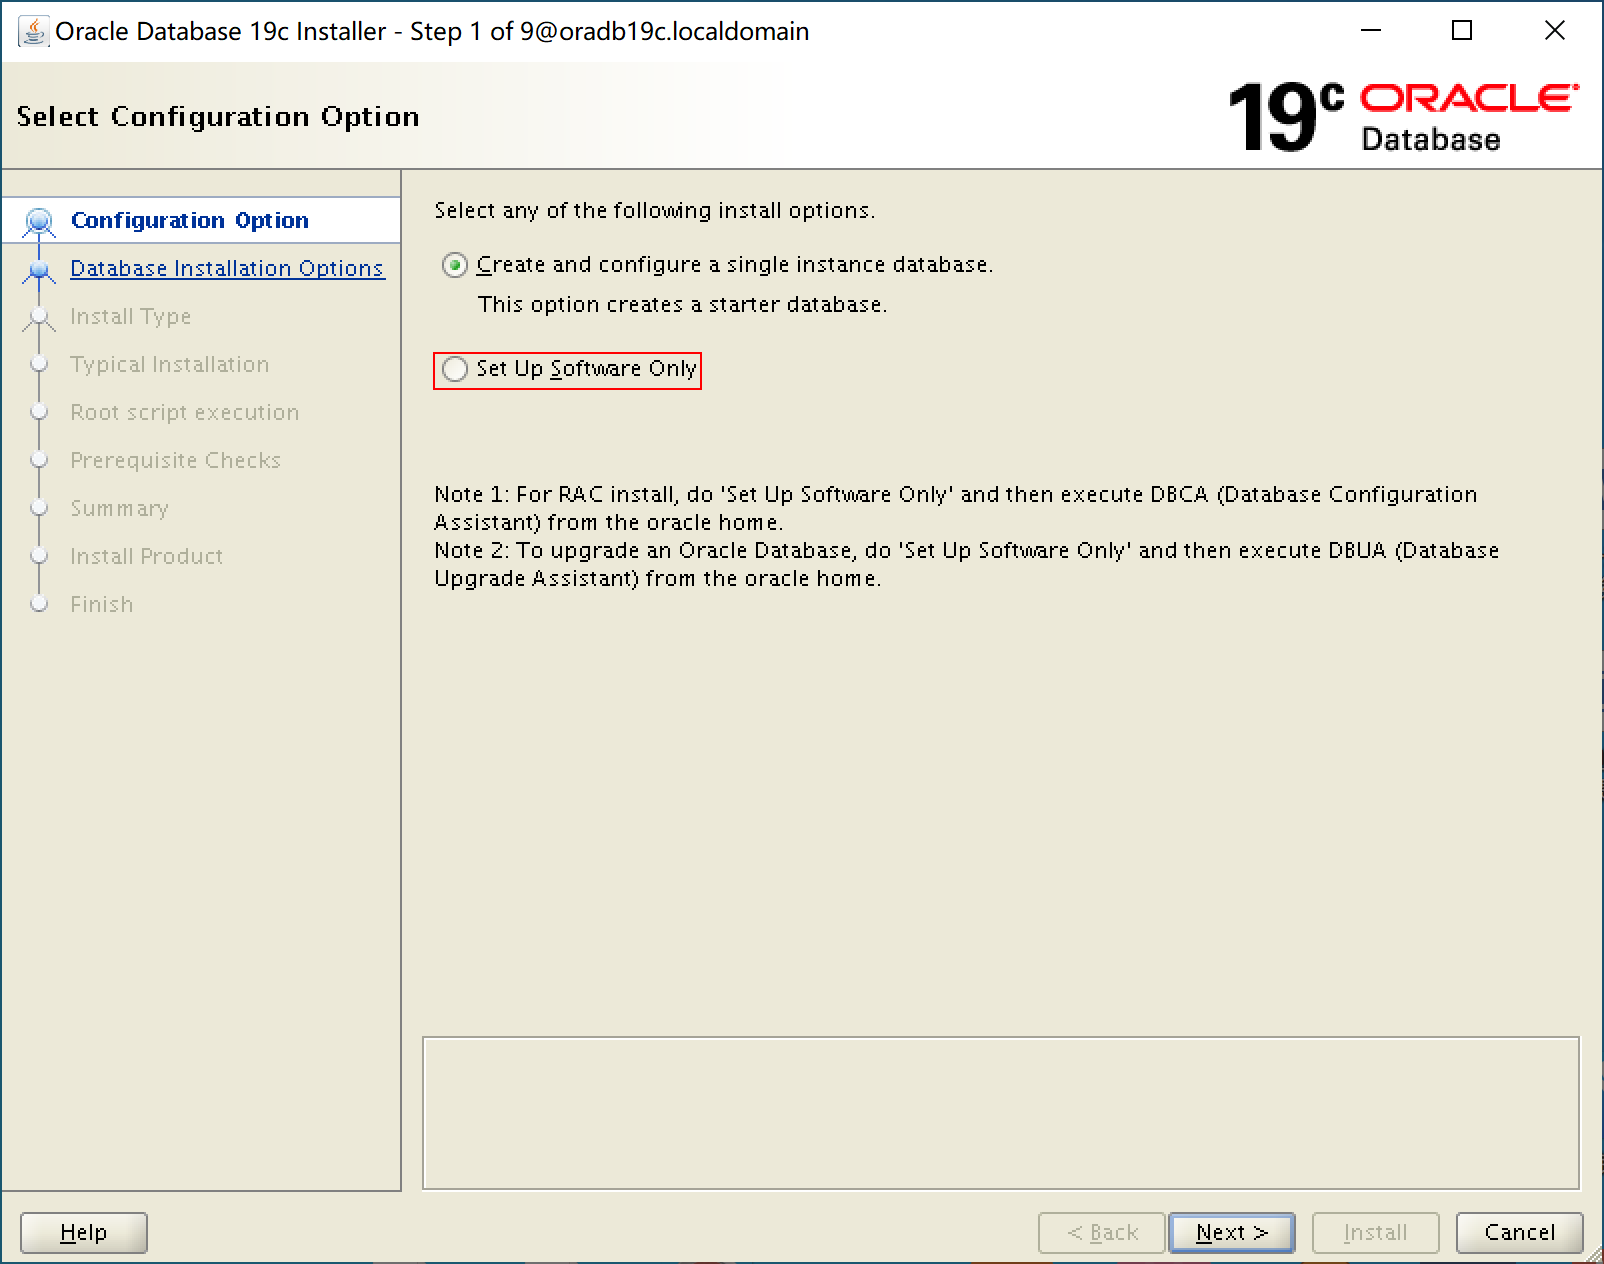
1. 选择【Set Up Software Only】
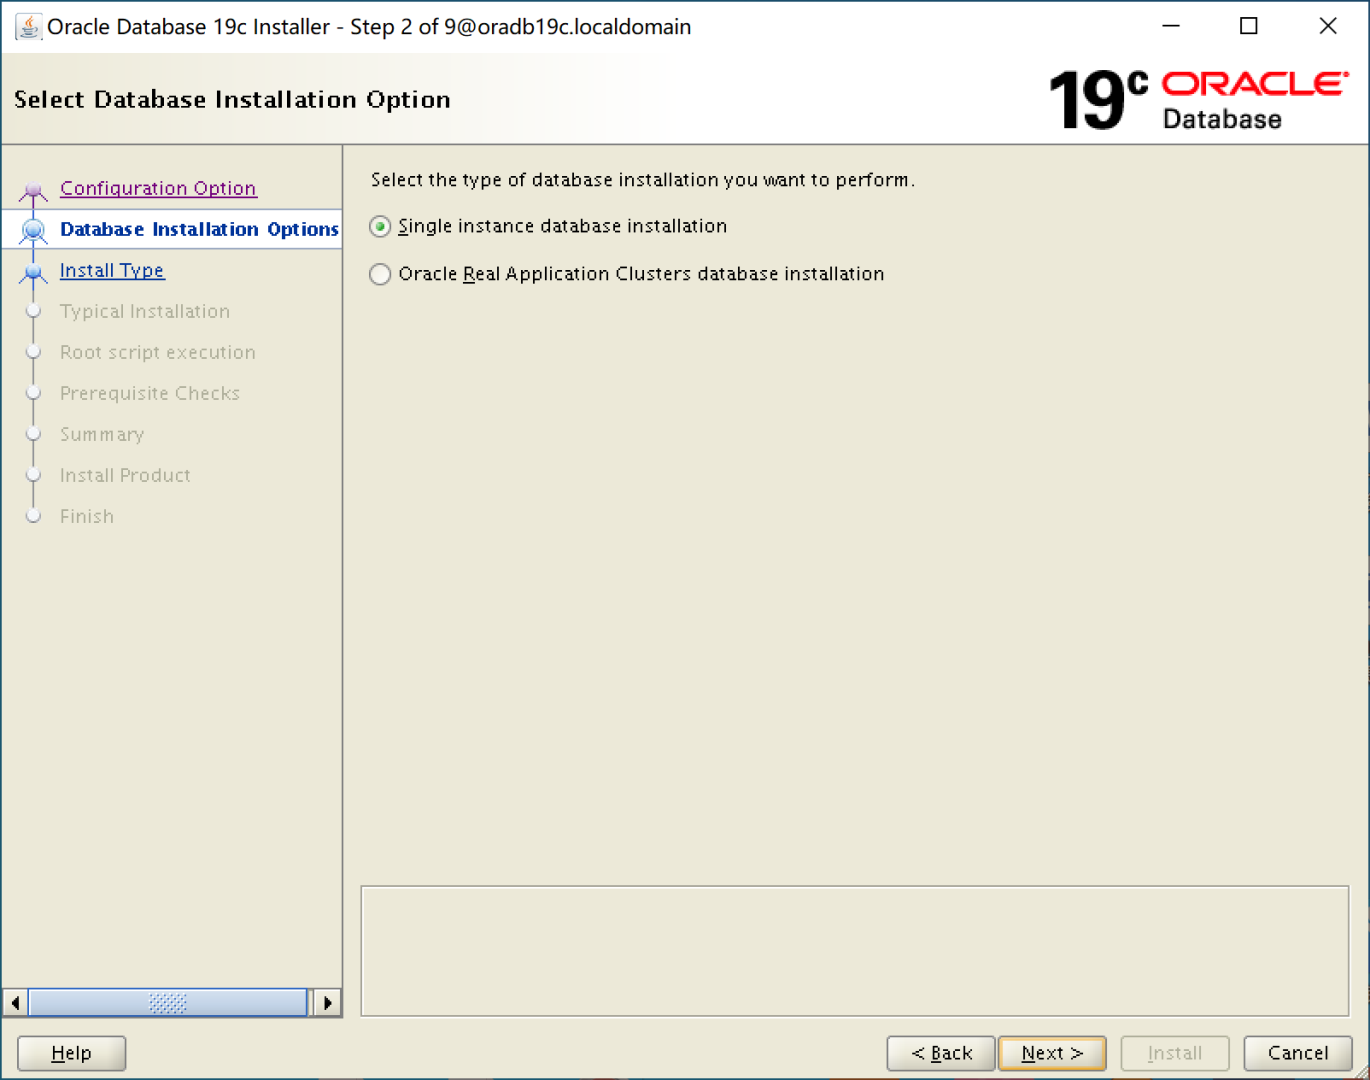
2. 选择【Single instance database installation】,单实例安装
3. 选择【Enterprise Edtion】,企业版

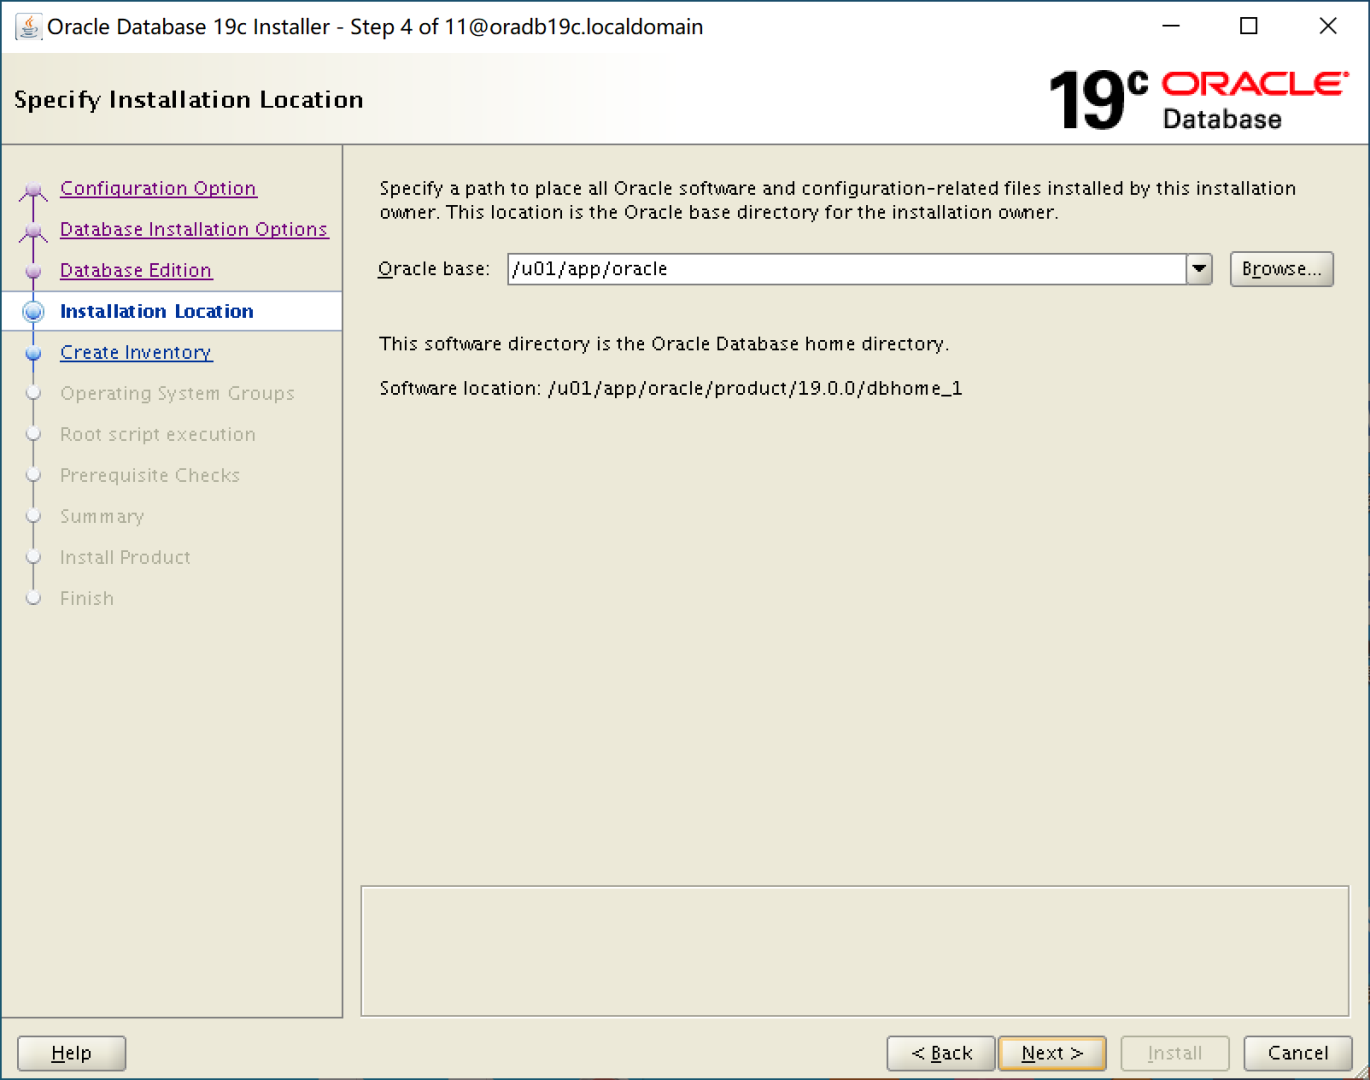
4. 安装位置,如图默认即可
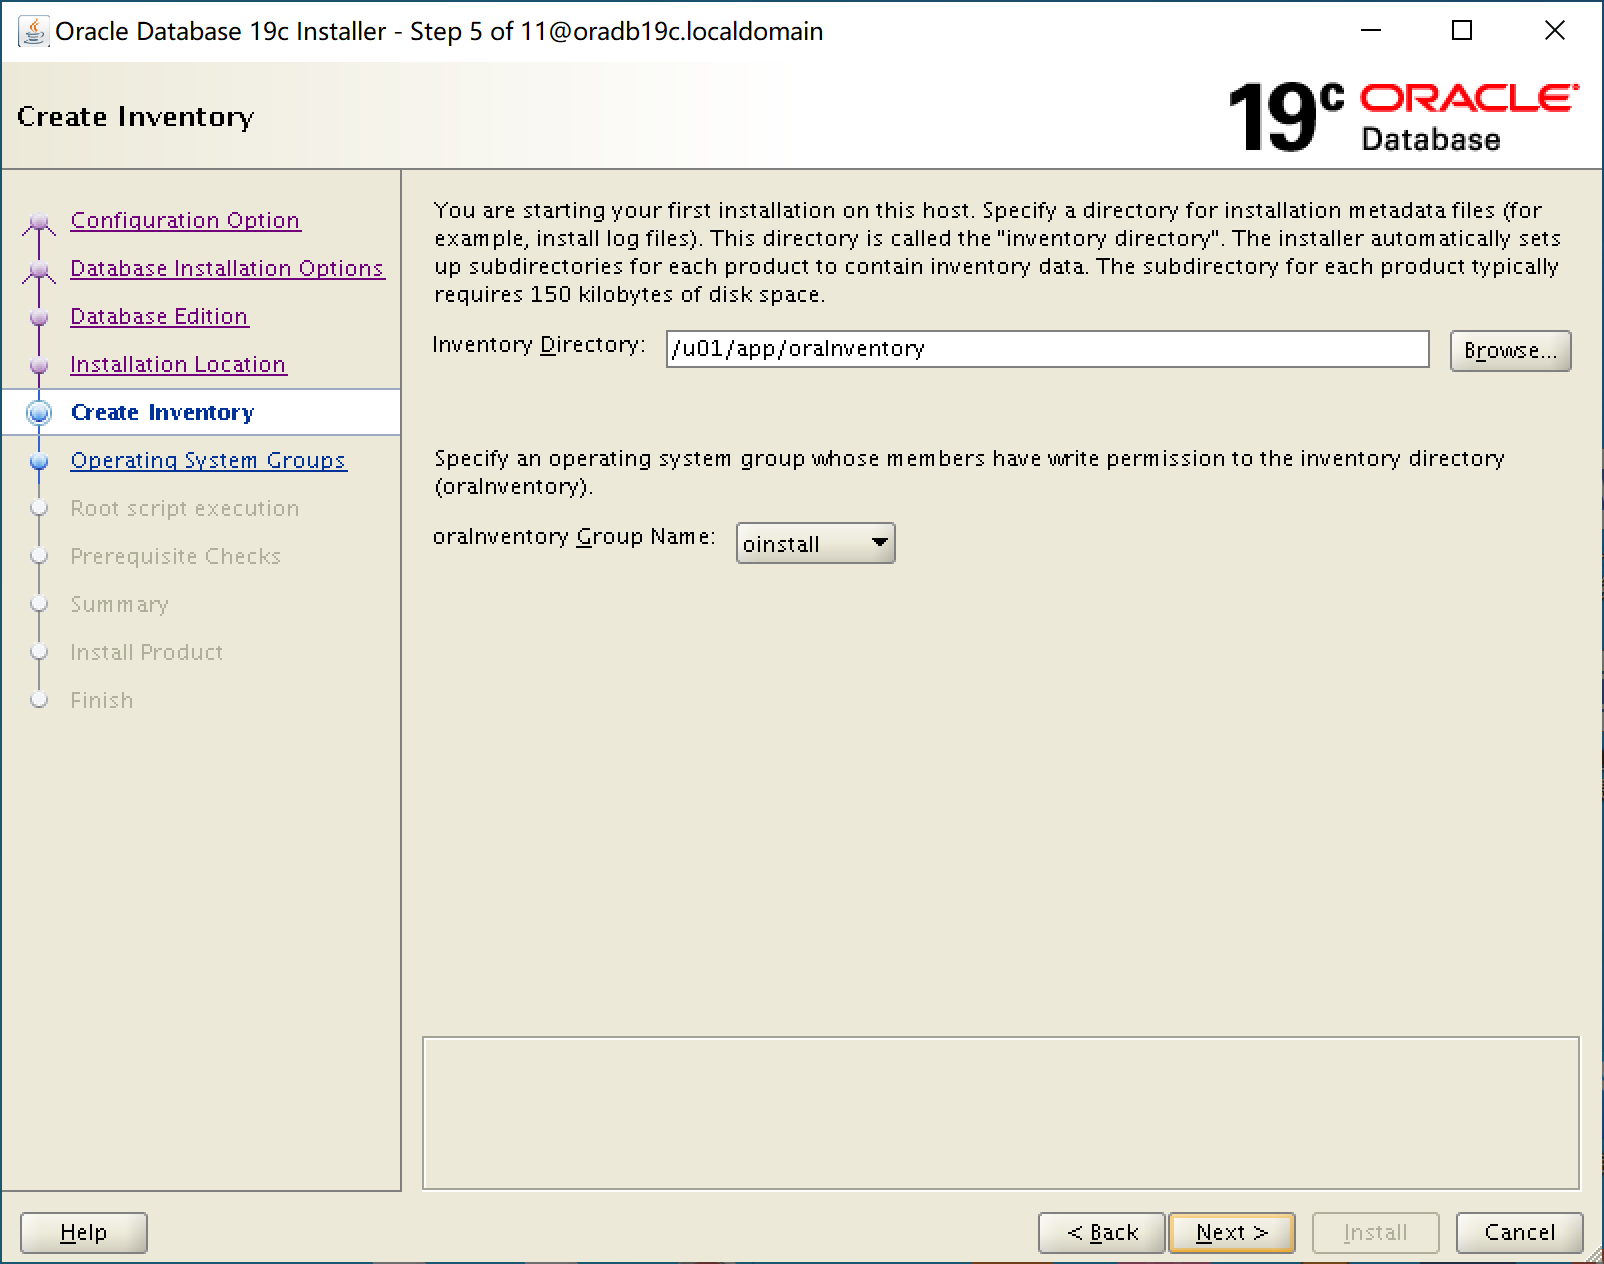
5. oraInventory 位置,如图默认即可
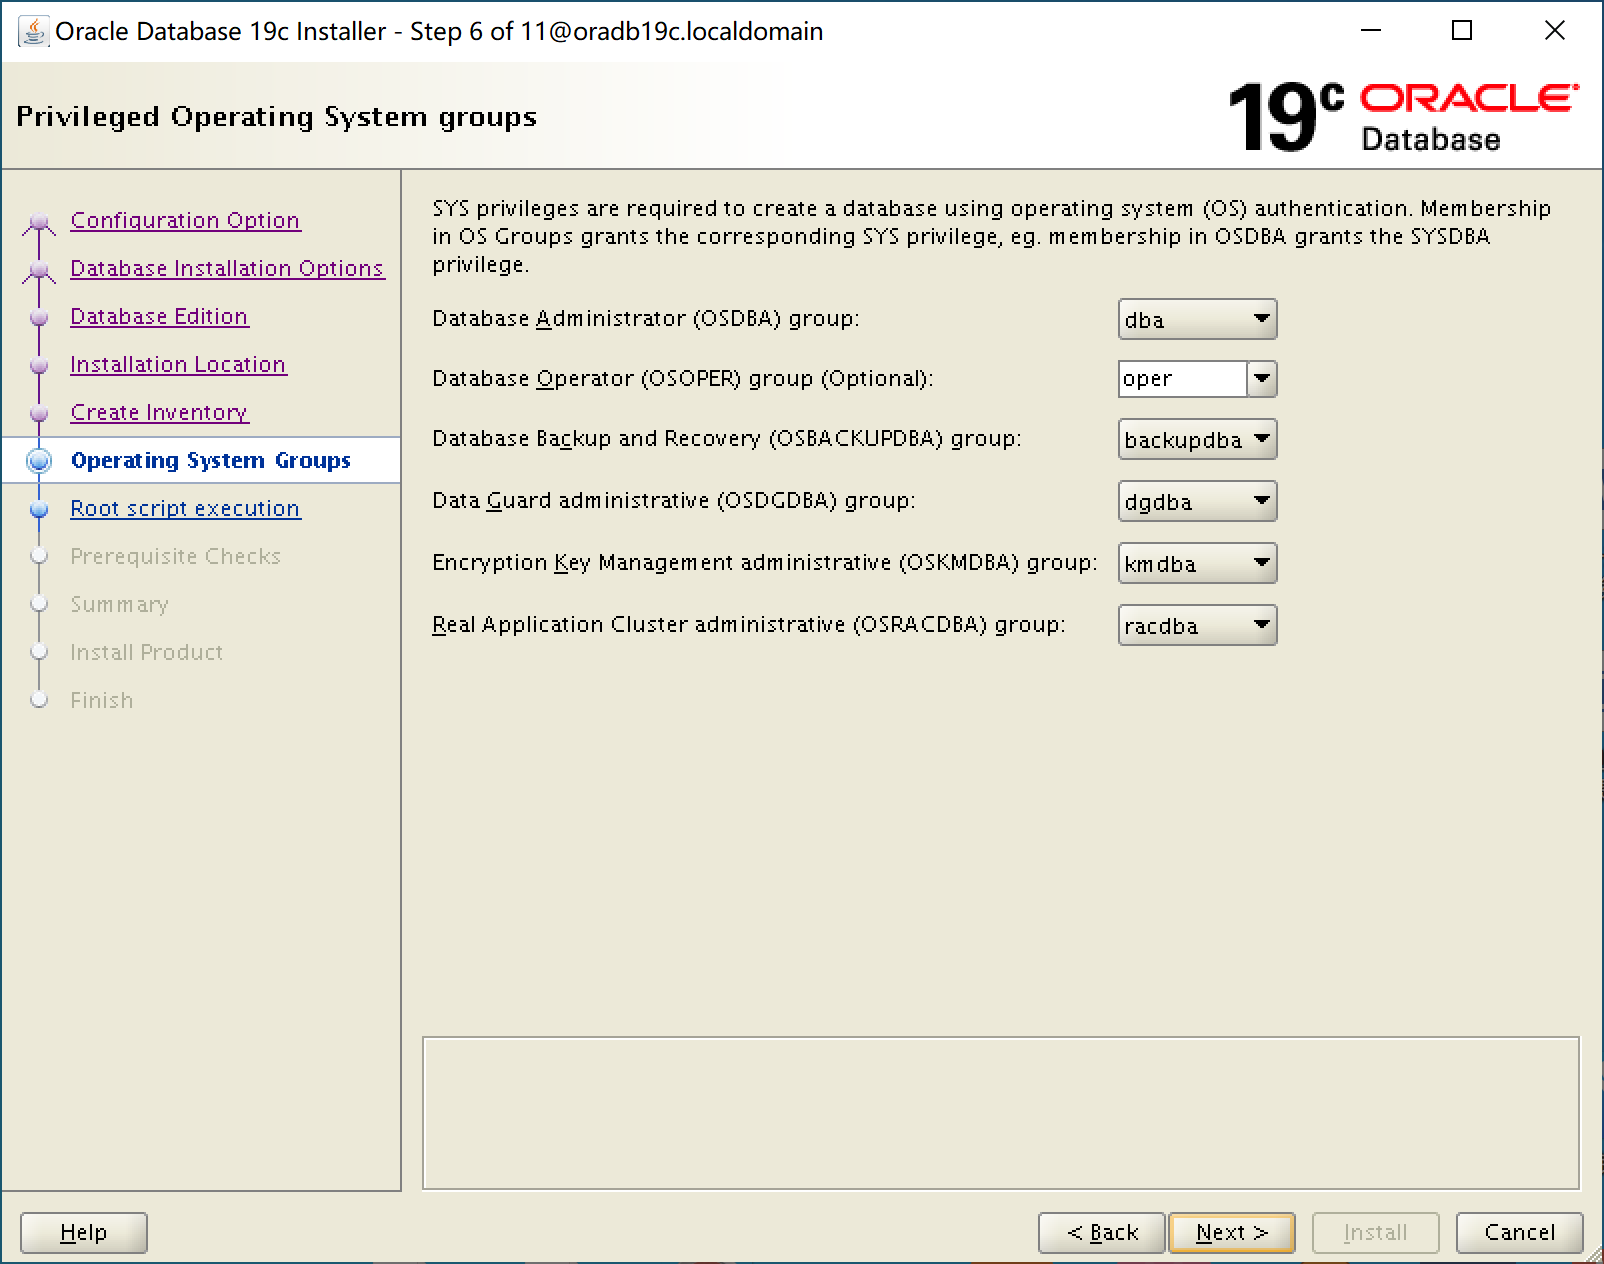
6. 各权限操作系统组,已由 preinstall 包创建。如图默认即可
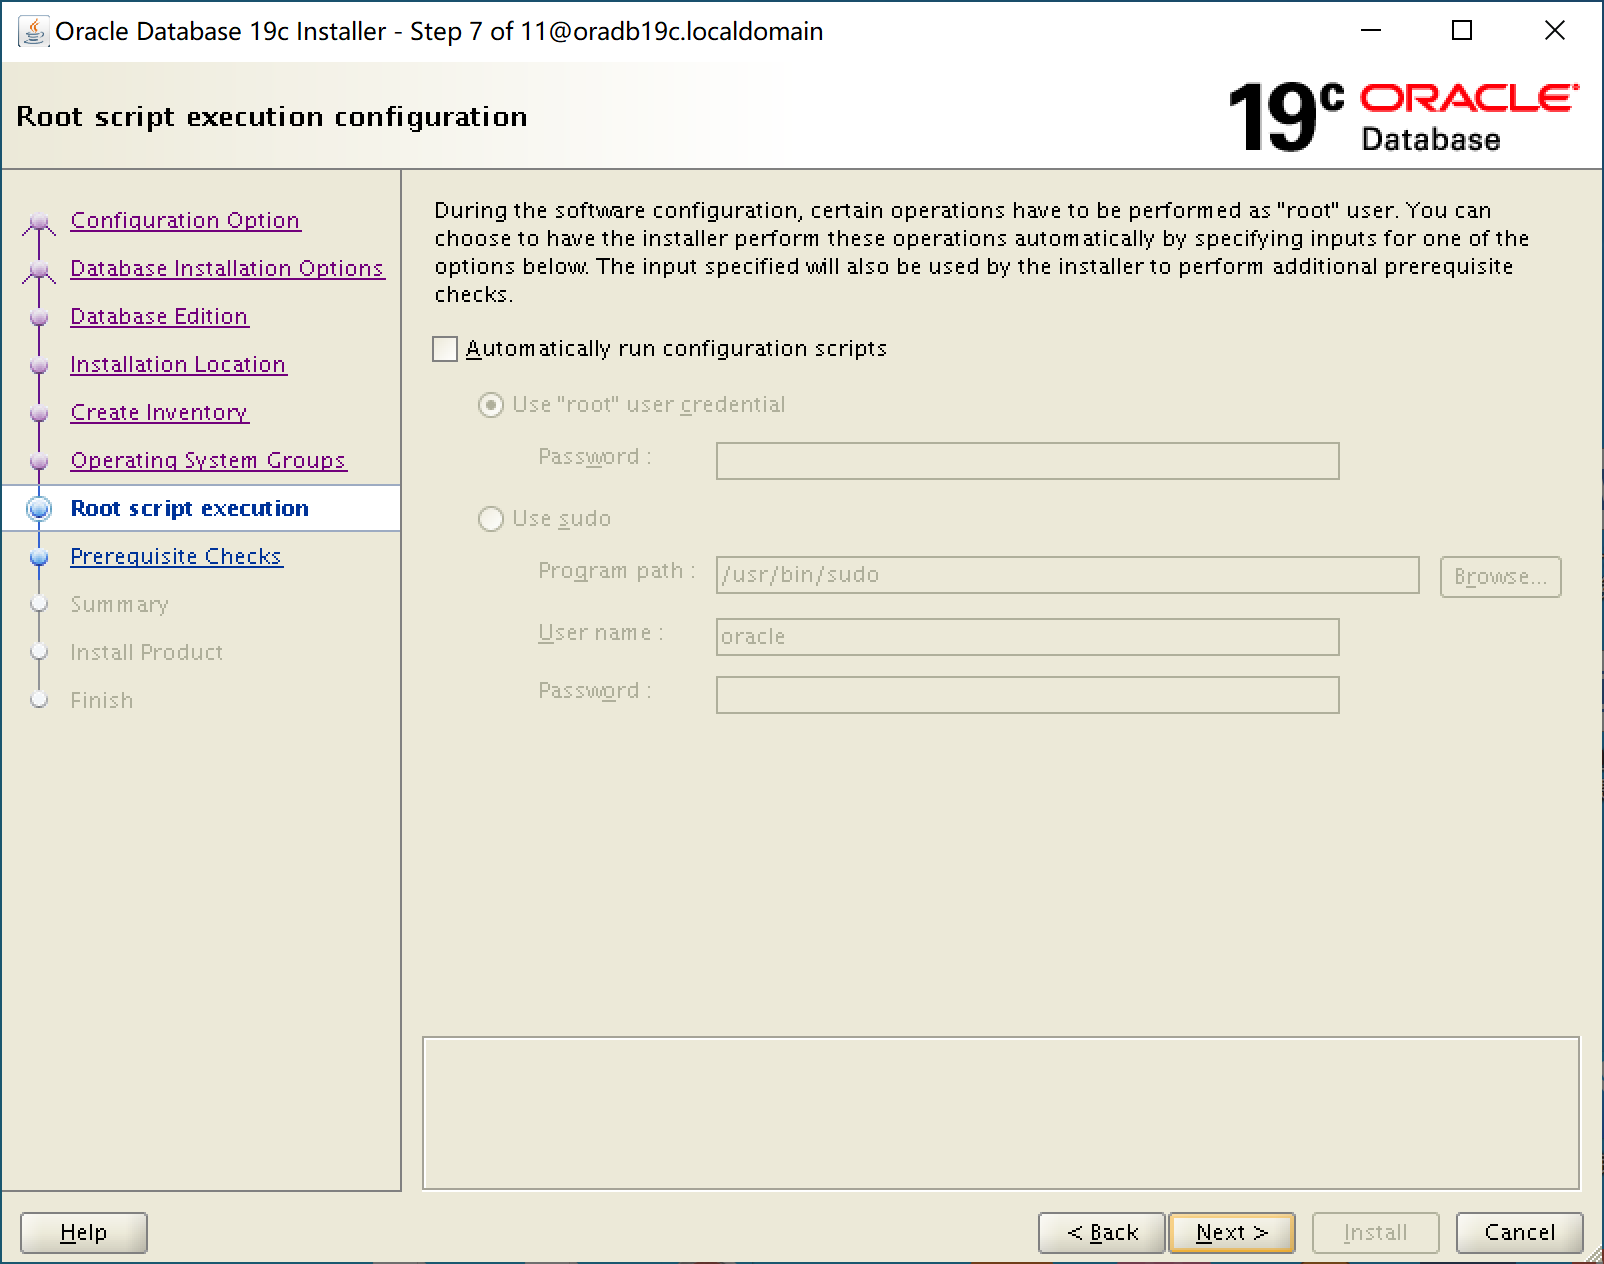
7. 如图,不使用自动 root 脚本执行
8. 先决条件检查全部通过

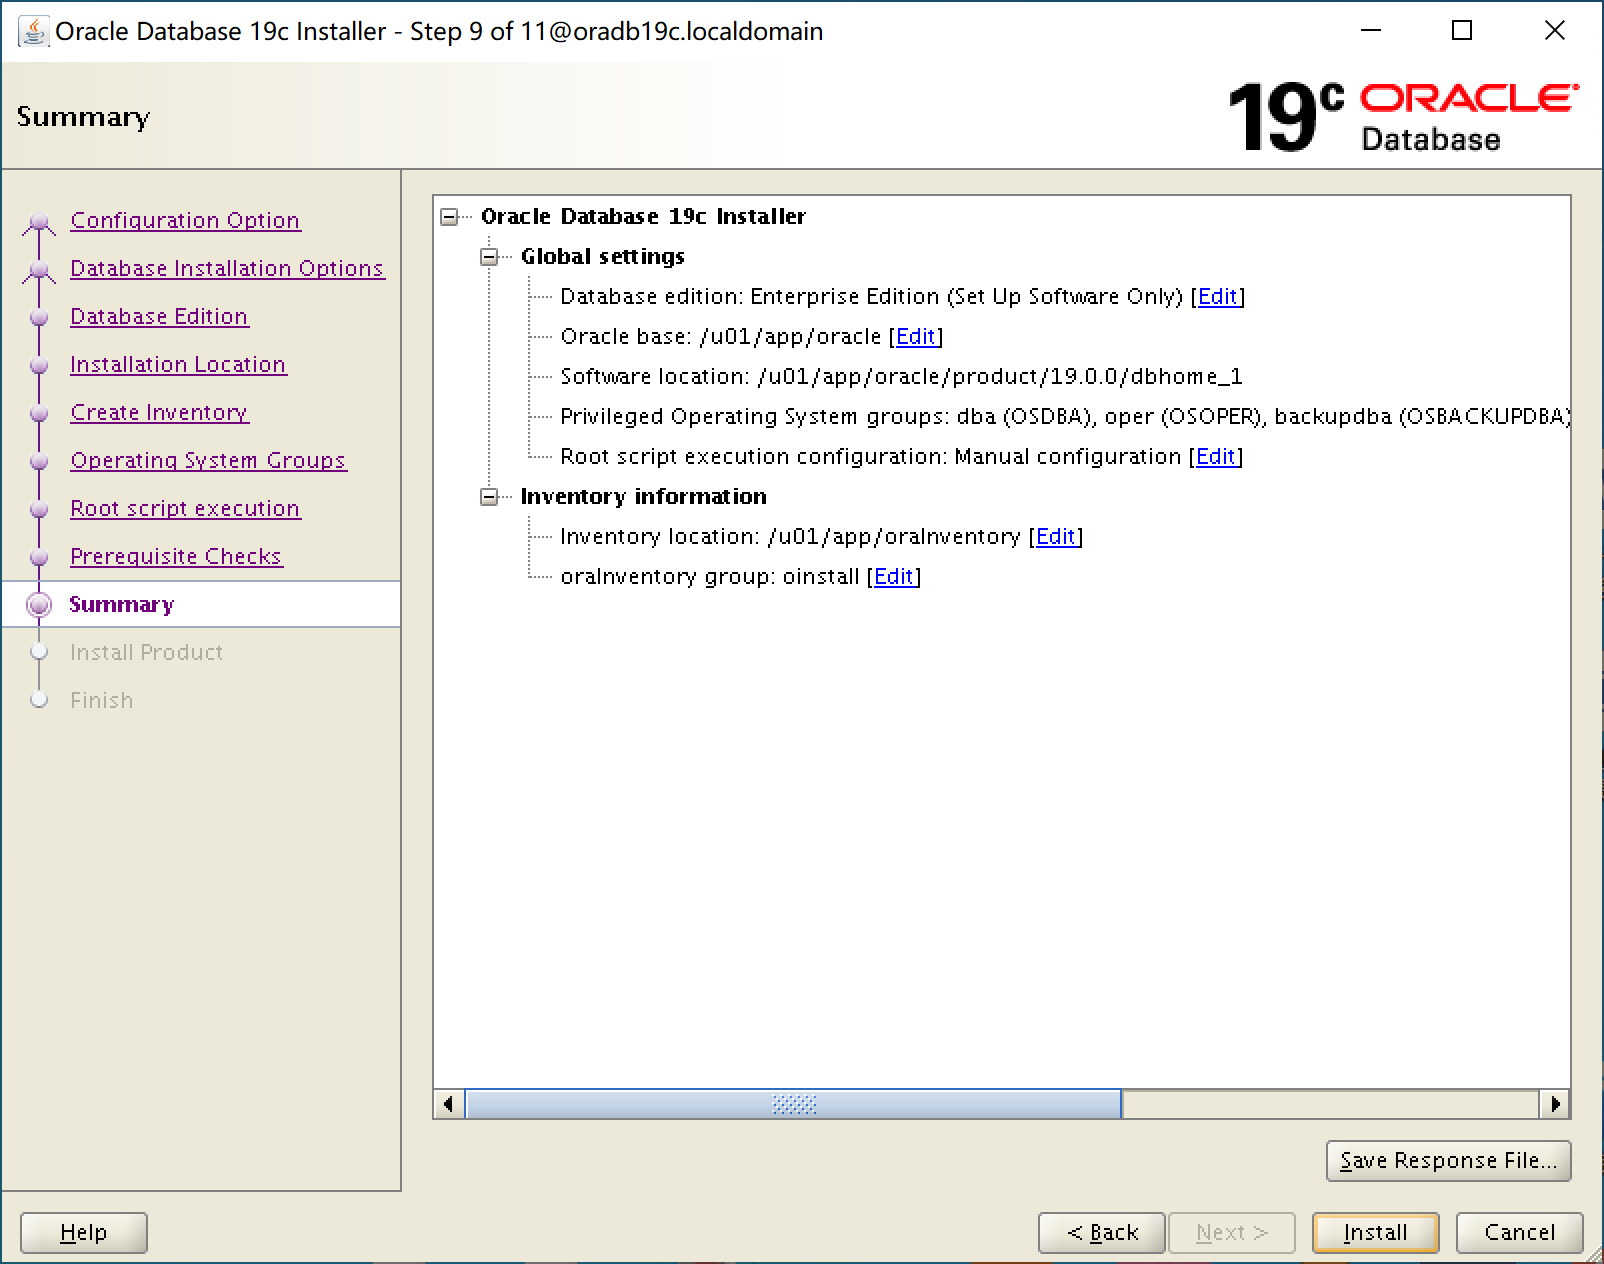
9. 安装设置汇总,点击【Install】开始安装
10. 提示运行 root 脚本
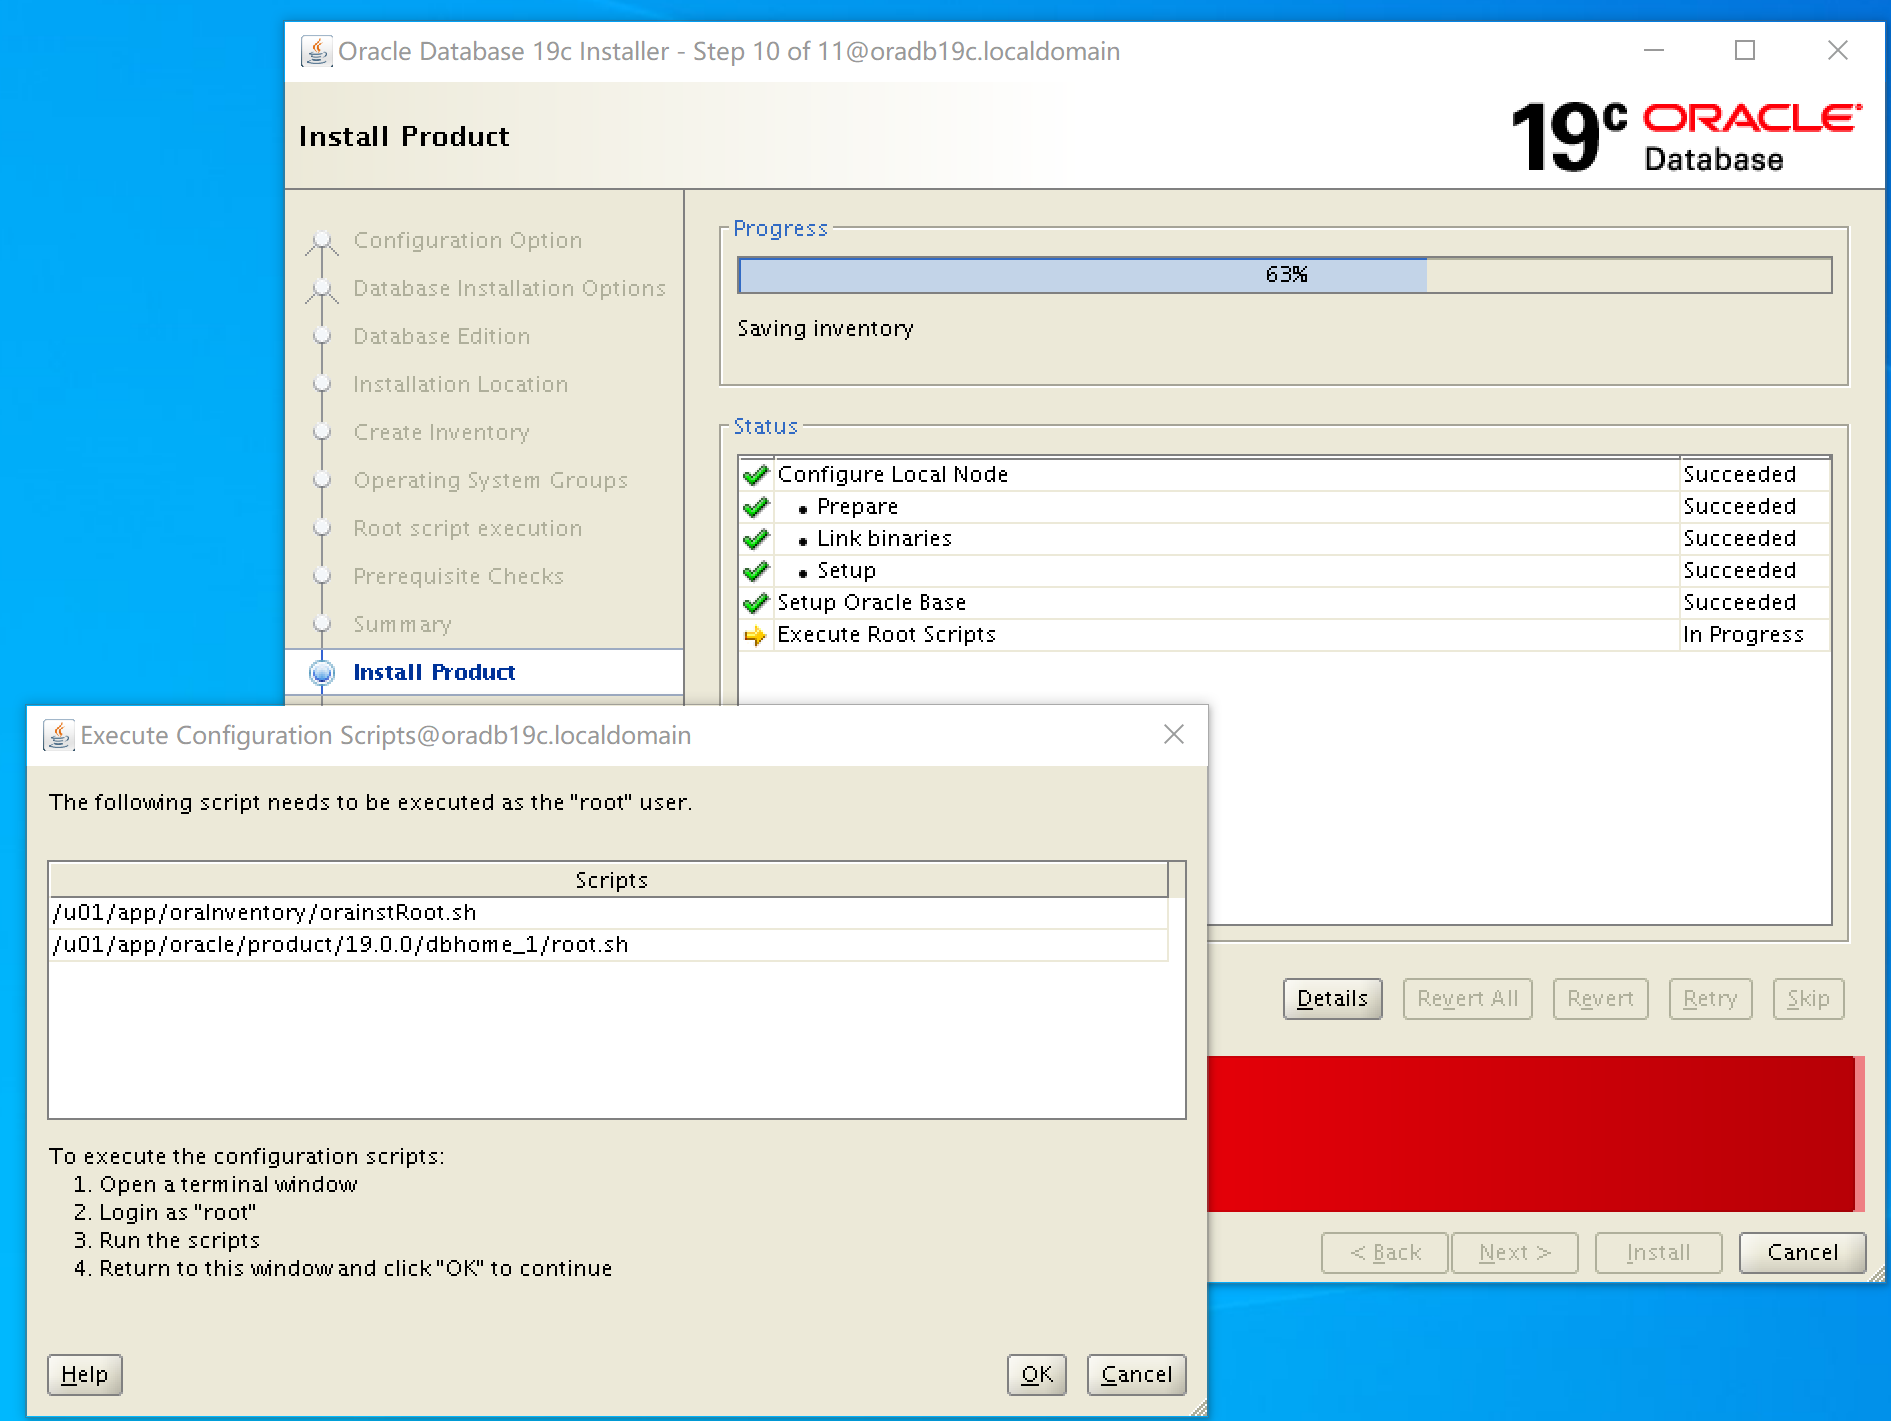
11. 切换到 root 用户,运行脚本
[root@oradb19c ~]# /u01/app/oraInventory/orainstRoot.sh
Changing permissions of /u01/app/oraInventory.
Adding read,write permissions for group.
Removing read,write,execute permissions for world.

Changing groupname of /u01/app/oraInventory to oinstall.
The execution of the script is complete.
[root@oradb19c ~]# /u01/app/oracle/product/19.0.0/dbhome_1/root.sh
Performing root user operation.

The following environment variables are set as:
    ORACLE_OWNER= oracle
    ORACLE_HOME=  /u01/app/oracle/product/19.0.0/dbhome_1

Enter the full pathname of the local bin directory: [/usr/local/bin]:
   Copying dbhome to /usr/local/bin ...
   Copying oraenv to /usr/local/bin ...
   Copying coraenv to /usr/local/bin ...


Creating /etc/oratab file...
Entries will be added to the /etc/oratab file as needed by
Database Configuration Assistant when a database is created
Finished running generic part of root script.
Now product-specific root actions will be performed.
Oracle Trace File Analyzer (TFA - Standalone Mode) is available at :
    /u01/app/oracle/product/19.0.0/dbhome_1/bin/tfactl

Note :
1. tfactl will use TFA Service if that service is running and user has been granted access
2. tfactl will configure TFA Standalone Mode only if user has no access to TFA Service or TFA is not installed
12. 待脚本运行结束,点击【OK】完成安装
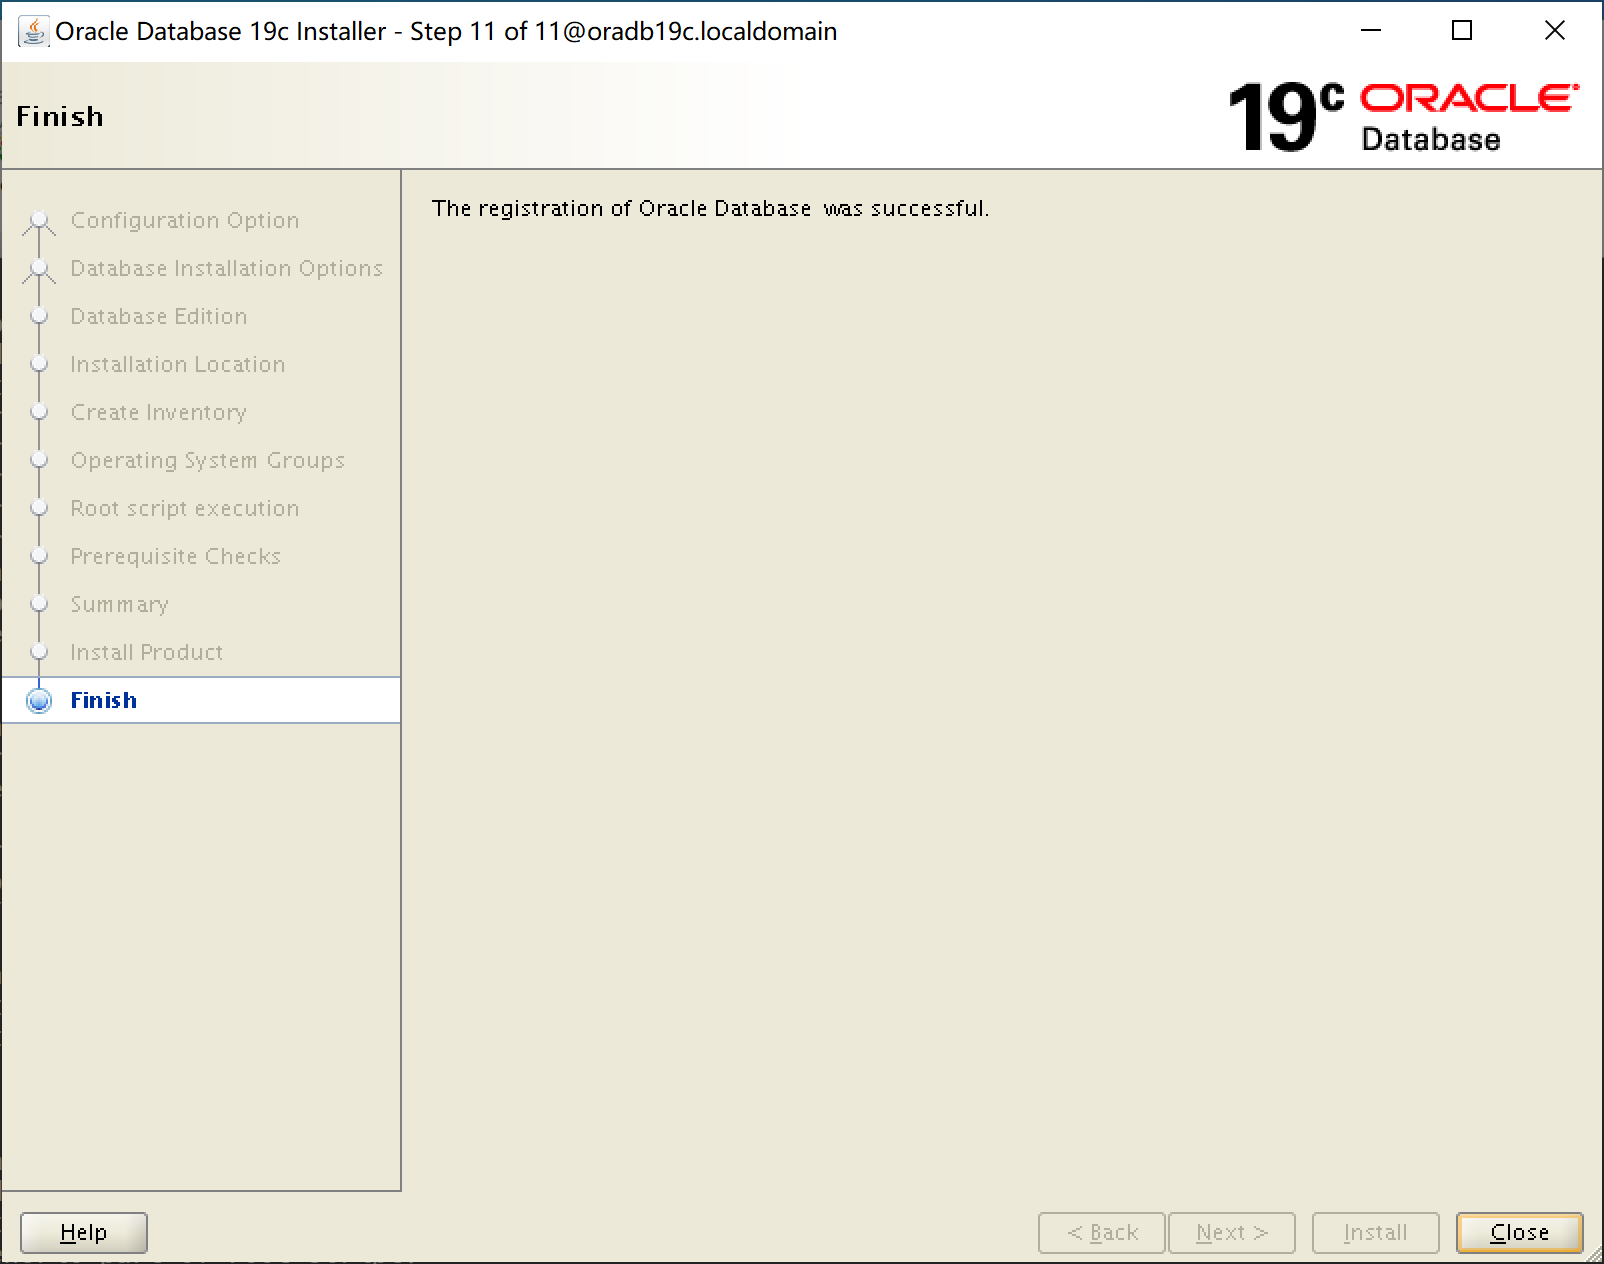
至此我们的 19C 软件安装已经成功完成,如下调用 sqlplus 打印版本信息显示 sqlplus 运行正常。
[oracle@oradb19c dbhome_1]$ sqlplus -v

SQL*Plus: Release 19.0.0.0.0 - Production
Version 19.3.0.0.0
在下一篇《Oracle Linux 7.9 上安装 19C 单实例数据库系列教程(五):创建数据库》中我们将创建数据库和数据库实例。
参考链接:

 浙公网安备 33010602011771号