
Oracle Linux 7.9 上安装 19C 单实例数据库系列教程(三):安装前配置
经过前面两篇,我们已经完成操作系统安装,软件包的更新。在本篇我们将完成:
- 安装 VirtualBox 虚拟机增强功能;
- 使用共享文件夹功能,使虚拟机能访问宿主机上保存安装文件的文件夹;
- 安装 rlwrap 工具;
- 使用 yum 安装 oracle-database-preinstall-19c RPM包;
- 将 oracle 用户增加到 vboxsf 用户组;
- 新建 19C 安装目录并设置权限。
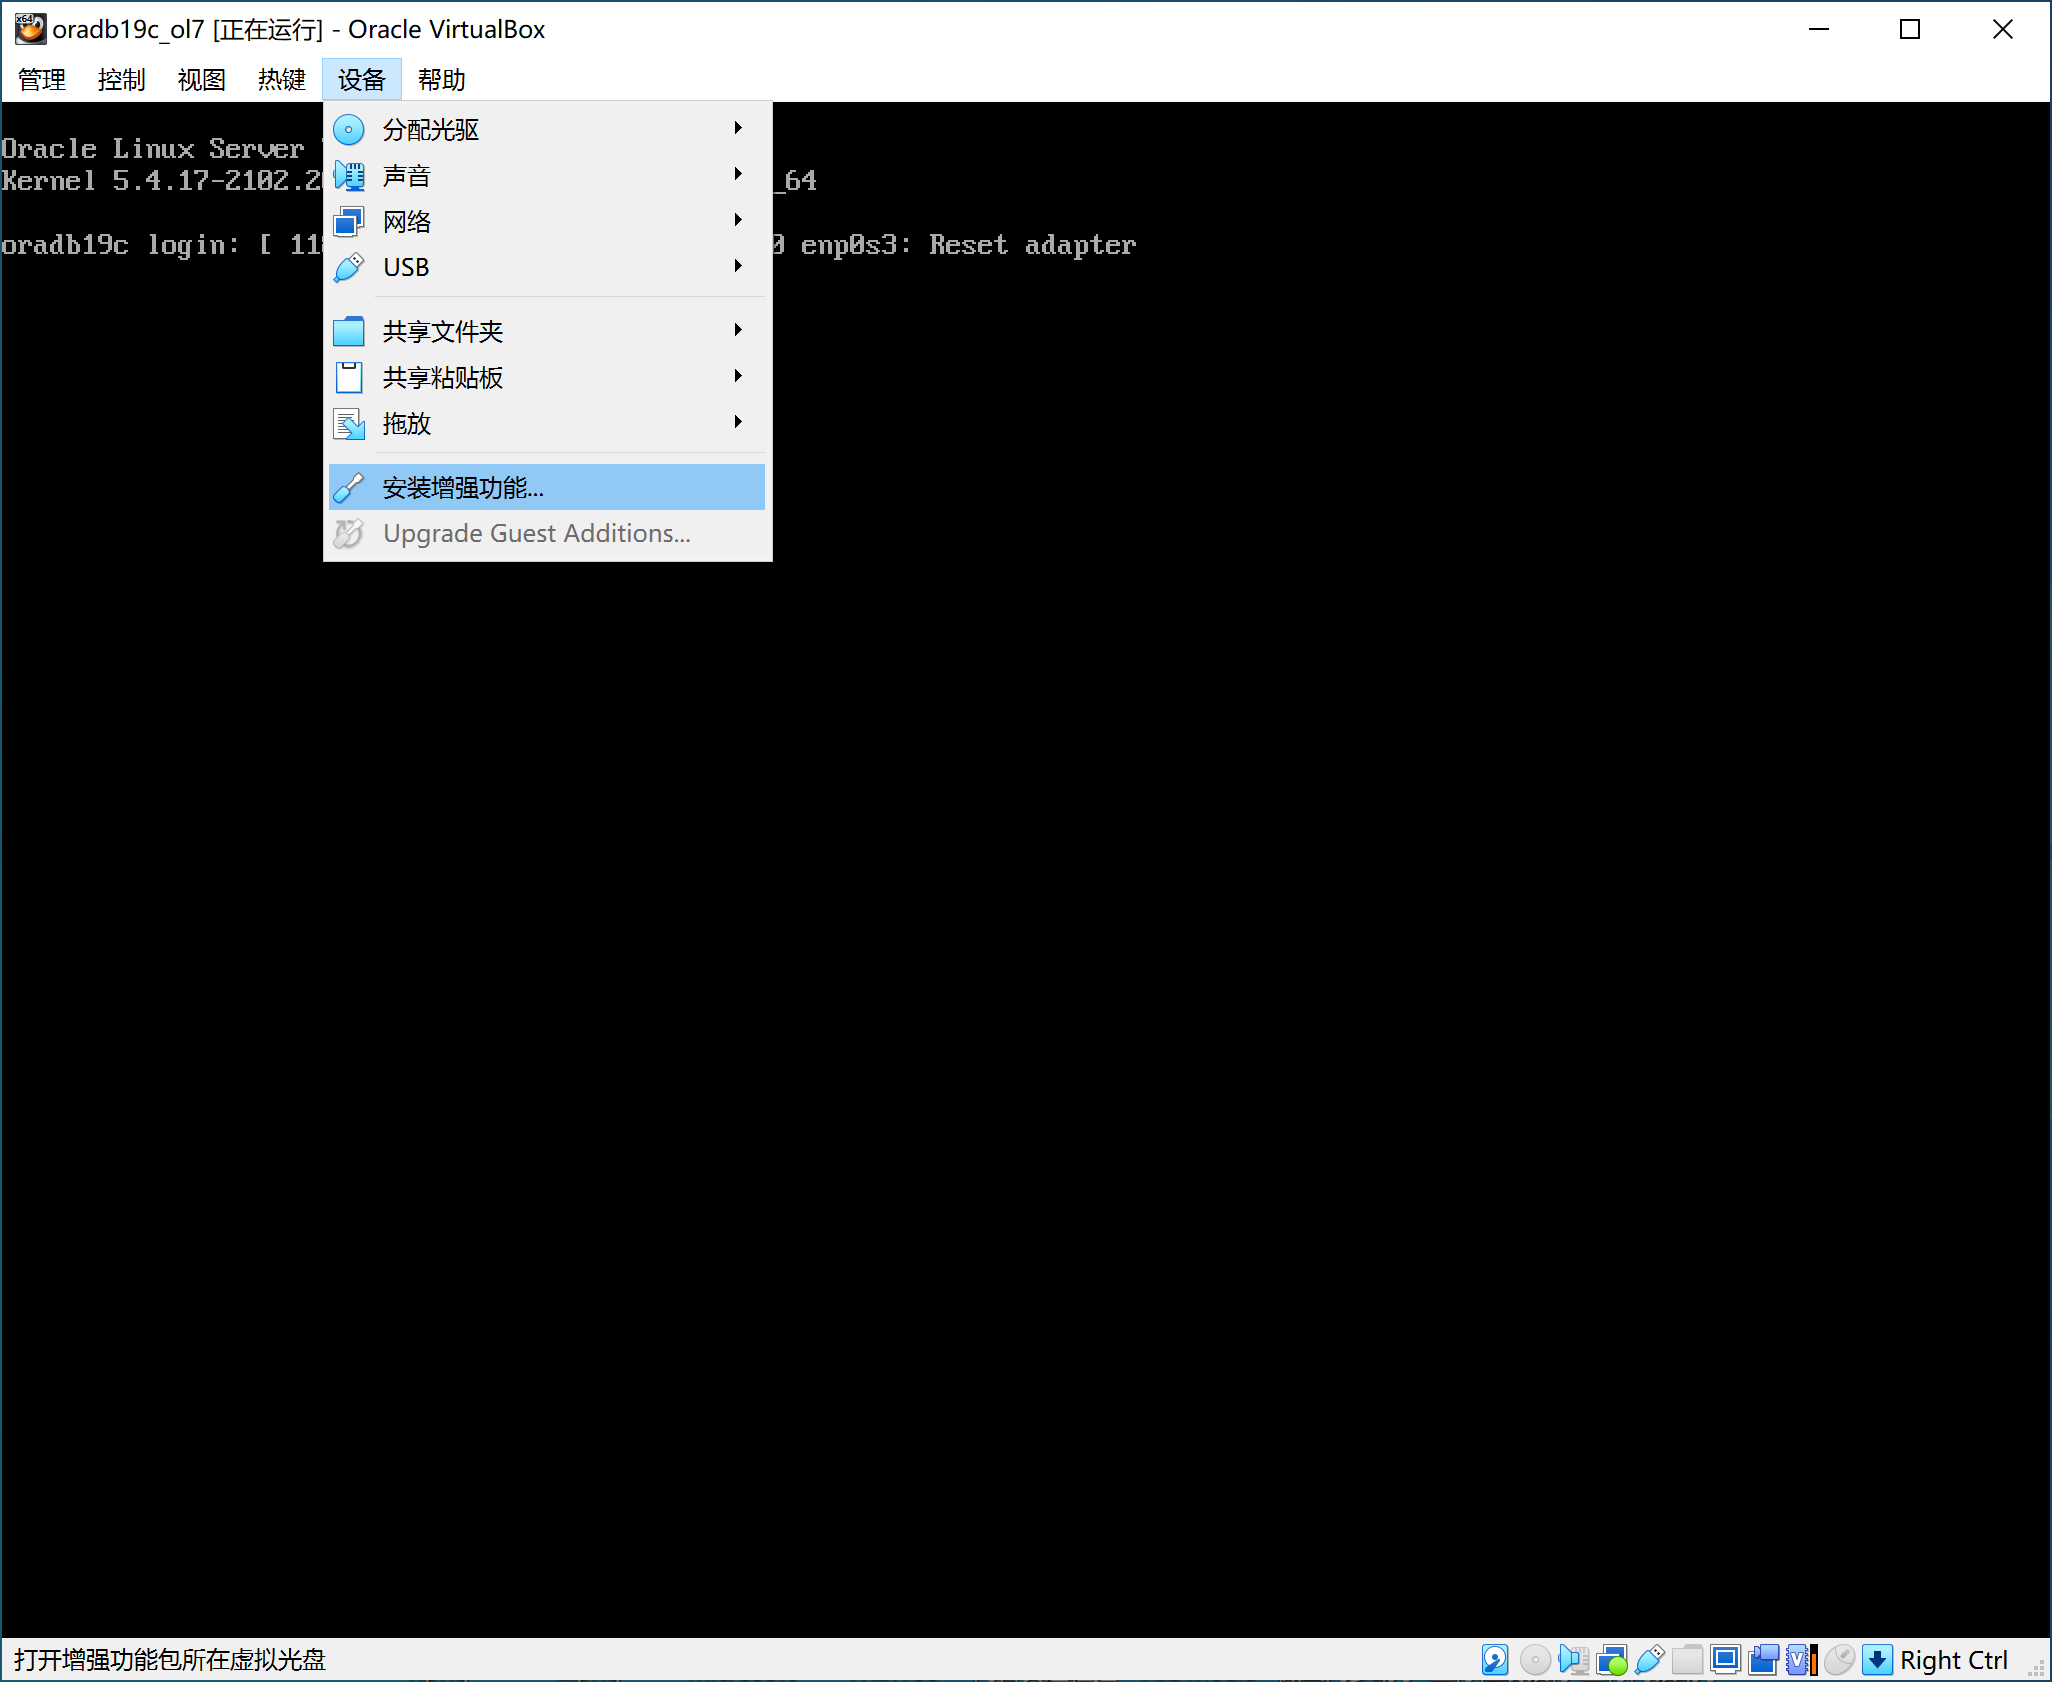
一、安装 VirtualBox 虚拟机增强功能
-
点击虚拟机界面菜单可以在光驱挂载对应虚拟机 OS 的 ISO
![]()
-
把光驱设备 mount 到 /media 目录中
[root@oradb19c ~]# mount /dev/sr0 /media
mount: /dev/sr0 is write-protected, mounting read-only
[root@oradb19c ~]# ls /media
AUTORUN.INF  NT3x          TRANS.TBL                          VBoxLinuxAdditions-arm64.run  VBoxWindowsAdditions-amd64.exe  windows11-bypass.reg
autorun.sh   OS2           VBoxDarwinAdditions.pkg            VBoxLinuxAdditions.run        VBoxWindowsAdditions.exe
cert         runasroot.sh  VBoxDarwinAdditionsUninstall.tool  VBoxSolarisAdditions.pkg      VBoxWindowsAdditions-x86.exe
- 安装必要的工具和库
[root@oradb19c ~]# yum install -y tar bzip2 unzip gcc make kernel-uek-devel
# 此处省略输出
- 运行安装程序 VBoxLinuxAdditions.run
[root@oradb19c ~]# /media/VBoxLinuxAdditions.run
Verifying archive integrity...  100%   MD5 checksums are OK. All good.
Uncompressing VirtualBox 7.1.6 Guest Additions for Linux  100%
VirtualBox Guest Additions installer
VirtualBox Guest Additions: Starting.
VirtualBox Guest Additions: Setting up modules
VirtualBox Guest Additions: Building the VirtualBox Guest Additions kernel
modules.  This may take a while.
VirtualBox Guest Additions: To build modules for other installed kernels, run
VirtualBox Guest Additions:   /sbin/rcvboxadd quicksetup <version>
VirtualBox Guest Additions: or
VirtualBox Guest Additions:   /sbin/rcvboxadd quicksetup all
VirtualBox Guest Additions: Building the modules for kernel
5.4.17-2136.338.4.2.el7uek.x86_64.
VirtualBox Guest Additions: reloading kernel modules and services
VirtualBox Guest Additions: kernel modules and services 7.1.6 r167084 reloaded
VirtualBox Guest Additions: NOTE: you may still consider to re-login if some
user session specific services (Shared Clipboard, Drag and Drop, Seamless or
Guest Screen Resize) were not restarted automatically
二、配置共享文件夹功能
- 点击虚拟机界面,共享文件夹菜单
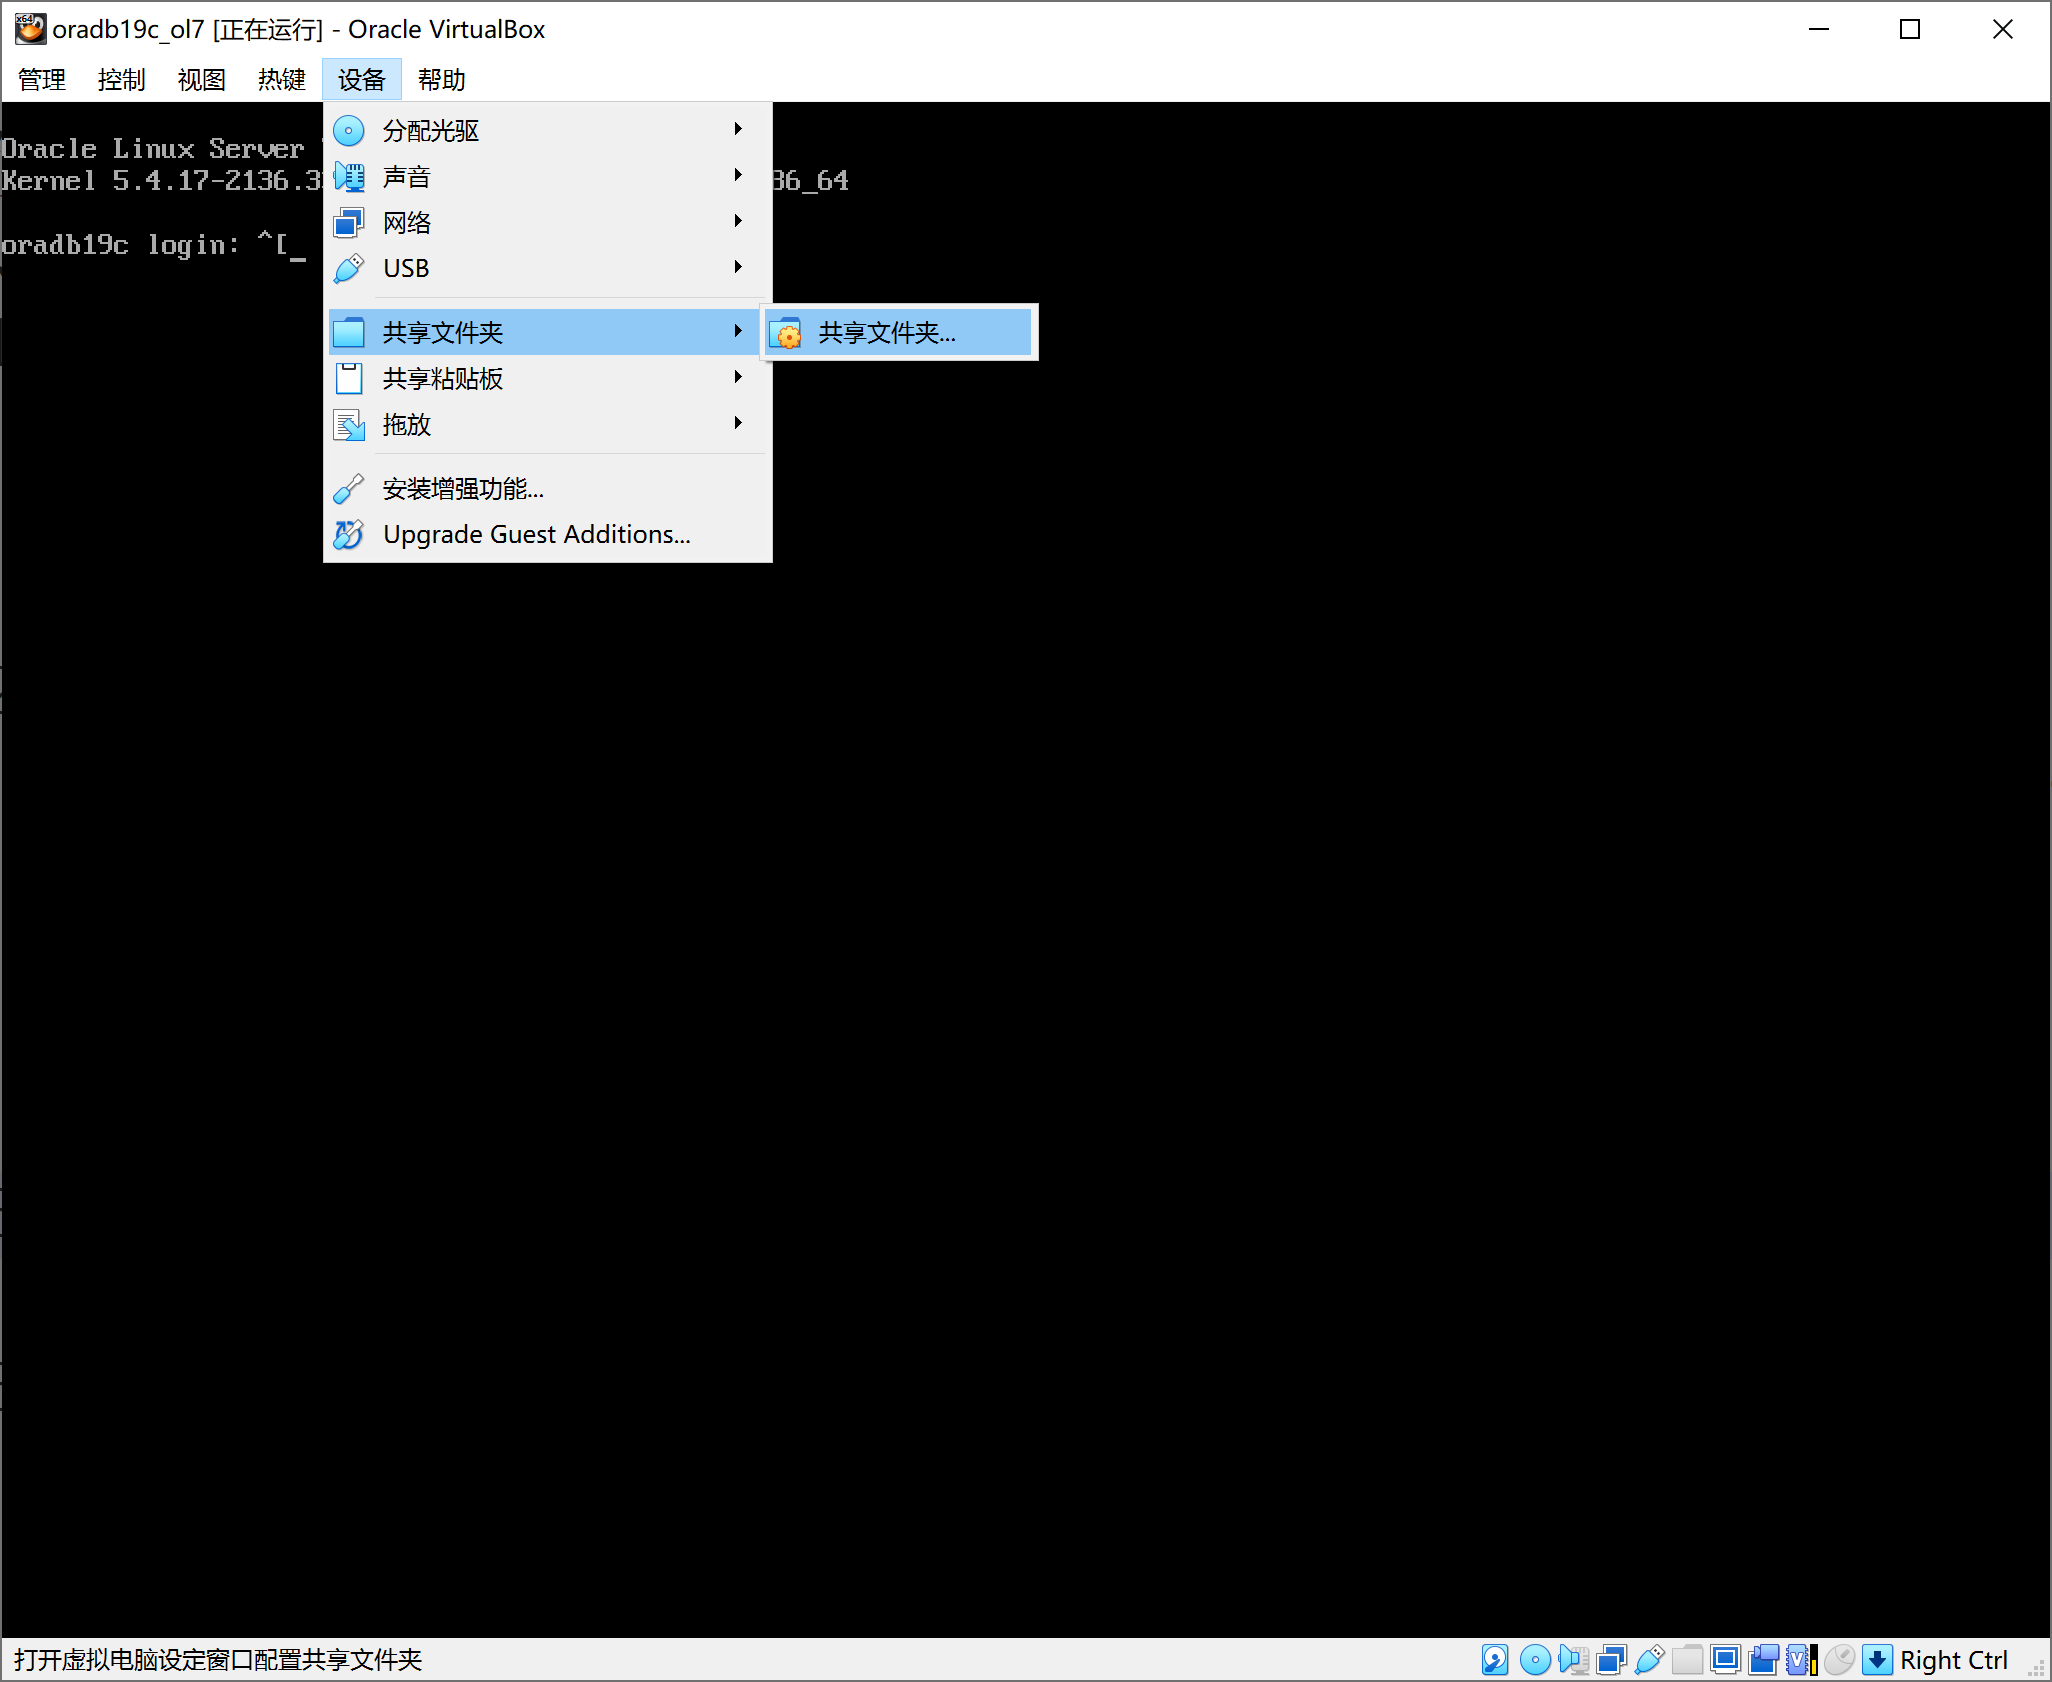
- 设置 oracleinstall 目录共享到虚拟机 /mnt 目录
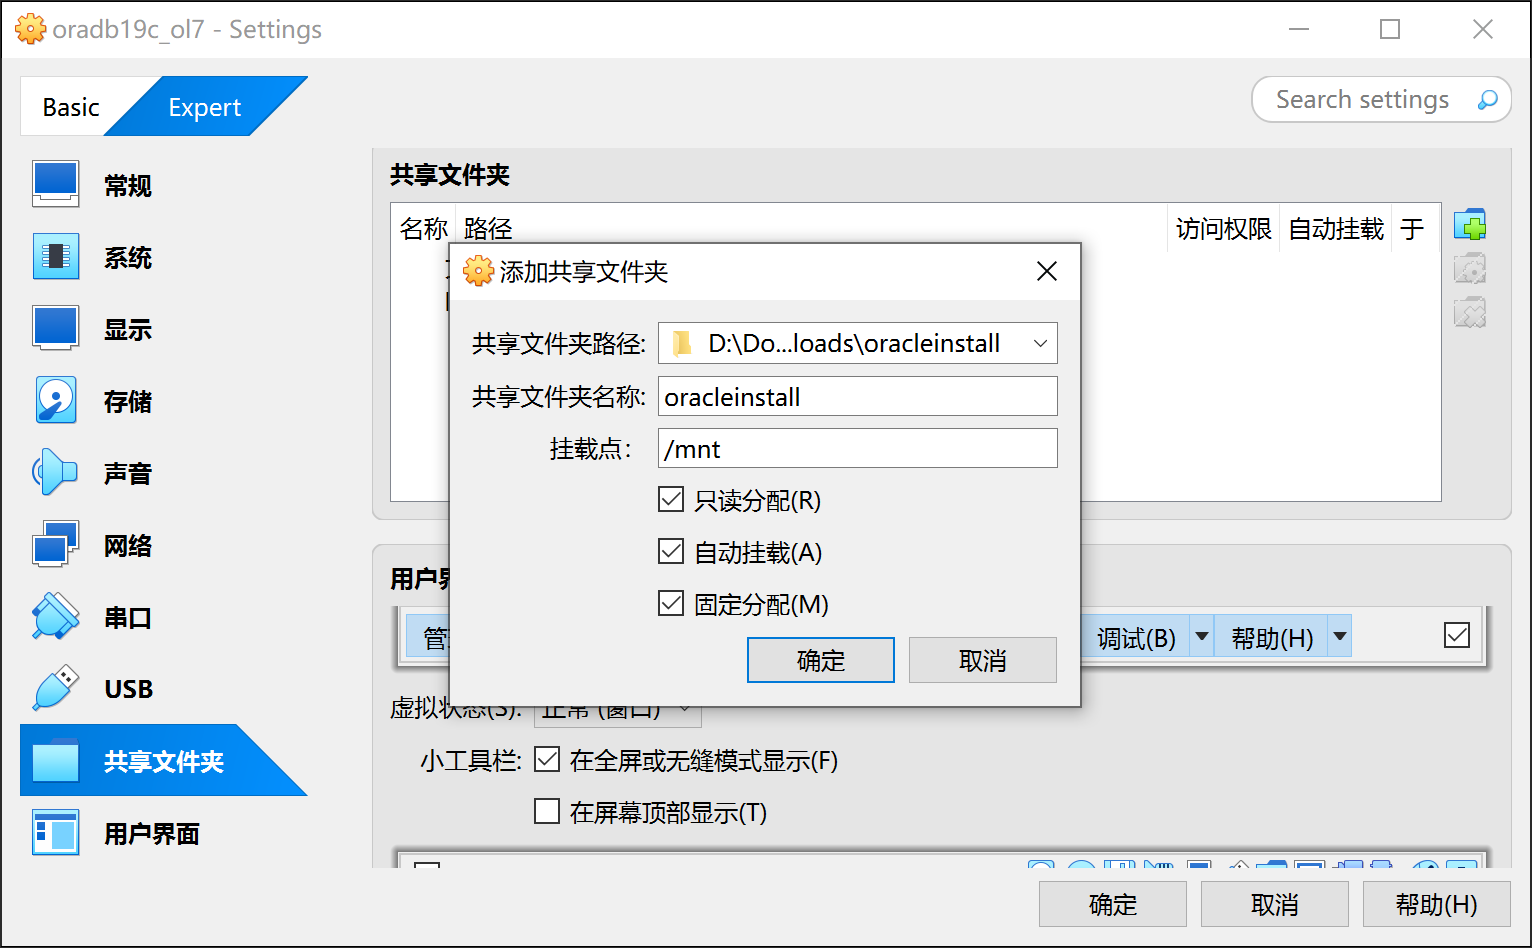
- 查看目录文件
[root@oradb19c ~]# ls /mnt
db_home_gold_image_1927_20250516.zip  LINUX.X64_193000_examples.zip   ords-20.4.3.050.1904.zip          rlwrap-0.45.2.zip
LINUX.X64_193000_db_home.zip          LINUX.X64_193000_grid_home.zip  p6880880_190000_Linux-x86-64.zip  sqlcl-22.4.0.342.1212.zip
三、安装 rlwrap 工具(可选)
[root@oradb19c ~]# yum install -y readline-devel
# 此处省略输出
[root@oradb19c ~]# cp /mnt/rlwrap-0.45.2.zip .
[root@oradb19c ~]# unzip -q rlwrap-0.45.2.zip
[root@oradb19c ~]# cd rlwrap-0.45.2
[root@oradb19c rlwrap-0.45.2]# ./configure
# 此处省略输出
[root@oradb19c rlwrap-0.45.2]# make && make check && make install
# 此处省略输出
[root@oradb19c rlwrap-0.45.2]# rlwrap
Usage: rlwrap [options] command ...

Options:
  -a[password prompt]        --always-readline[=password prompt]
  -A                         --ansi-colour-aware
  -b  <chars>                --break-chars=<chars>
  -c                         --complete-filenames
  -C  <name|N>               --command-name=<name|N>
  -D  <0|1|2>                --history-no-dupes=<0|1|2>
  -e  <char|''>              --extra-char-after-completion=<char|''>
  -f  <completion list>      --file=<completion list>
  -g  <regexp>               --forget-matching=<regexp>
  -h                         --help
  -H  <file>                 --history-filename=<file>
  -i                         --case-insensitive
  -I                         --pass-sigint-as-sigterm
  -l  <file>                 --logfile=<file>
  -m[newline substitute]     --multi-line[=newline substitute]
  -M  <.ext>                 --multi-line-ext=<.ext>
  -n                         --no-warnings
  -N                         --no-children
  -o                         --one-shot
  -O  <regexp>               --only-cook=<regexp>
  -p[colour]                 --prompt-colour[=colour]
  -P  <input>                --pre-given=<input>
  -q  <chars>                --quote-characters=<chars>
  -r                         --remember
  -R                         --renice
  -s  <N>                    --histsize=<N> (negative: readonly)
  -S  <prompt>               --substitute-prompt=<prompt>
  -t  <name>                 --set-term-name=<name>
  -U                         --mirror-arguments
  -v                         --version
  -w  <N>                    --wait-before-prompt=<N> (msec, <0  : patient mode)
  -W                         --polling
  -z  <filter command>       --filter=<filter command> ('rlwrap -z listing' writes a list of installed filters)

bug reports, suggestions, updates:
https://github.com/hanslub42/rlwrap
从 rlwrap 命令输出可以看出 rlwrap 安装成功。
四、映射主机名和IP,关闭防火墙
在 /etc/hosts 文件中增加 enp0s8 的IP地址到主机名的映射并关闭防火墙,方便后续配置 TNS 监听器。
[root@oradb19c ~]# vi /etc/hosts
[root@oradb19c ~]# cat /etc/hosts
cat /etc/hosts
127.0.0.1   localhost localhost.localdomain localhost4 localhost4.localdomain4
::1         localhost localhost.localdomain localhost6 localhost6.localdomain6

192.168.56.122  oradb19c
192.168.56.122  oradb19c.localdomain
[root@oradb19c ~]#
[root@oradb19c ~]# systemctl stop firewalld
[root@oradb19c ~]# systemctl disable firewalld
Removed symlink /etc/systemd/system/multi-user.target.wants/firewalld.service.
Removed symlink /etc/systemd/system/dbus-org.fedoraproject.FirewallD1.service.
五、安装 oracle-database-preinstall-19c RPM包
[root@oradb19c ~]# yum install -y oracle-database-preinstall-19c
# 此处省略输出
六、将 oracle 用户增加到 vboxsf 用户组,并修改用户密码
增加 vboxsf 组可以让 oracle 用户能够访问 /mnt 共享文件夹,这是官方文档没有部分。如果不使用共享文件夹,选择其他方法,如用 scp 工具把安装文件传输到虚拟机中,那就不用执行共享文件夹相关的操作。
[root@oradb19c ~]# usermod -a -G vboxsf oracle
[root@oradb19c ~]# passwd oracle
Changing password for user oracle.
New password:
BAD PASSWORD: The password is shorter than 8 characters
Retype new password:
passwd: all authentication tokens updated successfully.
七、新建 19C 安装目录并设置权限
[root@oradb19c ~]# mkdir -p /u01/app/oracle/product/19.0.0/dbhome_1
[root@oradb19c ~]# chown -R oracle:oinstall /u01
[root@oradb19c ~]# chmod -R 775 /u01
至此为止我们一直使用 root 用户进行操作,之后的操作会使用 oracle 用户,需要切换到 root 用户时会特别说明。
在下一篇《Oracle Linux 7.9 上安装 19C 单实例数据库系列教程(四):安装数据库》中我们将完成 19C 软件安装。

 浙公网安备 33010602011771号