
原始版本
https://github.com/naver/mast3r
加速版本 必须cuda12.1 装不上
peedy MASt3R 在不影响准确率的情况下,将推理时间缩短了 54%(每对图像从 198 毫秒缩短至 91 毫秒)。这一改进实现实时 3D 理解,助力MR导航和大规模 3D 场景重建等应用。
https://github.com/ASU-ESIC-FAN-Lab/speedy_mast3r
- 克隆 MASt3R。
git clone --recursive https://github.com/naver/mast3r
cd mast3r
git submodule update --init --recursive
- 创建环境,这里我们以 conda 为例进行说明。 注意适配自己的环境
conda create -n mast3r python=3.11 cmake=3.14.0
conda activate mast3r
conda install pytorch=2.7 torchvision pytorch-cuda=11.8 -c pytorch -c nvidia  # use the correct version of cuda for your system
pip install -r requirements.txt
pip install -r dust3r/requirements.txt
# Optional: you can also install additional packages to:
# - add support for HEIC images
# - add required packages for visloc.py
pip install -r dust3r/requirements_optional.txt
- 编译并安装 ASMK
pip install cython

git clone https://github.com/jenicek/asmk
cd asmk/cython/
cythonize *.pyx
cd ..
pip install backports.tarfile
conda update setuptools pip backports
conda install -c conda-forge libgcc-ng libstdcxx-ng
sudo apt-get update
sudo apt-get install libc6-dev
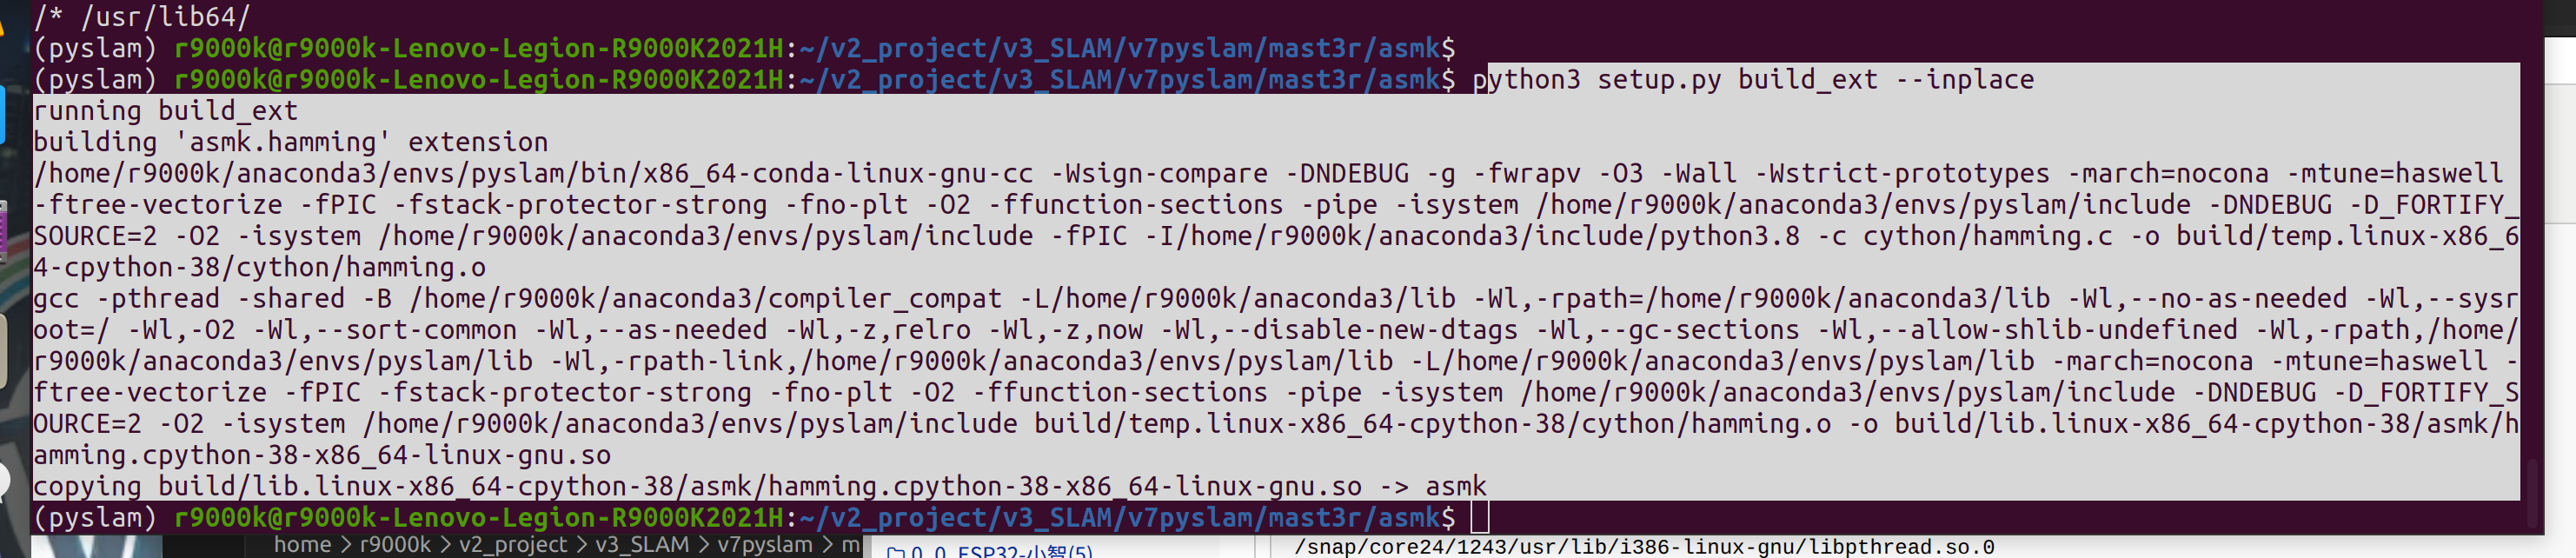
python3 setup.py build_ext --inplace
或者

pip install .
cd ..
1报错libpthread找不到
查找系统库文件位置:首先需要确认您系统的 libpthread.so.0文件在哪里。
sudo find / -name libpthread.so.0 2>/dev/null
/home/r9000k/anaconda3/pkgs/sysroot_linux-64-2.17-h0157908_18/x86_64-conda-linux-gnu/sysroot/lib64/libpthread.so.0
/home/r9000k/anaconda3/envs/pyslam/x86_64-conda-linux-gnu/sysroot/lib64/libpthread.so.0
/usr/lib/i386-linux-gnu/libpthread.so.0
/usr/lib/x86_64-linux-gnu/libpthread.so.0
/usr/lib32/libpthread.so.0
/opt/deepinwine/runtime-i386/lib/i386-linux-gnu/libpthread.so.0
/opt/deepinwine/runtime-i386/lib/x86_64-linux-gnu/libpthread.so.0
/snap/snapd/25202/usr/lib/x86_64-linux-gnu/libpthread.so.0
/snap/snapd/25577/usr/lib/x86_64-linux-gnu/libpthread.so.0
/snap/core20/2686/usr/lib/i386-linux-gnu/libpthread.so.0
/snap/core20/2686/usr/lib/x86_64-linux-gnu/libpthread.so.0
/snap/core20/2682/usr/lib/i386-linux-gnu/libpthread.so.0
/snap/core20/2682/usr/lib/x86_64-linux-gnu/libpthread.so.0
/snap/core22/2163/usr/lib/i386-linux-gnu/libpthread.so.0
/snap/core22/2163/usr/lib/x86_64-linux-gnu/libpthread.so.0
/snap/core22/2193/usr/lib/i386-linux-gnu/libpthread.so.0
/snap/core22/2193/usr/lib/x86_64-linux-gnu/libpthread.so.0
/snap/core18/2976/lib/i386-linux-gnu/libpthread.so.0
/snap/core18/2976/lib/x86_64-linux-gnu/libpthread.so.0
/snap/core18/2959/lib/i386-linux-gnu/libpthread.so.0
/snap/core18/2959/lib/x86_64-linux-gnu/libpthread.so.0
/snap/core24/1237/usr/lib/i386-linux-gnu/libpthread.so.0
/snap/core24/1237/usr/lib/x86_64-linux-gnu/libpthread.so.0
/snap/core24/1243/usr/lib/i386-linux-gnu/libpthread.so.0
/snap/core24/1243/usr/lib/x86_64-linux-gnu/libpthread.so.0
查找你的Conda环境中的系统库路径。通常它在 $CONDA_PREFIX/x86_64-conda-linux-gnu/sysroot/下。你可以使用以下命令查找:
find $CONDA_PREFIX -name "libpthread.so.0" 2>/dev/null

假设找到了相关文件,使用 cp -inr命令将Conda环境中的库文件复制到系统库目录(注意:使用 -n参数避免覆盖已有文件)
sudo cp -inr $CONDA_PREFIX/x86_64-conda-linux-gnu/sysroot/lib64/* /lib64/
sudo cp -inr $CONDA_PREFIX/x86_64-conda-linux-gnu/sysroot/usr/lib64/* /usr/lib64/
成功新安装看起来你的编译过程已经成功了!
报错2
(可选)编译 RoPE 的 cuda 内核(如 CroCo v2 中那样)先跳过
这个错误是因为你的 CUDA 11.8 与当前使用的 GCC 编译器版本不兼容。错误信息明确提示:unsupported GNU version! gcc versions later than 11 are not supported!。这意味着 CUDA 11.8 不支持版本高于 11 的 GCC 编译器。
conda install -c conda-forge gxx_linux-64=11.*
测试代码
自动下载全红和数据
from mast3r.model import AsymmetricMASt3R
from mast3r.fast_nn import fast_reciprocal_NNs

import mast3r.utils.path_to_dust3r
from dust3r.inference import inference
from dust3r.utils.image import load_images

if __name__ == '__main__':
    device = 'cuda'
    model_name = "naver/MASt3R_ViTLarge_BaseDecoder_512_catmlpdpt_metric"
    # you can put the path to a local checkpoint in model_name if needed
    model = AsymmetricMASt3R.from_pretrained(model_name).to(device)
    images = load_images(['dust3r/croco/assets/Chateau1.png', 'dust3r/croco/assets/Chateau2.png'], size=512)
    output = inference([tuple(images)], model, device, batch_size=1, verbose=False)

    # at this stage, you have the raw dust3r predictions
    view1, pred1 = output['view1'], output['pred1']
    view2, pred2 = output['view2'], output['pred2']

    desc1, desc2 = pred1['desc'].squeeze(0).detach(), pred2['desc'].squeeze(0).detach()

    # find 2D-2D matches between the two images
    matches_im0, matches_im1 = fast_reciprocal_NNs(desc1, desc2, subsample_or_initxy1=8,
                                                   device=device, dist='dot', block_size=2**13)

    # ignore small border around the edge
    H0, W0 = view1['true_shape'][0]
    valid_matches_im0 = (matches_im0[:, 0] >= 3) & (matches_im0[:, 0] < int(W0) - 3) & (
        matches_im0[:, 1] >= 3) & (matches_im0[:, 1] < int(H0) - 3)

    H1, W1 = view2['true_shape'][0]
    valid_matches_im1 = (matches_im1[:, 0] >= 3) & (matches_im1[:, 0] < int(W1) - 3) & (
        matches_im1[:, 1] >= 3) & (matches_im1[:, 1] < int(H1) - 3)

    valid_matches = valid_matches_im0 & valid_matches_im1
    matches_im0, matches_im1 = matches_im0[valid_matches], matches_im1[valid_matches]

    # visualize a few matches
    import numpy as np
    import torch
    import torchvision.transforms.functional
    from matplotlib import pyplot as pl

    n_viz = 20
    num_matches = matches_im0.shape[0]
    match_idx_to_viz = np.round(np.linspace(0, num_matches - 1, n_viz)).astype(int)
    viz_matches_im0, viz_matches_im1 = matches_im0[match_idx_to_viz], matches_im1[match_idx_to_viz]

    image_mean = torch.as_tensor([0.5, 0.5, 0.5], device='cpu').reshape(1, 3, 1, 1)
    image_std = torch.as_tensor([0.5, 0.5, 0.5], device='cpu').reshape(1, 3, 1, 1)

    viz_imgs = []
    for i, view in enumerate([view1, view2]):
        rgb_tensor = view['img'] * image_std + image_mean
        viz_imgs.append(rgb_tensor.squeeze(0).permute(1, 2, 0).cpu().numpy())

    H0, W0, H1, W1 = *viz_imgs[0].shape[:2], *viz_imgs[1].shape[:2]
    img0 = np.pad(viz_imgs[0], ((0, max(H1 - H0, 0)), (0, 0), (0, 0)), 'constant', constant_values=0)
    img1 = np.pad(viz_imgs[1], ((0, max(H0 - H1, 0)), (0, 0), (0, 0)), 'constant', constant_values=0)
    img = np.concatenate((img0, img1), axis=1)
    pl.figure()
    pl.imshow(img)
    cmap = pl.get_cmap('jet')
    for i in range(n_viz):
        (x0, y0), (x1, y1) = viz_matches_im0[i].T, viz_matches_im1[i].T
        pl.plot([x0, x1 + W0], [y0, y1], '-+', color=cmap(i / (n_viz - 1)), scalex=False, scaley=False)
    pl.show(block=True)
报错
这个警告和错误提示表明您的 DUSt3R 项目遇到了两个主要问题:RoPE2D 的 CUDA 内核编译失败,以及 Qt 图形界面库的兼容性问题。下面我来帮您分析和解决。
问题分析
从您的输出信息可以看到两个核心问题:
-
RoPE2D CUDA 内核编译失败:
Warning, cannot find cuda-compiled version of RoPE2D, using a slow pytorch version instead -
Qt 图形界面库加载失败:导致程序崩溃
pip install "numpy<2"

 浙公网安备 33010602011771号