android组件安全测试实践
以前只会用drozer,adb等工具命令来调用测试组件的一些漏洞,但是程序内部到底是咋回事不是很清晰。今天实践测试,开发测试相关组件,将漏洞产生的一些原因更清晰一些。大牛就勿喷了,入门级别。
- Activity组件测试
首先idea创一个测试app项目
然后创建一个ActivityTest,New->Activity->Empty Activity,创建完成后会自动创建res/layout/activity_test.xml。可以在这里设置activity的界面
我们放一个webView进去,测试漏洞的时候会用到
<?xml version="1.0" encoding="utf-8"?>
<androidx.constraintlayout.widget.ConstraintLayout
        xmlns:android="http://schemas.android.com/apk/res/android"
        xmlns:tools="http://schemas.android.com/tools"
        xmlns:app="http://schemas.android.com/apk/res-auto"
        android:layout_width="match_parent"
        android:layout_height="match_parent"
        tools:context=".ActivityTest">
    <TextView
            android:layout_width="wrap_content"
            android:layout_height="wrap_content"
            android:text="Hello Activity!"
            app:layout_constraintBottom_toBottomOf="parent"
            app:layout_constraintLeft_toLeftOf="parent"
            app:layout_constraintRight_toRightOf="parent"
            app:layout_constraintTop_toTopOf="parent" app:layout_constraintVertical_bias="0.049"/>
    <WebView android:layout_width="wrap_content"
             android:layout_height="wrap_content"
             android:id="@+id/myview"
             app:layout_constraintBottom_toBottomOf="parent"
             app:layout_constraintLeft_toLeftOf="parent"
             app:layout_constraintRight_toRightOf="parent"/>


</androidx.constraintlayout.widget.ConstraintLayout>
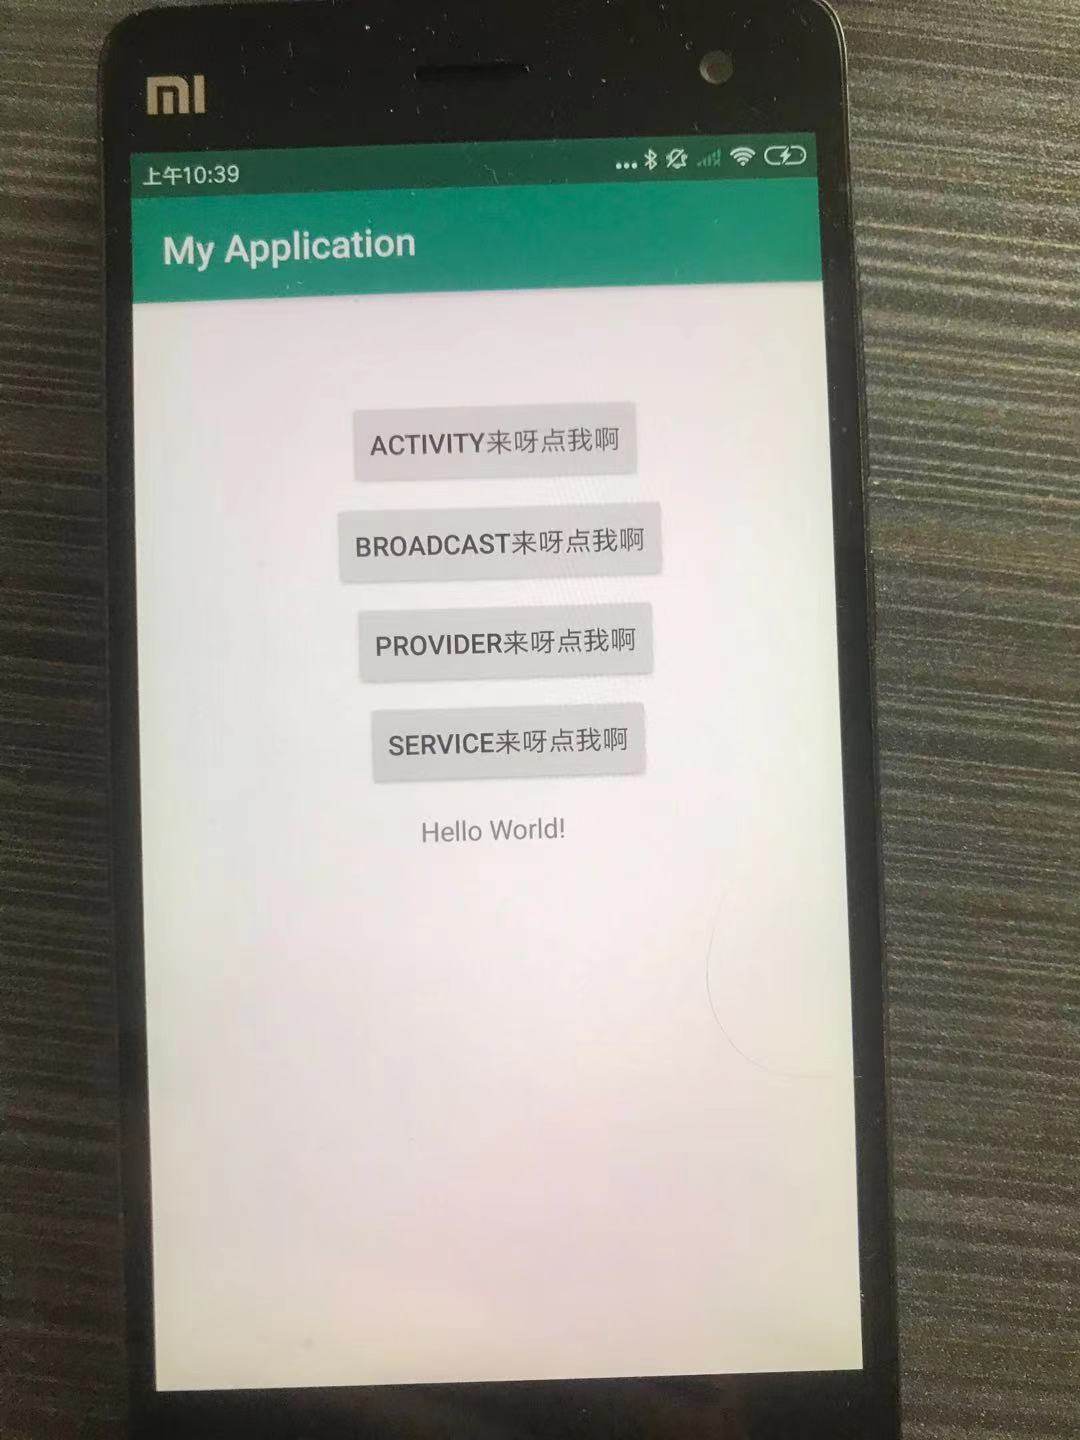
之后再activity_main.xml中加入我们需要的button用于触发测试我们需要的组件。
<?xml version="1.0" encoding="utf-8"?>
<androidx.constraintlayout.widget.ConstraintLayout
        xmlns:android="http://schemas.android.com/apk/res/android"
        xmlns:tools="http://schemas.android.com/tools"
        xmlns:app="http://schemas.android.com/apk/res-auto"
        android:layout_width="match_parent"
        android:layout_height="match_parent"
        tools:context=".MainActivity">

    <TextView
            android:layout_width="wrap_content"
            android:layout_height="wrap_content"
            android:text="Hello World!"
            app:layout_constraintBottom_toBottomOf="parent"
            app:layout_constraintLeft_toLeftOf="parent"
            app:layout_constraintRight_toRightOf="parent"
            app:layout_constraintTop_toTopOf="parent"/>
    <Button android:layout_width="wrap_content"
            android:layout_height="wrap_content"
            android:text="Activity来呀点我啊"
            android:id="@+id/test_activity"
            android:onClick="activityClick"
            app:layout_constraintBottom_toBottomOf="parent"
            app:layout_constraintLeft_toLeftOf="parent"
            app:layout_constraintRight_toRightOf="parent"
            app:layout_constraintTop_toTopOf="parent" app:layout_constraintHorizontal_bias="0.535"
            app:layout_constraintVertical_bias="0.108" tools:ignore="OnClick"/>
    <Button android:layout_width="wrap_content"
            android:layout_height="wrap_content"
            android:id="@+id/test_broadcast"
            android:text="Broadcast来呀点我啊"
            app:layout_constraintBottom_toBottomOf="parent"
            app:layout_constraintLeft_toLeftOf="parent"
            app:layout_constraintRight_toRightOf="parent"
            app:layout_constraintTop_toTopOf="parent" app:layout_constraintHorizontal_bias="0.544"
            app:layout_constraintVertical_bias="0.21"/>

    <Button android:layout_width="wrap_content"
            android:layout_height="wrap_content"
            android:id="@+id/test_provider"
            android:text="provider来呀点我啊"
            app:layout_constraintBottom_toBottomOf="parent"
            app:layout_constraintLeft_toLeftOf="parent"
            app:layout_constraintRight_toRightOf="parent"
            app:layout_constraintTop_toTopOf="parent" app:layout_constraintHorizontal_bias="0.548"
            app:layout_constraintVertical_bias="0.311"/>

    <Button android:layout_width="wrap_content"
            android:layout_height="wrap_content"
            android:id="@+id/test_service"
            android:text="service来呀点我啊"
            app:layout_constraintBottom_toBottomOf="parent"
            app:layout_constraintLeft_toLeftOf="parent"
            app:layout_constraintRight_toRightOf="parent"
            app:layout_constraintTop_toTopOf="parent" app:layout_constraintHorizontal_bias="0.545"
            app:layout_constraintVertical_bias="0.412"/>

</androidx.constraintlayout.widget.ConstraintLayout>
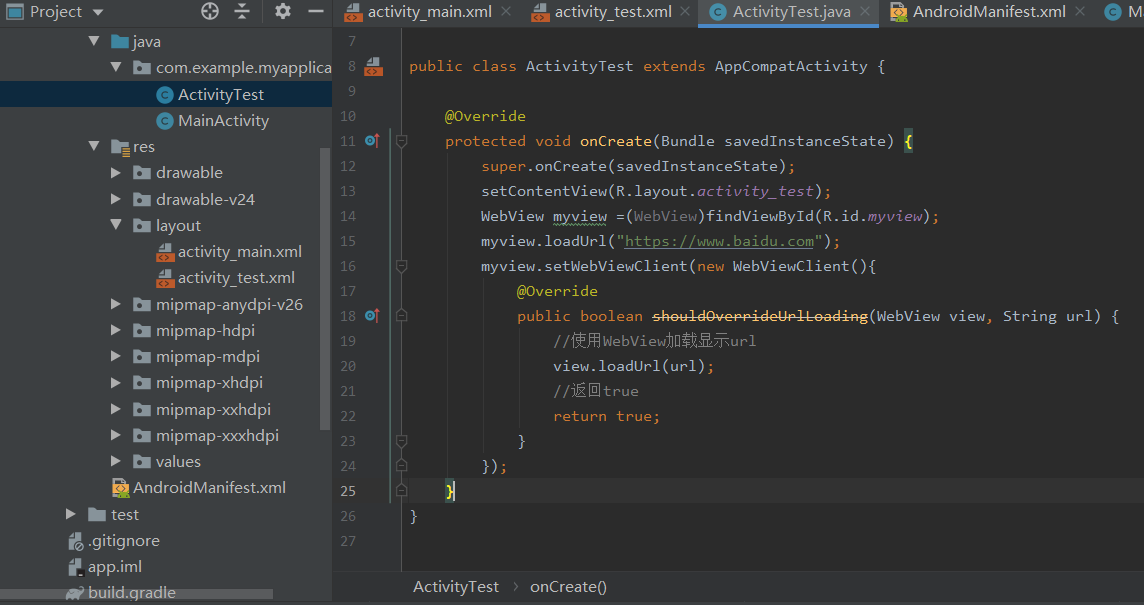
ActivityTest中的webview代码,就是webview打开一个url而已.
package com.example.myapplication;

import android.webkit.WebView;
import android.webkit.WebViewClient;
import androidx.appcompat.app.AppCompatActivity;
import android.os.Bundle;

public class ActivityTest extends AppCompatActivity {

    @Override
    protected void onCreate(Bundle savedInstanceState) {
        super.onCreate(savedInstanceState);
        setContentView(R.layout.activity_test);
        WebView myview =(WebView)findViewById(R.id.myview);
        myview.loadUrl("https://www.baidu.com");
        myview.setWebViewClient(new WebViewClient(){
            @Override
            public boolean shouldOverrideUrlLoading(WebView view, String url) {
                //使用WebView加载显示url
                view.loadUrl(url);
                //返回true
                return true;
            }
        });
    }
}
我是在activity_main.xml中已经定义了onclick触发的事件函数activityClick,所以在MainActivity中也要有对应的函数
package com.example.myapplication;

import android.content.Intent;
import android.view.View;
import androidx.appcompat.app.AppCompatActivity;
import android.os.Bundle;

public class MainActivity extends AppCompatActivity {

    @Override
    protected void onCreate(Bundle savedInstanceState) {
        super.onCreate(savedInstanceState);
        setContentView(R.layout.activity_main);
    }

    public void activityClick(View view) {
        Intent testintent=new Intent();
        testintent.setClass(MainActivity.this, ActivityTest.class);
        MainActivity.this.startActivity(testintent);
    }
}
流程很简单,点击按钮后,从MainActivity 到TestActivity,打开一个webview加载一个地址。
由于需要网络权限
AndroidManifest.xml中加入
<uses-permission android:name="android.permission.INTERNET" />
此时如果AndroidManifest.xml中,android:exported="true" 则该Activity可以被外部app调用,如果这个Activity中的内容是需要登录授权后才能访问的,通过外部调用的方式,就可以绕过授权限制.
activity通过exported属性来对activity进行的安全控制。首先讲下默认情况,如果activity没有设置intent-filter,则exported默认的属性为false,就是这个组件仅仅能被自身内部程序调用。如果activity设置了intent-filter,则android:exported默认为true
<activity android:name=".ActivityTest" android:exported="true">
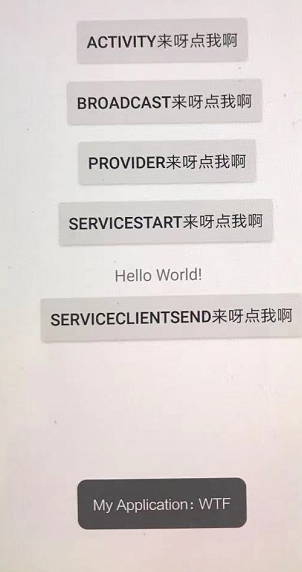
最后应用就长这样吧
使用adb命令测试:
adb shell
进入shell环境
am start -n com.example.myapplication/com.example.myapplication.ActivityTest
调用成功:

当activity中设置了intent-filter那么android:exported默认为true,也就同样可以被调用。所以渗透测试时可以主要关注这两点。当然使用drozer做渗透测试的话,就完全可以自动化扫描了。
<?xml version="1.0" encoding="utf-8"?>
<manifest xmlns:android="http://schemas.android.com/apk/res/android"
          package="com.example.myapplication">

    <application
            android:allowBackup="true"
            android:icon="@mipmap/ic_launcher"
            android:label="@string/app_name"
            android:roundIcon="@mipmap/ic_launcher_round"
            android:supportsRtl="true"
            android:theme="@style/AppTheme">
        <activity android:name=".ActivityTest" >
            <intent-filter>
                <action android:name= "android.intent.action.MAIN" />
                <category android:name= "android.intent.category.LAUNCHER" />
            </intent-filter>
        </activity>
        <activity android:name=".MainActivity">
            <intent-filter>
                <action android:name="android.intent.action.MAIN"/>

                <category android:name="android.intent.category.LAUNCHER"/>
            </intent-filter>
        </activity>
    </application>
    <uses-permission android:name="android.permission.INTERNET" />

</manifest>
接下来还要验证一种漏洞。就是activity接收参数。比如webview加载的地址,是通过activity接收参数来设定的,同时activity还是导出为true,那么恶意app就可以通过调用组件来加载钓鱼网站,或者通过file协议读取本地恶意app生成的html,在安卓4.0环境下,还可以将本地文件内容发送到远程服务端,从而窃取本地敏感数据。但是这个版本也太低了,就不测试了。
MainActivity发送url数据给ActivityTest
    public void activityClick(View view) {
        Intent testintent=new Intent();
        testintent.setClass(MainActivity.this, ActivityTest.class);
        testintent.putExtra("url","https://www.mi.com");
        MainActivity.this.startActivity(testintent);
    }
ActivityTest接收数据
public class ActivityTest extends AppCompatActivity {

    @Override
    protected void onCreate(Bundle savedInstanceState) {
        super.onCreate(savedInstanceState);
        setContentView(R.layout.activity_test);
        WebView myview =(WebView)findViewById(R.id.myview);
        Intent i =getIntent();
        String url=i.getStringExtra("url");
        myview.loadUrl(url);
        myview.setWebViewClient(new WebViewClient(){
            @Override
            public boolean shouldOverrideUrlLoading(WebView view, String url) {
                //使用WebView加载显示url
                view.loadUrl(url);
                //返回true
                return true;
            }
        });
    }
}
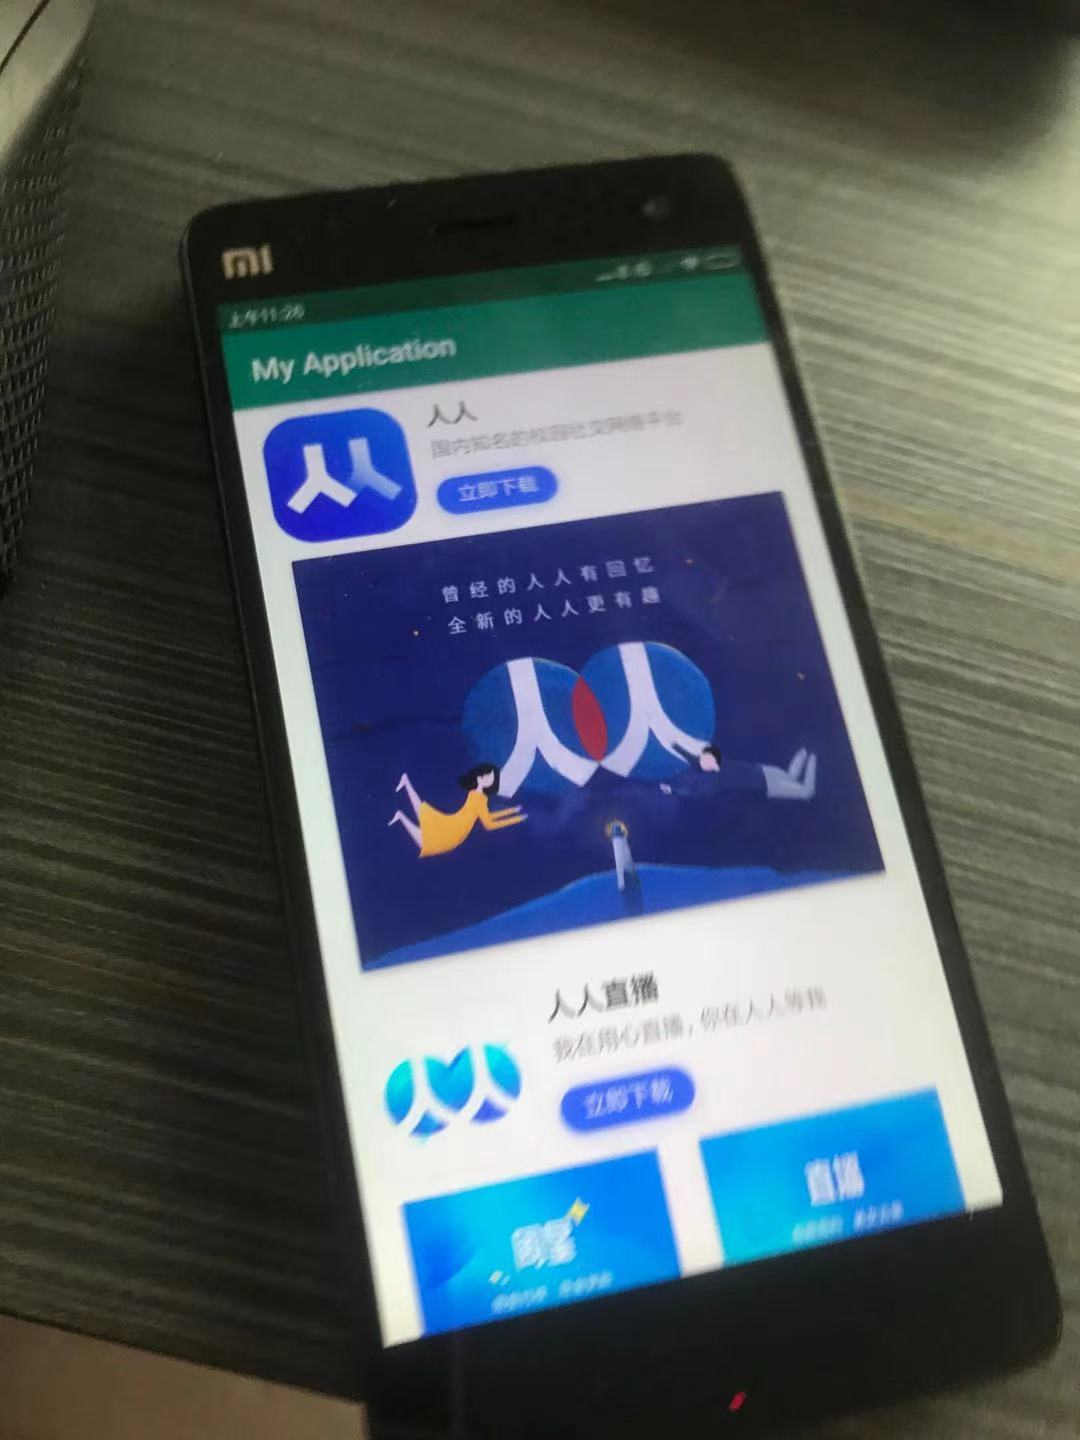
adb命令测试
am start -n com.example.myapplication/com.example.myapplication.ActivityTest --es url http://www.renren.com
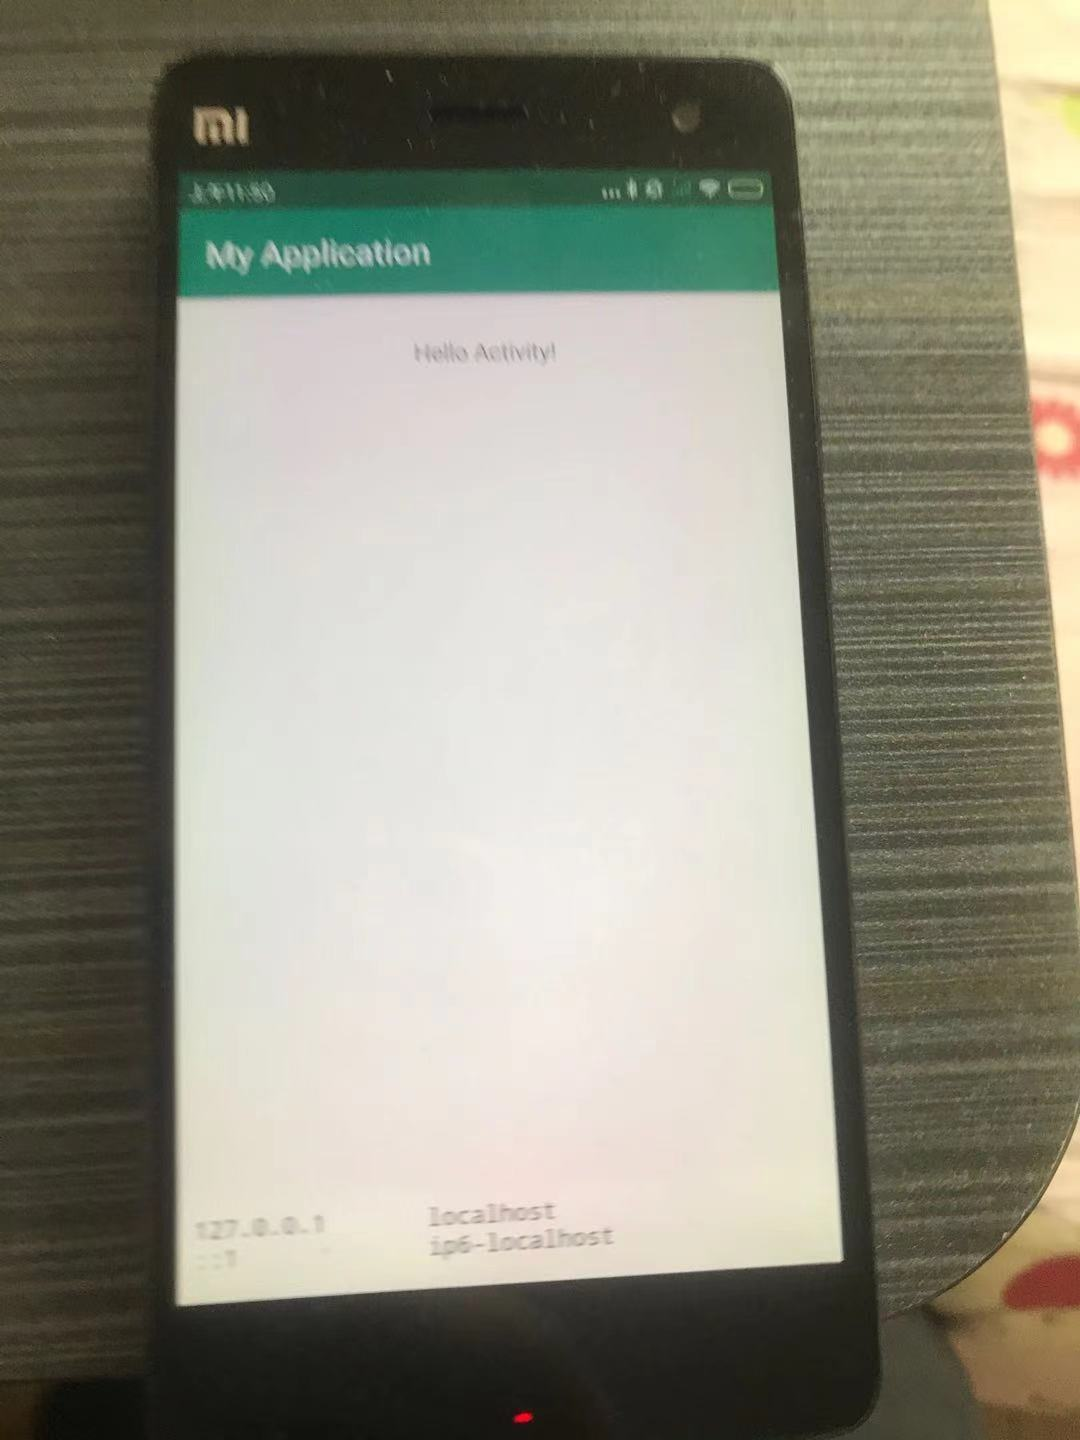
给app加入读写权限的话,也可以读取本地文件
<?xml version="1.0" encoding="utf-8"?>
<manifest xmlns:android="http://schemas.android.com/apk/res/android"
          xmlns:tools="http://schemas.android.com/tools" package="com.example.myapplication">
    <uses-permission android:name="android.permission.INTERNET" />
    <uses-permission android:name="android.permission.WRITE_EXTERNAL_STORAGE"/>
    <uses-permission android:name="android.permission.MOUNT_UNMOUNT_FILESYSTEMS" tools:ignore="ProtectedPermissions"/>
    <application
            android:allowBackup="true"
            android:icon="@mipmap/ic_launcher"
            android:label="@string/app_name"
            android:roundIcon="@mipmap/ic_launcher_round"
            android:supportsRtl="true"
            android:theme="@style/AppTheme">
        <activity android:name=".ActivityTest" >
            <intent-filter>
                <action android:name= "android.intent.action.MAIN" />
                <category android:name= "android.intent.category.LAUNCHER" />
            </intent-filter>
        </activity>
        <activity android:name=".MainActivity">
            <intent-filter>
                <action android:name="android.intent.action.MAIN"/>

                <category android:name="android.intent.category.LAUNCHER"/>
            </intent-filter>
        </activity>
    </application>


</manifest>
am start -n com.example.myapplication/com.example.myapplication.ActivityTest --es url file:///etc/hosts
发起攻击的app的java代码
public class MainActivity extends AppCompatActivity {

    @Override
    protected void onCreate(Bundle savedInstanceState) {
        super.onCreate(savedInstanceState);
        setContentView(R.layout.activity_main);
        ComponentName componentName = new ComponentName("com.example.myapplication","com.example.myapplication.ActivityTest");
        Intent intent = new Intent();
        Bundle bundle = new Bundle();
        bundle.putString("url", "http://www.163.com");
        intent.putExtras(bundle);
        intent.setComponent(componentName);
        startActivity(intent);
    }
}
- Service测试实践
Service组件的用途
Service是Android中实现程序后台运行的解决方案,非常适合用于去执行哪些不需要和用户交互而且还要求长期运行的任务。不能运行在一个独立的进程当中,而是依赖与创建服务时所在的应用程序进程。只能在后台运行,并且可以和其他组件进行交互。
Service可以在很多场合使用,比如播放多媒体的时候用户启动了其他Activity,此时要在后台继续播放;比如检测SD卡上文件的变化;比如在后台记录你的地理信息位置的改变等等,总之服务是藏在后台的。
Service组件都有哪些风险呢
1.导出service,任何软件都可以调用它,包括攻击者编写的软件,可能产生恶意启动或者停止服务,应用会产生拒绝服务等问题,也就是android:exported="true"了
2.还有一种是service监听了敏感信息,并打印到logcat日志中,在低版本的安卓版本中,恶意app可以从logcat中读取这些敏感数据,比如service监听了短信内容信息,参考案例:挖财理财记账Android客户端泄露用户手机短信
接下来测试service,idea在创建service时一般有两种,一个是Service,一个是IntentService
先区分一下:
IntentService是Service 的子类,默认给我们开启了一个工作线程执行耗时任务,并且执行完任务后自 动停止服务。扩展IntentService比较简单,提供一个构造方法和实现onHandleIntent 方法就可了,不用重写父类的其他方法。但是如果要绑定服务的话,还是要重写onBind 返回一个IBinder 的。使用Service 可以同时执行多个请求,而使用IntentService 只能同时执行一个请求。
只为了研究测试,这里创建一个MyIntentService
实现一个模拟下载的逻辑:
@Override
    protected void onHandleIntent(Intent intent) {
        if (intent != null) {
            /*final String action = intent.getAction();
            if (ACTION_FOO.equals(action)) {
                final String param1 = intent.getStringExtra(EXTRA_PARAM1);
                final String param2 = intent.getStringExtra(EXTRA_PARAM2);
                handleActionFoo(param1, param2);
            } else if (ACTION_BAZ.equals(action)) {
                final String param1 = intent.getStringExtra(EXTRA_PARAM1);
                final String param2 = intent.getStringExtra(EXTRA_PARAM2);
                handleActionBaz(param1, param2);
            }*/
            int result = 0;
            String url=intent.getStringExtra("url");
            try {

                result = DownloadFile(new URL(url));
            } catch (MalformedURLException e) {
                e.printStackTrace();
            }

            Log.d("IntentService","Download " + url);
            Log.d("IntentService","Download result " + result);
        }
    }
    private int DownloadFile(URL url){
        try{
            Thread.sleep(5000);

        }catch (InterruptedException e) {
            //TODO Auto-generated catch block

            e.printStackTrace();

        }
        return 200;
    }
MainActivity.xml中加入一个button,设置onclick
<Button android:layout_width="wrap_content"
            android:layout_height="wrap_content"
            android:id="@+id/test_service"
            android:text="serviceStart来呀点我啊"
            android:onClick="serviceStartClick"
            app:layout_constraintBottom_toBottomOf="parent"
            app:layout_constraintLeft_toLeftOf="parent"
            app:layout_constraintRight_toRightOf="parent"
            app:layout_constraintTop_toTopOf="parent" app:layout_constraintHorizontal_bias="0.545"
            app:layout_constraintVertical_bias="0.412" tools:ignore="OnClick"/>
MainActivity中调用这个Service
   public void serviceStartClick(View view) {
        Intent intent=new Intent(MainActivity.this,MyIntentService.class);
        intent.putExtra("url","http://www.baidu.com");
        startService(intent);

    }
AndroidManifest.xml中把这个service设置为导出
  <service
                android:name=".MyIntentService"
                android:exported="true">
        </service>
启动测试一下,成功打印日志:

接下来使用adb shell调用尝试
am startservice -n com.example.myapplication/com.example.myapplication.MyIntentService --es url file:///etc/hosts

个人感觉,service的导出,关键还是得看,它接收什么数据,以及之后对数据如何处理。具体还是要看业务逻辑的
- Broadcast Receiver (广播接收器)测试实践
它的作用主要是:监听 / 接收 应用 App 发出的广播消息,并 做出响应
首先创建一个BroadcastReceiver,MyReceiver,它接收一个参数message,并展示。
idea->new->other->Broadcast Receiver
public void onReceive(Context context, Intent intent) {
        // TODO: This method is called when the BroadcastReceiver is receiving
        // an Intent broadcast.
        String message=intent.getStringExtra("message");
        Toast.makeText(context, message, Toast.LENGTH_LONG).show();
        //throw new UnsupportedOperationException("Not yet implemented");
    }
AndroidManifest.xml
        <receiver
                android:name=".MyReceiver"
                android:enabled="true"
                android:exported="true">
            <intent-filter>
                <action android:name="com.example.CUSTOM_INTENT">
                </action>
            </intent-filter>
        </receiver>
com.example.CUSTOM_INTENT广播自定义意图,只有这样的意图才做出响应


然后我们再做一个广播发送者
MainActivity中,找个按钮触发找个点击
  public void broadcastClick(View view) {
        Intent intent = new Intent();
        intent.setAction("com.example.CUSTOM_INTENT");
        intent.putExtra("message","显示我的消息");
        sendBroadcast(intent);
    }
运行程序:

我们用adb命令来触发一下:
am broadcast -a "com.example.CUSTOM_INTENT" --es message "WTF"
那么就会收到消息
所以在测试广播接收组件时,查看自定义广播名称,查看他是否接收外部参数,参数可控,分析参数进入后的逻辑,像这样直接展示的就可以恶意的钓鱼,广播消息。
- Content Provider (内容提供者)漏洞测试实践
内容提供者组件通过请求从一个应用程序向其他的应用程序提供数据。这些请求由类 ContentResolver 的方法来处理。内容提供者可以使用不同的方式来存储数据。数据可以被存放在数据库,文件,甚至是网络。
content Provider的风险一般是provider内的数据直接访问泄露敏感信息或者sql注入漏洞。一般使用drozer都能自动化检测出来,测试遇到点问题,实践测试日后再补充
项目代码:
https://github.com/testwc/AndroidComponentTest

 浙公网安备 33010602011771号