YOLO v5 学习笔记01 车辆行人检测识别
概述
Yolo v5 是目前流行的目标识别算法,其和v8等后续版本相比适合低算力平台部署。
本笔记记录了完整的车辆行人识别过程。
0. 准备工作
新建pic文件夹,图片都存放在这个文件夹下备用(可忽略此步骤)。
新建work文件夹,用于存放原始图片及标注后的yolo格式文件以供训练。
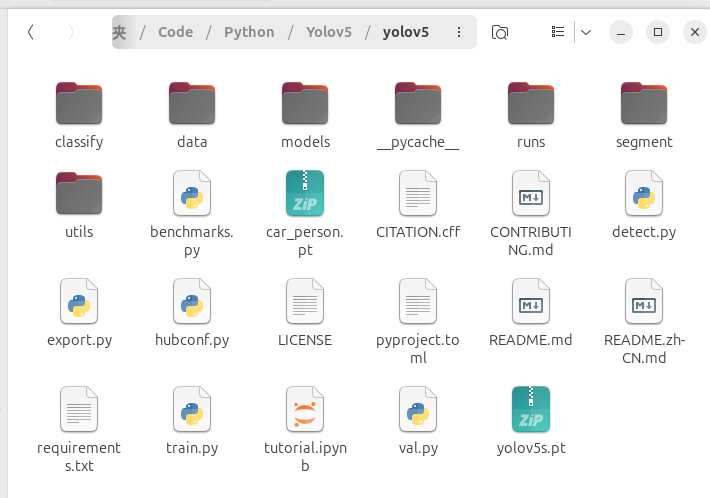
下载yolov5官方项目文件。进入yolov5文件夹,pip install -r requirements.txt 命令安装依赖。
# Clone the YOLOv5 repository
git clone https://github.com/ultralytics/yolov5

# Navigate to the cloned directory
cd yolov5

# Install required packages
pip install -r requirements.txt
确保三个文件均在同级目录下
1. 图像数据采集
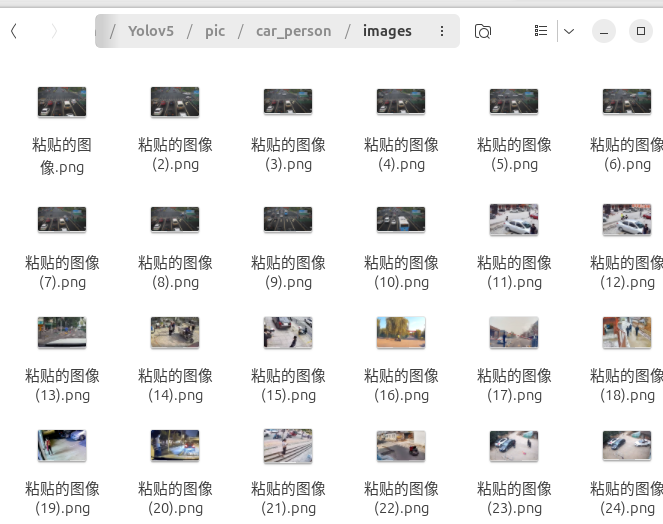
首先需要采集目标的图片。为了使识别的效果更好,最好采集大量不同角度,不同光线下的图像。
本次从网络上下载了20多张合适的图片作为测试,想要更好的效果和准确度,建议下载大数据集。
在pic目录下新建car_person文件夹,car_person下又需要新建两个文件夹:images、labels
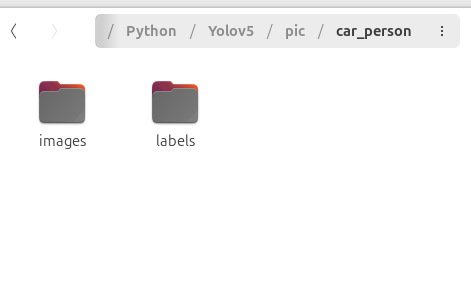
将采集到的图片放入images下,labels之后存放对应的yolo格式标注文件。
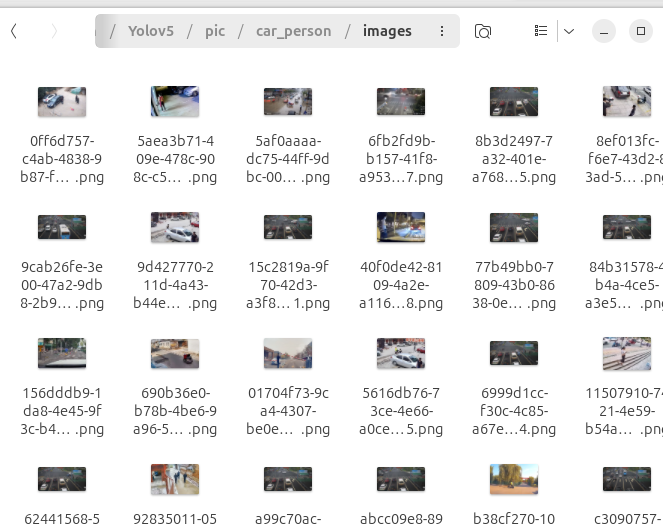
我们重新命名图片名称,使用uuid生成独一无二的文件名。
import os
import uuid

# 定义图片所在目录
image_dir = '../pic/car_person'

# 检查目录是否存在
if not os.path.exists(image_dir):
    print(f"错误: 目录 {image_dir} 不存在。")
else:
    # 遍历目录下的所有文件
    for filename in os.listdir(image_dir):
        file_path = os.path.join(image_dir, filename)
        # 检查是否为文件
        if os.path.isfile(file_path):
            # 生成新的文件名
            new_filename = str(uuid.uuid4())
            file_extension = os.path.splitext(filename)[1]
            new_file_path = os.path.join(image_dir, new_filename + file_extension)
            try:
                # 重命名文件
                os.rename(file_path, new_file_path)
                print(f"已将 {filename} 重命名为 {new_filename + file_extension}")
            except Exception as e:
                print(f"错误: 重命名 {filename} 时出错: {e}")
2. 图像数据标注
这里建议使用labelimg标注,因为可以直接生成Yolo格式的标注文件,免去转换的问题。
左边菜单栏设置输出格式为Yolo

对图像中的车辆、人员进行标注。(键盘快捷键)W为开始画框,
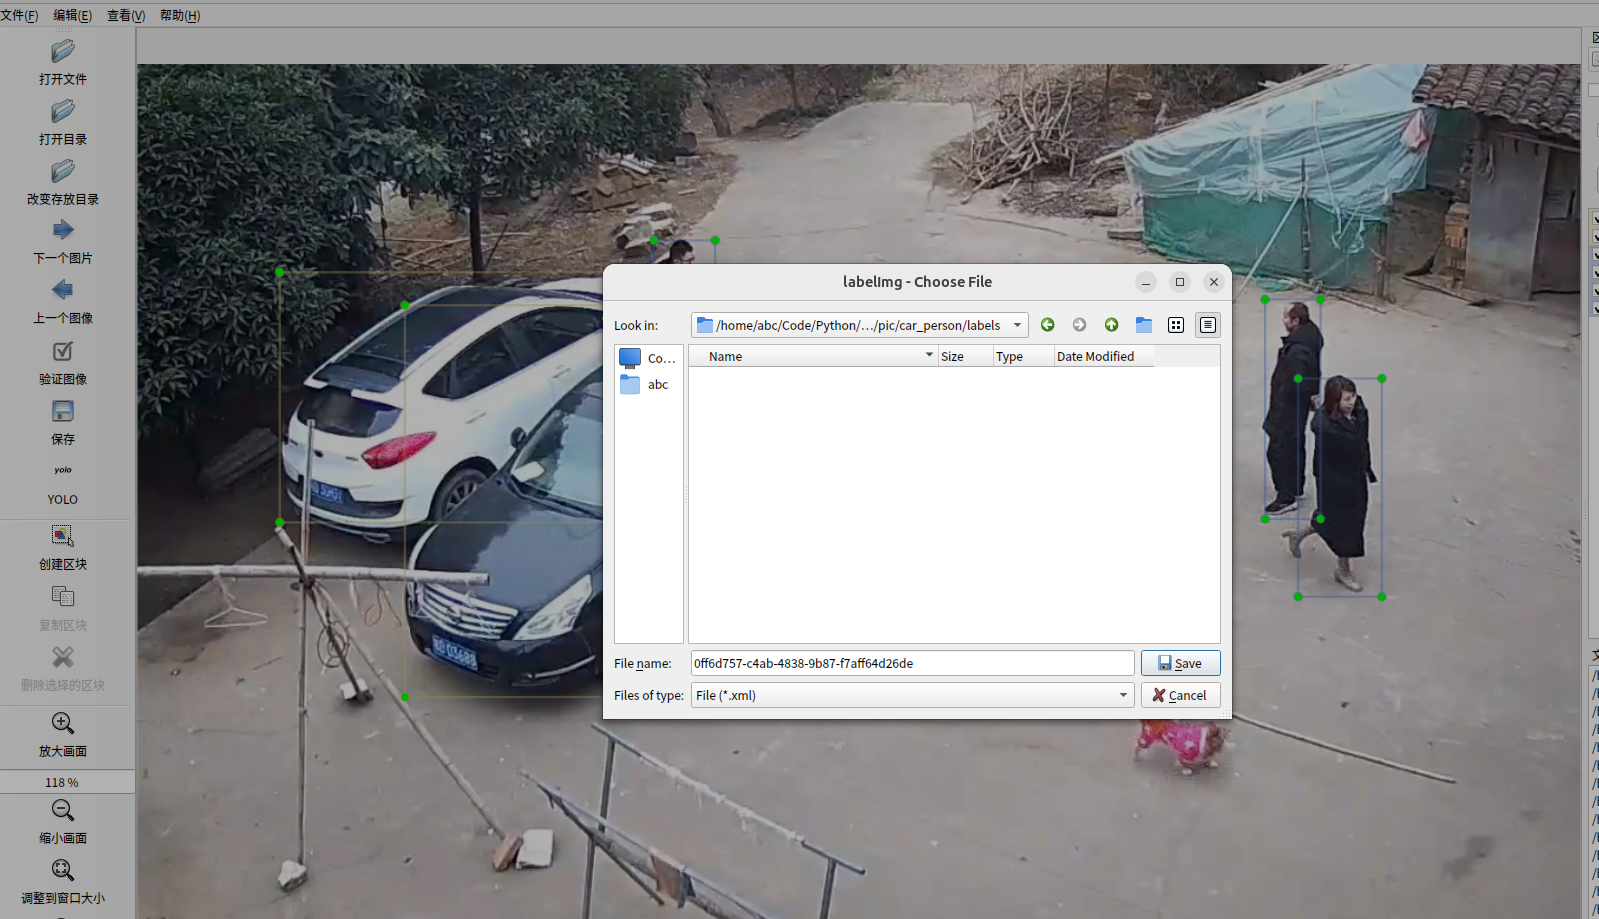
标注完成,点击下一张,会弹出保存窗口。选择labels文件夹。注意,保存文件类型不是图片上的.xml,而是txt!
依次对图像进行标注即可。一般100张图片可能需要花费半小时。
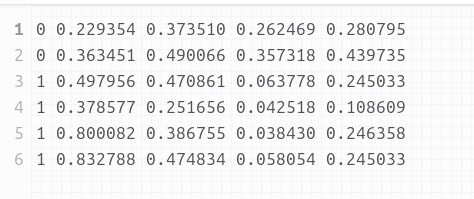
最终训练好的数据为txt文件,格式如下:
3. 数据集训练
在work文件夹下新建train、valid文件夹。其分别存放训练数据、验证数据。
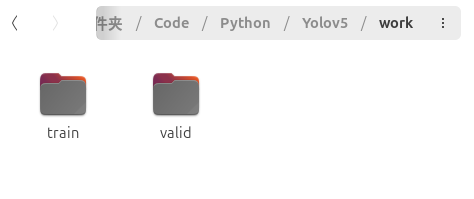
将car_person文件夹下两个images、labels文件夹复制到这两个文件夹下。
进入yolov5文件夹下的data文件夹,里面是一些配置文件。我们新建一个mydata.yaml文件,
复制以下内容:
train: ../work/train/images #训练图片地址
val: ../work/valid/images #验证图片地址
test:

nc: 3 #目标检测个数 - 根据你的标注数设置
names: ['car','person','bus'] #目标名称 - 根据你的标注名设置
回到yolov5一级文件夹下,打开train.py设置参数(也可以不修改文件,而是在运行是添加参数)
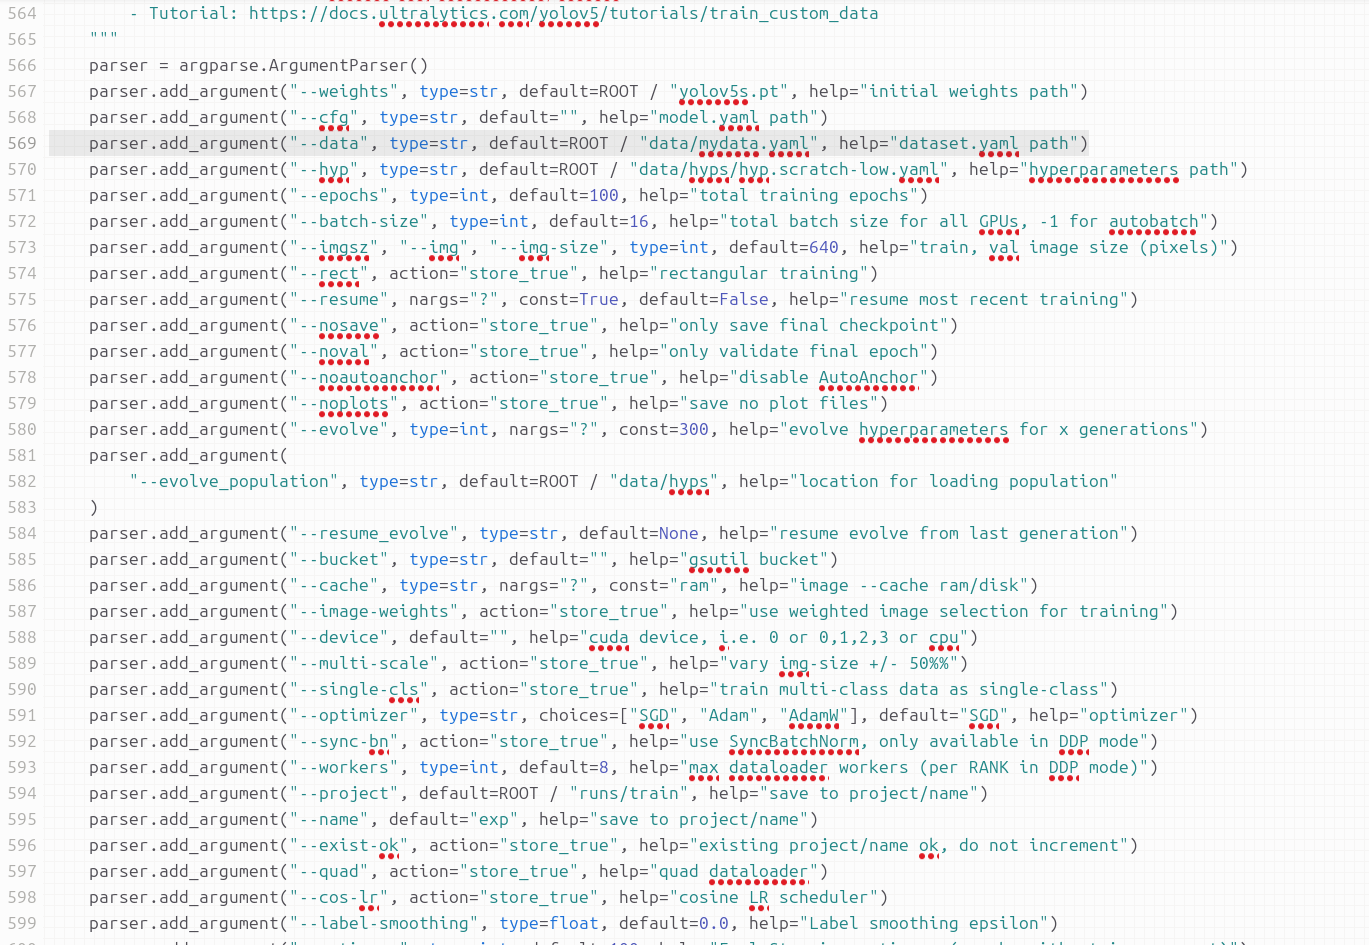
主要修改第569行,替换成刚才新建的配置文件mydata.yaml。其他参数可以不变。
GPU训练请更改588行,添加GPU
默认CPU训练,200张图片需要5、6小时!
训练使用train.py
python3 train.py
或者
python3 train.py --data data/mydata.yaml
经过近两小时的训练(20张图),训练模型存放在runs/train/exp14/weights目录下
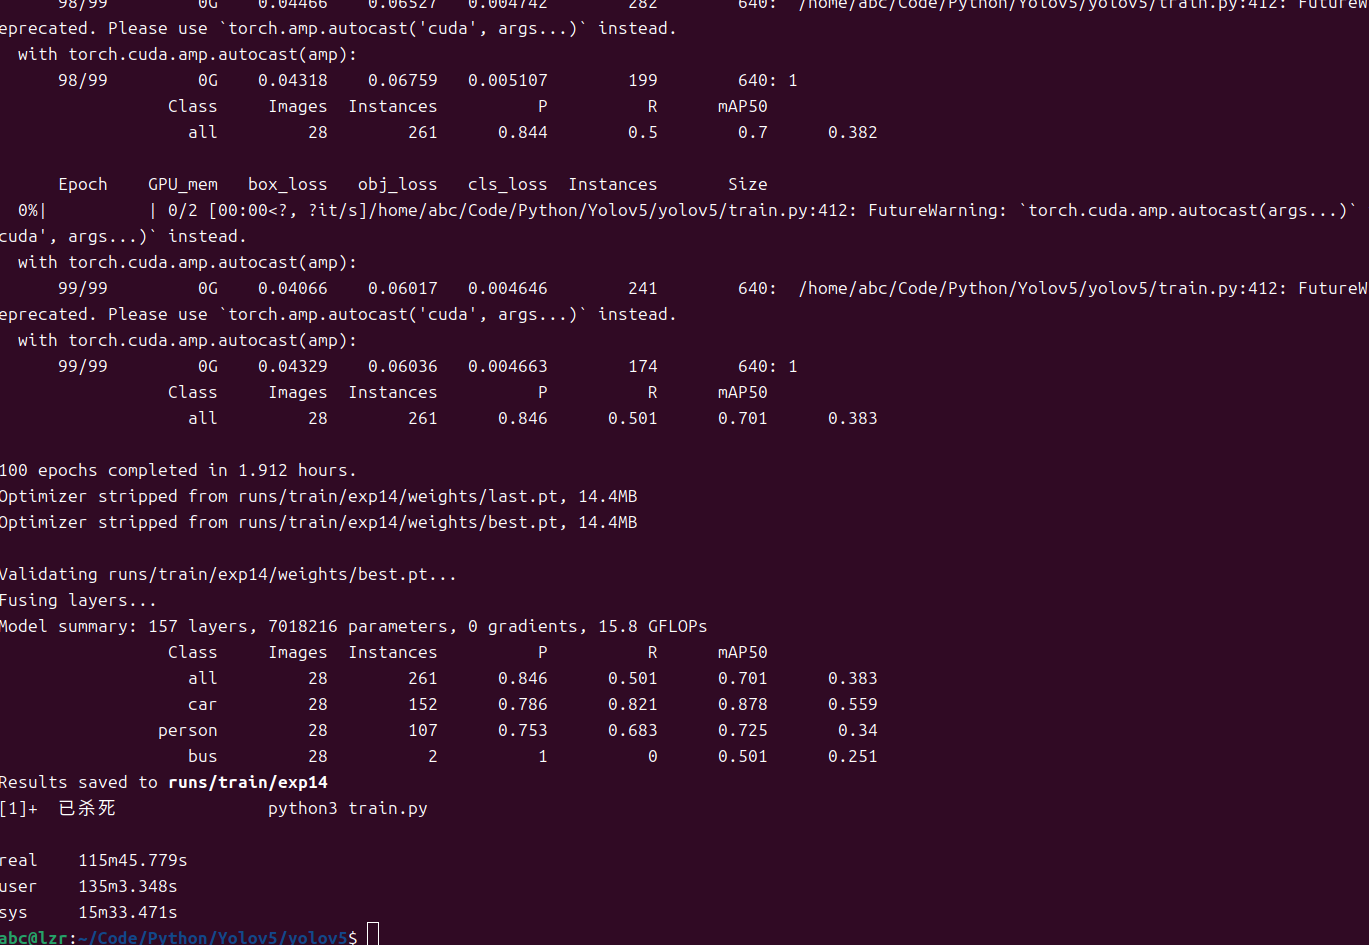
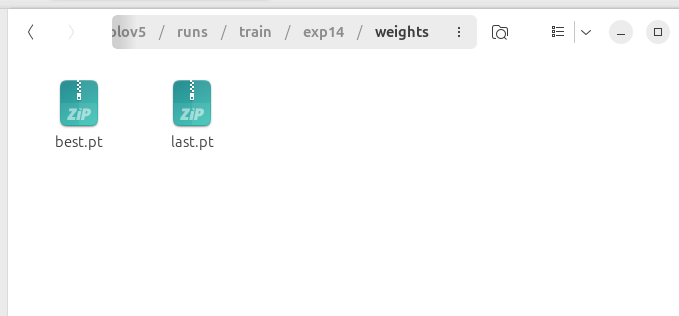
best.pt 是训练工程中表现最好的模型,last.pt 是最后一次训练的模型。
我们使用best.pt这个模型。
4. 部署
为了使模型能运行在边缘平台,我们需要将pt格式转换为onnx格式,可由Opencv直接调用。首先使用pip安装onnx模块。
将best.pt复制到yolov5一级目录,并更名为car_person.pt
使用export.py将其转化为onnx格式
python3 export.py --weights car_person.pt --include onnx
通过opencv调用查看效果
import cv2
import numpy as np
import time
def plot_one_box(x, img, color=None, label=None, line_thickness=None):
    """
    description: Plots one bounding box on image img,
                 this function comes from YoLov5 project.
    param:
        x:      a box likes [x1,y1,x2,y2]
        img:    a opencv image object
        color:  color to draw rectangle, such as (0,255,0)
        label:  str
        line_thickness: int
    return:
        no return
    """
    tl = (
        line_thickness or round(0.002 * (img.shape[0] + img.shape[1]) / 2) + 1
    )  # line/font thickness
    color = color or [random.randint(0, 255) for _ in range(3)]
    c1, c2 = (int(x[0]), int(x[1])), (int(x[2]), int(x[3]))
    cv2.rectangle(img, c1, c2, color, thickness=tl, lineType=cv2.LINE_AA)
    if label:
        tf = max(tl - 1, 1)  # font thickness
        t_size = cv2.getTextSize(label, 0, fontScale=tl / 3, thickness=tf)[0]
        c2 = c1[0] + t_size[0], c1[1] - t_size[1] - 3
        cv2.rectangle(img, c1, c2, color, -1, cv2.LINE_AA)  # filled
        cv2.putText(
            img,
            label,
            (c1[0], c1[1] - 2),
            0,
            tl / 3,
            [225, 255, 255],
            thickness=tf,
            lineType=cv2.LINE_AA,
        )

def post_process_opencv(outputs,model_h,model_w,img_h,img_w,thred_nms,thred_cond):

    conf = outputs[:,4].tolist()
    c_x = outputs[:,0]/model_w*img_w
    c_y = outputs[:,1]/model_h*img_h
    w  = outputs[:,2]/model_w*img_w
    h  = outputs[:,3]/model_h*img_h
    p_cls = outputs[:,5:]
    if len(p_cls.shape)==1:
        p_cls = np.expand_dims(p_cls,1)
    cls_id = np.argmax(p_cls,axis=1)

    p_x1 = np.expand_dims(c_x-w/2,-1)
    p_y1 = np.expand_dims(c_y-h/2,-1)
    p_x2 = np.expand_dims(c_x+w/2,-1)
    p_y2 = np.expand_dims(c_y+h/2,-1)
    areas = np.concatenate((p_x1,p_y1,p_x2,p_y2),axis=-1)
    # print(areas.shape)
    areas = areas.tolist()
    ids = cv2.dnn.NMSBoxes(areas,conf,thred_cond,thred_nms)
    if len(ids)>0:
        return  np.array(areas)[ids],np.array(conf)[ids],cls_id[ids]
    else:
        return [],[],[]

def infer_image(net,img0,model_h,model_w,thred_nms=0.4,thred_cond=0.5):

    img = img0.copy()
    img = cv2.resize(img,[model_h,model_w])
    blob = cv2.dnn.blobFromImage(img, scalefactor=1/255.0, swapRB=True)
    net.setInput(blob)
    outs = net.forward()[0]
    print(outs[0])
    det_boxes,scores,ids = post_process_opencv(outs,model_h,model_w,img0.shape[0],img0.shape[1],thred_nms,thred_cond)
    return det_boxes,scores,ids


if __name__=="__main__":
    dic_labels= {0:'car',1:'person',2:'bus'}

    model_h = 640
    model_w = 640
    file_model = 'car_person.onnx'
    net = cv2.dnn.readNet(file_model)

    video = "./car.webm"
    cap = cv2.VideoCapture(video)
    flag_det = True
    while True:
        success, img0 = cap.read()
        if success:

            if flag_det:
                t1 = time.time()
                det_boxes,scores,ids = infer_image(net,img0,model_h,model_w,thred_nms=0.4,thred_cond=0.2)
                t2 = time.time()

                for box,score,id in zip(det_boxes,scores,ids):
                    label = '%s:%.2f'%(dic_labels[id],score)

                    plot_one_box(box.astype(np.int16), img0, color=(255,0,0), label=label, line_thickness=None)

                str_FPS = "FPS: %.2f"%(1./(t2-t1))

                cv2.putText(img0,str_FPS,(50,50),cv2.FONT_HERSHEY_COMPLEX,1,(0,255,0),3)


            cv2.imshow("video",img0)
        m_key = cv2.waitKey(1) & 0xFF

        if m_key == ord('s'):
            flag_det = not flag_det
            if flag_det ==  True:
                print("start detecting")
            else:
                print("stop detecting")
        elif m_key == ord('q'):
            break

    cap.release()
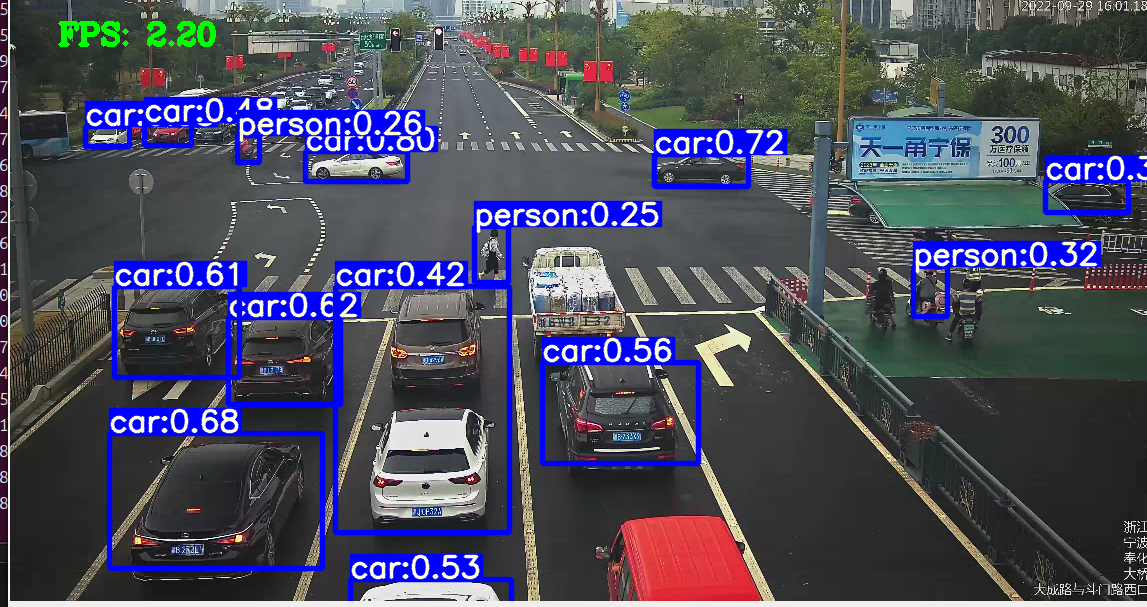
可以看到,帧率只有2.2,后续使用yolov5-lite提升速度

 浙公网安备 33010602011771号