Ubuntu20.04中源码编译多体动力学仿真引擎chrono
一、直接使用预编译版本
docker pull uwsbel/projectchrono:7.0.1-cuda11.5

docker run --gpus all -itd \
    --privileged \
    -e DISPLAY="${display}" \
    -e DOCKER_USER_ID="${uid}" \
    -e NVIDIA_VISIBLE_DEVICES=all \
    -e NVIDIA_DRIVER_CAPABILITIES=compute,video,graphics,utility \
    --net host \
    --pid=host \
    uwsbel/projectchrono:7.0.1-cuda11.5 \
    /bin/bash

docker exec -it name_container /bin/bash
chrono库安装在/usr/目录下,可执行文件在/usr/share目录下。
二、docker中源码安装
1、创建一个Ubuntu20.04的docker容器
2、根据官方教程编译
https://api.projectchrono.org/development/tutorial_install_chrono_linux.html
只编译基本部分,不涉及gpu和sensor模块,基本不会有问题。
只测试的话,不需要运行最后的sudo make install
3、安装sensor仿真模块
按照chrono/doxygen/documentation/module_sensor/module_sensor_installation.md的指示,安装好指定版本的库即可。
注意docker中虽然不需要安装英伟达驱动,但是cuda还是要安装的。安装module_sensor_installation.md中的依赖库
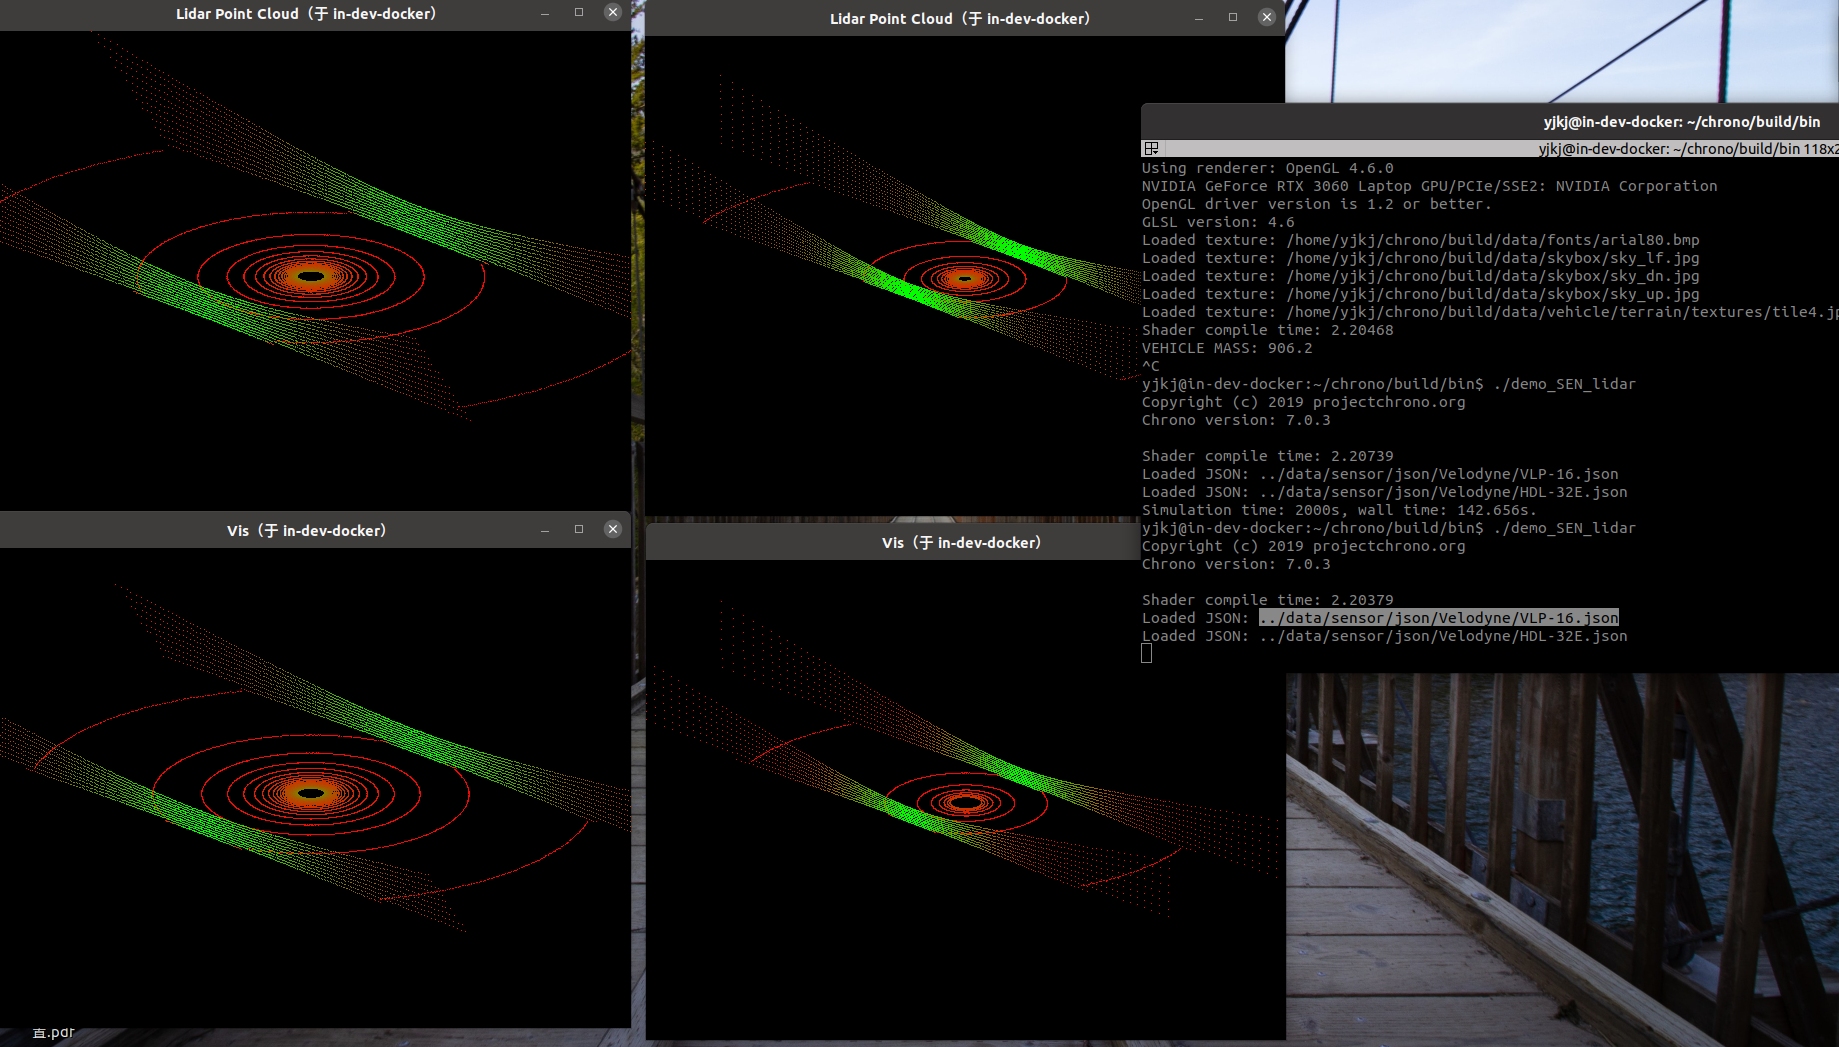
激光雷达仿真如下
4、第三方应用引用
cmake_minimum_required(VERSION 3.10)

project(my_project)

LIST(APPEND CMAKE_PREFIX_PATH "/usr/local/lib") #改为自己库的路径
find_package(Chrono
             COMPONENTS Irrlicht
             OPTIONAL_COMPONENTS PardisoMKL
             CONFIG)

if (NOT Chrono_FOUND)
  message("Could not find Chrono or one of its required modules")
  return()
endif()

include_directories(${CHRONO_INCLUDE_DIRS})

add_executable(myexe my_example.cpp)

set_target_properties(myexe PROPERTIES
	    COMPILE_FLAGS "${CHRONO_CXX_FLAGS} ${EXTRA_COMPILE_FLAGS}"
	    COMPILE_DEFINITIONS "CHRONO_DATA_DIR=\"${CHRONO_DATA_DIR}\""
	    LINK_FLAGS "${CHRONO_LINKER_FLAGS}")

target_link_libraries(myexe ${CHRONO_LIBRARIES})

 浙公网安备 33010602011771号