TL62x-EVM的OpenPLC实践(二)硬件初始化
缓慢推进中,但是找到了一些参考资料:
1. 一个PSM example: https://d28lcup14p4e72.cloudfront.net/203128/6168244/PSM-Instructions.pdf
2. 官方对PSM的简介:https://openplc.discussion.community/post/megaioind-industrial-building-automation-for-raspberrypi-9832564?trail=30
看起来是要先借助原有嵌入式开发板的有关库,读取有关的参数并存储为变量,然后再通过psm.set_var(), psm.get_var()建立嵌入式开发板和逻辑变量的联系。具体示例如下:

在webserver中,在以下界面中编程:

1 TL62x有关GPIO的使用原理
具体参考官方文档:【3-用户手册】文件夹中的2-2Linux应用开发手册.pdf,有关源码在【TL62x-EVM_V1.4\4-软件资料\Demo\python-demos】文件夹中。
1. led_flash案例
参考该文档的2.1节,进行有关开发API的探索
(1)首先查看有关的设备节点,具体如下:

(2)利用SD card,将官方提供的led_flash.py拷贝至评估版的文件系统
登录评估版的系统,可以发现有关的文件已经拷贝过来了:

(3)查看程序信息,如下:

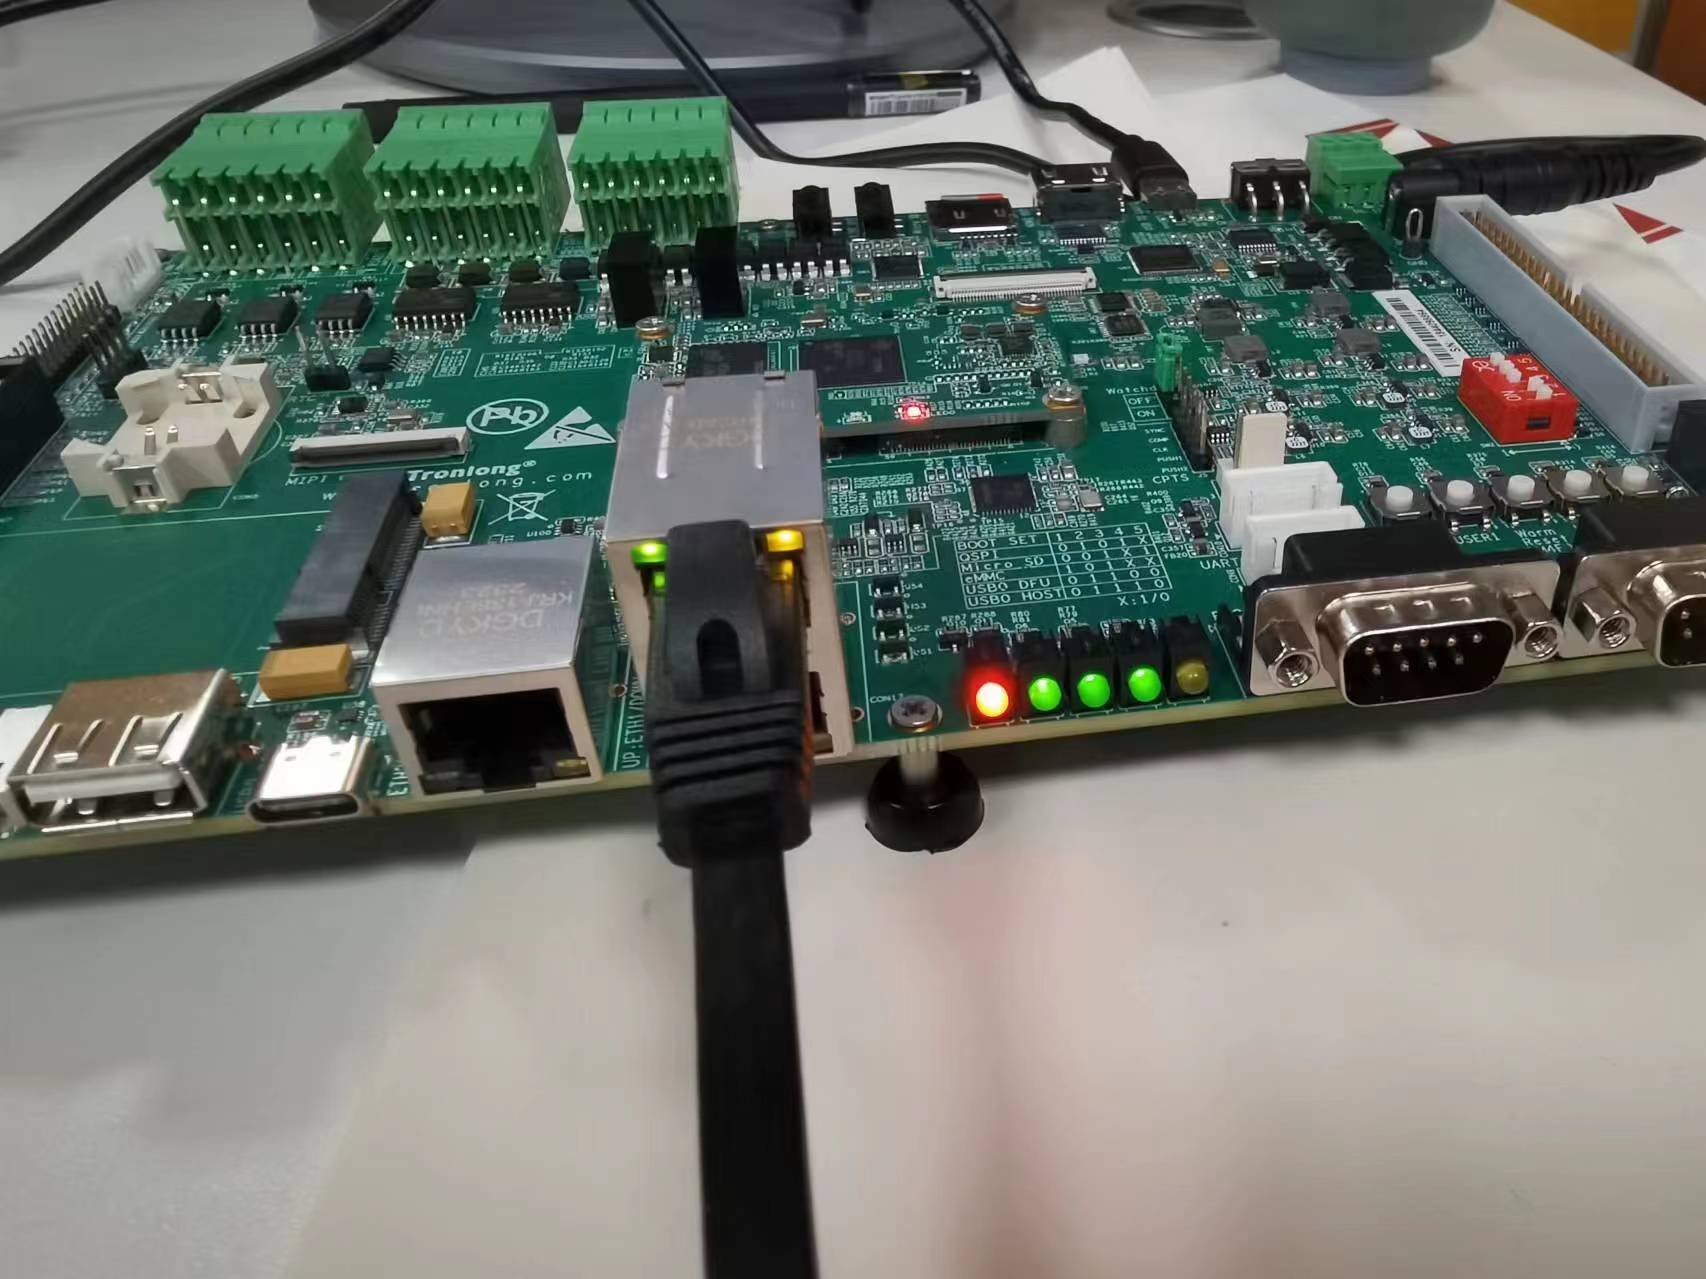
(4)执行程序,可以看到评估底板上的LED在进行闪烁:

按下“Ctrl+C”终止程序。
(5)进行源码分析
② main函数
我们在这里摘取部分代码:
2 找led
class Led(object):
……
从评估版也可以看出LED的地址确实如下:
![]()
3 控制led闪烁
class Led(object):
……
2. key_test案例
参考该文档的2.2节,进行有关开发API的探索
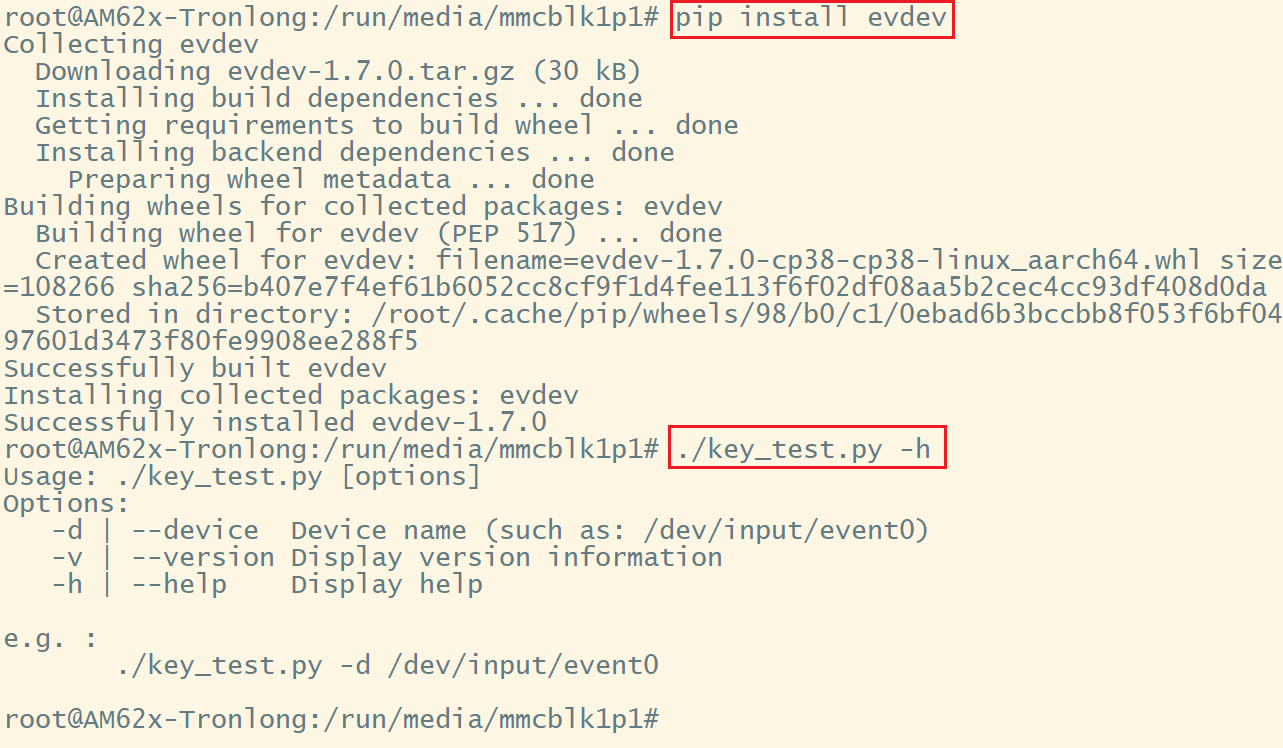
(1)查看有关程序的信息,发现出现错误:

于是安装有关的库文件,再查看程序信息发现成功:
(2)执行程序,终端结果如下:
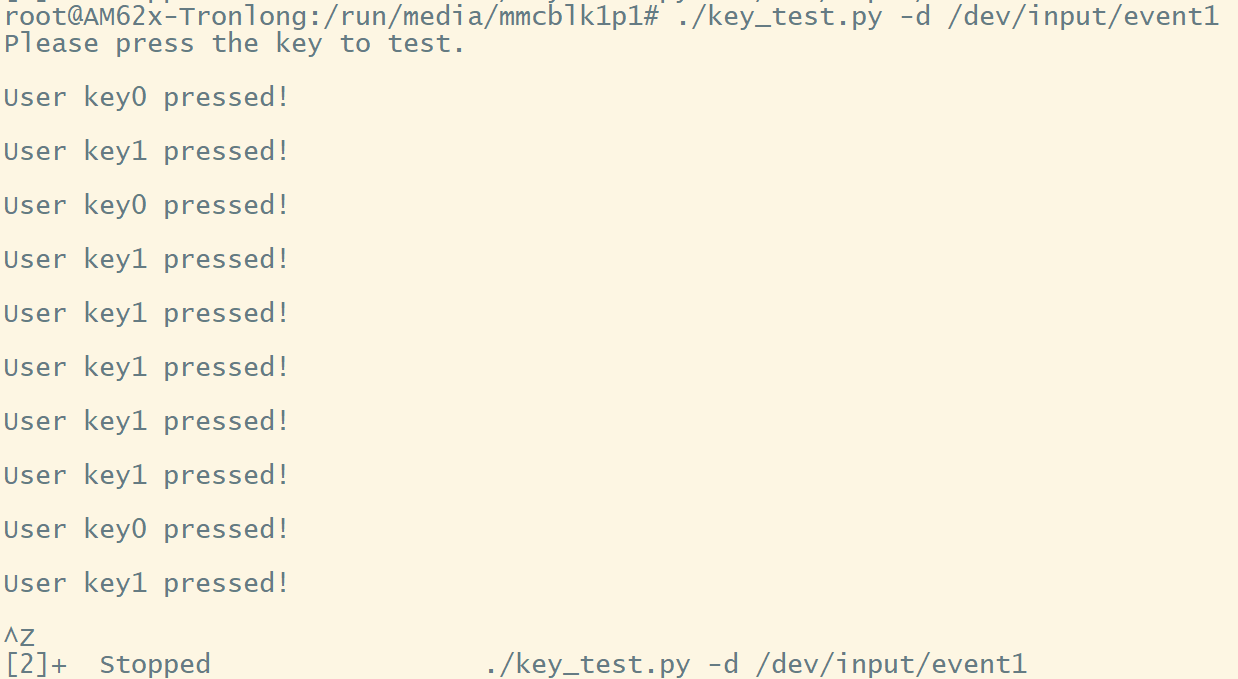
按下“Ctrl + Z”终止程序。

(3)进行源码分析
① 导入的库
② main函数
③ 去KeyDevice类中找上面两个函数的源码
1 打开有关设备
2 监控有关事件
2 尝试修改代码——第一次失败
将有关代码修改如下:
#import all your libraries here
import psm
import signal, time
import os, sys, getopt, select
import evdev
#global variables
def hardware_init():
#Insert your hardware initialization code in here
psm.start()
def update_inputs():
#place here your code to update inputs
psm.set_var("IX0.0", evdev.InputDevice("/dev/input/event1"))
def update_outputs():
#place here your code to work on outputs
a = psm.get_var("QX0.0")
if a == True:
os.system("echo 1>/sys/class/leds/user-led0/brightness")
if __name__ == "__main__":
hardware_init()
while (not psm.should_quit()):
update_inputs()
update_outputs()
time.sleep(0.1) #You can adjust the psm cycle time here
psm.stop()
但是发现依旧存在问题:

失败了。注意到在有关按钮输入的demo代码中,不同的按钮是通过evdev.ecodes.KEY_PROG1/evdev.ecodes.KEY_PROG2这样的事件类型(?)来区分的,而不是类似于OpenPLC提供的官方示例中的API。所以我们有必要进一步查看python中evdev库的有关内容。
通过这个帖子:https://cloud.tencent.com/developer/ask/sof/1284947/answer/1776633,知道了evdev不能在windows环境下运行,只能在Linux下运行,因为evdev是基于Linux内核事件的。我也尝试在win主机上安装evdev库,发现的确失败了,所以尝试在ubuntu虚拟机上安装evdev。
3 第二次尝试——查看evdev源码
目标:在evdev源码中发现有关GPIO的接口,从而成功编写openplc的psm.py
evdev的官方文档:https://python-evdev.readthedocs.io/en/latest/usage.html
参照官方文档,可以使用Python的evdev库来获取系统中的输入设备列表,并输出每个设备的路径、名称和物理地址信息

但gpio-keys/input0这样的路径信息,通常表示这是一个内核中的输入设备,而不是一个直接可控制的设备。
如果要控制输入设备,需要使用evdev库中的InputDevice对象来读取和处理设备发送的输入事件。如果要控制特定的输入设备,需要了解该设备发送的事件类型和如何处理这些事件。
1. 在虚拟机上安装evdev库
(1)首先安装pip:
sudo apt install python3-pip
(2)然后安装evdev库:
pip install evdev
发现在ubuntu上果然成功安装!

2. 查看evdev库源文件
(1)找到evdev库的存储路径:
在命令行输入:
pip show evdev
结果如下:

可以发现它的路径中有隐藏文件夹
(2)启用显示隐藏文件
在用户目录中,按下“ctrl+H”键,可以发现隐藏文件夹显示。
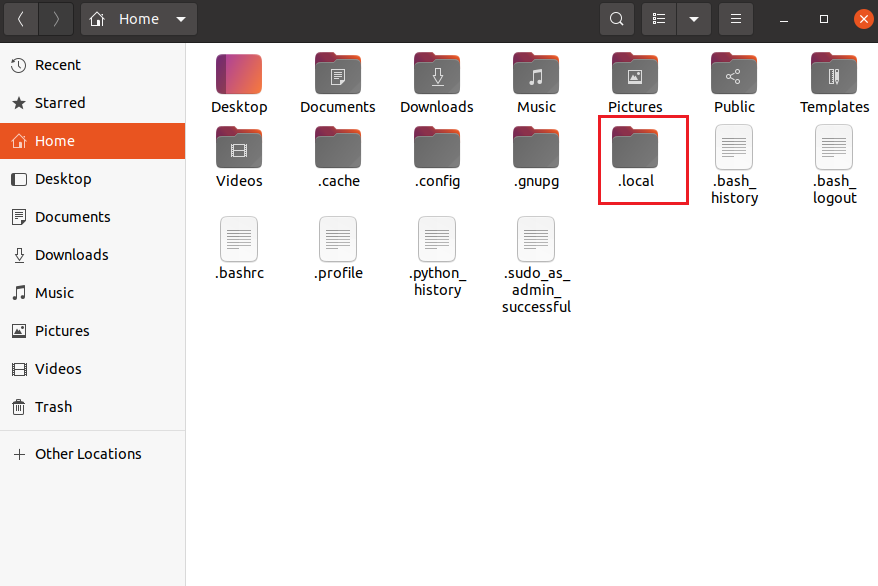
按照前面找到的evdev路径,可以找到evdev的有关库文件

3. 阅读相关源码
经过一番查找,发现和按键有关的源代码如下
(1)设备初始化
TL62x提供的demo中有关源码为: self.key_dev = evdev.InputDevice(key_dev) # 其中key_dev为/dev/input/event1
在evdev中有关源码为:
【device.py】文件中
import psm
import signal, time
import os, sys, getopt, select
import evdev
#global variables
class KeyDevice(object):
quit_flag = False
def open_device(self, key_dev):
try:
""" open key device, if success, return True"""
self.key_dev = evdev.InputDevice(key_dev)
return True
except Exception as e:
print (e)
return False
def listen_key_pressed(self):
try:
while (not psm.should_quit()):
for event in self.key_dev.read_loop():
if event.type == evdev.ecodes.EV_KEY:
if event.code == evdev.ecodes.KEY_PROG1 and event.value == 1:
print("User key0 pressed!\n")
psm.set_var("IX0.0", True)
psm.set_var("IX0.1",False)
# 更新输出
a = psm.get_var("QX0.0")
if a == True:
os.system("echo 1>/sys/class/leds/user-led0/brightness")
else:
os.system("echo 0 > /sys/class/leds/user-led0/brightness")
time.sleep(0.1) #You can adjust the psm cycle time here
elif event.code == evdev.ecodes.KEY_PROG2 and event.value == 1:
print("User key1 pressed!\n")
psm.set_var("IX0.1", True)
psm.set_var("IX0.0", False)
# 更新输出
a = psm.get_var("QX0.0")
if a == True:
os.system("echo 1>/sys/class/leds/user-led0/brightness")
else:
os.system("echo 0 > /sys/class/leds/user-led0/brightness")
time.sleep(0.1) #You can adjust the psm cycle time here
except Exception as e:
if not KeyDevice.quit_flag:
print (e)
@classmethod
def stop(cls):
cls.quit_flag = True
def hardware_init():
#Insert your hardware initialization code in here
psm.start()
if __name__ == "__main__":
hardware_init()
key_dev="/dev/input/event1"
key_device = KeyDevice()
res = key_device.open_device(key_dev)
if not res:
print ("open %s failed!" % key_dev)
exit(3)
key_device.listen_key_pressed()
psm.stop()
psm倒是没报错了,但为什么只有在点击 User key1 的时候会出现I/O error?
而且实验现象没有实现
4 第三次尝试——借助evdev实现了有点问题的实验现象
现将实验代码粘贴到此处:
import psm
import signal, time
import os, sys, getopt, select
import evdev
#global variables
class KeyDevice(object):
quit_flag = False
def open_device(self, key_dev):
try:
""" open key device, if success, return True"""
self.key_dev = evdev.InputDevice(key_dev)
return True
except Exception as e:
print (e)
return False
def listen_key_pressed(self):
try:
while (not psm.should_quit()):
for event in self.key_dev.read_loop():
if event.type == evdev.ecodes.EV_KEY:
print("detect something happen!")
if event.code == evdev.ecodes.KEY_PROG1 and event.value == 1:
print("User key0 pressed!\n")
psm.set_var("IX0.0", True)
psm.set_var("IX0.1", False)
print("update input!")
# 更新输出
a = psm.get_var("QX0.0")
print("update output!")
print(a)
if a == True:
ret = os.system("echo 1 > /sys/class/leds/user-led0/brightness")
if ret !=0:
print("Error: Failed to turn on led")
else:
ret = os.system("echo 0 > /sys/class/leds/user-led0/brightness")
if ret!=0:
print("Error: Failed to turn off led")
time.sleep(0.1) #You can adjust the psm cycle time here
elif event.code == evdev.ecodes.KEY_PROG2 and event.value == 1:
print("User key1 pressed!\n")
psm.set_var("IX0.1", True)
psm.set_var("IX0.0", False)
print("update input!")
# 更新输出
a = psm.get_var("QX0.0")
print("update output!")
print(a)
if a == True:
ret = os.system("echo 1 > /sys/class/leds/user-led0/brightness")
if ret !=0:
print("Error: Failed to turn on led")
else:
ret = os.system("echo 0 > /sys/class/leds/user-led0/brightness")
if ret!=0:
print("Error: Failed to turn off led")
time.sleep(0.1) #You can adjust the psm cycle time here
except Exception as e:
if not KeyDevice.quit_flag:
print (e)
@classmethod
def stop(cls):
cls.quit_flag = True
def hardware_init():
#Insert your hardware initialization code in here
psm.start()
if __name__ == "__main__":
hardware_init()
key_dev="/dev/input/event1"
key_device = KeyDevice()
res = key_device.open_device(key_dev)
print("open sucessfully")
if not res:
print ("open %s failed!" % key_dev)
exit(3)
key_device.listen_key_pressed()
psm.stop()
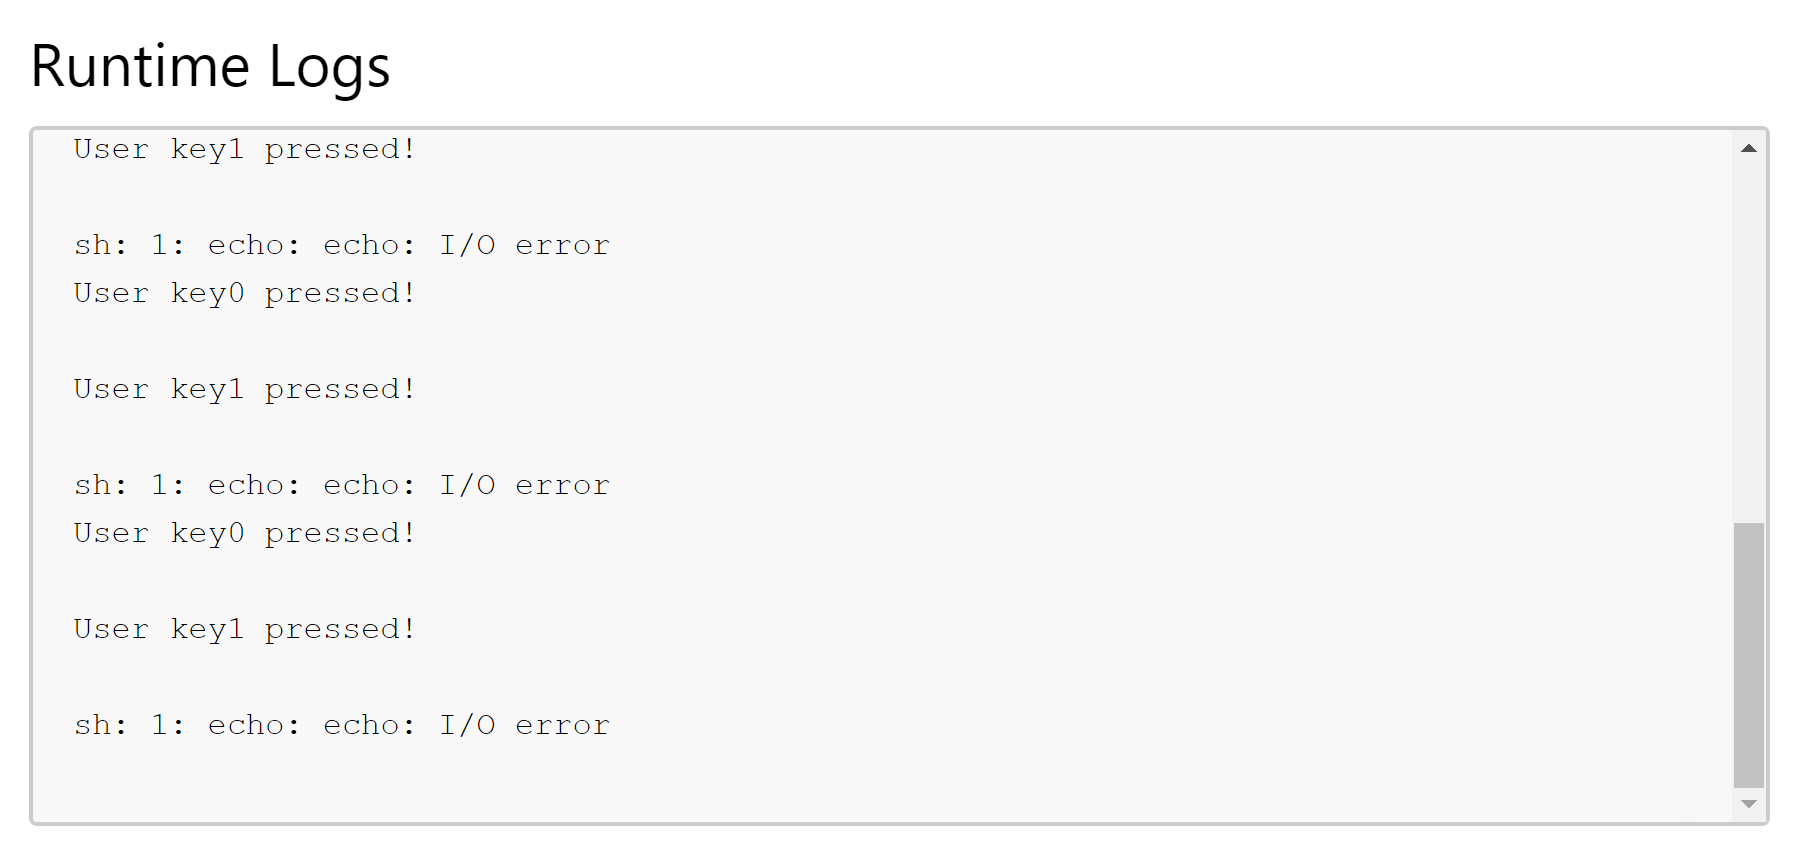
奇怪的是,感觉代码没有改变什么,但是就可以正常运行了,Log如下:

目前的实验现象是:
当LED熄灭时,按两次user1按键,LED会亮起,然后无论按多少次user1按键,LED都不会灭;
再按两次user2按键,LED会熄灭,然后无论按多少次user2按键,LED都不会亮。
5 第四次尝试,成功实现
以下代码可以成功实现预期实验现象:
当LED熄灭时,按一次user1按键,LED会亮起,然后无论按多少次user1按键,LED都不会灭;
再按一次user2按键,LED会熄灭,然后无论按多少次user2按键,LED都不会亮。
改进的重点:针对按键被释放的事件(event.value == 0)编写了逻辑
#import all your libraries here
import psm
import signal, time
import os, sys, getopt, select
import evdev
import gpiod
#global variables
class KeyDevice(object):
quit_flag = False
def open_device(self, key_dev):
try:
""" open key device, if success, return True"""
self.key_dev = evdev.InputDevice(key_dev)
return True
except Exception as e:
print (e)
return False
def listen_key_pressed(self):
try:
while (not psm.should_quit()):
psm.set_var("IX0.0", False) #常开开关
#time.sleep(0.1) #You can adjust the psm cycle time here
psm.set_var("IX0.1", False) #常闭开关
#time.sleep(0.1) #You can adjust the psm cycle time here
for event in self.key_dev.read_loop():
if event.type == evdev.ecodes.EV_KEY:
if event.code == evdev.ecodes.KEY_PROG1:
if event.value == 1: # 表示按键被按下
print("User key0 pressed!")
psm.set_var("IX0.0", True)
print("update input!")
#time.sleep(0.1) #You can adjust the psm cycle time here
# 更新输出
update_outputs()
#time.sleep(0.1) #You can adjust the psm cycle time here
elif event.value == 0: # 表示按键被释放
psm.set_var("IX0.0", False)
#time.sleep(0.1) #You can adjust the psm cycle time here
update_outputs()
#time.sleep(0.1) #You can adjust the psm cycle time here
elif event.code == evdev.ecodes.KEY_PROG2:
if event.value == 1: # 表示按键被按下
print("User key1 pressed!")
psm.set_var("IX0.1", True)
print("update input!")
#time.sleep(0.1) #You can adjust the psm cycle time here
# 更新输出
update_outputs()
#time.sleep(0.1) #You can adjust the psm cycle time here
elif event.value == 0: # 表示按键被释放
psm.set_var("IX0.1", False)
#time.sleep(0.1) #You can adjust the psm cycle time here
update_outputs()
#time.sleep(0.1) #You can adjust the psm cycle time here
except Exception as e:
if not KeyDevice.quit_flag:
print (e)
@classmethod
def stop(cls):
cls.quit_flag = True
def hardware_init():
#Insert your hardware initialization code in here
psm.start()
def update_outputs():
a = psm.get_var("QX0.0")
print("update output!")
if a == True:
ret = os.system("echo 1 > /sys/class/leds/user-led0/brightness")
if ret !=0:
print("Error: Failed to turn on led")
else:
ret = os.system("echo 0 > /sys/class/leds/user-led0/brightness")
if ret!=0:
print("Error: Failed to turn off led")
if __name__ == "__main__":
hardware_init()
key_dev="/dev/input/event1"
key_device = KeyDevice()
res = key_device.open_device(key_dev)
print("open sucessfully")
if not res:
print ("open %s failed!" % key_dev)
exit(3)
key_device.listen_key_pressed()
psm.stop()
6 失败的尝试
6.1 libgpiod库
参考资料:https://doc.embedfire.com/linux/rk356x/Python/zh/latest/circuit/digital_io.html
https://blog.csdn.net/Fenglin6165/article/details/103967292
首先查询GPIO信息,如下:

可以发现,开发板的按钮和gpio-401,gpio-505是互相连接的,当按下按钮适,有关GPIO引脚的状态会改变。
下面尝试通过libgpiod库进行引脚的检测
1. 安装libgpiod库,如下:
sudo apt-get install gpiod
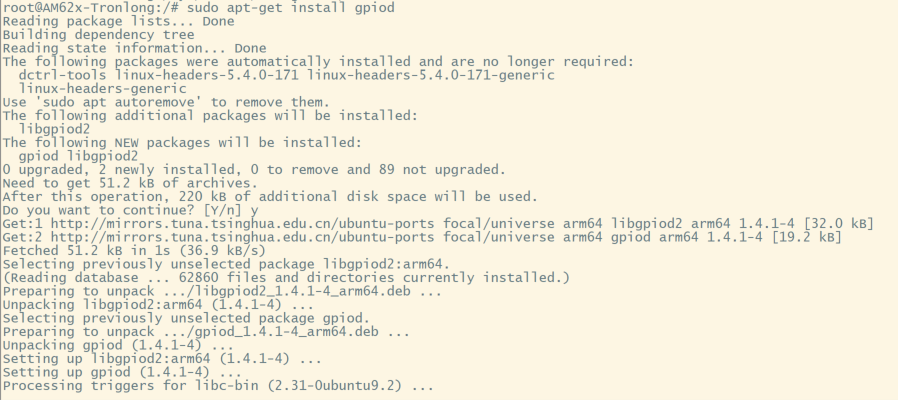
检查是否安装成功:

出现问题,发现python无法找到gpiod
问题应该是gpiod安装到了python找不到的地方,于是利用pip重新安装:

发现python可以成功导入gpiod了

2. 查看按钮对应的chip和line,如下:
gpioinfo

可以看到,user-key0对应chip2, line2; user-key1对应chip1 line19.
3. 尝试利用gpiod库操作开发板的GPIO
按照网上的源码,觉得有关的代码应该这样写:
if __name__ == "__main__":
hardware_init()
# line offset
BUTTON_key0_offset = 2
BUTTON_key1_offset = 19
# chip
chip2 = gpiod.Chip("2",gpiod.Chip.OPEN_BY_NUMBER)
chip1 = gpiod.Chip("1",gpiod.Chip.OPEN_BY_NUMBER)
# initialize button
key0 = chip2.get_line(BUTTON_key0_offset)
key1 = chip1.get_line(BUTTON_key1_offset)
key0.request(consumer="BUTTON", type=gpiod.LINE_REQ_DIR_IN)
key1.request(consumer="BUTTON", type=gpiod.LINE_REQ_DIR_IN)
while (not psm.should_quit()):
print("key0")
print( key0.get_value())
print("key1")
print(key1.get_value())
key0.release()
key1.release()
psm.stop()
但报错,发现这个库的用法和网上的用法有些区别,准备看源码
首先查看安装的gpiod的版本:

去github上,下载1.5.4的源码,经过调整,现在我想这样写的:
# line offset
BUTTON_key0_offset = 2
# chip
chip2 = gpiod.chip("2",gpiod.chip.OPEN_BY_NUMBER)
# initialize button
key0 = chip2.get_line(BUTTON_key0_offset)
config = gpiod.line_request()
config.consumer="BUTTON"
config.request_type=gpiod.line_request.DIRECTION_INPUT
key0.request(config)
但发现报错:
>>> key0.request(config)
Traceback (most recent call last):
File "<stdin>", line 1, in <module>
File "/usr/local/lib/python3.8/dist-packages/gpiod/libgpiodcxx/__init__.py", line 553, in request
rv = libgpiod.gpiod_line_request(_m_line, conf, default_val)
File "/usr/local/lib/python3.8/dist-packages/gpiod/libgpiod/__init__.py", line 479, in gpiod_line_request
return gpiod_line_request_bulk(bulk, config, [default_val])
File "/usr/local/lib/python3.8/dist-packages/gpiod/libgpiod/__init__.py", line 522, in gpiod_line_request_bulk
return _line_request_values(bulk, config, default_vals)
File "/usr/local/lib/python3.8/dist-packages/gpiod/libgpiod/__init__.py", line 387, in _line_request_values
status = ioctl(fd, GPIO_GET_LINEHANDLE_IOCTL, req)
OSError: [Errno 16] Device or resource busy
尝试了许多次,发现这个问题无法解决,可能是因为有关GPIO已经被评估底板上的按钮绑死了,所以无法继续观测了。
6.2 使用input子系统
input子系统是Linux对输入设备提供的统一驱动框架。如按键、键盘、触摸屏和鼠标等输入设备的驱动方式是类似的,当出现按键、触摸等操作时,硬件产生中断,然后CPU直接读取引脚电平,或通过SPI、I2C等通讯方式从设备的寄存器读取具体的按键值或触摸坐标,然后把这些信息提交给内核。使用input子系统 驱动的输入设备可以通过统一的数据结构提交给内核,该数据结构包括输入的时间、类型、代号以及具体的键值或坐标,而内则通过/dev/input目录下的文件接口传递给用户空间。
在Linux内核源码的“Documentation/input”目录包含了input子系统相关的说明。
1. 首先安装evtest工具
sudo evtest
2. 然后进行运行evtest工具,进行测试
![]()
几个奇怪的事情:只能检测到event 1,而且无论按下user key 0还是user key 1,value都是从0——>1。
3. 根据原博客后续的文字,发现这实际上和evdev库很类似,所以也不行。
同时,在安装evtest后,将和Openplc runtime有关的一些库卸载了,所以这种方法失败。
6.3 直接将GPIO export到用户空间
还有一种方法:https://blog.csdn.net/weixin_37787043/article/details/123553972
https://blog.csdn.net/Fenglin6165/article/details/103967292
这种方法可以将一个 GPIO 端口导出(export)到用户空间,以便用户可以访问和控制该 GPIO 端口。

 浙公网安备 33010602011771号