zabbix快速安装(yum)
1、先卸载系统自带数据库
[root@bogon ~]# rpm -e mariadb-libs-5.5.56-2.el7.x86_64 --nodeps
2、安装mysql5.6
[root@bogon ~]# rpm -ivh http://repo.mysql.com/yum/mysql-5.6-community/el/6/x86_64/mysql-community-release-el6-5.noarch.rpm
[root@bogon ~]# yum install -y mysql-community-server
[root@bogon ~]# systemctl start mysqld
[root@bogon ~]# mysql -uroot (默认无密码)
set password for root@localhost = password('新密码');
3、安装zabbix 前端 代理
[root@bogon ~]# rpm -Uvh https://repo.zabbix.com/zabbix/4.4/rhel/7/x86_64/zabbix-release-4.4-1.el7.noarch.rpm
[root@bogon ~]# yum clean all
[root@bogon ~]# yum -y install epel-release
[root@bogon ~]# yum -y install zabbix-server-mysql zabbix-web-mysql zabbix-agent zabbix-nginx-conf
4、创建初始数据库
mysql> create database zabbix character set utf8 collate utf8_bin;
mysql> grant all privileges on zabbix.* to zabbix@localhost identified by 'password';
mysql> quit;
5、导入初始架构和数据。系统将提示您输入新创建的密码。
[root@bogon ~]# zcat /usr/share/doc/zabbix-server-mysql*/create.sql.gz | mysql -uzabbix -p zabbix
然后输入zabbix密码
配置数据库
编辑文件 /etc/zabbix/zabbix_server.conf
DBPassword=password配置php
编辑文件/etc/php.ini
date.timezone = Asia/Shanghai
配置nginx
编辑配置文件 /etc/nginx/nginx.conf
注释掉默认的配置
    #server {
    #    listen       80 default_server;
    #    listen       [::]:80 default_server;
    #    server_name  _;
    #    root         /usr/share/nginx/html;

    #    # Load configuration files for the default server block.
    #    include /etc/nginx/default.d/*.conf;

    #    location / {
    #    }

    #    error_page 404 /404.html;
    #        location = /40x.html {
    #    }

    #    error_page 500 502 503 504 /50x.html;
    #        location = /50x.html {
    #    }
    #}
启动zabbix服务器和代理进程
启动zabbix服务器和代理进程,并使其在系统启动时启动:
systemctl restart zabbix-server zabbix-agent nginx php-fpm
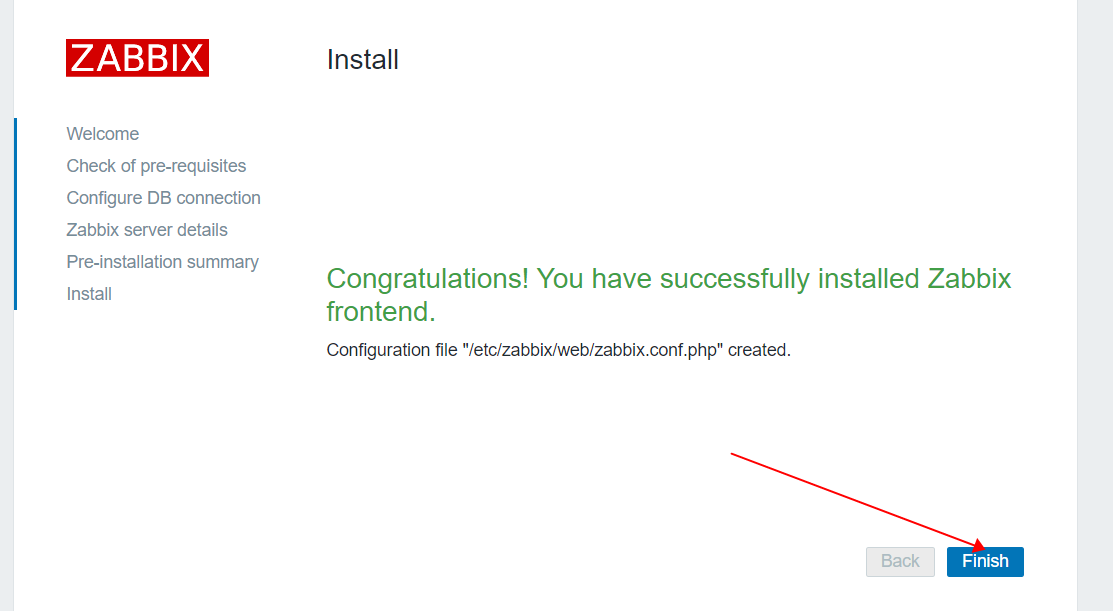
systemctl enable zabbix-server zabbix-agent nginx php-fpm现在您的zabbix服务器已经启动并运行了!
访问:http://serve ip/
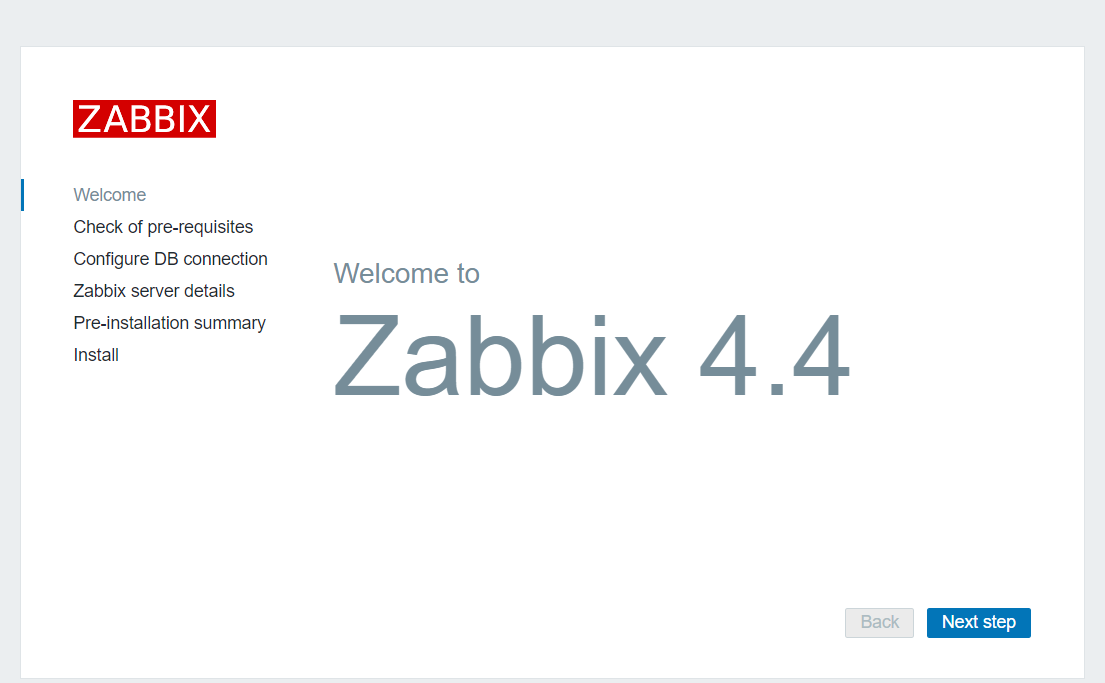
到最后一步。
五、开始使用zabbix
默认的用户名:Admin,密码:zabbix
六、添加监控机器:
[root@bogon ~]# rpm -Uvh https://repo.zabbix.com/zabbix/4.4/rhel/7/x86_64/zabbix-release-4.4-1.el7.noarch.rpm
[root@bogon ~]# yum clean all
[root@bogon ~]# yum -y install zabbix-agent
[root@bogon ~]# vim /etc/zabbix/zabbix_agentd.conf
Server=192.168.1.185(服务端)
ServerActive=192.168.1.185(服务端主动提交数据给服务)
Hostname=centos2(这个名字一会添加的时候要使用)
[root@bogon ~]# systemctl start zabbix-agent

 浙公网安备 33010602011771号