搭建vite+vue3项目
一、介绍
主要通过 vite + vue3 + vue-router4 + vuex4 + Element Plus + axios + mockjs 搭建项目。
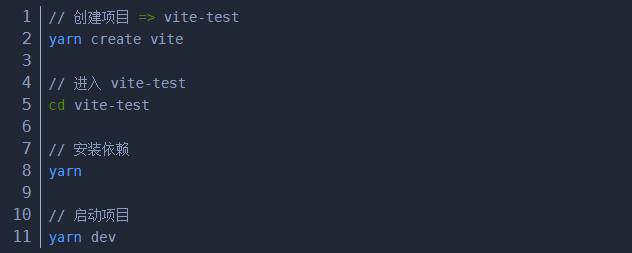
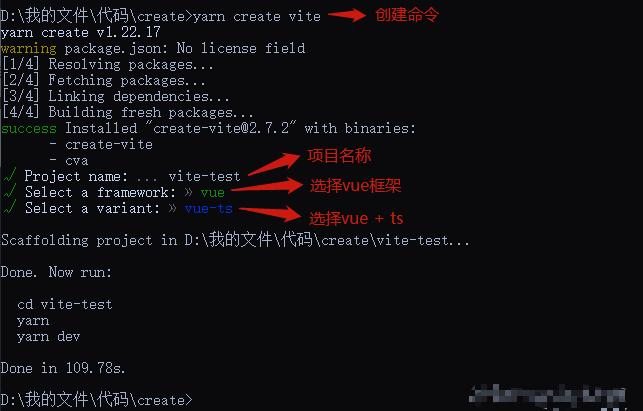
二、通过vite创建项目
- 通过vite创建 vue+ts 项目
注意: 使用cnpm create vite时不能自定义项目名称;所以推荐使用 npm 或者 yarn
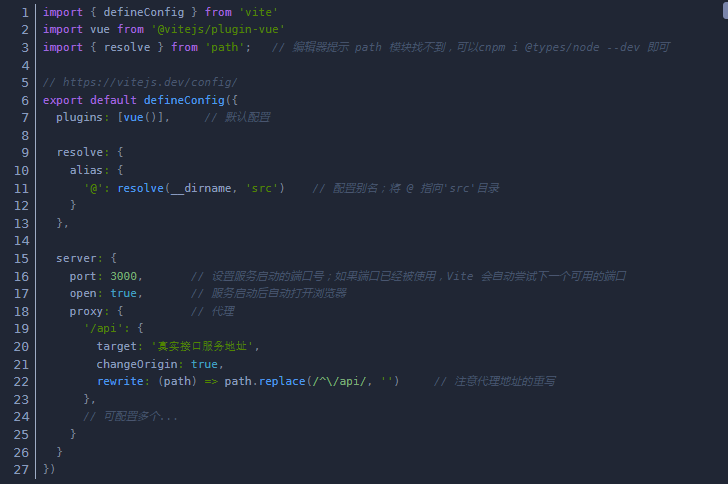
2.修改vite基本配置
项目生成后,目录文件里面包含vite的配置文件vite.config.ts。而当以命令行方式运行vite时,vite会自动解析项目根目录下名为vite.config.js的文件
二、安装vue-router
1.安装

2.配置router文件
创建src/router/index.ts文件
使用路由器懒加载,优化访问性能
`import { createRouter, createWebHistory, createWebHashHistory, RouteRecordRaw } from 'vue-router'
const routes: Array
{
path: '/',
name: 'Home',
component: () => import('@/views/home.vue') // 建议进行路由懒加载,优化访问性能
},
{
path: '/about',
name: 'About',
component: () => import('@/views/about.vue')
}
]
const router = createRouter({
// history: createWebHistory(), // 使用history模式
history: createWebHashHistory(), // 使用hash模式
routes
})
export default router
————————————————
`
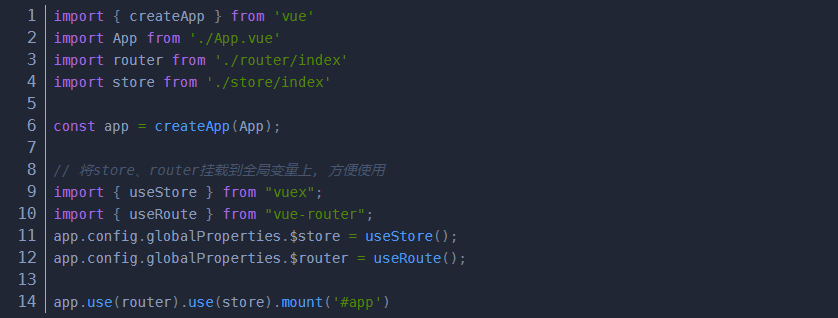
3.main.ts里面引入router

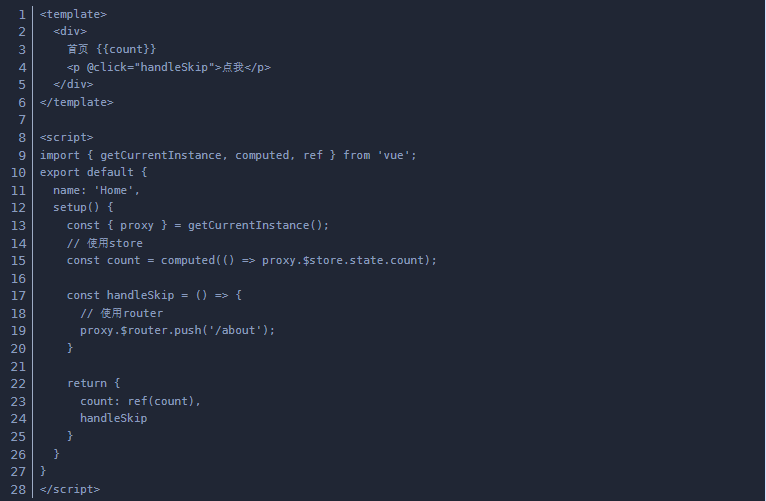
4.使用router
在App.vue文件中使用router-view组件,路由匹配到组件会通过router-view组件进行渲染

三、安装vuex
1.安装
cnpm install vue@next --save
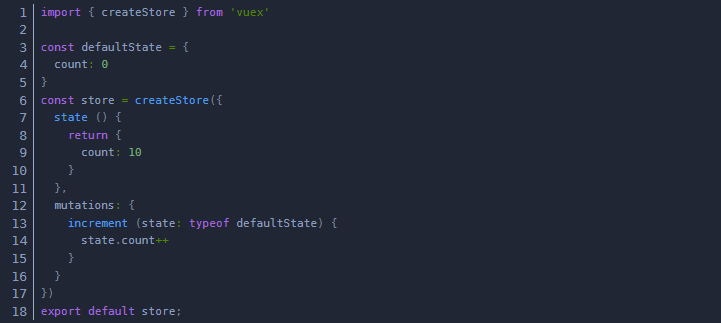
2.配置store文件
创建src/store/index.ts文件
3.main.ts里面引入vuex
4.使用vuex
四、安装Element Plus
1.安装

-
main.ts里面引入element plus

elelment Plus按需引入
4.使用element plus

五、安装Axios
1.安装

2.封装公共请求方法
新建工具类src/utils/request.ts
`import axios from 'axios'
interface ApiConfig {
body: object;
data: object
}
async function request(url: string, options: ApiConfig) {
// 创建 axios 实例
const service = axios.create({
baseURL: "", // api base_url
timeout: 6000 // 请求超时时间
});
// 请求拦截
service.interceptors.request.use(config => {
// 这里可设置请求头等信息
if (options && options.body) {
config.data = options.body;
}
return config;
});
// 返回拦截
service.interceptors.response.use(response => {
// 这里可进行返回数据的格式化等操作
return response.data;
});
return service(url, options);
}
export default request;
`
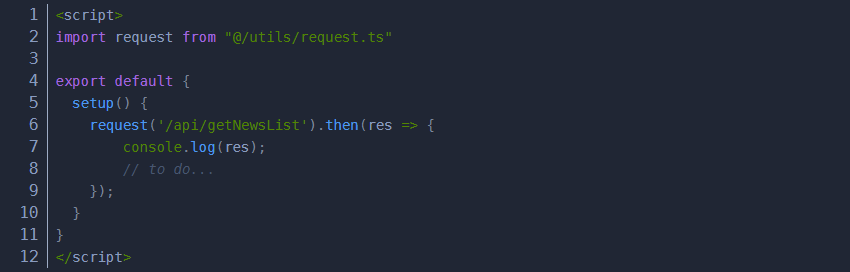
3.使用请求方法

 浙公网安备 33010602011771号