Nginx常用模块
1.Nginx目录索引模块(autoindex)
ngx_http_autoindex_module模块是用来处理以斜杠('/')结尾的请求并生成目录列表。当ngx_http_index_module模块找不到索引文件时,通常会将请求传递给ngx_http_autoindex_module模块。
目录索引模块配置及优化
语法(Syntax):autoindex on | off;
默认配置(Default):autoindex off
配置环境(Context):http,server,location

[root@web01 ~]# cat /etc/nginx/conf.d/www.jl.com.conf
server{
	# 监听端口
	listen 80;
	# ip (ip,location,_,域名)
	server_name 10.0.0.7;
	# uri
	location /{
		# 站点目录(代码存放目录)
		root /jl;
		# 目录索引模块 开启
		autoindex on;
		# 显示带单位的文件大小
		autoindex_exact_size off;
		# 显示本地时间
		autoindex_localtime on;
	}
}
![]()
2.Nginx状态模块(stub_status)
	ngx_http_stup_status_module模块提供对基本状态信息的访问,默认情况不构建该模块,可使用--with-http_stub_status_module配置参数启用它
Syntax:stub_status
Default:—
Context:server,location
Nginx状态模块配置
server{
listen 80;
server_name 10.0.0.7;
location /{
root /jl;
autoindex on;
autoindex_exact_size off;
autoindex_localtime on;
}
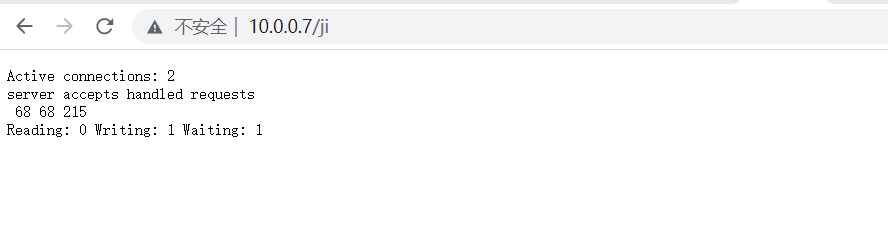
location /ji{
stub_status;
}
}
![]()
3.Nginx访问控制模块
基于用户密码(auth_basic)
Syntax: auth_basic string | off;
Default: auth_basic off;
Context: http, server, location, limit_except
1.安装htpasswd命令
yum install -y httpd
2.创建存放认证文件的目录
mkdir /etc/nginx/auth/
3.创建认证文件
htpasswd -b -c /etc/nginx/auth/jl_auth jl 123
-b:允许命令行中输入密码
-c:创建一个新文件,将用户名和密码保存到指定文件中
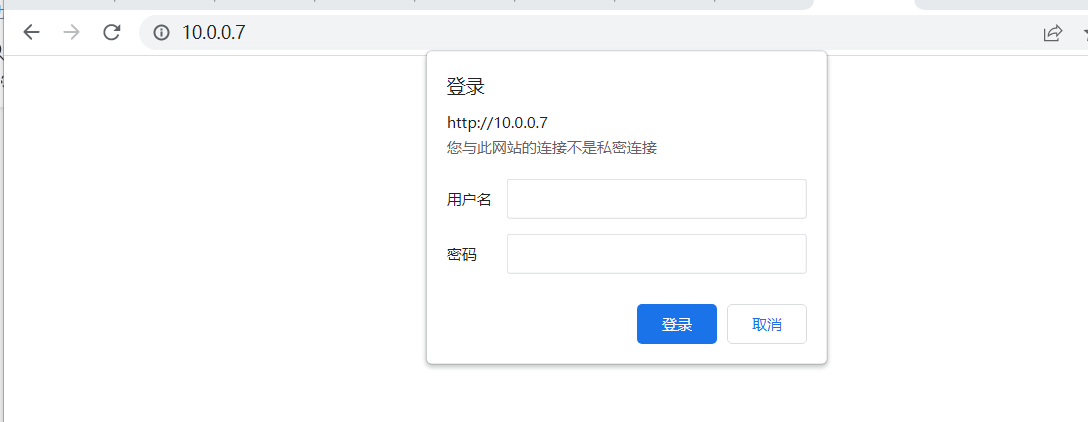
4.添加认证
server{
listen 80;
server_name 10.0.0.7;
auth_basic "closed site";
auth_basic_user_file /etc/nginx/auth/jl_auth;
location /{
root /jl;
autoindex on;
autoindex_exact_size off;
autoindex_localtime on;
}
location /ji{
stub_status;
}
}
![]()
基于IP访问控制(access)
# 允许:
Syntax:	allow address | CIDR | unix: | all;
Default:	—
Context:	http, server, location, limit_except

# 禁止:
Syntax:	deny address | CIDR | unix: | all;
Default:	—
Context:	http, server, location, limit_except
基于IP访问控制配置
server{
listen 80;
server_name 10.0.0.7;
auth_basic "closed site";
auth_basic_user_file /etc/nginx/auth/jl_auth;
location /{
root /jl;
autoindex on;
autoindex_exact_size off;
autoindex_localtime on;
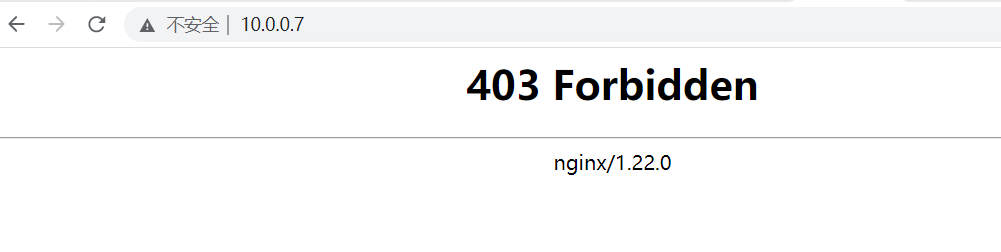
allow 10.0.0.31;
deny all;
}
location /ji{
stub_status;
}
}
## 默认nginx是allow all,如果只允许一个IP则需要配合deny all使用,deny all要放在最下面
![]()
![]()
4.访问频率限制
连接频率限制(limit_conn)
Syntax:	limit_conn zone number;
Default:	—
Context:	http, server, location
配置连接频率限制
[root@web01 /etc/nginx/conf.d]# vim jl.conf
limit_conn_zone $remote_addr zone=addr:10m;
server{
        listen 80;
        server_name 10.0.0.7;
        auth_basic     "password";
        auth_basic_user_file /etc/nginx/auth/jl_auth;
        limit_coon addr 1;
        location /{
                root /ji;
                autoindex on;
                autoindex_exact_size off;
                autoindex_localtime on;
                allow 10.0.0.31;
                deny all;
        }
        location /ll{
                stub_status;
        }
}
# addr:内存空间的名字
# 1:连接次数
请求频率限制(limit_req)
Syntax:	limit_req zone=name [burst=number] [nodelay | delay=number];
Default:	—
Context:	http, server, location
配置请求频率限制
# http标签端定义请求限制,rate限制速率,限制一秒钟最多一个IP请求
limit_req_zone $binary_remote_addr zone=one:10m rate=1r/s;
server{
listen 80;
server_name 10.0.0.7;
auth_basic "password";
auth_basic_user_file /etc/nginx/auth/jl_auth;
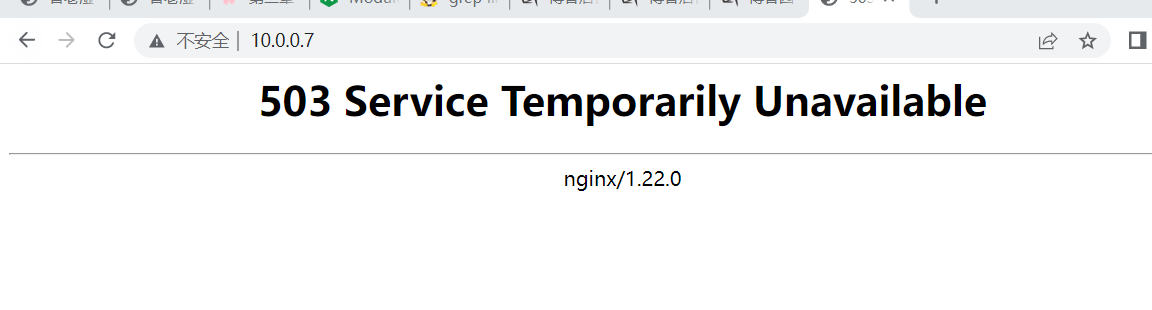
# 请求超过3r/s,多余的请求返回503
limit_req zone=req_zone burst=3 nodelay;
location /{
root /ji;
autoindex on;
autoindex_exact_size off;
autoindex_localtime on;
}
location /ll{
stub_status;
}
}
![]()
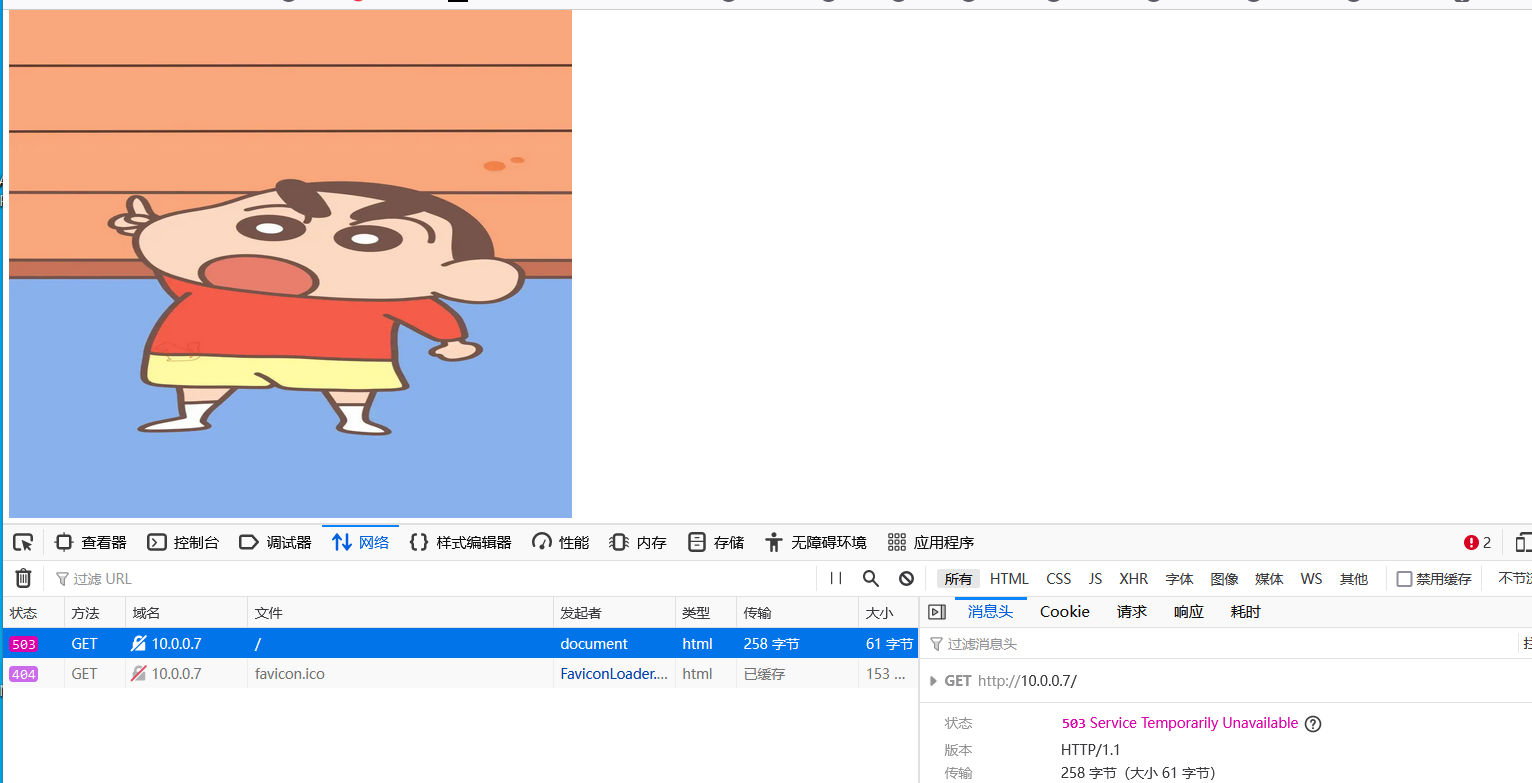
请求频率限制错误页面优化
1.修改nginx配置文件
[root@web01 /etc/nginx/conf.d]# vim jl.conf
limit_req_zone $binary_remote_addr zone=req_zone:10m rate=1r/s;
server{
        listen 80;
        server_name 10.0.0.7;
        auth_basic     "password";
        auth_basic_user_file /etc/nginx/auth/jl_auth;
        limit_req zone=req_zone burst=3 nodelay;
        limit_req_status 503;
        error_page 503 /503.html;

        location /{
                root /ji;
                autoindex on;
                autoindex_exact_size off;
                autoindex_localtime on;
        }
        location /ll{
                stub_status;
        }
}
2.在站点目录下创建503.html文件
3.将优化的内容写入进该文件中
4.打开浏览器访问
![]()
5.location优先级
| 匹配符 |
匹配规则 |
优先级 |
| = |
精确匹配 |
1 |
| ^~ |
以某个字符串开头 |
2 |
| ~ |
区分大小写 |
3 |
| ~* |
不区分大小写 |
4 |
| !~ |
区分大小写不匹配 |
5 |
| !~* |
不区分大小写不匹配 |
6 |
| / |
通用匹配,任何请求都会匹配到 |
7 |


 浙公网安备 33010602011771号