Retro-Go固件编译
Retro-Go固件的编译主要参考官方文档中针对于 ESP32 的指引教程。
似乎其实 Github 主页里面的 Release 也是可以直接使用的。
环境搭建
首先,官方文档推荐使用 有效的 esp-idf 安装。支持版本 4.3 到 5.2。
ESP乐鑫官方安装指导说明:
https://docs.espressif.com/projects/esp-idf/zh_CN/stable/esp32/get-started/windows-setup.html
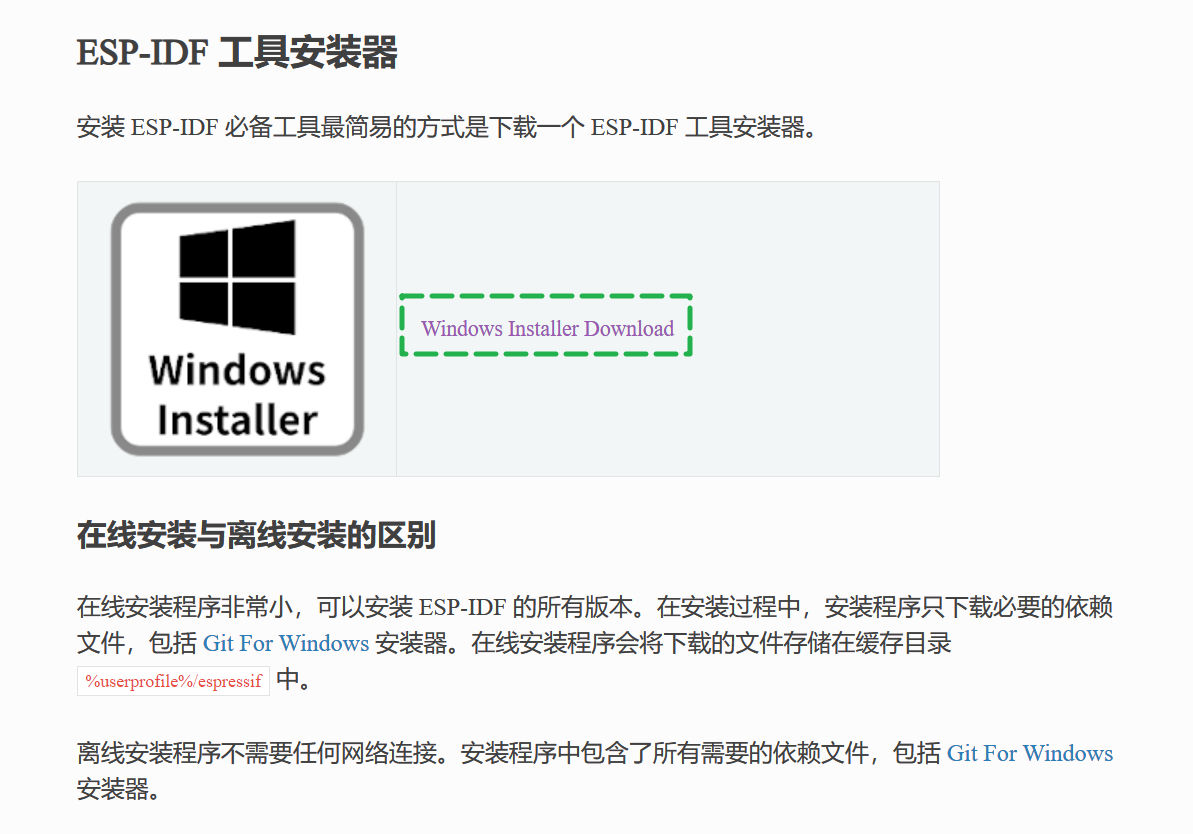
选择合适的 ESP-IDF 版本,考虑到网络环境的影响,尽量还是使用 离线 offline 方式安装。

克隆代码
首先第一步是克隆代码,根据官方文档说明,可以通过以下命令来实现:
Using git is the preferred method but you can also download a zip from the project's front page and extract it if you want, Retro-Go has no external dependencies.
使用 git 是首选方法,但您也可以从项目的首页下载一个 zip 并根据需要提取它,Retro-Go 没有外部依赖项。
There are generally two active git branches on retro-go:
retro-go 上通常有两个活跃的 git 分支:
mastercontains the code form the most recent release and is usually tested and known to be working
master包含最新版本中的代码,并且通常经过测试并已知可以正常工作devcontains code in development that will be merged to master upon the next release and is often untested
dev包含正在开发中的代码,这些代码将在下一个版本时合并到 master 中,并且通常未经测试
git clone -b <branch> https://github.com/ducalex/retro-go/

因为国内网络环境比较复杂,所以这里采用了加速的形式采成功克隆完毕。
Github加速链接:
https://github.moeyy.xyz/
开始编译
克隆代码完毕后,在当前代码文件夹下,右键打开命令行窗口或者打开命令行窗口后使用 cd 命令跳转到文件夹内。
- Generate a .fw file to be installed with odroid-go-firmware (SD Card):
生成一个 .fw 文件,以便使用 odroid-go-firmware (SD 卡) 进行安装:
python rg_tool.py build-fworpython rg_tool.py release(clean build)
Python rg_tool.py build-fw或Python rg_tool.py 版本(全新构建) - Generate a .img to be flashed with esptool.py (Serial):
生成一个 .img 以使用 esptool.py (Serial) 进行刷写:
python rg_tool.py build-imgorpython rg_tool.py release(clean build)
Python rg_tool.py build-img或Python rg_tool.py 版本(干净构建)

经测试需要先打开 ESP-IDF 命令行窗口,使用 cd 命令跳转到指定文件夹内,输入需要的命令即可开始编译。
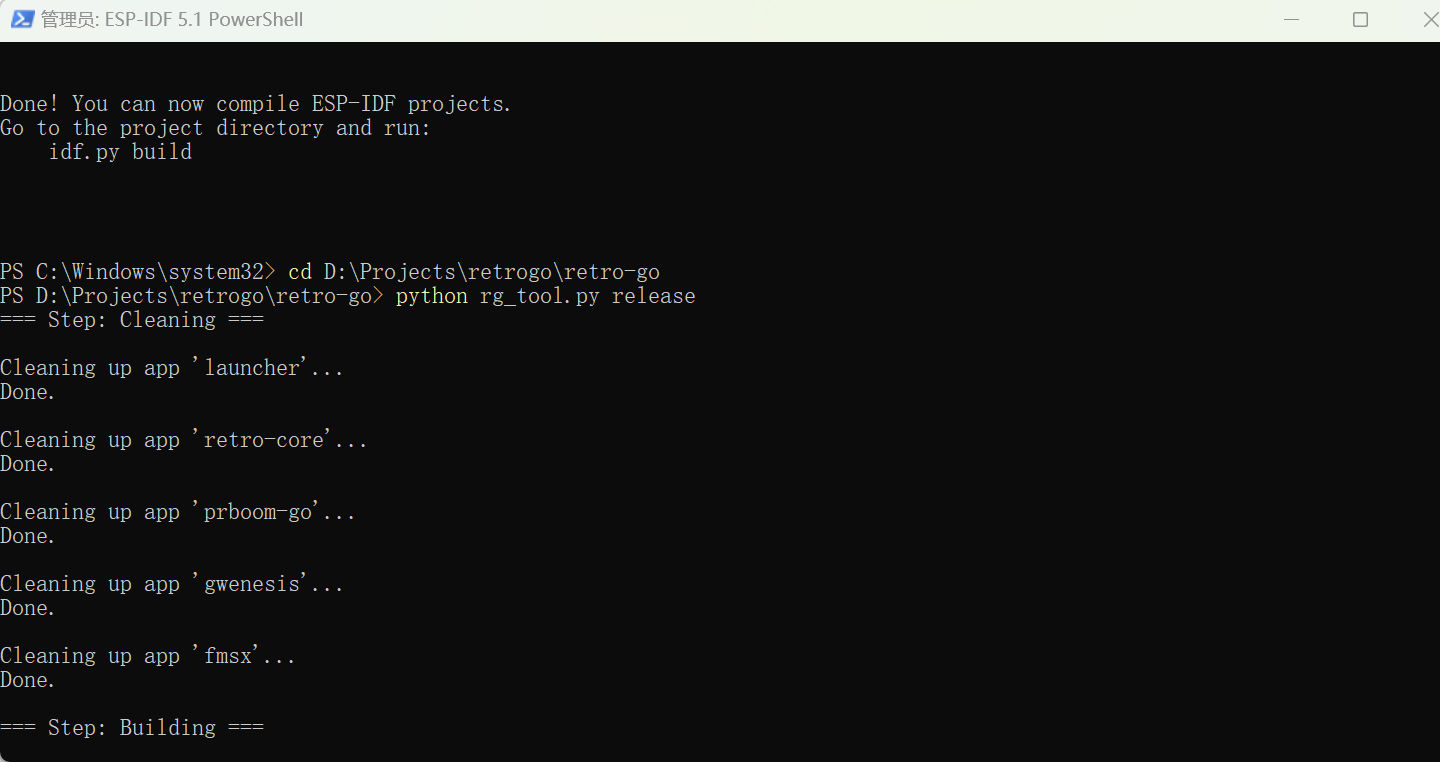
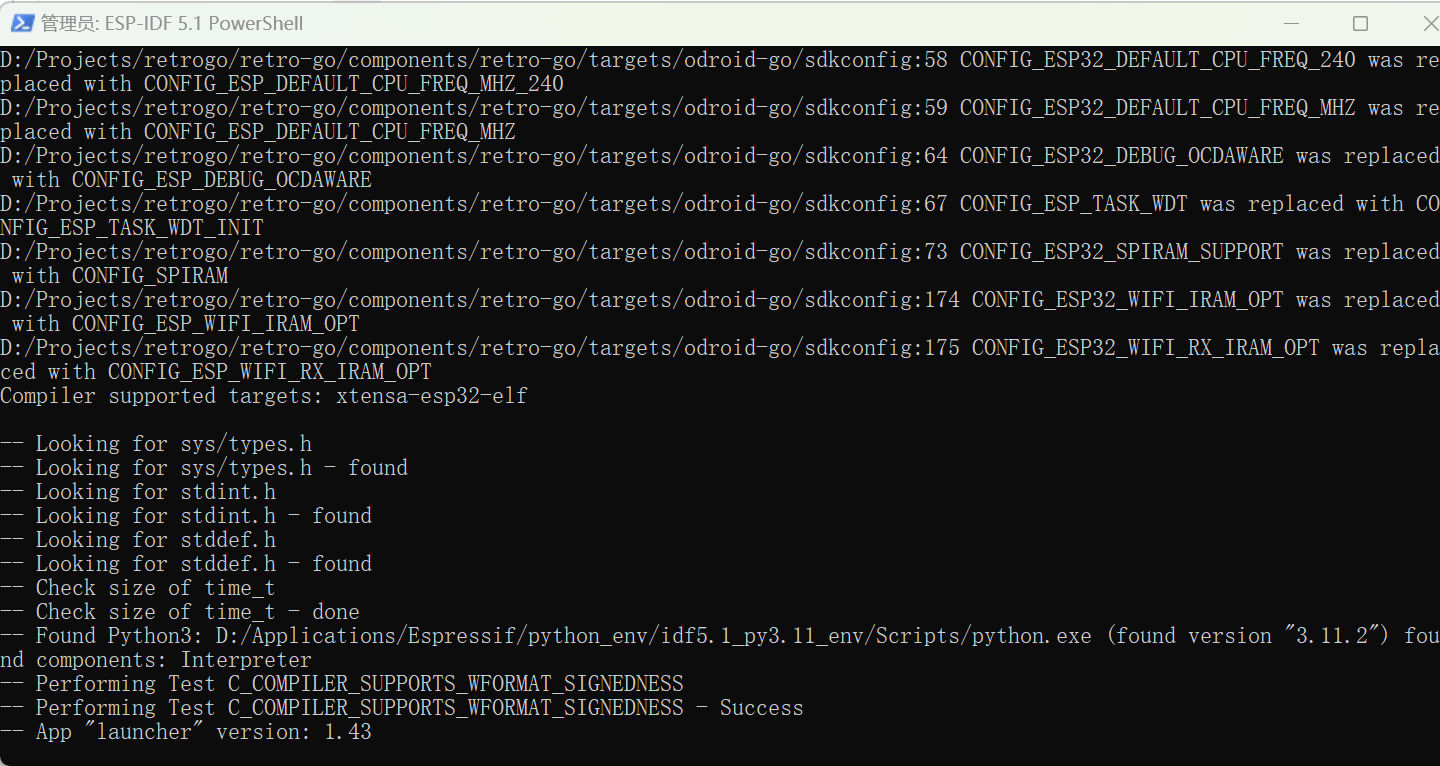

只要中间没有报错停止,就保持现状继续编译。
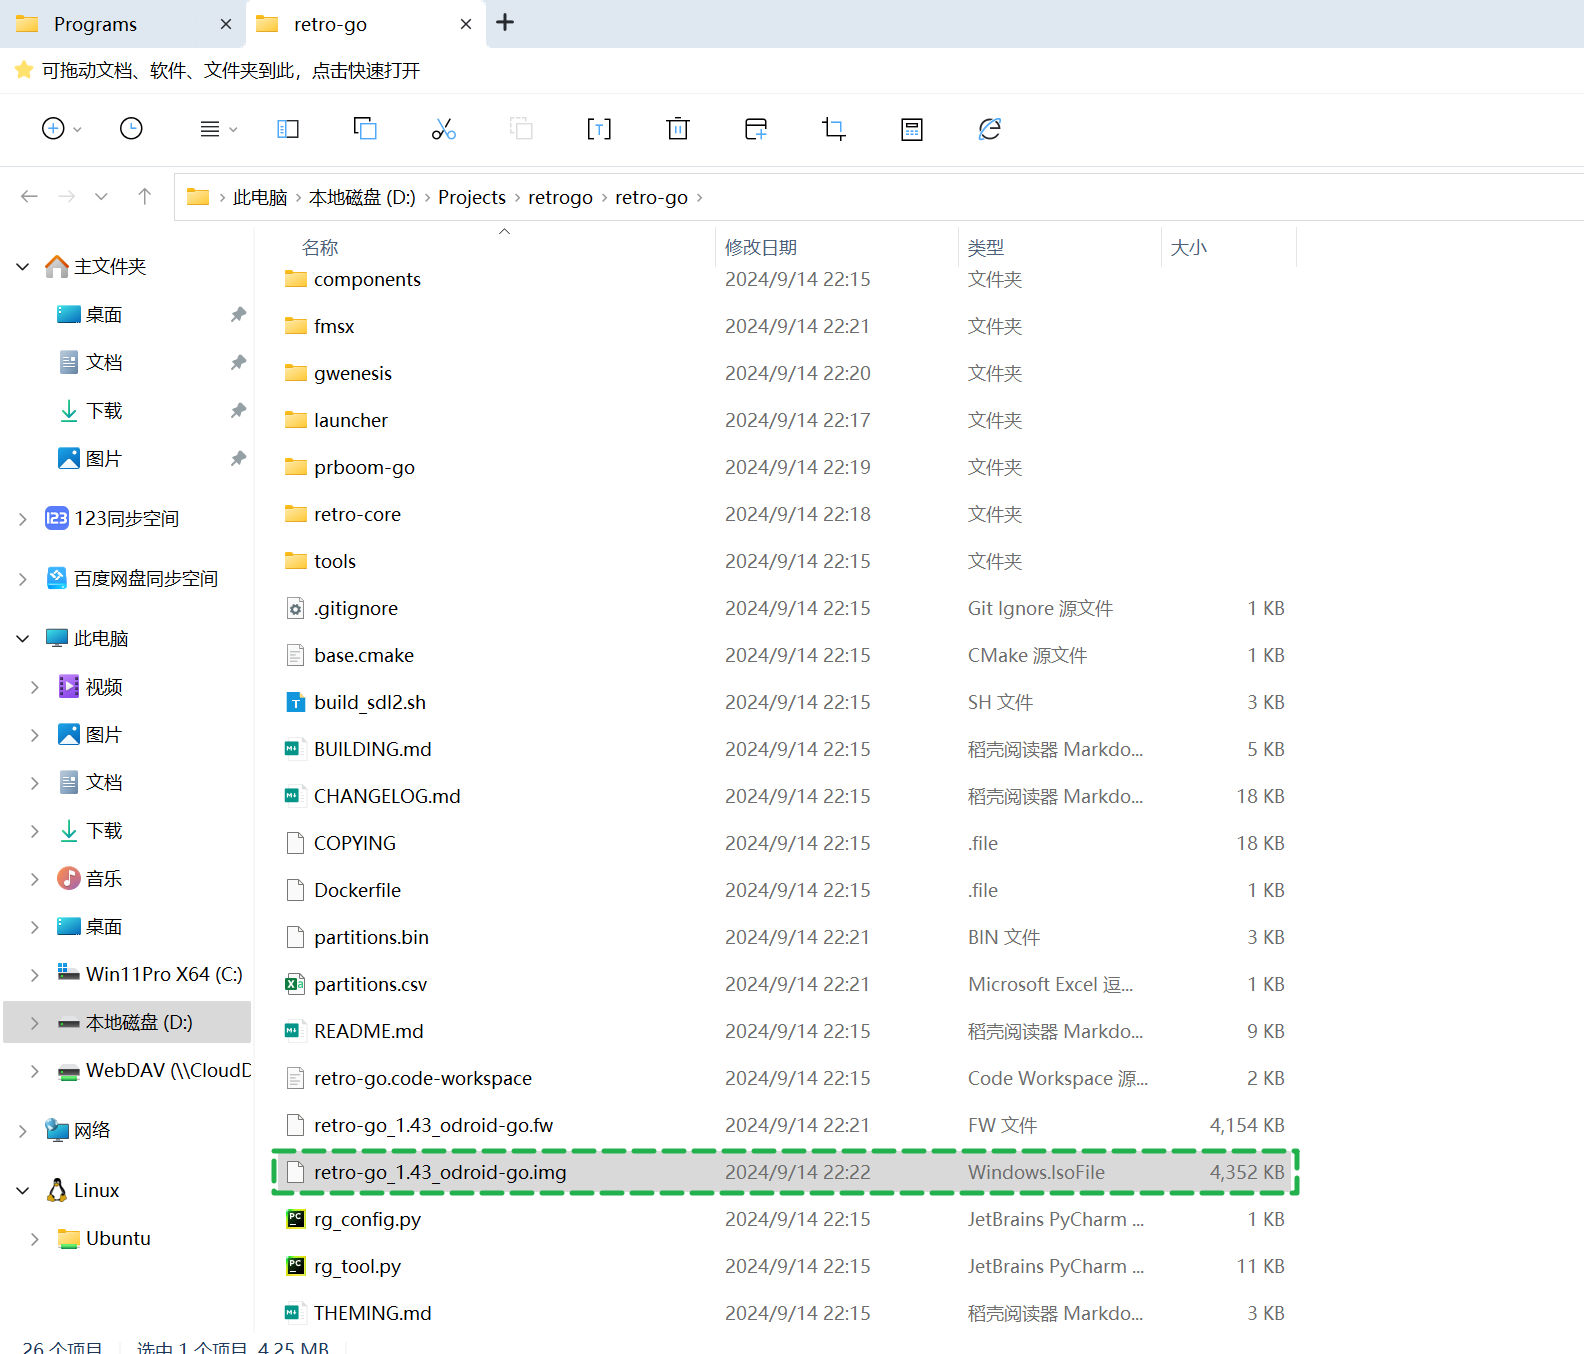
编译结束

整体速度还是很快的。
编译结束后,可以看到提示镜像位置,在目录文件夹内可以看到编译结束的镜像文件。

 浙公网安备 33010602011771号