

富文本编辑器wangEditor在vue项目中的使用
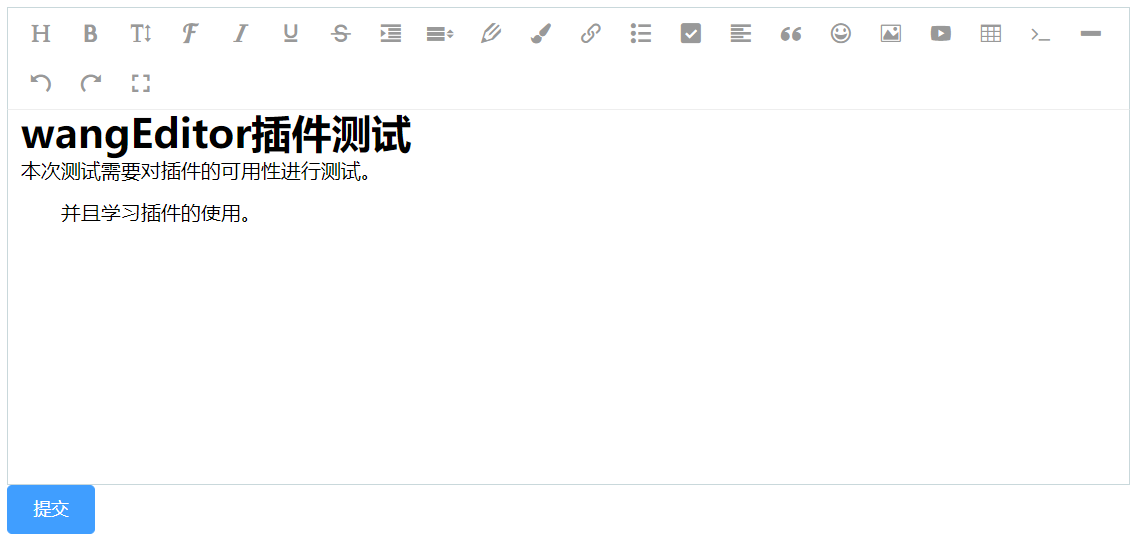
一、效果图如下:
二、先安装wangEditor
yarn add wangeditor
三、封装组件
在组件文件夹下新建wangEditor文件夹—>index.vue
文本编辑器的设置代码如下:
点击查看代码
<template>
  <div>
    <div id="editor-box" style="width: 100%">
        <div v-html="content"></div>
    </div>
    <el-button type="primary" @click="submit">提交</el-button>
    <div class="showHTML" v-if="isShow">
        <div v-html="htmlContent"></div>
    </div>
  </div>
</template>
<script>
import axios from "axios";
import Editor from "wangeditor";
const instance =axios.create({baseURL:""})
export default {
  name:'wangEditor',
  data() {
    return {
      editor: null,
      showHTML: null,
      content: null,
      isShow: false,
      htmlContent: null,
    };
  },
  mounted() {
      instance("/api/user/upload-content-img").then((response) => {
      this.content = response.data;
      this.init();
    });
  },
  methods: {
    init() {
      this.editor = new Editor("#editor-box");
      // 配置行高
      this.editor.config.lineHeights = [
        "0.5",
        "1",
        "1.15",
        "1.6",
        "2",
        "2.5",
        "3",
      ];
      this.editor.config.uploadImgServer="你上传图片的地址";
      this.editor.config.uploadImgHooks={
          customInsert: function(insertImgFn,result){
            console.log("InsertInformation",result);
            insertImgFn("基本地址"+result.data[0].url);
          }
      };
      this.editor.create();
    },
    submit() {
      this.isShow = !this.isShow;
      this.htmlContent = this.editor.txt.html();
      console.log(this.htmlContent);
    },
  },
};
</script>
<style scoped>
.showHTML {
  padding: 0;
  margin: 0;
  width: 100%;
  height: 100px;
}
::v-deep .showHTML h1{
    color: red;
}
</style>

 浙公网安备 33010602011771号