个人博客皮肤设置【转】
我的博客地址:https://www.cnblogs.com/zhlbk/
更新时间:2021-10-11
我一直想要搭建一个属于自己的博客,让自己有空的时候可以在博客写下一些想法、感悟,或者生活上学习到的知识,于是我查找了比较多的博客,
我来到了博客园,在博客园搭建了自己的博客。在这里分享一下我在博客园搭建自己博客和如何修改自己博客的一些样式的经验。
我的分享,希望能帮助到大家,我的博客背景的代码是来源于另外一个博主,原博主的链接:https://www.cnblogs.com/themysteryofhackers/p/11902072.html
一、搭建博客的步骤
1、要想在博客园搭建自己的博客,首先要注册一个博客园的账号。
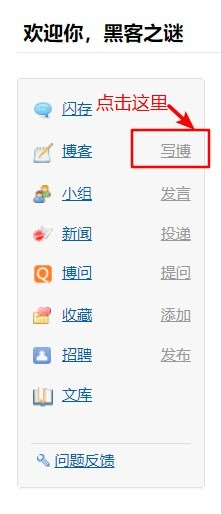
2、点击右上角的账号名,就进入了属于你的主页,然后点击左中部的“写博”,如下图所示。
3、点击“写博”后,网站会提示,要你申请写博客,你就如实填写理由申请就行了,一般会在几个小时内就会通过的了,申请成功后,就会进入一个可以填写一些参数,如博客博客名,Blog地址名(就是我的博客地址中的“themysteryofhackers”这部分)等等。
4、如果关闭了后台页面,也可以点击“我的博客”里进入博客后台界面,如下图所示。这里面有博客的一些常用设置,这些大家自己了解就行,这里就不多说了。
博客后台页面
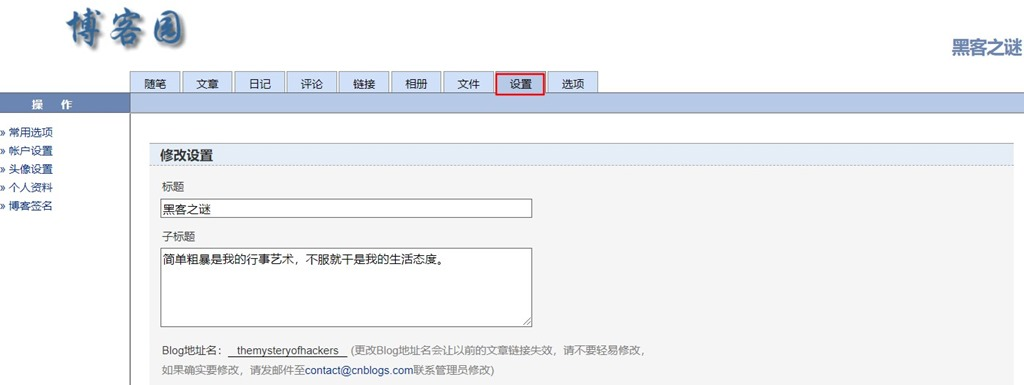
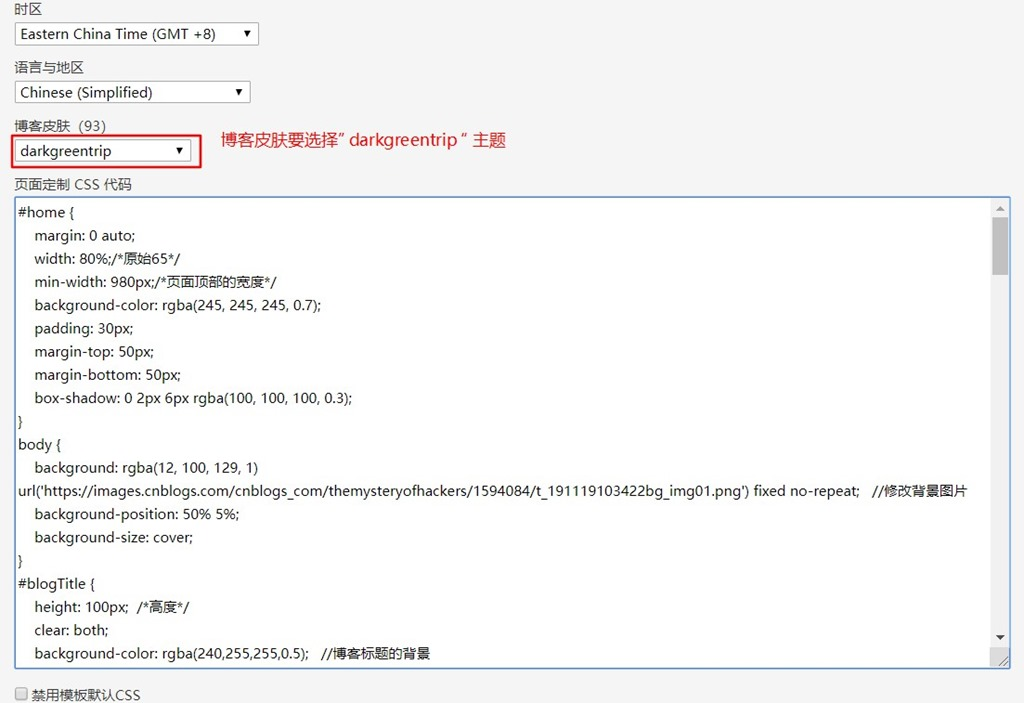
5、到这一步就可以发表你的博客了(题外话:一般我们发表的是随笔,展示我们博客的是随笔,文章是比较正式内容,比较正规的作品),但是,你还没有设置你博客的背景和样式。这时候你就点击后台管理界面的“设置”,往下拉就可以看到“时区”、“语言与时区”、“博客皮肤”还有“页面定制CSS代码”等选项,如下图所示。
博客背景和css
6、博客设置好“darkgreentrip”的皮肤后,这时候可就在“页面定制CSS”复制下面的代码进入就行了,如果想要更改背景图片,就可以在下面body{}代码块中修改background属性中的url地址,你可以先将背景图片上传到你的相册中,然后复制图片地址到这里粘贴,将我原来的地址换掉就行了。
点击查看代码
#home {
    margin: 0 auto;
    width: 80%;/*原始65*/
    min-width: 980px;/*页面顶部的宽度*/
    background-color: rgba(245, 245, 245, 0.7);
    padding: 30px;
    margin-top: 50px;
    margin-bottom: 50px;
    box-shadow: 0 2px 6px rgba(100, 100, 100, 0.3);
}
body {
    background: rgba(12, 100, 129, 1) url('https://images.cnblogs.com/cnblogs_com/themysteryofhackers/1594084/t_191119103422bg_img01.png') fixed no-repeat;   //修改背景图片
    background-position: 50% 5%;
    background-size: cover;
}
#blogTitle {
    height: 100px;  /*高度*/
    clear: both;
    background-color: rgba(240,255,255,0.5);   //博客标题的背景
}
#blogTitle h1 {
    font-size: 36px;
    font-weight: bold;
    line-height: 1.8em;/*原始 1.6em*/
    margin-top: 10px;/*原始 15px */
    color: #FF1493;
}
#blogTitle h2 {
    font-weight: normal;
    font-size: 17px;/*原始 16px ;font-size: 1.0rem;*/
    line-height: 1.8;
    color: #FF1493;
    font-weight: bold;
    text-align: right;
    float: right;
}
#navigator{
    background-color:rgba(135,206,205, 0.5);          //标题栏下的颜色
}
#navList a:link, #navList a:visited, #navList a:active{
    color: #FFFFFF;
    font-size: 18px;
    font-weight: bold;
}
.blogStats{
    color: #eee;
}
.postTitle {
    border-left: 8px solid rgba(132,112,255, 0);
    margin-left: 10px;
    margin-bottom: 10px;
    font-size: 20px;
    float: right;
    width: 100%;
    clear: both;
}
.postTitle a:link, .postTitle a:visited, .postTitle a:active {
    color:     #FF6A6A;
    transition: all 0.4s linear 0s;
}
.postTitle a:hover {
    margin-left: 30px;
    color: #EE6363;
    text-decoration: none;
}
.postCon {
    float: right;
    line-height: 1.5em;
    width: 100%;
    clear: both;
    padding: 10px 0;
}
.day .postTitle a {
    padding-left: 10px;
}
.day {
    background: rgba(255, 255, 255, 0.5);
}
/*文章附加信息*/
.postDesc {
    background: url(images/posted_time.png) no-repeat 0 1px;
    color: #757575;
    float: left;
    width: 100%;
    clear: both;
    text-align: left;
    font-family: "微软雅黑" , "宋体" , "黑体" ,Arial;
    font-size: 13px;
    padding-right: 20px;/*5px  padding-left: 90px;posted 发表时间左边距离*/
    margin-top: 20px;
    line-height: 1.8;
    padding-bottom: 35px;
}
.newsItem, .catListEssay, .catListLink, .catListNoteBook, .catListTag, .catListPostCategory,
.catListPostArchive, .catListImageCategory, .catListArticleArchive, .catListView,
.catListFeedback, .mySearch, .catListComment, .catListBlogRank, .catList, .catListArticleCategory ,#blog-calendar
{
    background: rgba(255, 255, 255, 0.5);
    margin-bottom: 35px;
    word-wrap: break-word;
}
.CalTitle{
    background: rgba(255, 255, 255, 0);
}
.catListTitle{
    background-color: rgba(255,110,180,0.6);   //栏目的条纹颜色
}
#topics{
    background: rgba(255, 255, 255, 0.5);
}
.c_ad_block{
    display: none;
}
#tbCommentBody{
    width: 100%;
    height: 200px;
    background: rgba(255, 255, 255, 0.5);
}
#q{background: rgba(255, 255, 255, 0);}

.CalNextPrev{background: rgba(255, 255, 255, 0);}

.cnblogs_code{
    background: rgba(255, 255, 255, 0);
}
.cnblogs_code div{
    background: rgba(255, 255, 255, 0);
}
.cnblogs_code_toolbar{
    background: rgba(255, 255, 255, 0);
}
#main{min-width: 640px;}
.entrylist{
    background: rgba(255, 255, 255, 0.5);
}
7、就在“设置”的页面继续往下拉,你就会看到“博客侧边栏”和“首页HTML代码”两个区域,而“博客侧边栏”这个区域可以放入js代码,不过要申请,直接去申请就行了,一两个小时就会通过的,不去申请也无所谓。而在页面加上live2d老板娘,就要下面的代码复制进“首页HTML代码块”。
点击查看代码
<!DOCTYPE html> <html xmlns="http://www.w3.org/1999/xhtml"> <head> <meta http-equiv="Content-Type" content="text/html; charset=UTF-8" /> <title>Live2D</title> <link rel="stylesheet" type="text/css" href="https://blog-static.cnblogs.com/files/themysteryofhackers/waifu.css"/> <script src="https://cdn.bootcss.com/jquery/3.2.1/jquery.min.js"></script> </head> <body> <link rel="stylesheet" type="text/css" href="https://blog-static.cnblogs.com/files/themysteryofhackers/waifu.css"> <div class="waifu" id="waifu"> <div class="waifu-tips" style="opacity: 1;"></div> <canvas id="live2d" width="280" height="250" class="live2d"></canvas> <div class="waifu-tool"> <span class="fui-home"></span> <span class="fui-chat"></span> <span class="fui-eye"></span> <span class="fui-user"></span> <span class="fui-photo"></span> <span class="fui-info-circle"></span> <span class="fui-cross"></span> </div> </div> <script src="https://blog-static.cnblogs.com/files/themysteryofhackers/live2d.js"></script> <script src="https://blog-static.cnblogs.com/files/themysteryofhackers/waifu-tips.js"></script> <script type="text/javascript">initModel()</script> </body> </html> <link rel="stylesheet" type="text/css" href="https://files.cnblogs.com/files/yjlblog/flat-ui.min.css"/>
上述代码有个坑,最后的链接标签放的不对
点击文件地址下载文件,就会得到
文件下载地址
waifu.css
lived2d.js
waifu-tip.js
三个文件,将这三个文件上传到后台中“文件”里面,如下图所示
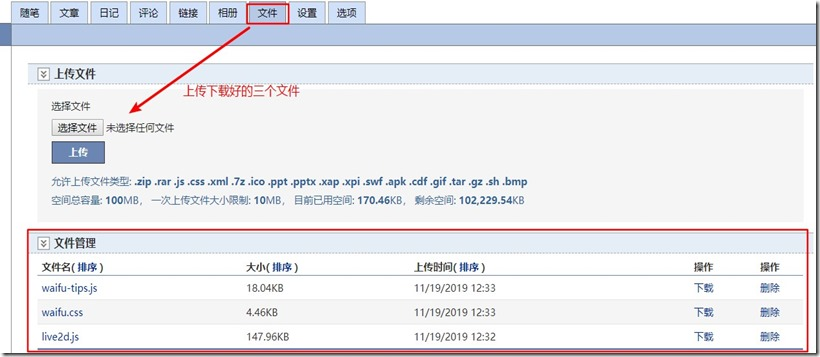
然后获取三个文件的链接地址(选中资源,直接右击,复制链接地址,相册中的图片的链接也是这样去获取),再将第7部中的代码中的这三个文件的链接修改成你自己的就可以了。
最后一行的flat-ui.min.css不用修改,然后点击保存。
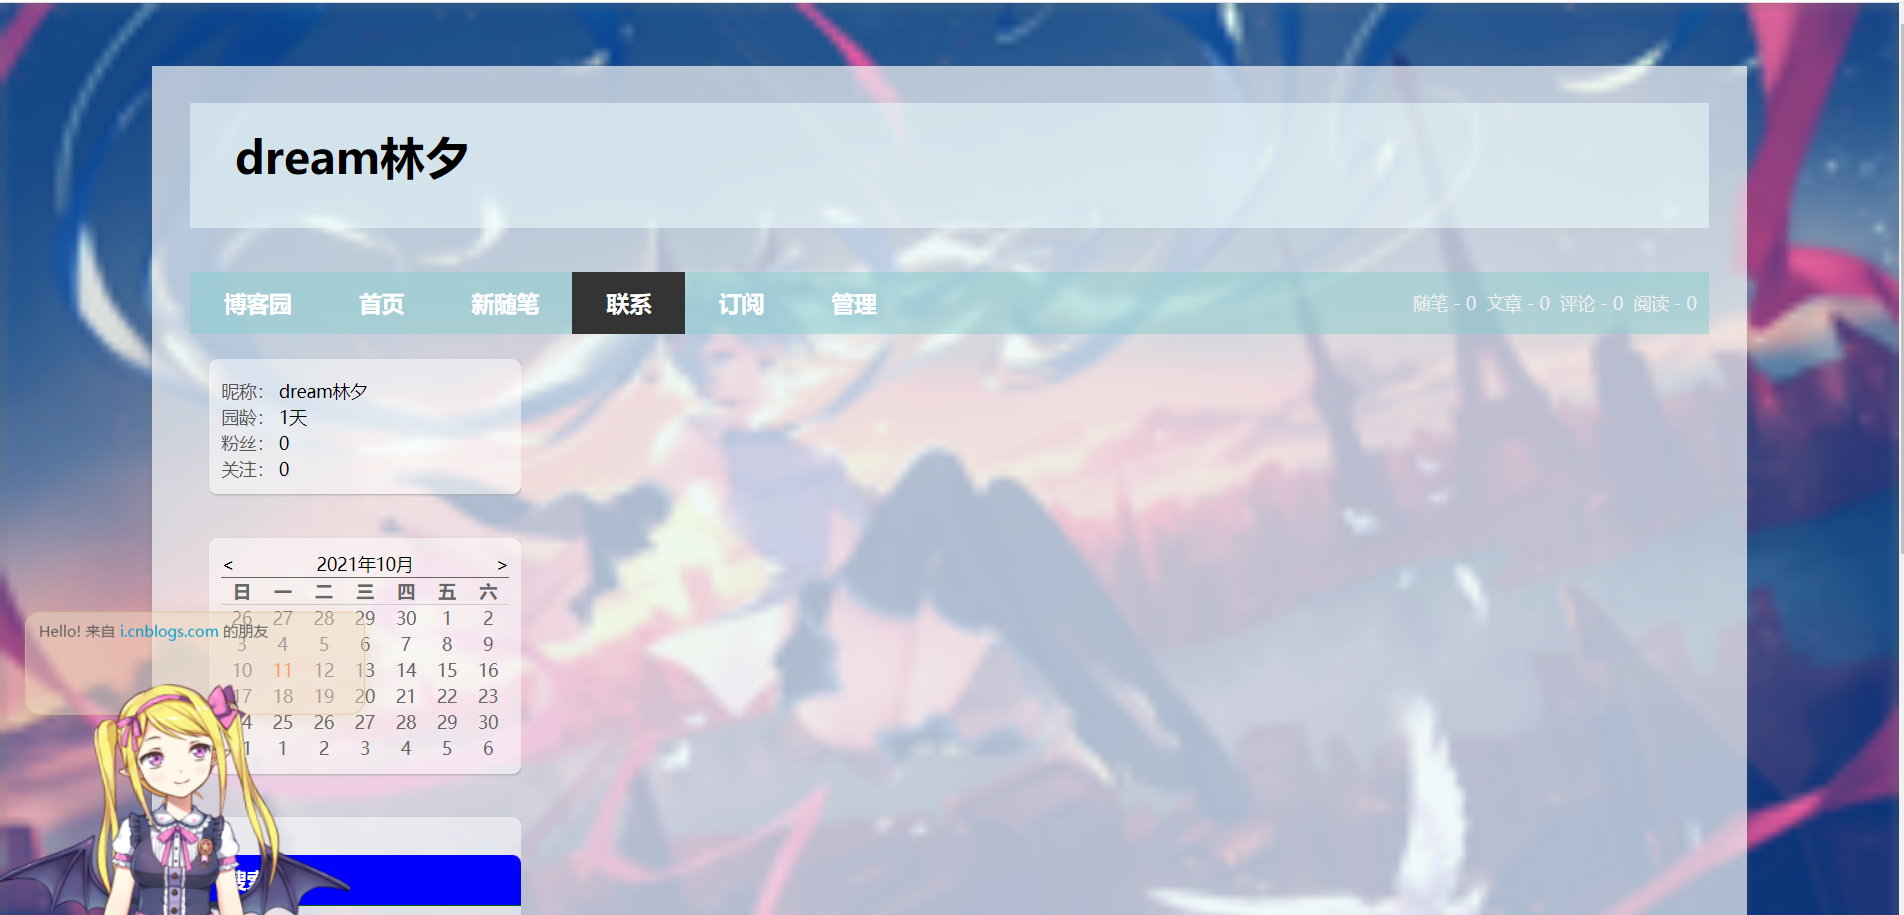
最后,你重新进入你的博客,你的博客首页就会像下图所示

 浙公网安备 33010602011771号