
Spring -bean的装配和注解的使用
一,bean的装配
bean是依赖注入的,通过spring容器取对象的。
装配方法有:
前面两种没什么好讲的,就改改参数就好了。
这里重要讲注解。
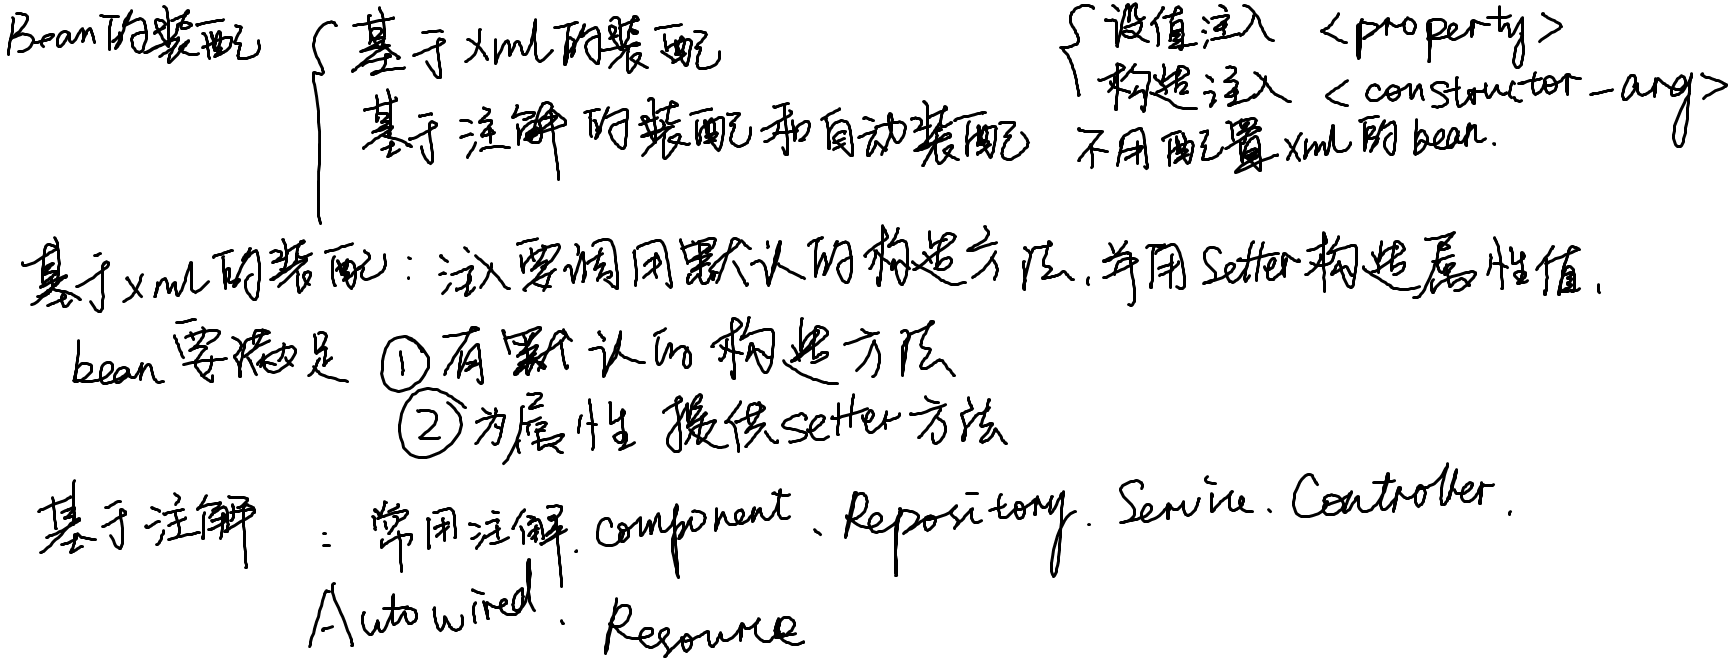
注解的主要类型见图,其中component是bean,repository,service,controller都是spring中的DAO层,service层和controller层的bean,autowired和resourcey用来对bean的属性进行标注。
一个注解的例子:
package com.itheima.annotation;

public interface UserDao {
	public void save();
}
package com.itheima.annotation;

@Repository("userDao")
public class UserDaoImpl implements UserDao{
	public void save(){
		System.out.println("userdao--save()");
	}
}
package com.itheima.annotation;

public interface UserService {
	public void save();
}
package com.itheima.annotation;

import javax.annotation.Resource;

import org.springframework.stereotype.Service;

@Service("userService")
public class UserServiceImpl implements UserService{
	@Resource(name ="userDao")
	private UserDao userDao;
	public void save(){
		System.out.println("userservice...save..");
	}
}
package com.itheima.annotation;

import javax.annotation.Resource;

import org.springframework.stereotype.Controller;

@Controller("userController")
public class UserController {
	@Resource(name = "userService")
	private UserService userService;
	public void save(){
		this.userService.save();
		System.out.println("UserController...save...");
	}
}
xml配置文件配置context的属性
<beans xmlns="http://www.springframework.org/schema/beans"
 xmlns:xsi="http://www.w3.org/2001/XMLSchema-instance"
 xmlns:context="http://www.springframework.org/schema/context"
 xmlns:mvc="http://www.springframework.org/schema/mvc"
 xsi:schemaLocation="http://www.springframework.org/schema/mvc http://www.springframework.org/schema/mvc/spring-mvc-3.1.1.xsd
 http://www.springframework.org/schema/beans http://www.springframework.org/schema/beans/spring-beans-4.3.xsd
 http://www.springframework.org/schema/context http://www.springframework.org/schema/context/spring-context-4.3.xsd">
	<!-- 使用context,开启注解处理器 -->
	<context:annotation-config />
		<bean id = "userDao" class = "com.itheima.annotation.UserDaoImpl"/>
		<bean id = "userService" class = "com.itheima.annotation.UserServiceImpl"/>
		<bean id = "userController" class = "com.itheima.annotation.UserController"/>
</beans>
测试代码
public class UserControllerTest {
	@Test
	public void testController(){
		ClassPathXmlApplicationContext applicationContext =
				new ClassPathXmlApplicationContext("applicationContext.xml");
		//不是通过new来获取Dao对象,而是通过Spring如弄个其来获取实现类的对象
		UserController userController = (UserController) applicationContext.getBean("userController");
		userController.save();
	}
}
运行结果
userservice...save..
UserController...save...
这里的bean还是要配置,有个更简单的方法,修改xml中的配置,直接读取package里面的bean,不用单独配置
<context:component-scan base-package="com.itheima.annotation" />
第三种,Autowired自动装配
这种和resource几乎没什么差别,差别就是resource是用name装配,autowired用得type装配。
代码甩一部分:
@Service("userService")
public class UserServiceImpl implements UserService{
	@Autowired
	private UserDao userDao;
	public void save(){
		System.out.println("userservice...save..");
	}
}
	<context:component-scan base-package="com.itheima.annotation" />

	<bean id = "userDao" class = "com.itheima.annotation.UserDaoImpl" autowire="byName"/>
	<bean id = "userService" class = "com.itheima.annotation.UserServiceImpl" autowire="byName"/>
	<bean id = "userController" class = "com.itheima.annotation.UserController" autowire="byName"/>

 浙公网安备 33010602011771号