

python + pyinstaller 实现将python程序打包成exe文件 或 mac下可执行文件 直接运行
pyinstaller
我们在平常学习使用python的时候经常会自己编写一些小程序来使用,虽然python是跨平台的语言,但是如果我们想要在一个没有python以及很多库环境的电脑上使用我们的小程序该怎么办呢?
我们想到,在Windows平台可以将程序打包成exe可执行文件,这样就可以放进U盘或者直接传输给需要用的电脑,而pyinstaller就可以帮我们将程序打包成exe文件
PyInstaller工具是跨平台的,它既可以在 Windows平台上使用,也可以在 Mac OS X 平台上运行。在不同的平台上使用 PyInstaller 工具的方法是一样的,它们支持的选项也是一样的。
pyinstaller安装
直接在命令行使用pip命令安装
pip install pyinstaller
常用打包命令
使用pyinstaller可以把.py文件打包为.exe可执行文件,命令为:

pyinstaller hello.py

打包后有两个文件夹,一个是dist,另外一个是build,可执行文件在dist文件夹里面,但是会有许多依赖是独立文件存在

pyinstaller -F hello.py

使用-F参数后,打包的可执行文件是一个整体,只有一个.exe文件。
解决文件打包路径问题
def app_path():
    """Returns the base application path."""
    if hasattr(sys, 'frozen'):
        # Handles PyInstaller
        return os.path.dirname(sys.executable)  #使用pyinstaller打包后的exe目录
    return os.path.dirname(__file__) # 正常运行路径


path = os.path.join(app_path(), "data", "predefined_classes.txt")
打包命令
1.进入主程序目录生成.spec文件
pyinstaller main.py
2.修改.spec文件以导入其他文件
# -*- mode: python ; coding: utf-8 -*-
block_cipher = None
a = Analysis(['main.py'],
             pathex=['/Users/admin/repose/learn_pytorch/tk_gui'], # 文件路径
             binaries=[],
             datas=[('img','img')],
             hiddenimports=[],
             hookspath=[],
             hooksconfig={},
             runtime_hooks=[],
             excludes=[],
             win_no_prefer_redirects=False,
             win_private_assemblies=False,
             cipher=block_cipher,
             noarchive=False)
pyz = PYZ(a.pure, a.zipped_data,
             cipher=block_cipher)

exe = EXE(pyz,
          a.scripts,
          [],
          exclude_binaries=True,
          name='main',
          debug=False,
          bootloader_ignore_signals=False,
          strip=False,
          upx=True,
          console=True,
          disable_windowed_traceback=False,
          target_arch=None,
          codesign_identity=None,
          entitlements_file=None )
coll = COLLECT(exe,
               a.binaries,
               a.zipfiles,
               a.datas,
               strip=False,
               upx=True,
               upx_exclude=[],
               name='main')

3.修改后在路径下输入命令:
pyinstaller main.spec
4.双击dist文件夹下main文件夹里的执行文件
安装完成后可以直接在命令行输入pyinstaller检验是否成功
C:\Users\11573>pyinstaller
usage: pyinstaller [-h] [-v] [-D] [-F] [--specpath DIR] [-n NAME] [--add-data or SRC:DEST>] [--add-binary or SRC:DEST>] [-p DIR] [--hidden-import MODULENAME] [--additional-hooks-dir HOOKSPATH] [--runtime-hook RUNTIME_HOOKS] [--exclude-module EXCLUDES] [--key KEY] [-d {all,imports,bootloader,noarchive}] [-s] [--noupx] [--upx-exclude FILE] [-c] [-w] [-i or FILE.exe,ID or FILE.icns>] [--version-file FILE] [-m or XML>] [-r RESOURCE] [--uac-admin] [--uac-uiaccess] [--win-private-assemblies] [--win-no-prefer-redirects] [--osx-bundle-identifier BUNDLE_IDENTIFIER] [--runtime-tmpdir PATH] [--bootloader-ignore-signals] [--distpath DIR] [--workpath WORKPATH] [-y] [--upx-dir UPX_DIR] [-a] [--clean] [--log-level LEVEL] scriptname [scriptname ...]
pyinstaller: error: the following arguments are required: scriptname
注意此验证需要在系统变量中添加python下的Scripts文件夹 此步骤大家应该在之前的学习中已经配置就不再赘述
pyinstaller使用
首先我们来了解一下pyinstaller的各个参数
我们输入-h命令可以查看所有选项
C:\Users\11573>pyinstaller -h
选项有很多,本文只介绍常用的选项参数

-F,-onefile    产生单个的可执行文件
-D,--onedir    产生一个目录(包含多个文件)作为可执行程序
-a,--ascii    不包含 Unicode 字符集支持
-d,--debug    产生 debug 版本的可执行文件
-w,--windowed,--noconsolc    指定程序运行时不显示命令行窗口(仅对 Windows 有效)
-c,--nowindowed,--console    指定使用命令行窗口运行程序(仅对 Windows 有效)
-o DIR,--out=DIR    指定 spec 文件的生成目录。如果没有指定,则默认使用当前目录来生成 spec 文件
-p DIR,--path=DIR    设置 Python 导入模块的路径(和设置 PYTHONPATH 环境变量的作用相似)。也可使用路径分隔符(Windows 使用分号,Linux 使用冒号)来分隔多个路径
-n NAME,--name=NAME    指定项目(产生的 spec)名字。如果省略该选项,那么第一个脚本的主文件名将作为 spec 的名字
我们可以先使用tk来编写一个简单的gui文件来测试下
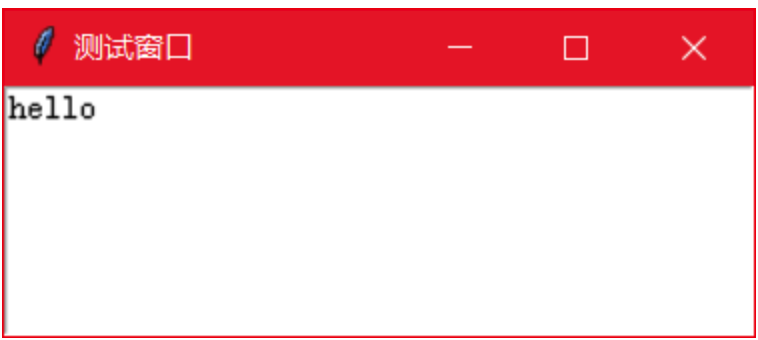
test.py
import tkinter as tk
window = tk.Tk()#创建一个窗口
window.title('测试窗口')
window.geometry('300x100')#窗口大小

text = tk.Text(window)
text.insert(tk.INSERT,'hello')
text.pack()

tk.mainloop()
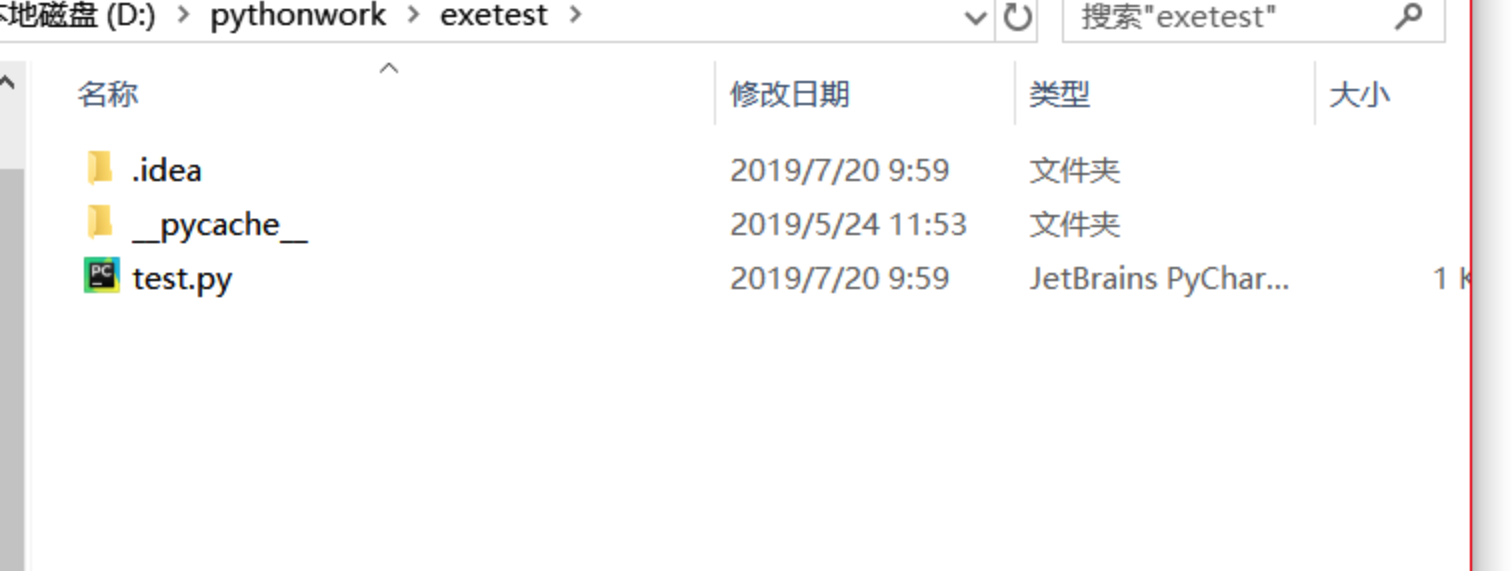
我们打开文件目录可以发现里面目前只有py文件
现在我们使用pyinstaller来将它转换为exe文件
首先打开命令行窗口并将目录切换至py文件目录输入以下命令
D:\pythonwork\exetest>pyinstaller -D -w test.py
成功之后再看看当前目录有哪些文件
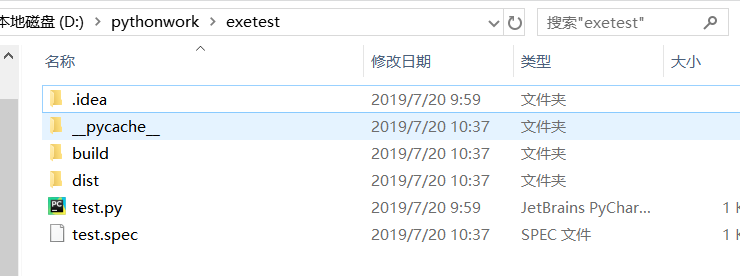
dist文件夹就是生成的文件夹,打开路径
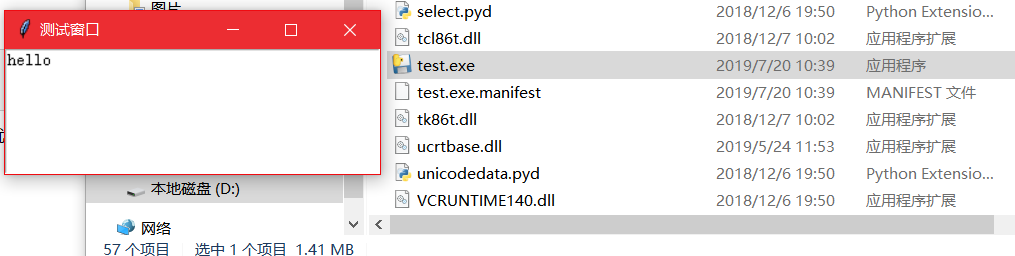
D:\pythonwork\exetest\dist\test
发现里面有很多很多文件 并且有一个test.exe的文件,这就是我们生成的可执行文件了
打开运行一切正常
至此我们就完成了py文件向exe可执行文件的转换,需要注意的是:如果本身程序中使用了一些外部文件,这些文件也需要一同放进与exe文件相同的目录中去


 浙公网安备 33010602011771号