
xmanager 连接centos 7桌面
1、前言
工作中服务器有时候需要图形处理一些事物,那么这个时候就需要远程连接方式,XDMCP,VNC,RDP,我今天介绍一下xdmp怎么使用与配置(x display manager control protocol)
2、准备工作
centos 7主机
windows主机
保持网络互通
测试请关闭防火墙及selinux
3、linux上需要安装lightdm
yum install lightdm
 1 Dependencies Resolved
 2
 3 ==================================================================================
 4  Package                   Arch          Version                Repository   Size
 5 ==================================================================================
 6 Installing:
 7  lightdm                   x86_64        1.25.0-1.el7           epel        216 k
 8 Installing for dependencies:
 9  lightdm-gobject           x86_64        1.25.0-1.el7           epel         67 k
10  lightdm-gtk               x86_64        1.8.5-19.el7           epel         58 k
11  lightdm-gtk-common        noarch        1.8.5-19.el7           epel         57 k
12 Updating for dependencies:
13  glib2                     x86_64        2.54.2-2.el7           base        2.4 M
14
15 Transaction Summary
16 ==================================================================================
17 Install  1 Package  (+3 Dependent packages)
18 Upgrade             ( 1 Dependent package)
19
20 Total size: 2.8 M
21 Total download size: 398 k
22 Is this ok [y/d/N]: y
23 Downloading packages:
24 (1/4): lightdm-1.25.0-1.el7.x86_64.rpm                     | 216 kB  00:00:00
25 (2/4): lightdm-gobject-1.25.0-1.el7.x86_64.rpm             |  67 kB  00:00:00
26 (3/4): lightdm-gtk-1.8.5-19.el7.x86_64.rpm                 |  58 kB  00:00:00
27 (4/4): lightdm-gtk-common-1.8.5-19.el7.noarch.rpm          |  57 kB  00:00:00
28 ----------------------------------------------------------------------------------
29 Total                                                383 kB/s | 398 kB  00:01
30 Running transaction check
31 Running transaction test
32 Transaction test succeeded
33 Running transaction
34   Updating   : glib2-2.54.2-2.el7.x86_64                                      1/6
35   Installing : lightdm-gtk-common-1.8.5-19.el7.noarch                         2/6
36   Installing : lightdm-gobject-1.25.0-1.el7.x86_64                            3/6
37   Installing : lightdm-1.25.0-1.el7.x86_64                                    4/6
38   Installing : lightdm-gtk-1.8.5-19.el7.x86_64                                5/6
39   Cleanup    : glib2-2.46.2-4.el7.x86_64                                      6/6
40   Verifying  : lightdm-gtk-common-1.8.5-19.el7.noarch                                                           1/6
41   Verifying  : lightdm-1.25.0-1.el7.x86_64                                                                      2/6
42   Verifying  : glib2-2.54.2-2.el7.x86_64                                                                        3/6
43   Verifying  : lightdm-gobject-1.25.0-1.el7.x86_64                                                              4/6
44   Verifying  : lightdm-gtk-1.8.5-19.el7.x86_64                                                                  5/6
45   Verifying  : glib2-2.46.2-4.el7.x86_64                                                                        6/6
46
47 Installed:
48   lightdm.x86_64 0:1.25.0-1.el7
49
50 Dependency Installed:
51   lightdm-gobject.x86_64 0:1.25.0-1.el7 lightdm-gtk.x86_64 0:1.8.5-19.el7 lightdm-gtk-common.noarch 0:1.8.5-19.el7
52
53 Dependency Updated:
54   glib2.x86_64 0:2.54.2-2.el7
55
56 Complete!
4、配置lightdm
备份:
cp /etc/lightdm/lightdm.conf{,.backup}
vim /etc/loghtdm/lightdm.conf
 1 [XDMCPServer]
 2 enabled=true
 3 port=177
 4
 5
 6 #enabled=false
 7 #port=177
 8 #listen-address=
 9 #key=
10 #hostname=
5、更改默认显示管理器,启动服务
1 [root@node5 named]# systemctl disable gdm
2 Removed symlink /etc/systemd/system/display-manager.service.
3 [root@node5 named]# systemctl enable lightdm
4 Created symlink from /etc/systemd/system/display-manager.service to /usr/lib/systemd/system/lightdm.service.
5 [root@node5 named]# systemctl start lightdm
6、可以安装xfce强两级桌面环境
yum groupinstall xfce
小问题:有些人说groupinstall出错,请检查网络和epel源,我这里也出错后来发现是网络dns问题
可以先看看看yum grouplist 列表里面有没有xfce组
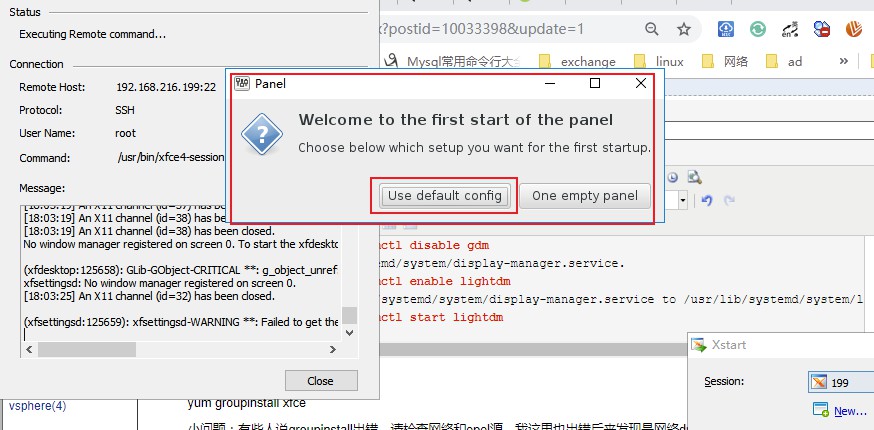
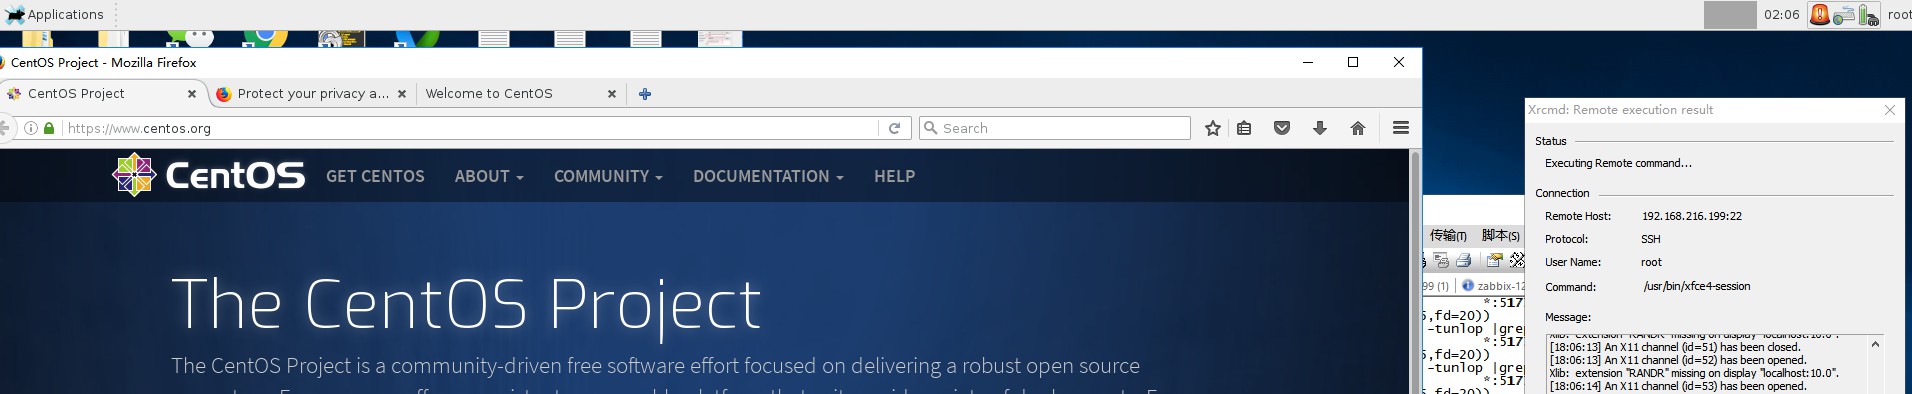
7、windows上打开xstart 输入配置,运行查看效果

最后看一下 监听端口,就是我们之前设置的177
1 [root@web1 yum.repos.d]# ss -tunlop |grep 177
2 udp    UNCONN     0      0         *:51773                 *:*                   users:(("dhclient",pid=124915,fd=20))
3 udp    UNCONN     0      0         *:177                   *:*                   users:(("lightdm",pid=125530,fd=11))
4 udp    UNCONN     0      0        :::177                  :::*                   users:(("lightdm",pid=125530,fd=12))
5 You have new mail in /var/spool/mail/root
6 [root@web1 yum.repos.d]# vim /etc/

 浙公网安备 33010602011771号