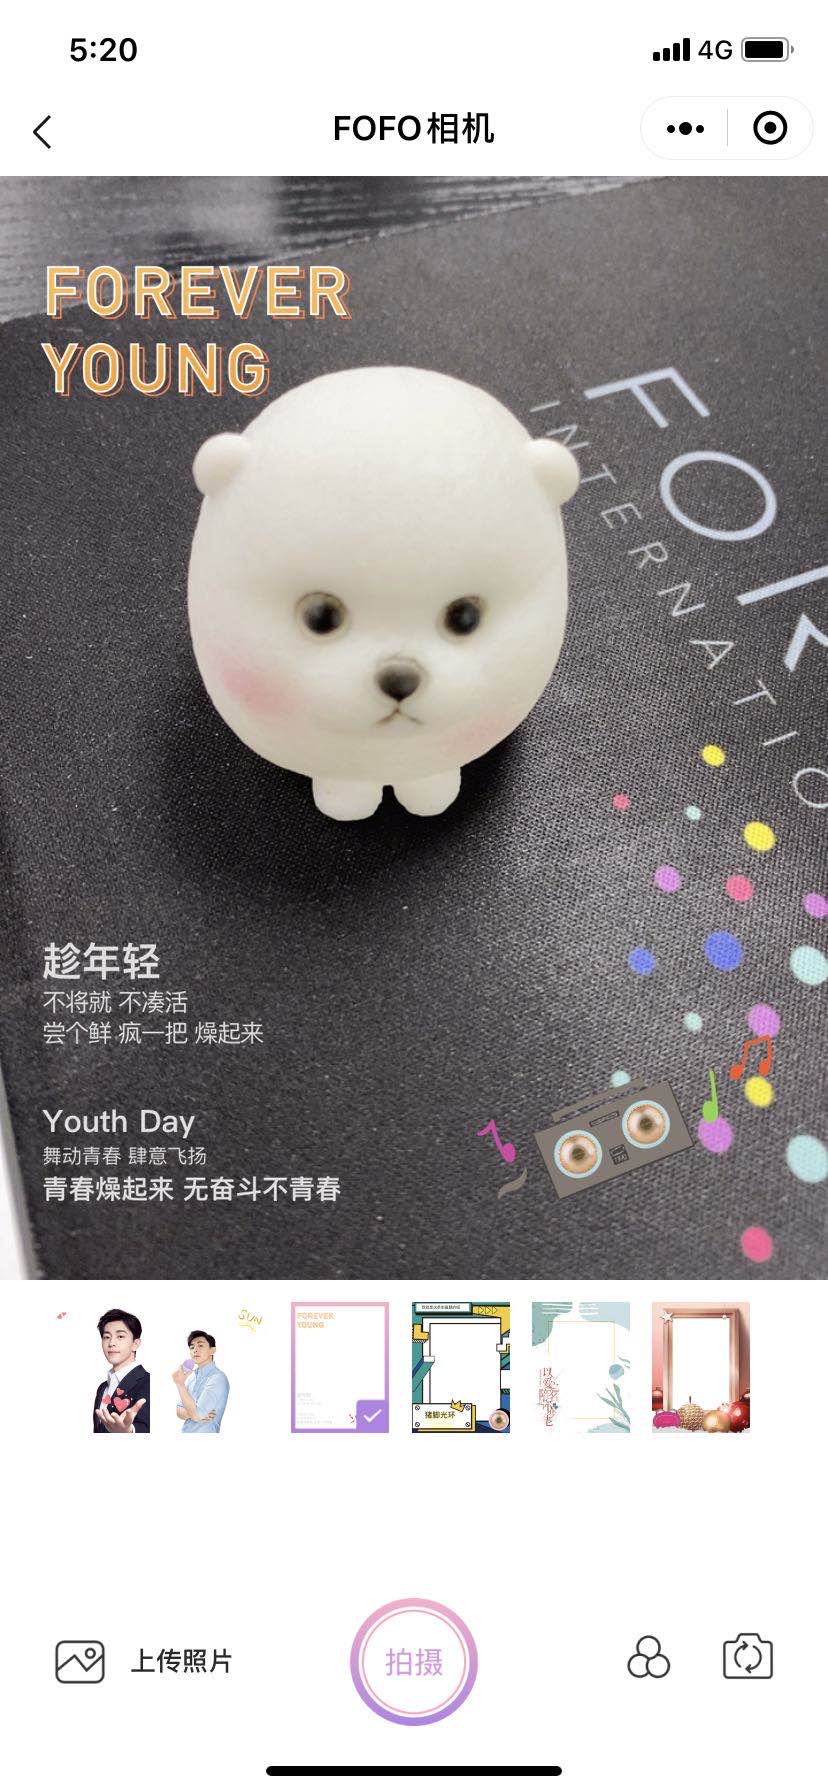
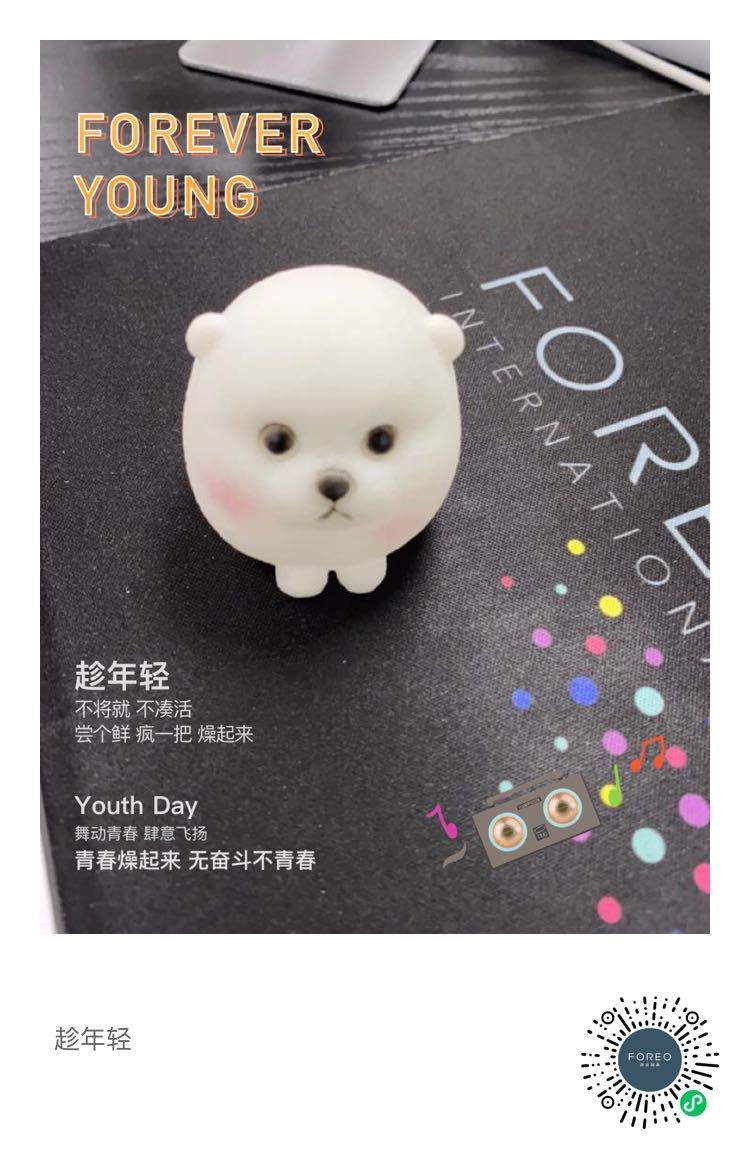
你想要的拍照,看这里....
需求
市面上很多美颜相机,想用小程序现有的API,写一个好用的美颜相机功能。
功能点包含如下:
-
简单的相机功能,包含(前置/后置,闪光灯)
-
模版的选择
-
滤镜的选择
-
可以上传照片
-
上传照片可以涂鸦和去除涂鸦的橡皮擦
-
上传照片可以添加文字,文字可以改变颜色和字体大小
-
可以保存至本地,且最终保存的带有动态的小程序码
实现需求
简单的相机功能,包含(前置/后置,闪光灯)
要实现相机的功能,需要使用微信小程序自带的api中的camera,而前置/后置的镜头切换,使用device-position这个属性,闪光灯使用flash这个属性即可,具体代码如下:
<camera device-position="{{device}}" flash="{{isFlash}}"></camera>
-
device-position:front/back,front表示前置,back表示后置 -
flash:auto/on/off/torch,auto表示自动,on表示打开,off表示关闭,torch表示常亮(版本>2.8.0)
模版的选择
模版的展示,是需要在用户选择相应的模版模版后,在拍照的区域也展示相应的模版。由于小程序原生组件的限制,想要在camera进行覆盖,需要使用canvas进行绘画。
-
确定camera的位置和长宽,再写一个canvas跟camera的宽高位置跟camera一模一样
代码如下:
//wxml
<camera device-position="{{device}}" flash="{{isFlash}}" style="width:{{cameraWidth}}px;height:{{cameraHeight}}px;z-index:0;" class="camera-device"  wx:if='{{isShowCamera}}'></camera>

<canvas canvas-id="camera-id" style="left:{{cameraLeft}}px" class="canvas-camera" wx:if='{{isShowCamera}}' style="width:{{cameraWidth}}px;height:{{cameraHeight}}px"></canvas>

//js
this.data.showCanvas = wx.createCanvasContext('camera-id');//创建canvas
其中camera的主要功能是进行拍照,跟用户交互,canvas是进行模版和最后呈像。
值得注意的是,不管是先选择模版再拍照,还是先拍照再选模版,最终呈像均是拍的照片在底层,模版在拍的照片图层上。
-
陈列所有的模版模版(我采用左右滑动的方式)
//wxml: <scroll-view scroll-x='true'> <view class="module"> <view wx:for='{{moduleList}}' wx:key='index' bindtap="chooseImg" data-index="{{index}}"> <view> <image src="{{item.imgDetail}}" mode="widthFix"></image> </view> </view> </view> </scroll-view> -
选择模版,并绘制在页面上
代码如下:
   this.data.showCanvas.drawImage(this.data.chooseImg, 0, 0, this.data.windowWidth, this.data.windowWidth);//chooseImg是选中的模版

   this.data.showCanvas.draw()
滤镜的选择
滤镜的选择,其实跟模版选择类似,只不过需要注意,是滤镜的图层是在最上面,也就是说,如果拍了照片,也选择了模版,选择了滤镜,canvas图层的绘画过程是拍的照片-》模板-》滤镜。
有2种方式去实现 1.在canvas上绘制图片 2.在canvas上利用颜色的填充进行操作
- 在canvas上绘制图片
过程跟模版的选择逻辑一致,这里不再过多的叙述
- 在canvas上利用颜色的填充进行操作
this.data.showCanvas.setGlobalAlpha(this.data.selectFilter.opacity);
this.data.showCanvas.setFillStyle(this.data.selectFilter.bgColor);
this.data.showCanvas.fillRect(0,0,this.data.windowWidth,this.data.windowHeight)
其中的selectFilter是指选择的滤镜的透明度/背景色/需要绘制的范围
可以上传照片
当用户不想拍照,直接使用本地照片时,需要支持上传照片这个功能
使用微信小程序中api,wx.chooseImage可以实现选择本地照片的功能
    let that = this;
    wx.chooseImage({
        count: 1,
        sizeType: ['original', 'compressed'],
        sourceType: ['album'],
        success: function (res) {

        },
        fail: err => {

        },
        complete: function (err) {

        }
    })
参数:
-
count:表示最多可以选择几张照片
-
sizeType:表示所选图片的尺寸,origin:原图;compressed:压缩图
-
sourceType:表示图片的来源,album:从相册中选择;camera:使用相机
从本地选择完照片,选择模版和滤镜流程,跟之前流程一致,在这不做叙述。
上传照片可以涂鸦和去除涂鸦的橡皮擦
- 涂鸦
涂鸦,其实也是一个canvas,可以调节宽度和颜色。用户手指落笔和滑动都需要进行监听。
代码如下:
//wxml:
<image src="{{chooseImg}}" mode="heightFix"></image>//选择上传的照片

<canvas canvas-id="showHasImage" bindtouchstart="touchStart" bindtouchmove="touchMove" style="width:{{windowWidth-1}}px;height:{{windowWidth-1}}px;"></canvas>//在图片上传进行绘画的canvas

//js:
touchStart(e){
    this.data.drawCanvas = wx.createCanvasContext("showHasImage");
    this.data.drawCanvas.setLineWidth(this.data.lineWidth);
    this.data.drawCanvas.setStrokeStyle(this.data.colorList[this.data.selectColor])
    let { x, y } = e.changedTouches[0];
    this.data.startX = x;
    this.data.startY = y;
},
touchMove(e){
    let { x, y } = e.changedTouches[0];
    this.data.drawCanvas.moveTo(this.data.startX, this.data.startY);
    this.data.drawCanvas.lineTo(x, y);
    this.data.drawCanvas.setLineCap('round');
    this.data.drawCanvas.setLineJoin('round')
    this.data.startX = x;
    this.data.startY = y
    this.data.drawCanvas.stroke();
    this.data.drawCanvas.draw(true)
},
将每次移动的位置跟之前的连接上,便会连成线,达到画笔的效果
- 橡皮擦
原理跟涂鸦类似,这里不做过多叙述。
上传照片可以添加文字,文字可以改变颜色和字体大小
文字在输入框中输入,可以移动位置,确定完文字可以改变颜色和大小
代码如下:
//wxml

<input class="input" value="{{text}}" bindtouchstart="inputStart" bindtouchmove="inputMove" wx:if='{{!showText}}' bindblur="blurText"  style="left:{{left}}px;top:{{top}}px;border:1px solid #000" confirm-type="done" bindconfirm="sureText"></input>

<text class="input-text" style="left:{{left}}px;top:{{top}}px" wx:if='{{showText}}'>{{text}}</text>

//js
inputStart(e) {
    let { pageX, pageY } = e.changedTouches[0];
    this.data.startX = pageX;
    this.data.startY = pageY;
},
inputMove(e) {
    let { pageX, pageY } = e.changedTouches[0];
    this.setData({
        left: pageX,
        top: pageY
    })
},

ctx.setFontSize(20);//字体大小
ctx.setFillStyle('red');//字体颜色
ctx.fillText(this.data.text, this.data.left, this.data.top);//字体的位置和内容
可以保存至本地,且最终保存的带有动态的小程序码
保存至本地的图片,其实重点在于保存之前的呈像即canvas绘制的顺序,正常的顺序应该是拍的照片/上传的照片->选择的模版->选择的滤镜->涂鸦->小程序码
着重说下小程序码,需要后台配合...
后端返回的是一串码,我们需要进行转换
const fsm = wx.getFileSystemManager();
const time = new Date().getTime(); //自定义文件名
const fileName = `${wx.env.USER_DATA_PATH}/${time}.png`;
fsm.writeFile({
    filePath: fileName,
    data: 'resCode',
    encoding: 'binary',
    success: res => { },
    fail:err=>{}
})
其中
-
filePath:写入的文件路径
-
data:是后端返回的小程序的码
-
encoding:写入文件的字符编码
最终小程序码也是一张图片,只要图层不错,就会达到你想要的效果。
关于下载至本地相册,流程是,将canvas导出生成图片->下载至本地
微信小程序分别提供了api:
导出:
 wx.canvasToTempFilePath({
    x: 0,
    y: 0,
    width: that.data.cameraWidth,
    height: that.data.cameraHeight,
    destWidth: that.data.cameraWidth * 2,
    destHeight: that.data.cameraHeight * 2,
    quality: 1,
    canvasId: canvasId,
    success: res => {},
    fail:err=>{}
 })
其中:
-
x,y:在画布上的横/纵坐标
-
width:画布的宽度
-
height:画布的高度
-
destWidth:输出图片的宽度
-
destHeight:输出图片的高度
-
canvasId:最终画在画布上的canvas的id
-
quality:图片的质量,范围是
(0,1]
保存至本地:
wx.saveImageToPhotosAlbum({
    filePath: photo,
    success: res => { },
    fail(err) {}
})
其中:
- filePath:图片文件的路径
看看我的效果图ba


代码详见我的仓库,欢迎👏
(本文完)


 浙公网安备 33010602011771号