07 nginx反向代理和nfs服务
作业一:nginx服务
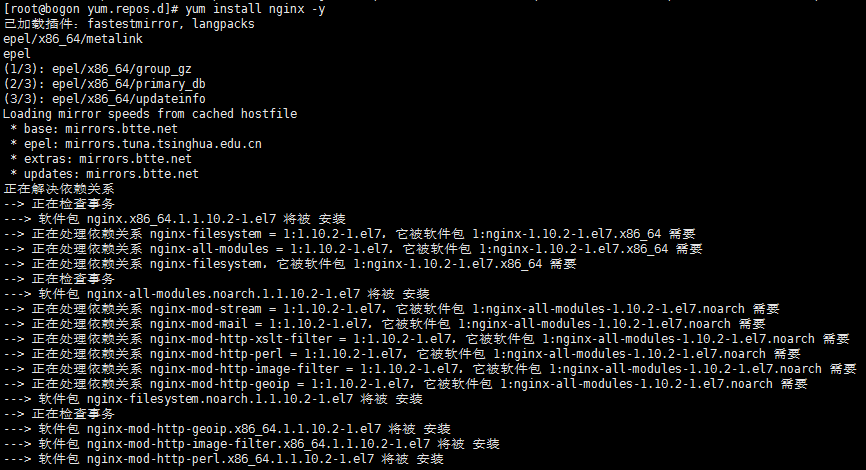
二进制安装nginx包
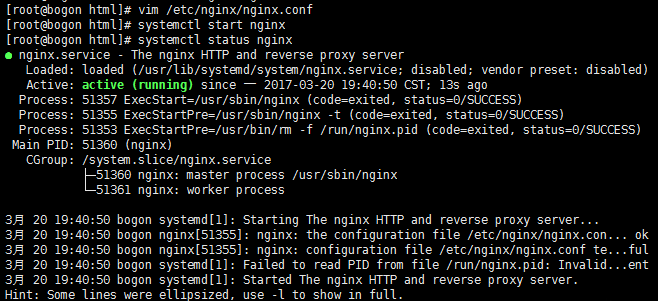
作为web服务修改配置文件
让配置生效,验证配置


作业二:nfs服务
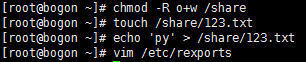
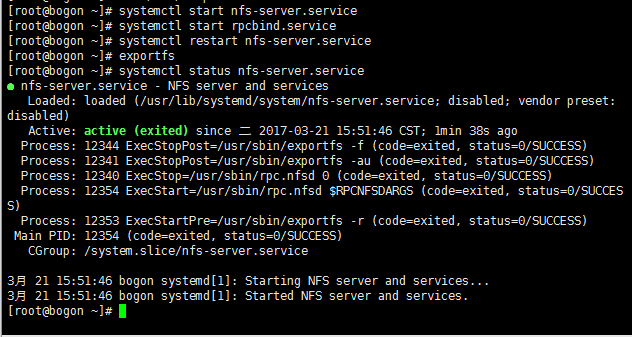
二进制安装nfs
作为共享存储挂载在三台web的网站根目录下
实现,在任意一台web上修改的结果,其余两台都可以看到


代理 192.168.126.135
web1 192.168.126.133web2 192.168.126.134 #web1操作[root@web01 ~]# yum install nginx -y[root@web01 ~]# echo "wahaha" >/usr/share/nginx/html/index.html[root@web01 ~]# systemctl start nginx.service[root@web01 ~]# curl 192.168.126.133wahaha #web2操作[root@web02 ~]# systemctl stop firewalld[root@web02 ~]# echo "wahaha2" >/usr/share/nginx/html/index.html[root@web02 ~]# systemctl start nginx.service[root@web02 ~]# curl 192.168.126.134welcome to web2 #代理 操作[root@proxy ~]# vim /etc/nginx/nginx.confhttp { upstream web { server 192.168.126.133; server 192.168.126.134; } server { listen 80; location / { 代理_pass http://web; } }}[root@proxy ~]# systemctl reload nginx.service #其它服务器curlbogon:~ centos$ curl 192.168.16.95welcome to web01bogon:~ centos$ curl 192.168.16.95welcome to web02作业三:nginx反向代理三台web
实现基于轮询的方式调度三台web,并验证结果


实现基于权重的方式调度三台web,并验证结果

实现基于hash的方式调用三台web,并验证结果

作业四:nginx反向代理+三台web+nfs共享存储实现集群配置
作业五:源码安装nginx,并按照作业一描述的那样去测试使用
[root@web1 html]#yum remove nginx
[root@web1 html]#useradd -s /sbin/nologin -M www[root@web1 html]#yum -y install pcre pcre-devel openssl openssl-devel[root@web1 html]#wget http://nginx.org/download/nginx-1.10.3.tar.gz[root@web1 ~]# tar xf nginx-1.10.3.tar.gz[root@web1 nginx-1.10.3]# cd nginx-1.10.3/[root@web1 nginx-1.10.3]#./configure --prefix=/usr/local/nginx --user=www --group=www --with-http_ssl_module --with-http_stub_status_module --with-file-aio --with-stream[root@web1]#make && make install[root@web1~]#/usr/local/nginx/sbin/nginx -t[root@web1~]#nginx: the configuration file /usr/local/nginx/conf/nginx.conf syntax is ok[root@web1~]#nginx: configuration file /usr/local/nginx/conf/nginx.conf test is successful[root@web1 ~]# echo "wahahaha" > /usr/local/nginx/html/index.html[root@web1 ~]# /usr/local/nginx/sbin/nginx[root@web1 ~]# curl 192.168.16.186wahahaha
 浙公网安备 33010602011771号