asp.net core IdentityServer4 实现 implicit(隐式许可)实现第三方登录
前言
OAuth 2.0默认四种授权模式(GrantType)
- 授权码模式(authorization_code)
- 简化模式(implicit)
- 密码模式(resource owner password) credentials)
- 客户端模式(client_credentials)
本章主要介绍简化模式(implicit)
,不通过第三方应用程序的服务器,直接在浏览器中向认证服务器申请令牌,跳过了"授权码"这个步骤,因此得名。所有步骤在浏览器中完成,令牌对访问者是可见的,且客户端不需要认证。
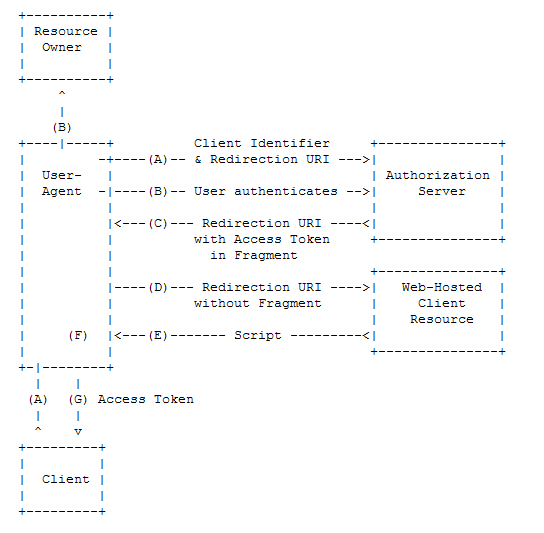
认证步骤
- 客户端携带客户端标识以及重定向URI到授权服务器;
- 用户确认是否要授权给客户端;
- 授权服务器得到许可后,跳转到指定的重定向地址,并将令牌也包含在了里面;
- 客户端不携带上次获取到的包含令牌的片段,去请求资源服务器;
- 资源服务器会向浏览器返回一个脚本;
- 浏览器会根据上一步返回的脚本,去提取在C步骤中获取到的令牌;
- 浏览器将令牌推送给客户端。
配置认证授权服务器
Package
PM> Install-package IdentityServer4 -version 2.5.3
创建一个类Config(配置要保护的资源,和可以访问的API的客户端服务器)
    public class Config
    {
        /// <summary>
        ///     定义身份资源
        /// </summary>
        /// <returns></returns>
        public static IEnumerable<IdentityResource> GetIdentityResources()
        {
            return new List<IdentityResource>
            {
                new IdentityResources.OpenId(),
                new IdentityResources.Profile(),
                new IdentityResources.Email()
            };
        }
        /// <summary>
        ///     定义授权客户端
        /// </summary>
        /// <returns></returns>
        public static IEnumerable<Client> GetClients()
        {
            return new List<Client>
            {
                new Client{
                ClientId="mvc",
                ClientName="MyClient",
                AllowedGrantTypes=GrantTypes.Implicit,
                RedirectUris = { "http://localhost:5003/signin-oidc" },//跳转登录到的客户端的地址
                 PostLogoutRedirectUris = { "http://localhost:5003/signout-callback-oidc" },//跳转登出到的客户端的地址
                AllowedScopes = new List<string>
                {
                    IdentityServerConstants.StandardScopes.OpenId,
                    IdentityServerConstants.StandardScopes.Profile,
                    IdentityServerConstants.StandardScopes.Email
                 },
                RequireConsent=false
                }
            };

        }


    }
配置Startup
再走到ConfigureServices方法注入IdentityServer4服务
 services.AddIdentityServer()
                .AddDeveloperSigningCredential()
                .AddInMemoryIdentityResources(Config.GetIdentityResources())
                .AddInMemoryClients(Config.GetClients())
                .AddTestUsers(TestUsers.Users);
在Configure方法中添加IdentityServer4服务中间件
app.UseIdentityServer();
新建客户端
配置Startup
再走到ConfigureServices方法注入IdentityServer4服务
        JwtSecurityTokenHandler.DefaultInboundClaimTypeMap.Clear();
            services.AddAuthentication(options =>
            {
                options.DefaultScheme = "Cookies";
                options.DefaultChallengeScheme = "oidc";
            })
      .AddCookie("Cookies")
      .AddOpenIdConnect("oidc", options =>
      {
          options.Authority = "http://localhost:5004";
          options.RequireHttpsMetadata = false;

          options.ClientId = "mvc";
          options.SaveTokens = true;
          options.GetClaimsFromUserInfoEndpoint = true;
      });
在Configure方法中添加认证服务中间件
app.UseAuthentication();
Run

添加第三方快捷登录(github)
在授权服务器ConfigureServices注入
直接贴代码吧
        public void ConfigureServices(IServiceCollection services)
        {
            services.AddMvc();
            services.AddIdentityServer()
                .AddDeveloperSigningCredential()
                .AddInMemoryIdentityResources(Config.GetIdentityResources())
                .AddInMemoryClients(Config.GetClients())
                .AddTestUsers(TestUsers.Users);

            services.AddAuthentication().AddGitHub(options =>
            {
                options.SignInScheme = IdentityServerConstants.ExternalCookieAuthenticationScheme;
                options.ClientId = "your client";
                options.ClientSecret = "your Secret";

            });

        }
Run
登录成功后可以获取到声明的ClaimsIdentity
页面大家可以通过 https://github.com/IdentityServer/IdentityServer4.Templates进行下载
,或者通过命令dotnet new -i identityserver4.templates进行下载
github 可以到
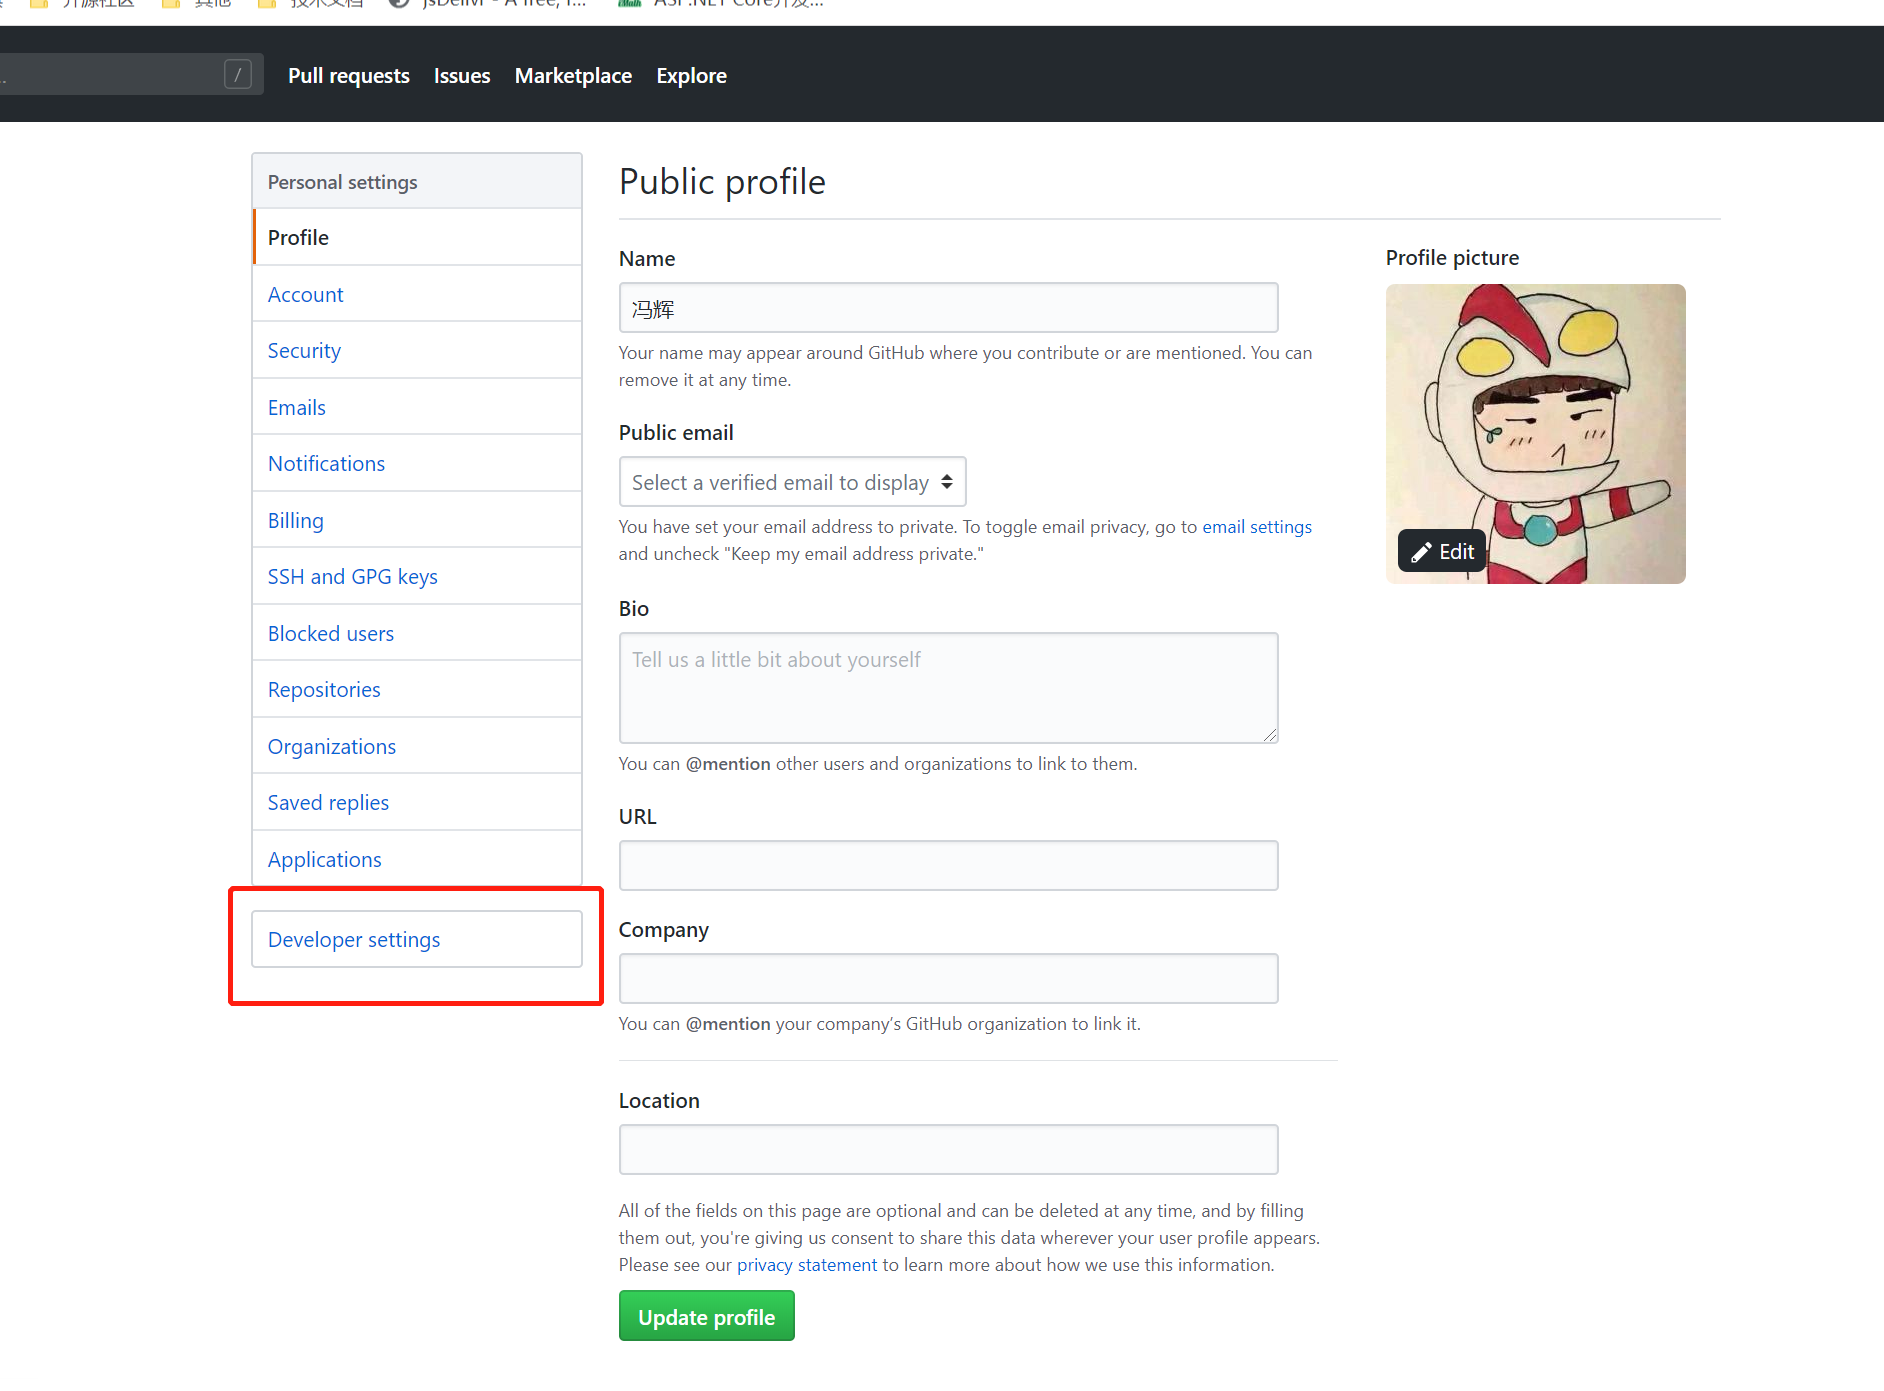
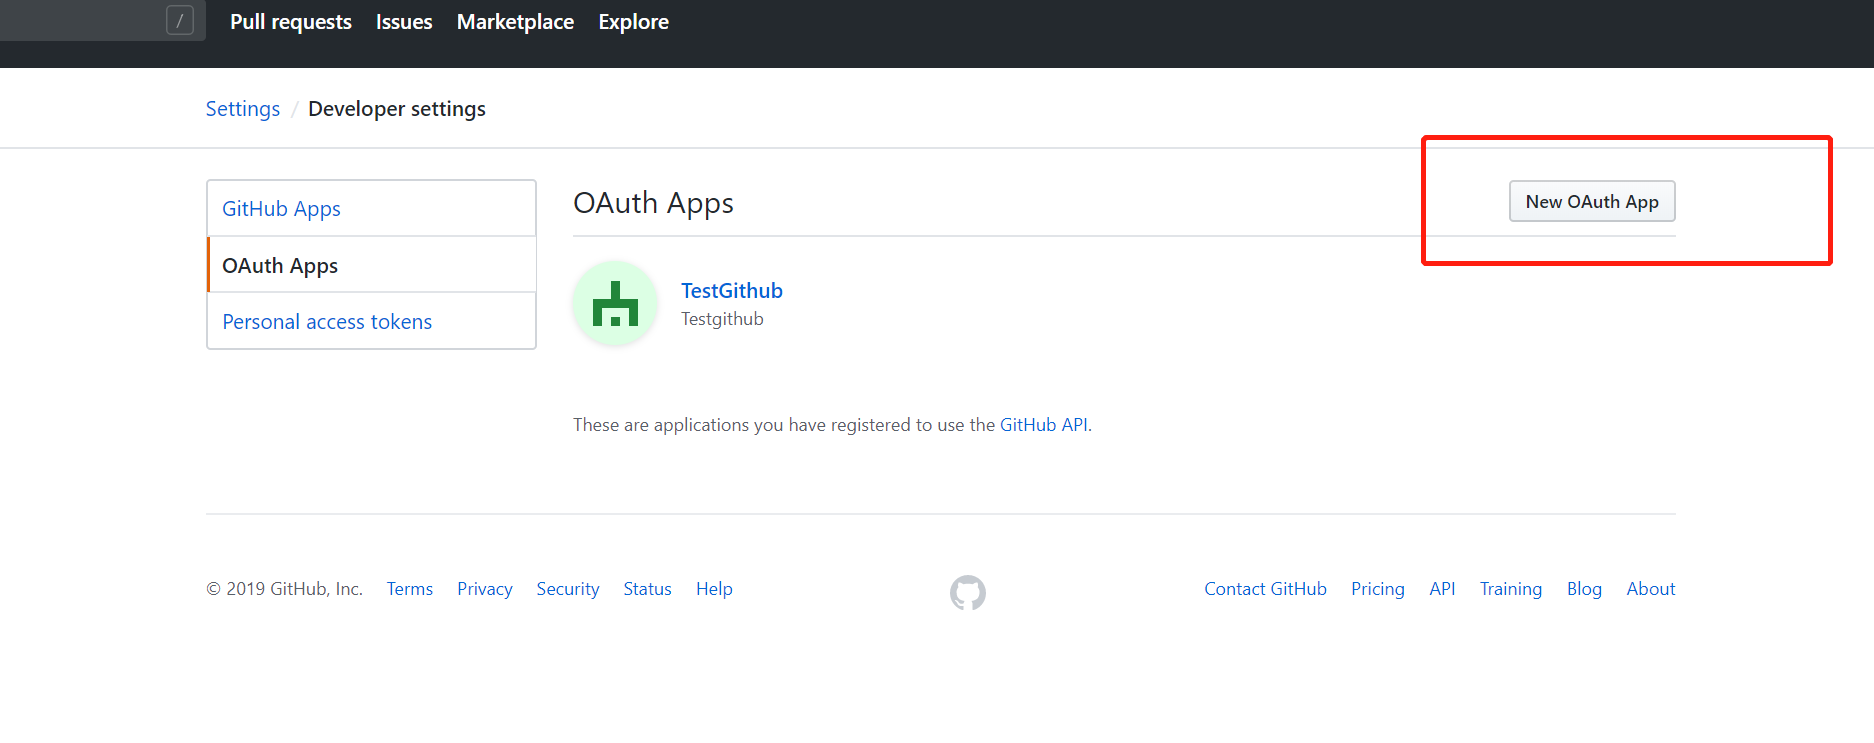
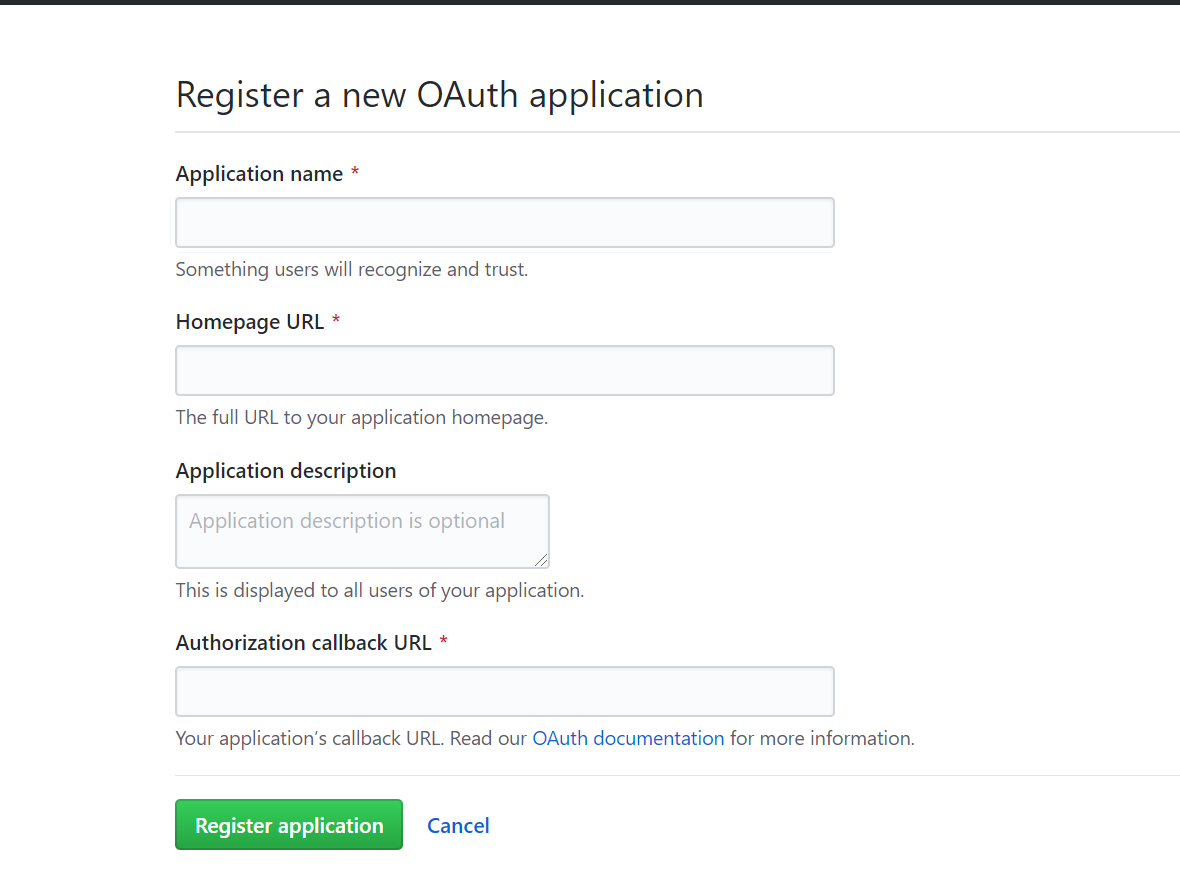
注册完应用就会有应用编码和密钥了
概要
参考:http://www.ruanyifeng.com/blog/2014/05/oauth_2_0.html
Demo:https://github.com/fhcodegit/IdentityServer4.Samples/tree/master/Quickstarts/ImplicitFlowAuthentication

 浙公网安备 33010602011771号