快速搭建springboot工程
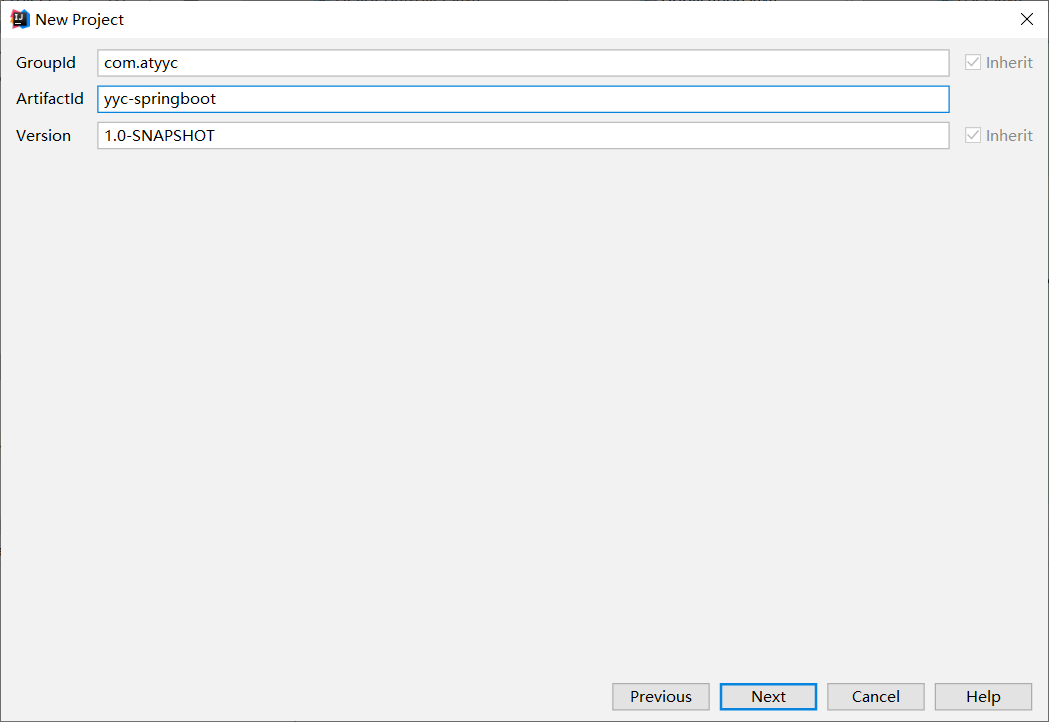
1.创建一个新的工程,选择maven选项,默认点击next

填写好名称后finish到底
2.添加一下依赖到pom.xml文件中
<!-- 指定父版本后的springboot依赖就不需要添加版本号了-->
    <parent>
        <groupId>org.springframework.boot</groupId>
        <artifactId>spring-boot-starter-parent</artifactId>
        <version>2.1.5.RELEASE</version>
    </parent>

    <properties>
        <java.version>1.8</java.version>
    </properties>

    <dependencies>
        <dependency>
            <groupId>org.springframework.boot</groupId>
            <artifactId>spring-boot-starter-web</artifactId>
        </dependency>
    </dependencies>

    <build>
        <plugins>
            <plugin>
                <groupId>org.springframework.boot</groupId>
                <artifactId>spring-boot-maven-plugin</artifactId>
            </plugin>
        </plugins>
    </build>
3.写一个启动引导类
package com.atyyc;

import org.springframework.boot.SpringApplication;
import org.springframework.boot.autoconfigure.SpringBootApplication;
/**
 * 启动引导类
 */
@SpringBootApplication
public class Application {
    public static void main(String[] args) {
        SpringApplication.run(Application.class, args);
    }
}
4.写一个Controller类用于访问,目录大致结构如下

Controller类:
package com.atyyc.controller;

import org.springframework.web.bind.annotation.GetMapping;
import org.springframework.web.bind.annotation.RestController;

@RestController
public class HelloController {

    @GetMapping("hello")
    public String hello(){
        return "Hello Springboot";
    }
}


 浙公网安备 33010602011771号