Android发布项目到github
一、注册GitHub账号:https://github.com
二、android studio 创建新的项目:
三、创建Module
操作步骤
① 点击顶部 File
② 点击 New
③ New Module
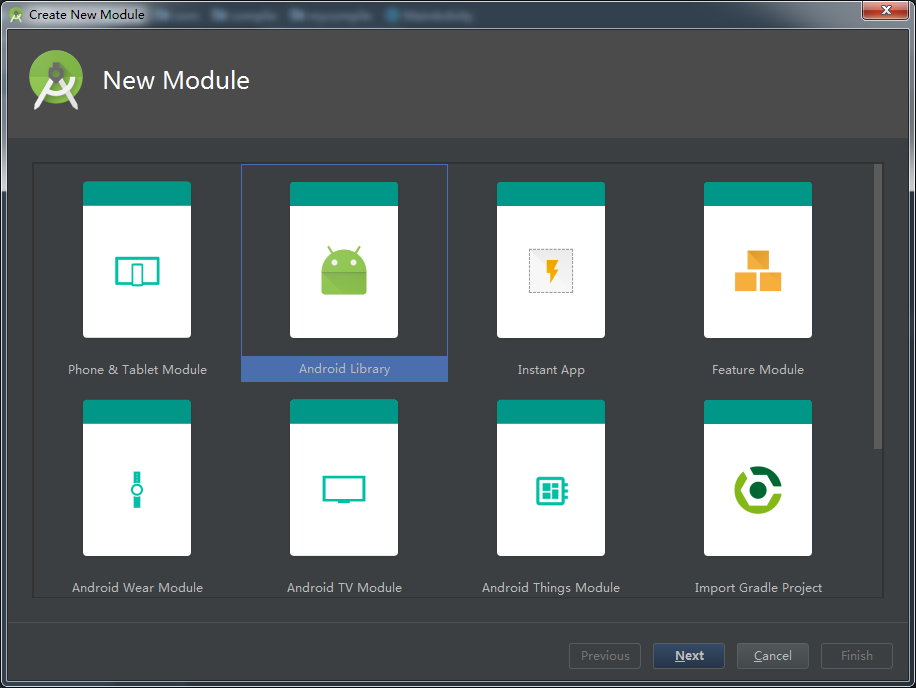
找不到的可以参考下图 ☟ --↓:

④选择Android Library
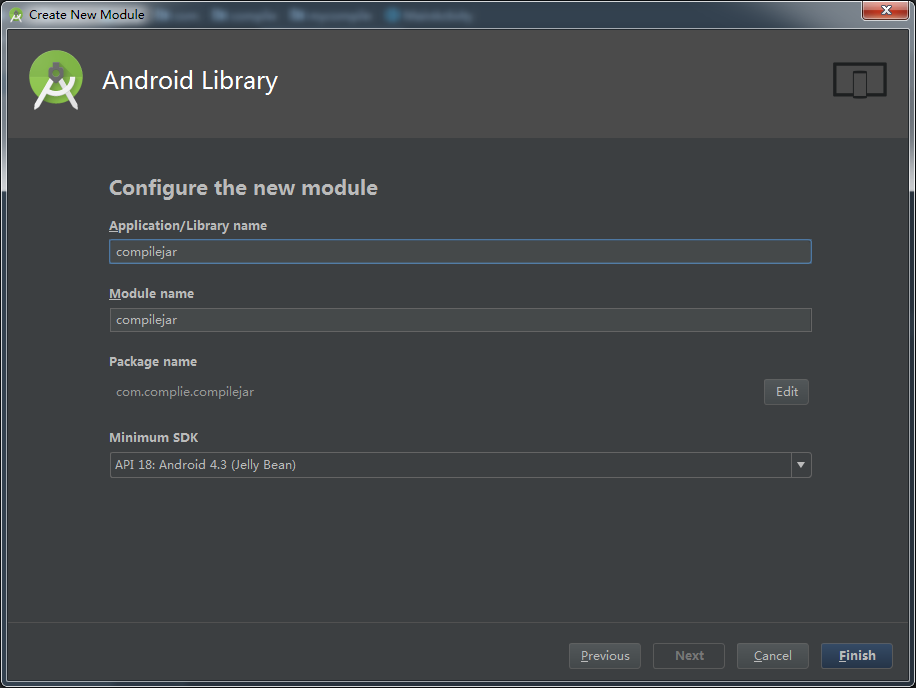
⑤ 输入你的库名等 点击Next

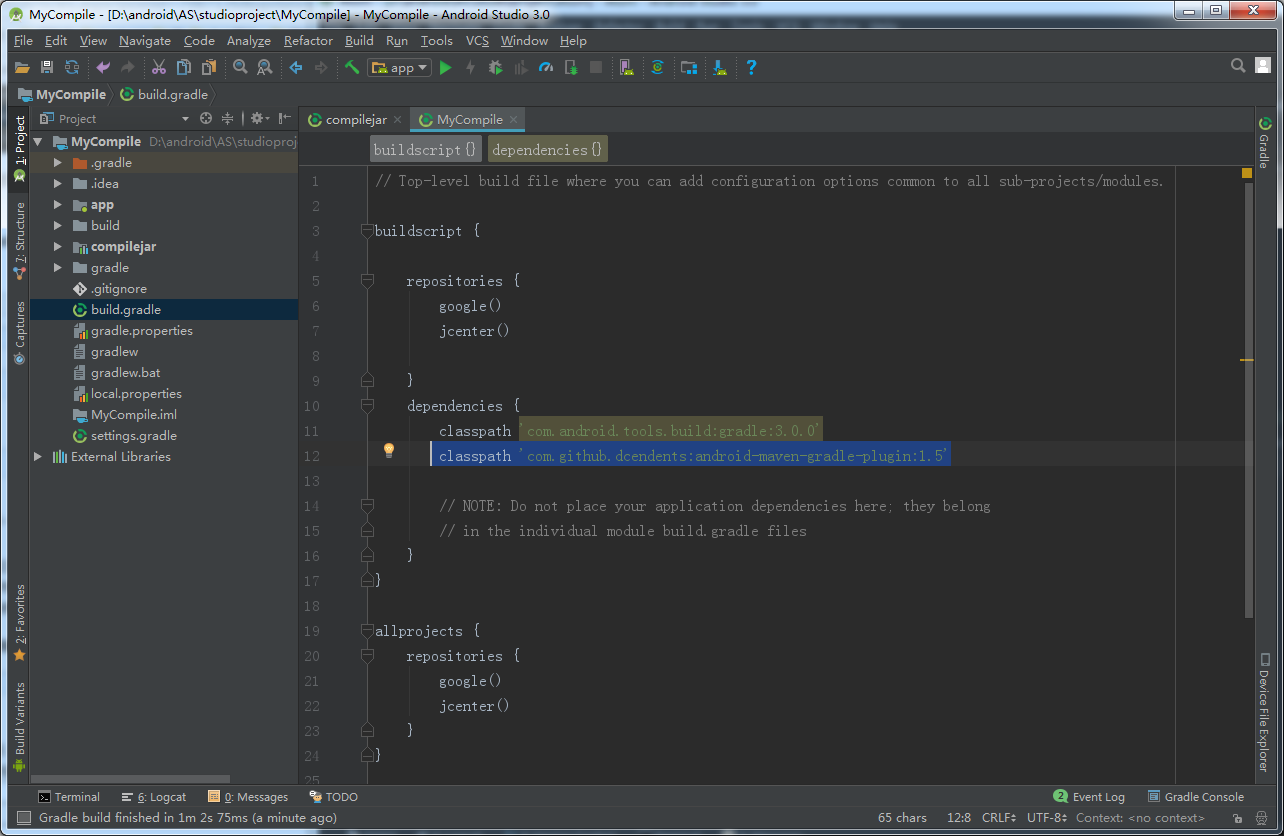
⑥ 在项目的build.gradle 的
buildscript {

    repositories {
        google()
        jcenter()

    }
    dependencies {
        classpath 'com.android.tools.build:gradle:3.6.1'
        classpath 'com.github.dcendents:android-maven-gradle-plugin:1.5' // 添加这行配置  1.5是根据我的gradle的版本来的  实际是需要看你的gradle版本而定 如果是4.0+  就是2.0了

        // NOTE: Do not place your application dependencies here; they belong
        // in the individual module build.gradle files
    }
}

allprojects {
    repositories {
        google()
        jcenter()

    }
}

打开Module根目录下的Gradle加入两行代码:
apply plugin: 'com.github.dcendents.android-maven'
   group='com.github.zhangchengkun12'
group后面的是Github上的域名 zhangchengkun12 是我的github账户名 你需要换成自己的域名
apply plugin: 'com.android.application'
apply plugin: 'com.github.dcendents.android-maven'//这里是需要加入的 第一行   总共2行
group = 'com.github.zhangchengkun12'//这里是需要加入的 第二行 总共2行
android {
    compileSdkVersion 29
    buildToolsVersion "29.0.3"

    defaultConfig {
        applicationId "zxt.github"
        minSdkVersion 23
        targetSdkVersion 29
        versionCode 1
        versionName "1.0"

        testInstrumentationRunner "androidx.test.runner.AndroidJUnitRunner"
    }

    buildTypes {
        release {
            minifyEnabled false
            proguardFiles getDefaultProguardFile('proguard-android-optimize.txt'), 'proguard-rules.pro'
        }
    }

}

dependencies {
    implementation fileTree(dir: 'libs', include: ['*.jar'])

    implementation 'androidx.appcompat:appcompat:1.1.0'


}
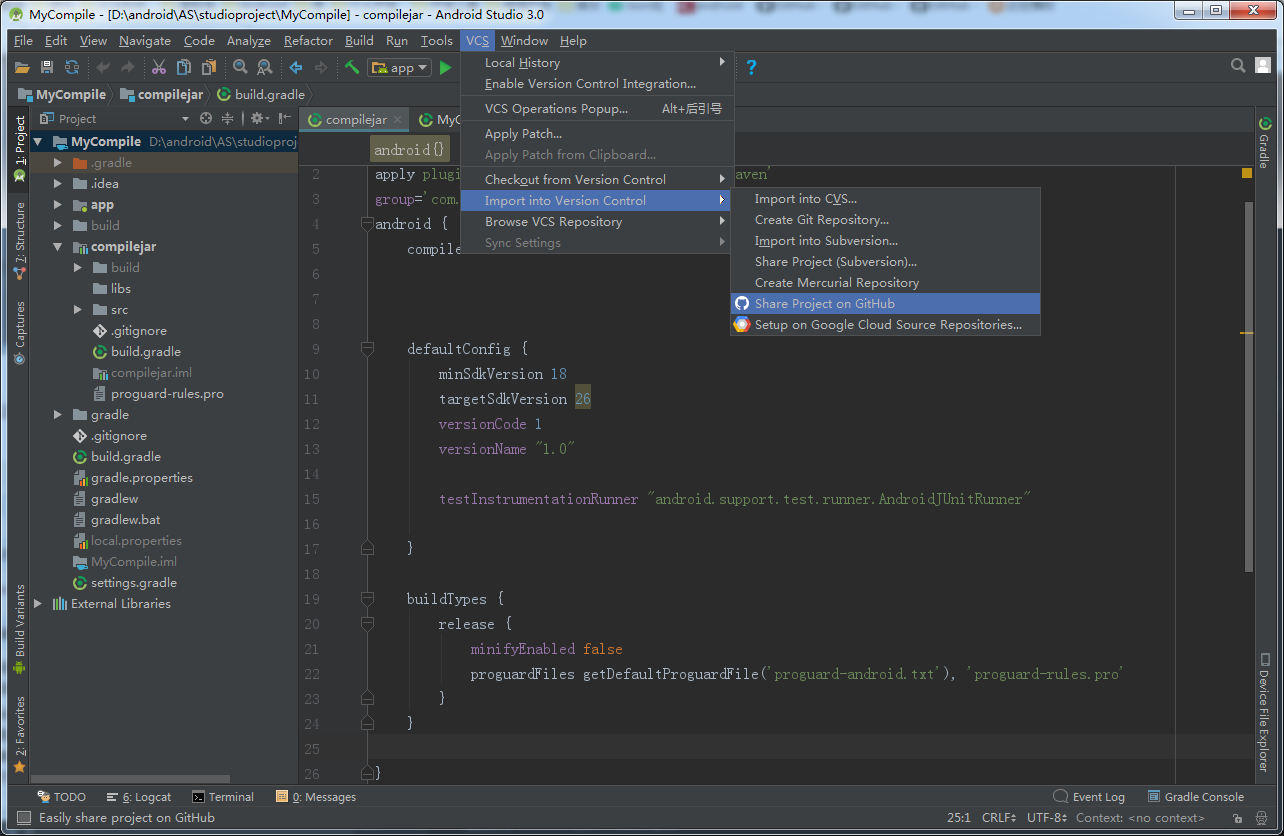
四、上传项目到Github
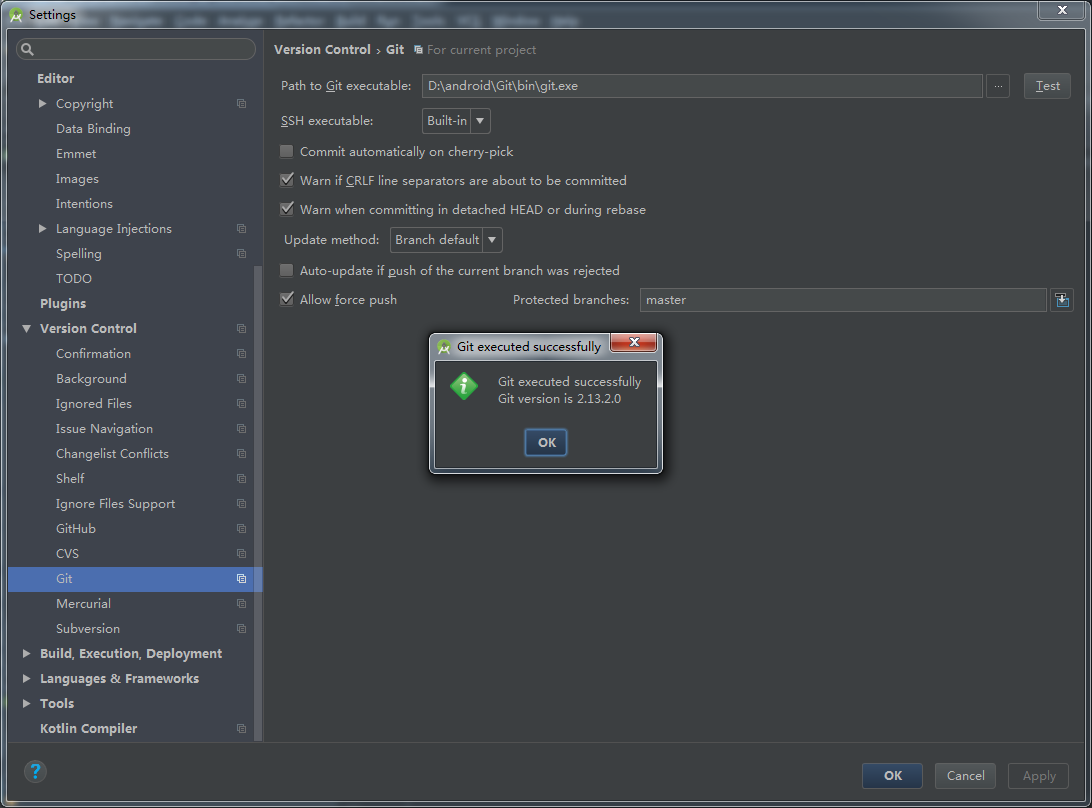
首先装上Git,然后验证一下
然后如下图选择分享项目到Github
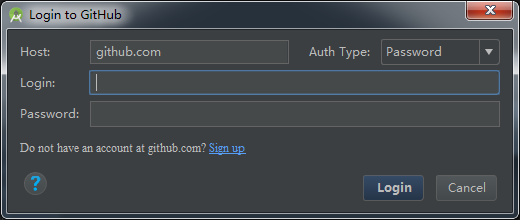
输入账号密码
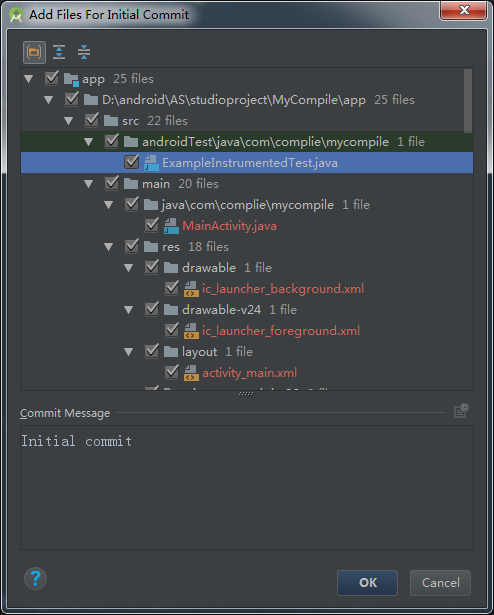
自行选择项目名称和分支标签和描述
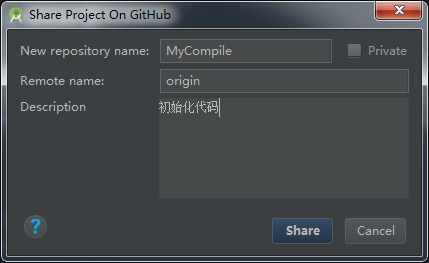
点击Share
进入GitHub,查看是否上传成功。
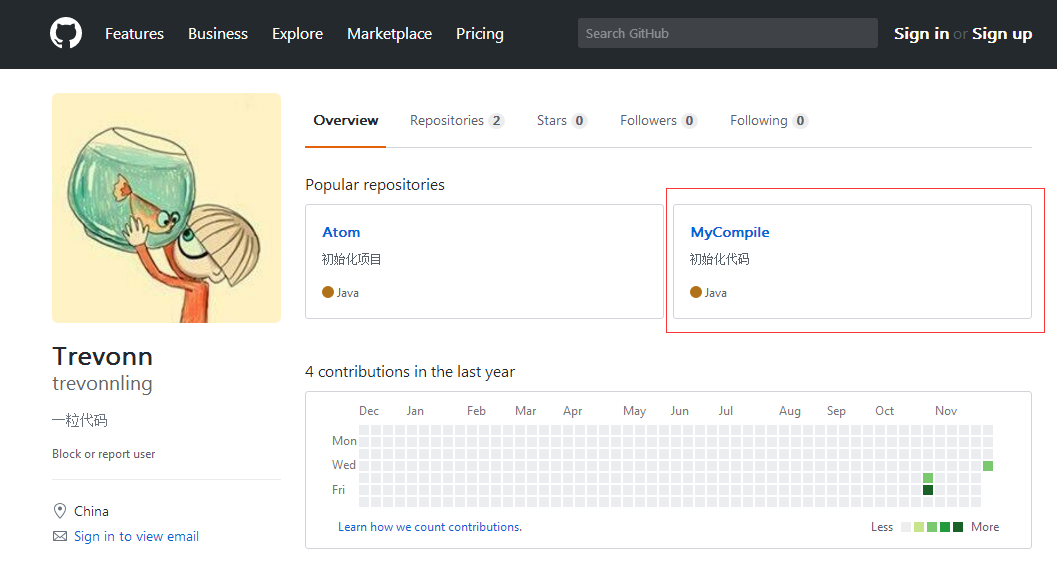
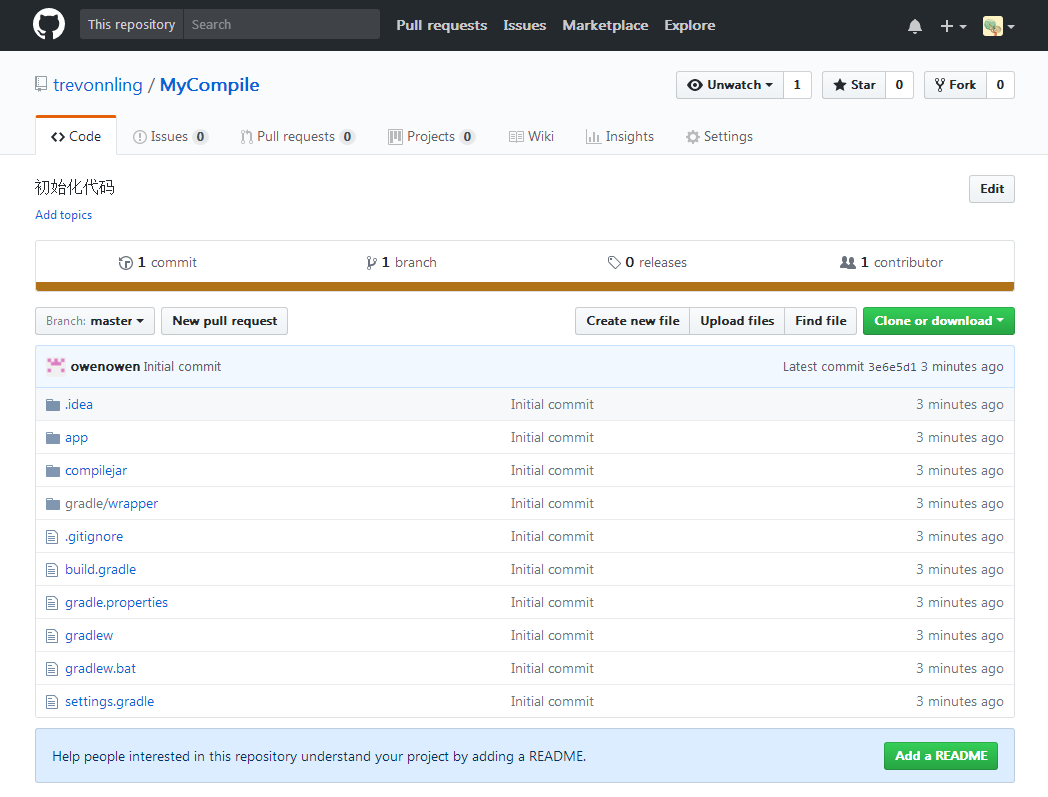
点击进入项目

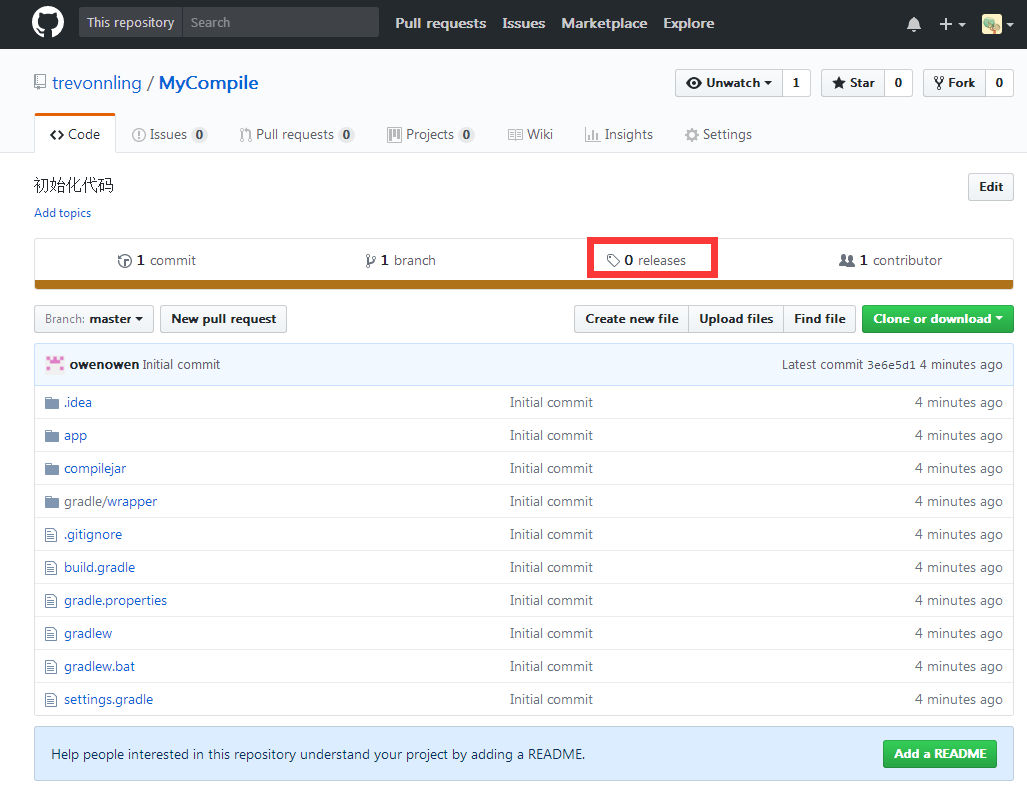
点击releases
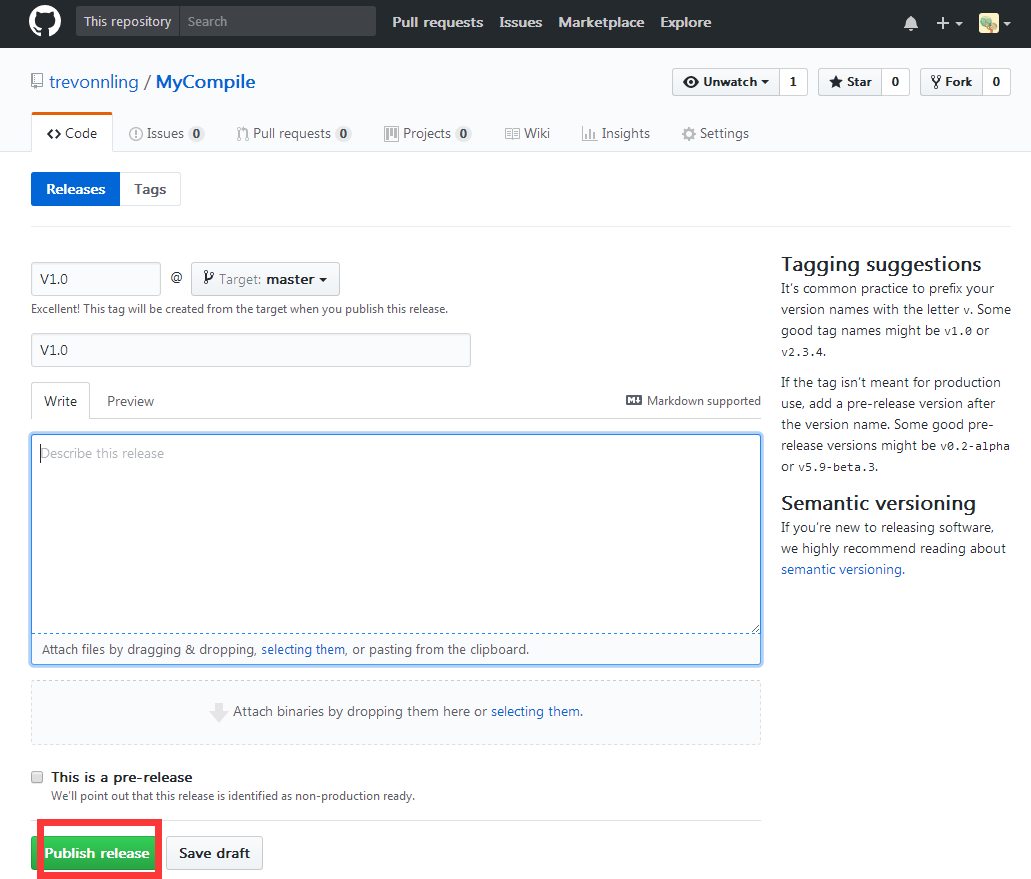
创建release
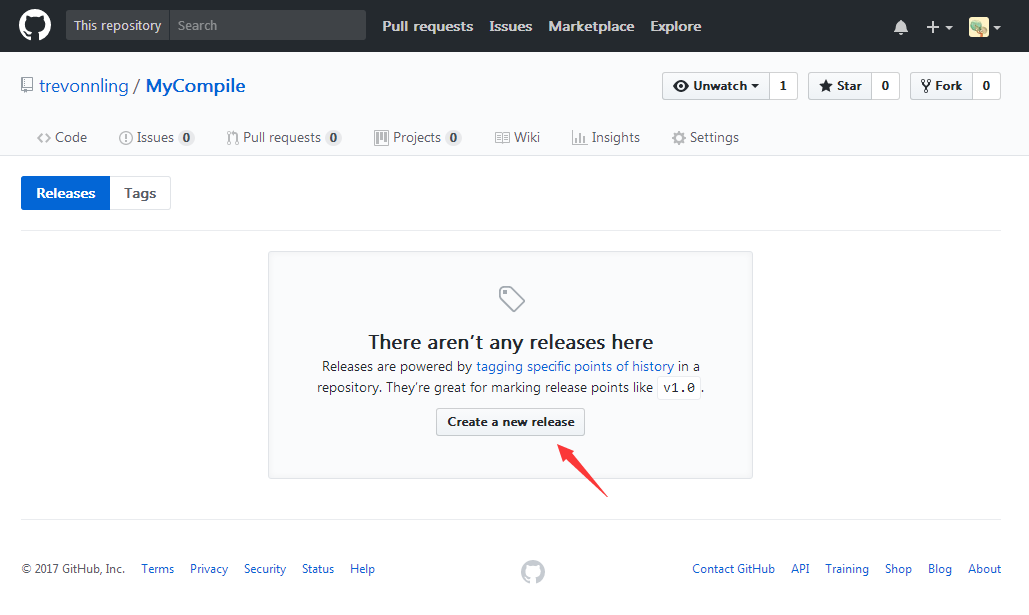
填入版本号,然后点击Publish release
五、将GitHub项目上传到https://jitpack.io/ ,将GitHub项目链接复制到输入框。点击Look up

Get it
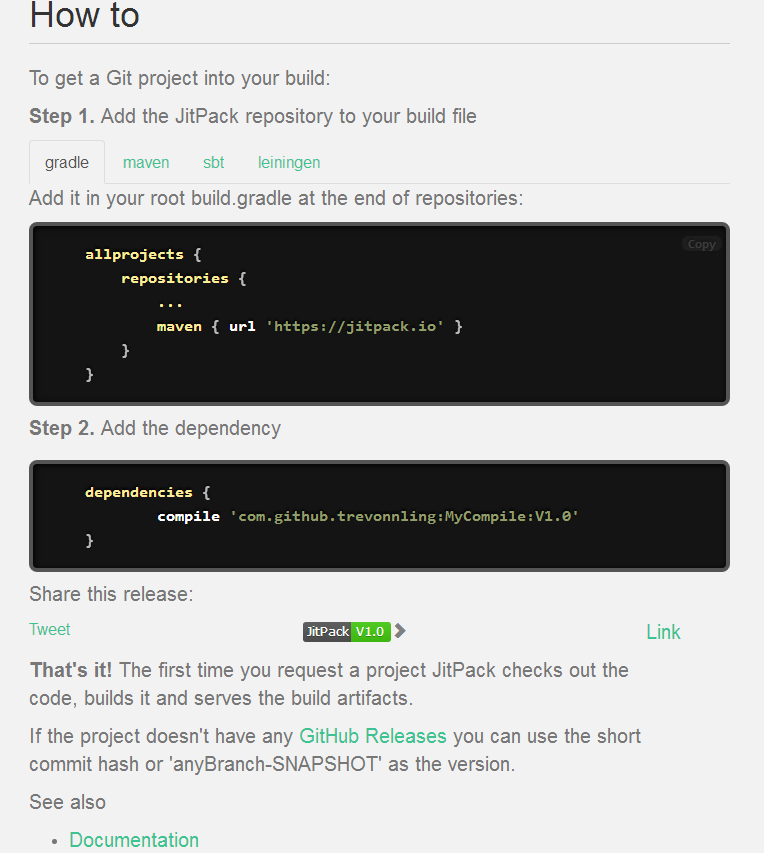
根据提示,在项目中导入implementation包,如图,导入成功
前提在项目的build.grade 里面添加maven { url 'https://jitpack.io'}
// Top-level build file where you can add configuration options common to all sub-projects/modules.

buildscript {

    repositories {
        google()
        jcenter()
        maven { url 'https://jitpack.io'}
    }
    dependencies {
        classpath 'com.android.tools.build:gradle:3.2.1'


        // NOTE: Do not place your application dependencies here; they belong
        // in the individual module build.gradle files
    }
}

allprojects {
    repositories {
        google()
        jcenter()
        maven { url 'https://jitpack.io'}
    }
}
在modle 的build.gradle 里面导入依赖
apply plugin: 'com.android.application'

android {
    compileSdkVersion 28
    defaultConfig {
        applicationId "com.why.project.hwpushdemo"
        minSdkVersion 16
        targetSdkVersion 28
        versionCode 1
        versionName "1.0"
        testInstrumentationRunner "android.support.test.runner.AndroidJUnitRunner"
    }
    buildTypes {
        release {
            minifyEnabled false
            proguardFiles getDefaultProguardFile('proguard-android.txt'), 'proguard-rules.pro'
        }
    }
}

dependencies {
    implementation fileTree(dir: 'libs', include: ['*.jar'])
    implementation 'com.android.support:appcompat-v7:28.0.0'

    implementation 'com.github.zhangchengkun12:MyAndroidTool:v1.0'
}
本人记录一下操作流程 是学习一粒代码写的文档做的。

 浙公网安备 33010602011771号