微服务架构
微服务架构
一、微服务定义:
1、分布式服务组成的系统
2、按照业务,而不是技术来划分组织
3、做有生命的产品而不是项目
5、自动化运维( DevOps )
6、高度容错性
......
二、搭建项目
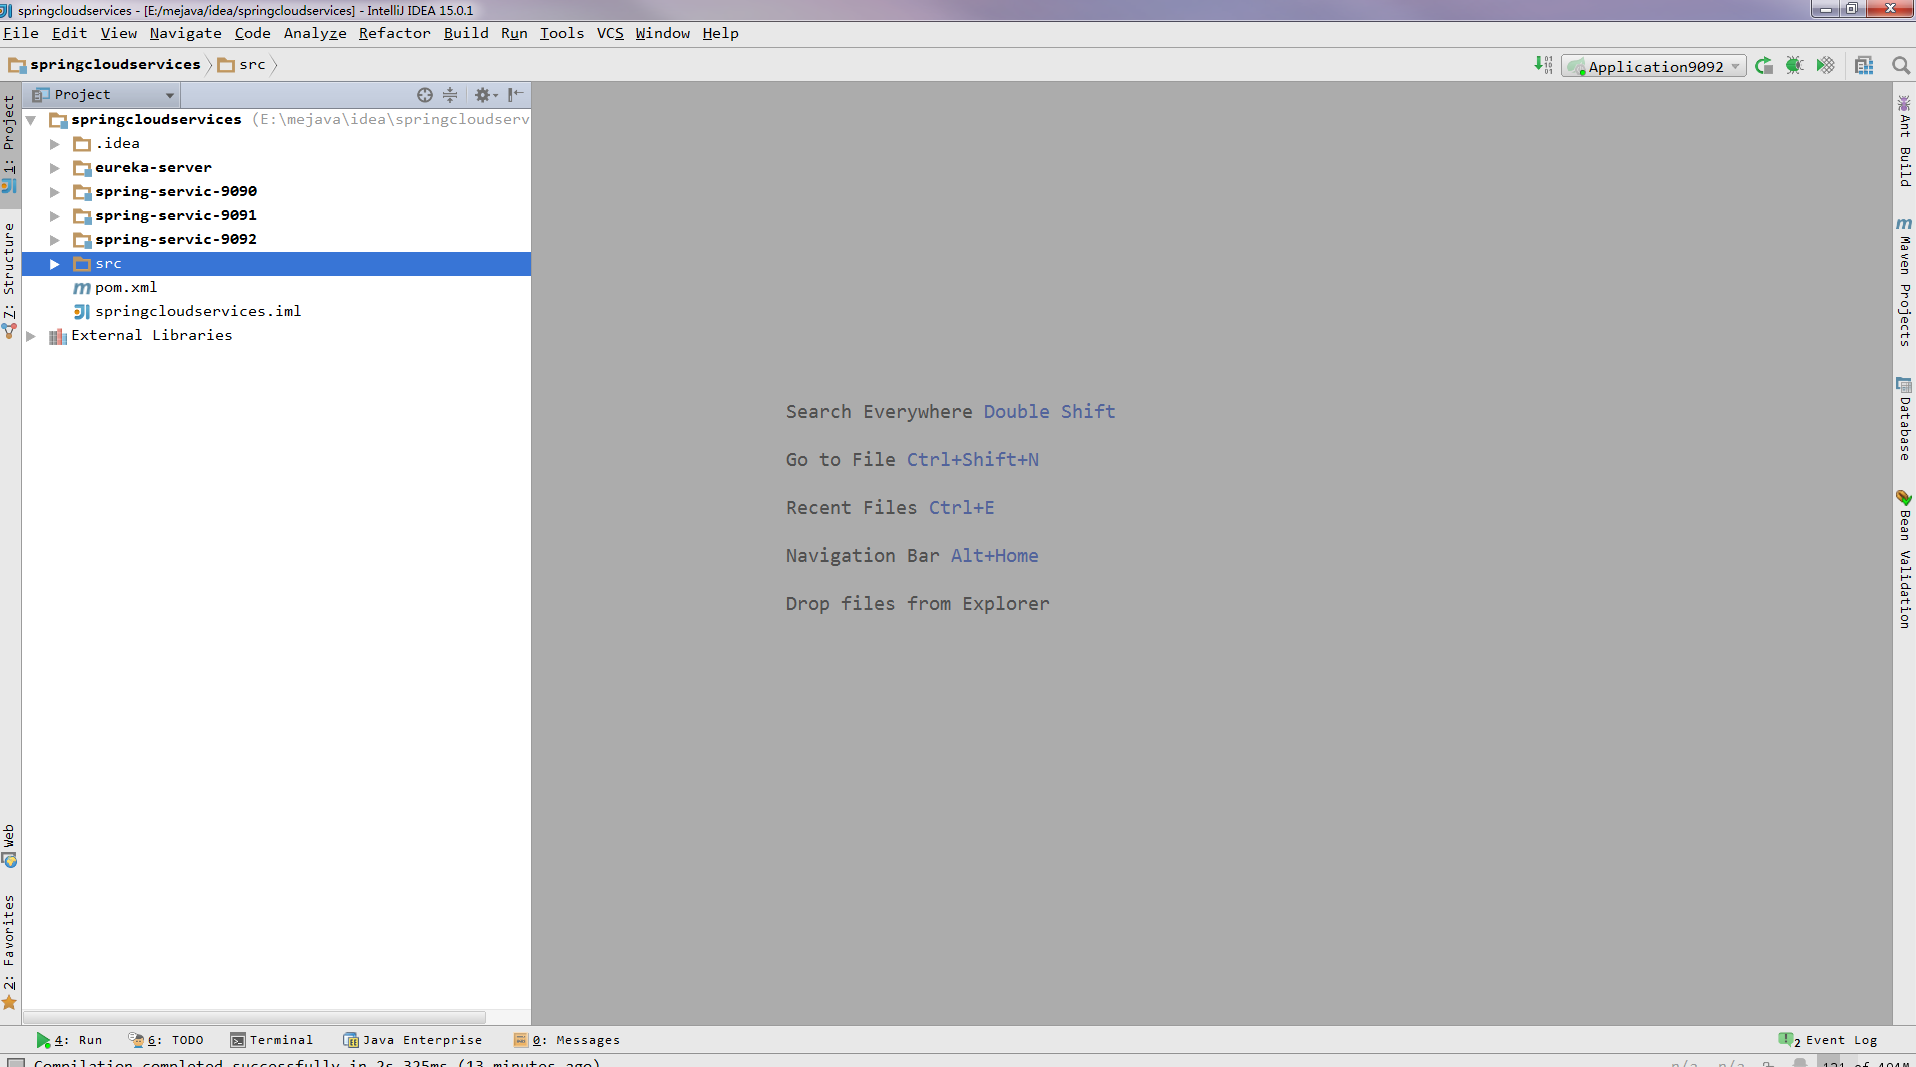
以上是项目搭建目录,分别是eureka-server、spring-servic-9090、spring-servic-9091、spring-servic-9092。
eureka-server目录:
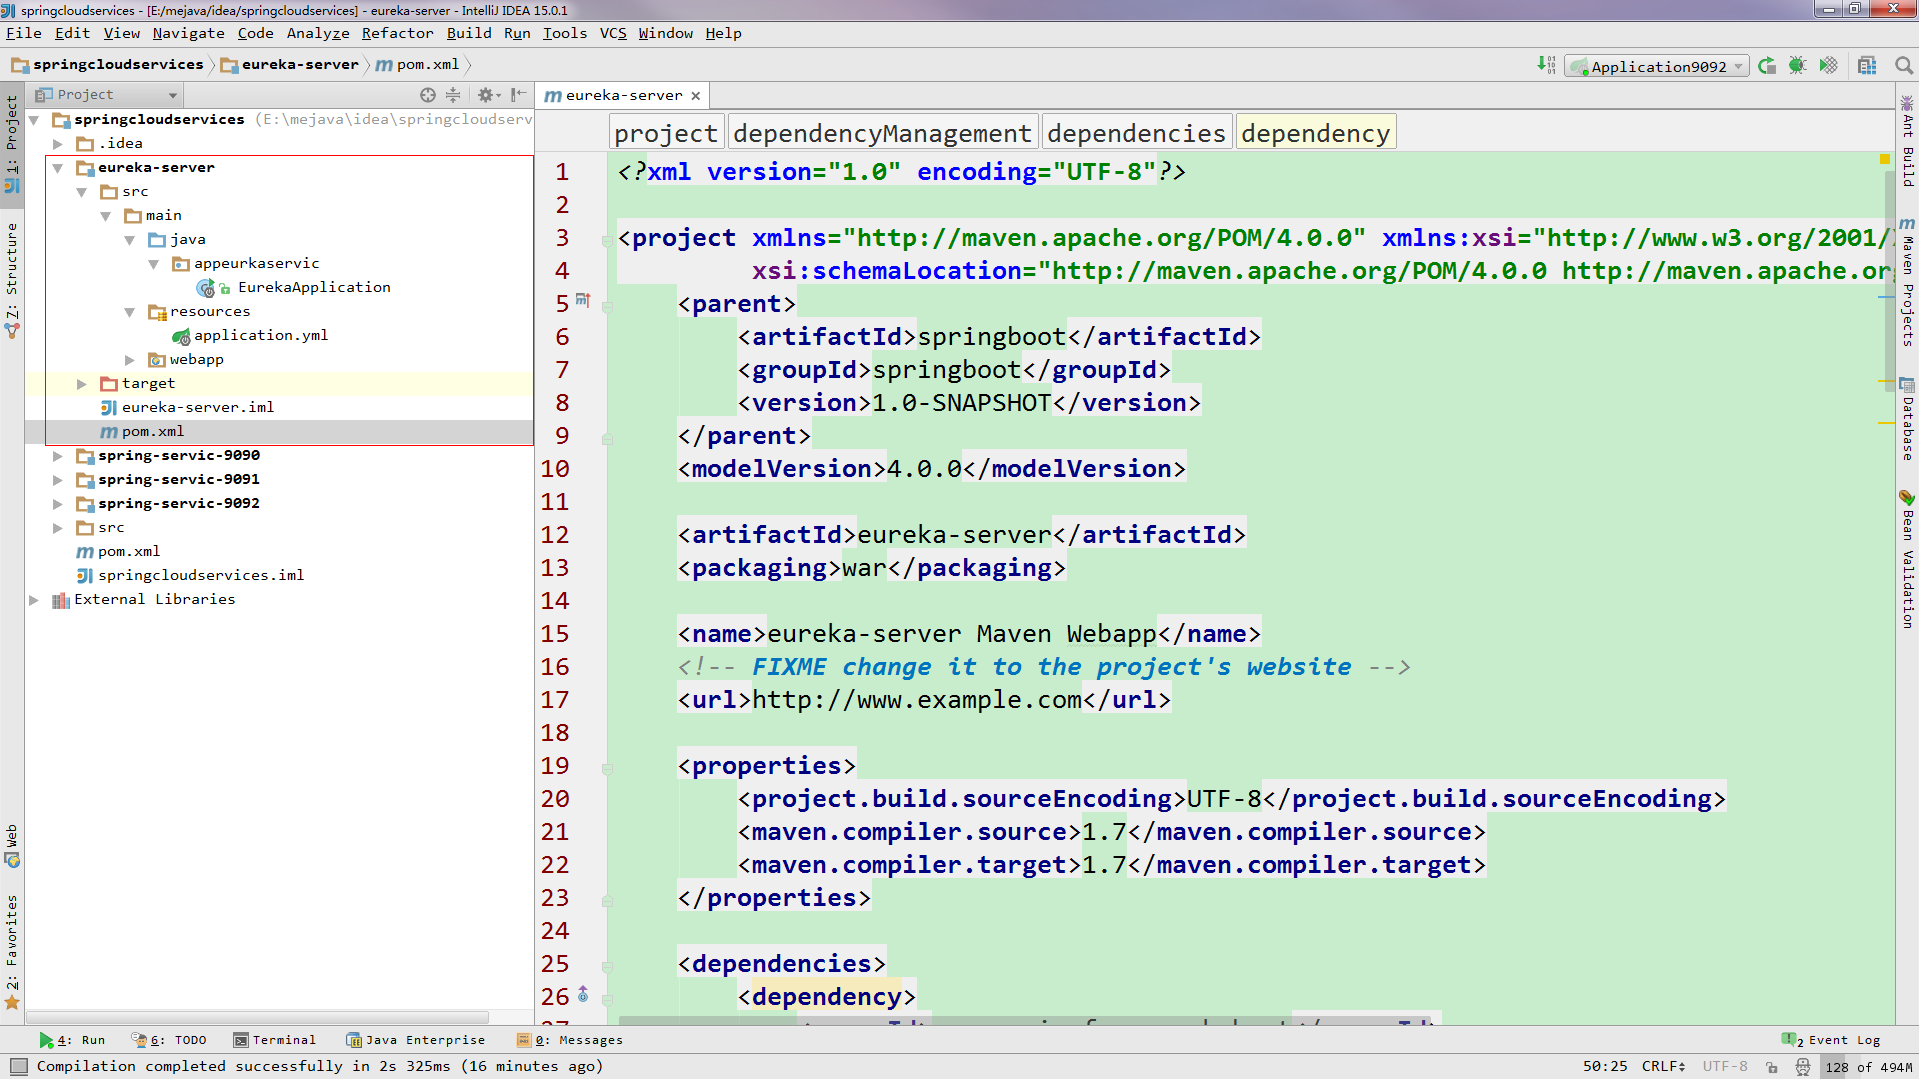
1、新建EurekaApplication作为启动Eureka服务。
package appeurkaservic;

import org.spring
framework.boot.SpringApplication;
import org.springframework.boot.autoconfigure.SpringBootApplication;
import org.springframework.cloud.netflix.eureka.server.EnableEurekaServer;

/**
 * @Description
 * @Author ybb 34953126@qq.com
 * @Version V1.0.0
 * @Since 1.0
 * @Date 2019/10/21
 */
@EnableEurekaServer
@SpringBootApplication
public class EurekaApplication {
    public static void main(String[] args) {
        SpringApplication.run(EurekaApplication.class,args);
    }
}
2、配置application.yml
registerWithEureka:由于该应用为注册中心,所有设置为false,代表不向注册中心注册自己。
fetchRegistry:由于注册中心的职责就是维护服务实例,它并不需要去检索服务,所有也设置为false。
server:
  port: 9999

eureka:
  instance:
    hostname: localhost
  client:
    registerWithEureka: false
    fetchRegistry: false
    serviceUrl:
      defaultZone: http://${eureka.instance.hostname}:${server.port}/eureka
3、添加依赖pom.xml
    <properties>
        <project.build.sourceEncoding>UTF-8</project.build.sourceEncoding>
        <maven.compiler.source>1.7</maven.compiler.source>
        <maven.compiler.target>1.7</maven.compiler.target>
    </properties>

    <dependencies>
        <dependency>
            <groupId>org.springframework.boot</groupId>
            <artifactId>spring-boot-starter-web</artifactId>
        </dependency>

        <dependency>
            <groupId>junit</groupId>
            <artifactId>junit</artifactId>
            <version>4.11</version>
            <scope>test</scope>
        </dependency>

        <!--spring-cloud-eureka server -->
        <dependency>
            <groupId>org.springframework.cloud</groupId>
            <artifactId>spring-cloud-starter-eureka-server</artifactId>
            <version>1.4.4.RELEASE</version>
        </dependency>

    </dependencies>

    <!--添加springcloud-->
    <dependencyManagement>
        <dependencies>
            <dependency>
                <groupId>org.springframework.cloud</groupId>
                <artifactId>spring-cloud-dependencies</artifactId>
                <version>Finchley.SR1</version>
                <type>pom</type>
                <scope>import</scope>
            </dependency>
        </dependencies>
    </dependencyManagement>
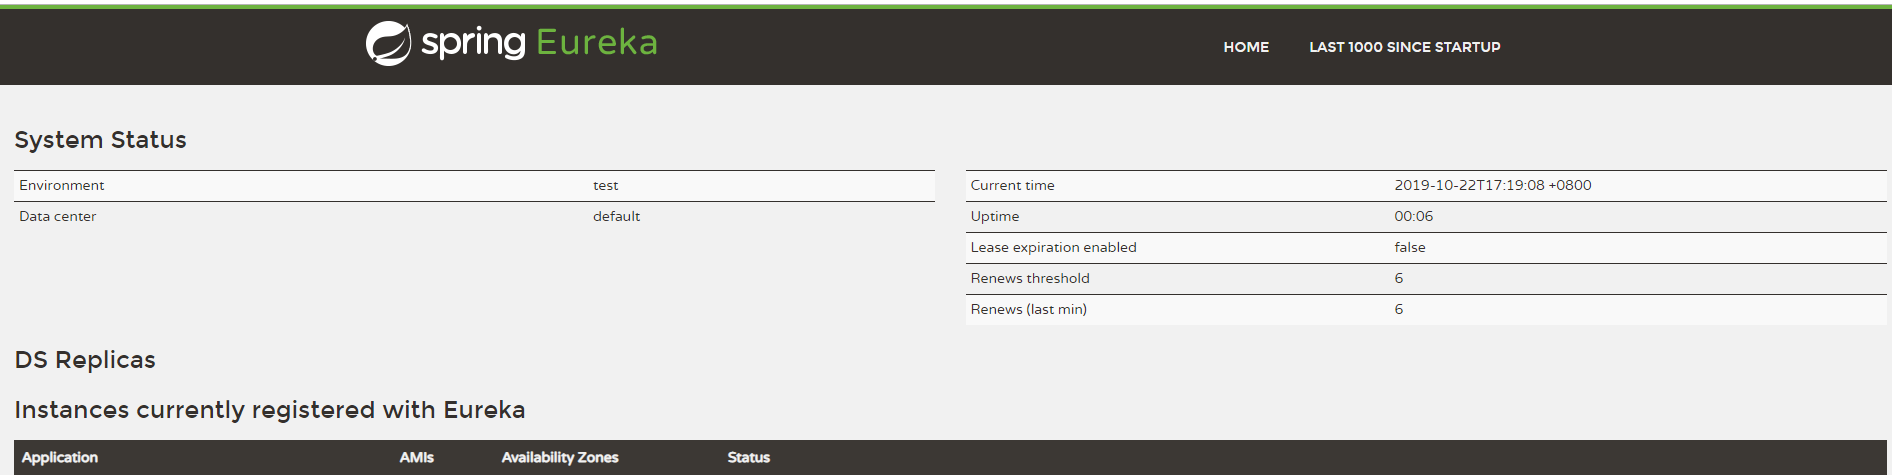
4、启动 EurekaApplication,之后访问http://localhost:9999/ ,端口在application.yml已经配置。
之后可以看到eureka信息面板。
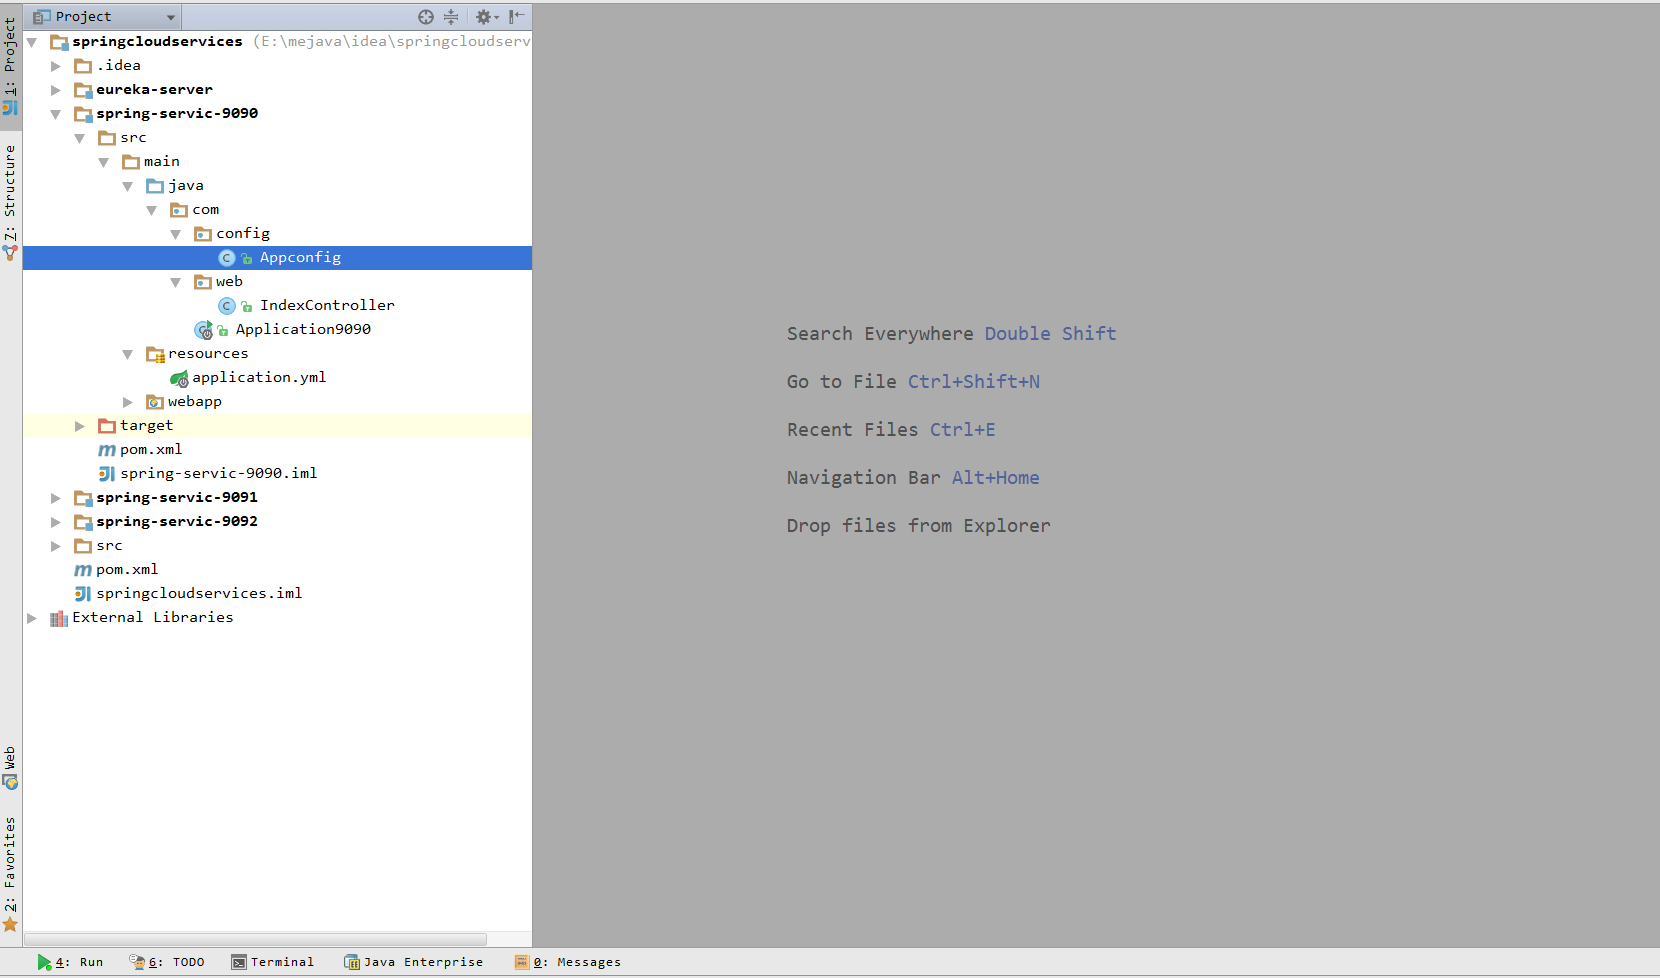
三、搭建服务项目 spring-srevid-9090
1、目录
2、添加pom.xml依赖。
    <properties>
        <project.build.sourceEncoding>UTF-8</project.build.sourceEncoding>
        <maven.compiler.source>1.7</maven.compiler.source>
        <maven.compiler.target>1.7</maven.compiler.target>
    </properties>

    <dependencies>
        <dependency>
            <groupId>junit</groupId>
            <artifactId>junit</artifactId>
            <version>4.11</version>
            <scope>test</scope>
        </dependency>

        <dependency>
            <groupId>org.springframework.boot</groupId>
            <artifactId>spring-boot-starter-parent</artifactId>
            <version>2.0.4.RELEASE</version>
        </dependency>

        <dependency>
            <groupId>org.springframework.boot</groupId>
            <artifactId>spring-boot-starter-web</artifactId>
        </dependency>

        <!-- https://mvnrepository.com/artifact/org.springframework.cloud/spring-cloud-starter-netflix-eureka-client -->
        <dependency>
            <groupId>org.springframework.cloud</groupId>
            <artifactId>spring-cloud-starter-netflix-eureka-client</artifactId>
            <version>1.4.4.RELEASE</version>
        </dependency>

    </dependencies>


    <!--添加springcloud-->
    <dependencyManagement>
        <dependencies>
            <dependency>
                <groupId>org.springframework.cloud</groupId>
                <artifactId>spring-cloud-dependencies</artifactId>
                <version>Finchley.SR1</version>
                <type>pom</type>
                <scope>import</scope>
            </dependency>
        </dependencies>
    </dependencyManagement>
3、新建application9090
package com;

import org.springframework.boot.SpringApplication;
import org.springframework.boot.autoconfigure.SpringBootApplication;
import org.springframework.cloud.netflix.eureka.EnableEurekaClient;

/**
 * 端口号9090
 * @Description
 * @Author ybb 34953126@qq.com
 * @Version V1.0.0
 * @Since 1.0
 * @Date 2019/10/20
 */
@SpringBootApplication
@EnableEurekaClient
public class Application9090 {
    public static void main(String[] args) {
        SpringApplication.run(Application9090.class,args);
    }
}
4、新建配置,配置服务Tomcat的端口号为9090
package com.config;

import org.springframework.boot.web.embedded.tomcat.TomcatServletWebServerFactory;
import org.springframework.boot.web.servlet.server.ConfigurableServletWebServerFactory;
import org.springframework.context.annotation.Bean;
import org.springframework.context.annotation.Configuration;

/**
 * @Description
 * @Author ybb 34953126@qq.com
 * @Version V1.0.0
 * @Since 1.0
 * @Date 2019/10/20
 */
@Configuration
public class Appconfig {

    @Bean
    public ConfigurableServletWebServerFactory webServerFactory() {
        TomcatServletWebServerFactory factory = new TomcatServletWebServerFactory();
        factory.setPort(9090);
        return factory;
    }

}
5、新建测试IndexController
package com.web;

import org.springframework.stereotype.Controller;
import org.springframework.web.bind.annotation.RequestMapping;
import org.springframework.web.bind.annotation.ResponseBody;

import java.util.ArrayList;
import java.util.HashMap;
import java.util.List;
import java.util.Map;

/**
 * 微服务端口9090
 * @Description
 * @Author ybb 34953126@qq.com
 * @Version V1.0.0
 * @Since 1.0
 * @Date 2019/10/20
 */
@Controller
public class IndexController {

    @RequestMapping("index.do")
    @ResponseBody
    public String index(){
        return "服务端口号:9090";
    }

}
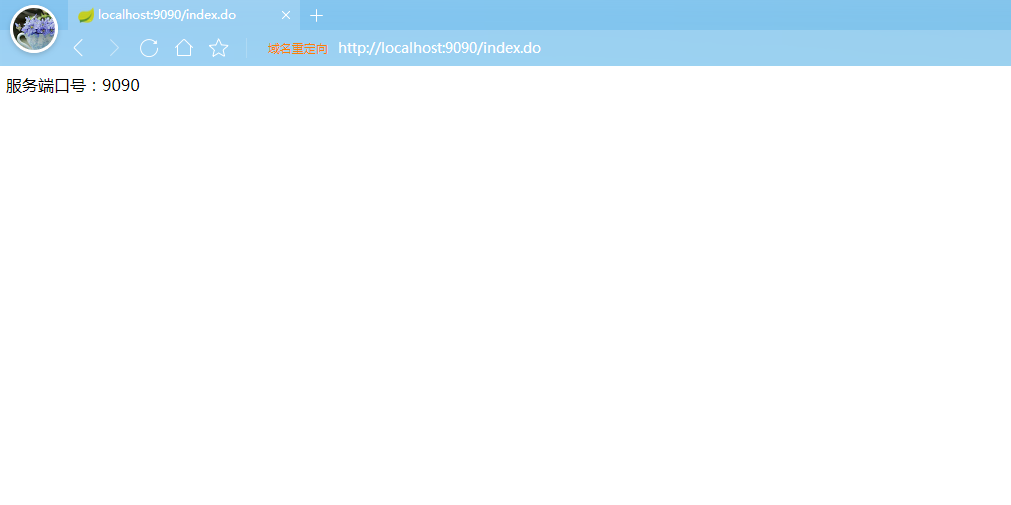
6、之后启动Application9090 访问 http://localhost:9090/index.do
7、 查看eureka 出现9090服务代表已经注册进来,其他两个是之前已经运行项目。

8、同样新建spring-srvice-9091项目,按spring-srvice-9090一样新建,修改相应的端口号即可。
四、新建spring-srvice-9092
1、pom.xml
    <properties>
        <project.build.sourceEncoding>UTF-8</project.build.sourceEncoding>
        <maven.compiler.source>1.7</maven.compiler.source>
        <maven.compiler.target>1.7</maven.compiler.target>
    </properties>

    <dependencies>
        <dependency>
            <groupId>junit</groupId>
            <artifactId>junit</artifactId>
            <version>4.11</version>
            <scope>test</scope>
        </dependency>
        <dependency>
            <groupId>org.springframework.boot</groupId>
            <artifactId>spring-boot-starter-parent</artifactId>
            <version>2.0.4.RELEASE</version>
        </dependency>

        <dependency>
            <groupId>org.springframework.boot</groupId>
            <artifactId>spring-boot-starter-web</artifactId>
        </dependency>

        <!-- https://mvnrepository.com/artifact/org.springframework.cloud/spring-cloud-starter-netflix-eureka-client -->
        <dependency>
            <groupId>org.springframework.cloud</groupId>
            <artifactId>spring-cloud-starter-netflix-eureka-client</artifactId>
            <version>1.4.4.RELEASE</version>
        </dependency>
    </dependencies>

    <!--添加springcloud-->
    <dependencyManagement>
        <dependencies>
            <dependency>
                <groupId>org.springframework.cloud</groupId>
                <artifactId>spring-cloud-dependencies</artifactId>
                <version>Finchley.SR1</version>
                <type>pom</type>
                <scope>import</scope>
            </dependency>
        </dependencies>
    </dependencyManagement>
2、Application9092
通过@EnableEurekaClient让该应用成为Eureka客户端应用。
package com;

import org.springframework.boot.SpringApplication;
import org.springframework.boot.autoconfigure.SpringBootApplication;
import org.springframework.cloud.netflix.eureka.EnableEurekaClient;

/**
 * @Description
 * @Author ybb 34953126@qq.com
 * @Version V1.0.0
 * @Since 1.0
 * @Date 2019/10/21
 */
@SpringBootApplication
@EnableEurekaClient
public class Application9092 {
    public static void main(String[] args) {
        SpringApplication.run(Application9092.class,args);
    }
}
3、Appconfig 在里面添加端口。
创建RestTemplate的spring Bean实例,并通过 @LoadBalanced 注解开启客户端负载均衡。
package com.config;

import org.springframework.boot.web.embedded.tomcat.TomcatServletWebServerFactory;
import org.springframework.boot.web.server.ConfigurableWebServerFactory;
import org.springframework.cloud.client.loadbalancer.LoadBalanced;
import org.springframework.context.annotation.Bean;
import org.springframework.context.annotation.Configuration;
import org.springframework.web.client.RestTemplate;

/**
 * @Description
 * @Author ybb 34953126@qq.com
 * @Version V1.0.0
 * @Since 1.0
 * @Date 2019/10/21
 */
@Configuration
public class Appconfig {

    @Bean
    public ConfigurableWebServerFactory webServerFactory(){
        TomcatServletWebServerFactory factory = new TomcatServletWebServerFactory();
        factory.setPort(9092);
        return factory;
    }

    @Bean
    @LoadBalanced
    public RestTemplate restTemplate(){
        return new RestTemplate();
    }

}
4、测试IndexController
package com.web;

import org.springframework.beans.factory.annotation.Autowired;
import org.springframework.http.ResponseEntity;
import org.springframework.stereotype.Controller;
import org.springframework.web.bind.annotation.RequestMapping;
import org.springframework.web.bind.annotation.ResponseBody;
import org.springframework.web.client.RestTemplate;

/**
 * @Description
 * @Author ybb 34953126@qq.com
 * @Version V1.0.0
 * @Since 1.0
 * @Date 2019/10/21
 */
@Controller
public class IndexController {

    @Autowired
    RestTemplate restTemplate;

    @RequestMapping("client.do")
    @ResponseBody
    public String index(){
        ResponseEntity<String> result = restTemplate.getForEntity("http://microservice-srvic1/index.do",String.class);
        return result.getBody();
    }

}
application.yml
server:
  port: 9092

spring:
  application:
    name: microservice-9092-srvic3

eureka:
  client:
    serviceUrl:
      defaultZone: http://localhost:9999/eureka/
5、启动,spring-service-9091、spring-service-9092,查看spring eureka主页。显示如下代表三个服务注册成功。

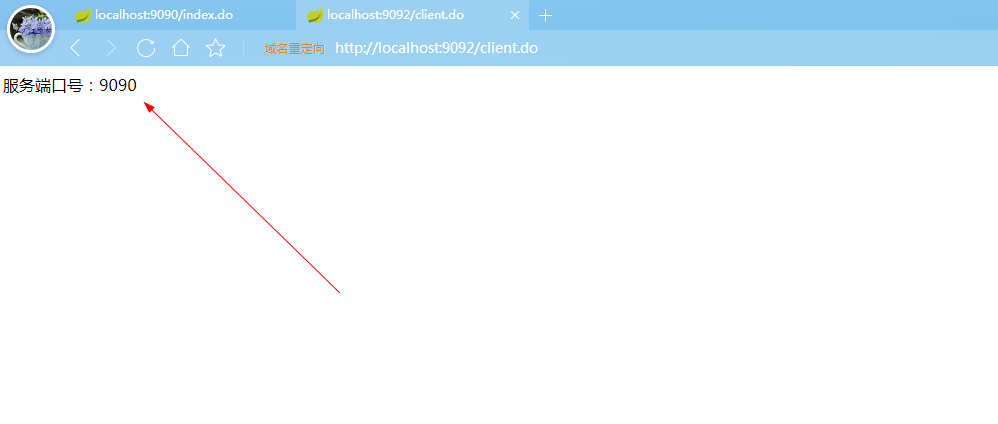
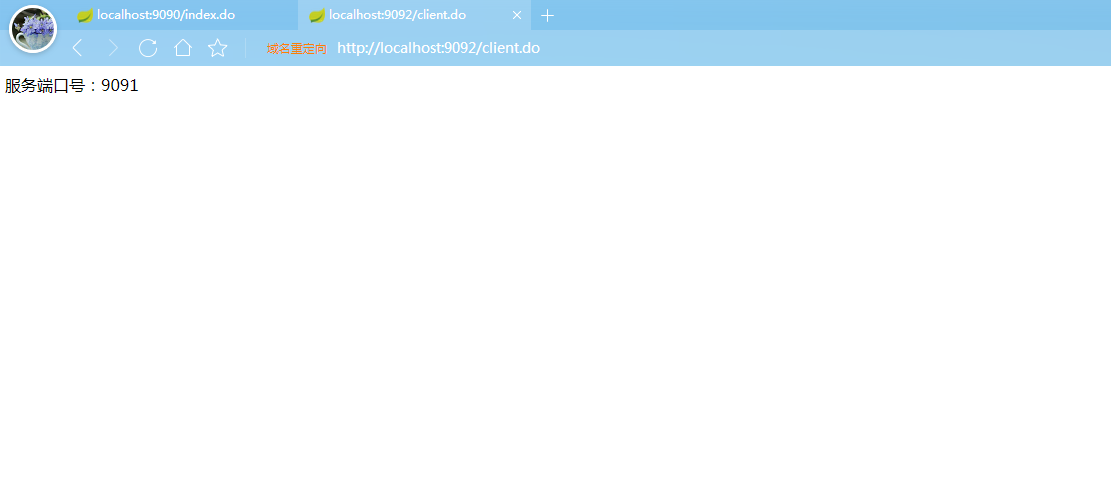
6、访问spring-service-9092方法(http://localhost:9092/client.do)
即可随机访问9090和9091项目

 浙公网安备 33010602011771号