爬虫之requests模块
爬虫介绍
爬虫即模拟发送http请求获取数据。所以在学习爬虫时,需要熟悉http协议。
爬虫的本质
- 模拟发送http请求
- 数据清洗反扒(有一些网站会有反扒手段,需要我们解决)
- 增加并发量(爬取的数据大时可以增加并发量加速爬取)
- 入库(保存数据)
爬虫协议
做爬虫要遵循爬虫协议:网站哪些让我们爬,哪些不让。
在网址后面输入/robots.txt就可以看到,比如B站的:
https://www.bilibili.com/robots.txt
requests模块介绍
requests模块可以模拟发送http请求获取网页内容或数据。
安装requests模块:
pip install requests
简单使用:get请求获取博客园首页的网页内容
import requests
# res是http响应封装成了对象,响应中得所有东西,都在这个对象中
res = requests.get('https://www.cnblogs.com/')
print(res.text)  # 网页数据
get请求
发送get请求,返回响应对象
res = requests.get('地址')
print(res.text)  # 响应体的数据
携带get参数
方式一:直接地址带参数
res = requests.get('地址?name=tom&age=18')
方式二:使用params参数
res = requests.get('地址', params={'name':'tom', 'age':18})
补充
有一些网址带有中文,复制出来会变成一串看不懂的字符串,这时候需要编码解码。
from urllib import parse

# 编码
res = parse.quote('博客园')
print(res)  # %E5%8D%9A%E5%AE%A2%E5%9B%AD

# 解码
res = parse.unquote('%E5%8D%9A%E5%AE%A2%E5%9B%AD')
print(res)  # 博客园
携带请求头
有些网站做了一些反扒手段,就比如必须是通过浏览器(客户端)发送的请求,而判断方法就是请求头中的user-agent(客户端类型)。
所以能不能爬取成功,就看你的请求模仿的像不像。
当被反扒了,一般都是打开网页,通过 f12-->网络 查看浏览器发送请求时携带了哪些重要参数,我们把这些重要参数加在我们的爬虫程序中。
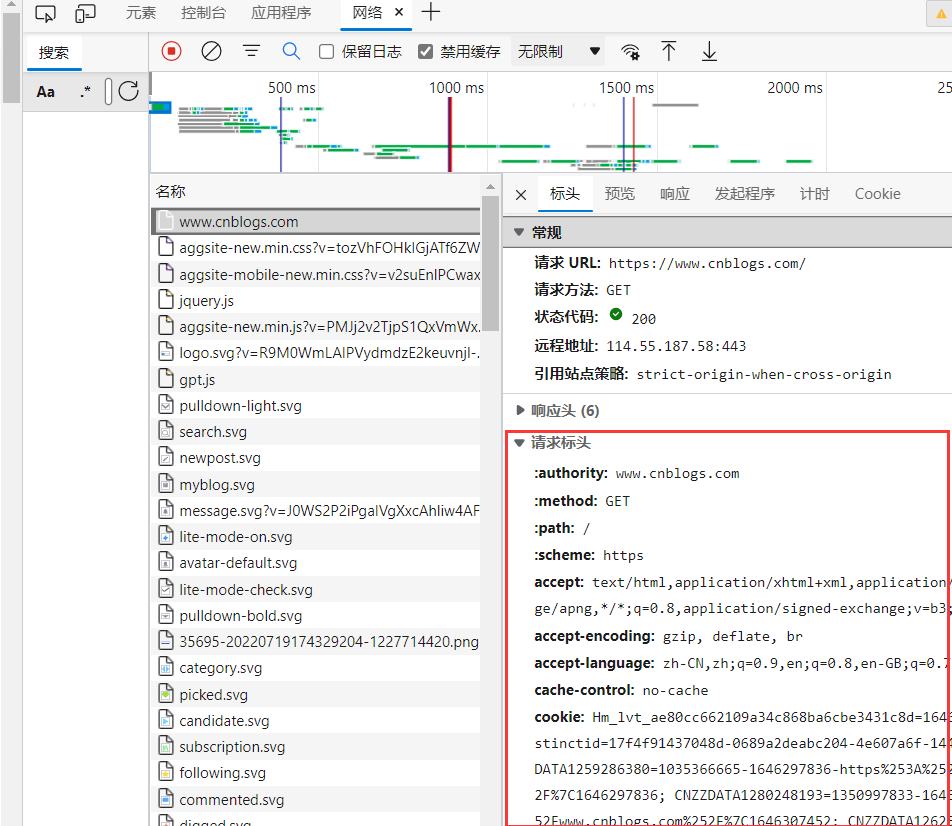
常见请求头
- user-agent:客户端类型
- Referer:上一次访问的地址
- Cookie:Cookie信息虽然包含在请求头里,但requests模块有单独的参数来处理他
- ...
import requests

res = requests.get('地址', headers={'user-agent': 'Mozilla/5.0.....',})
print(res.text)
携带cookie
携带cookie一般都是用于操作登录用户,携带着说明登录了,这样能干登录的事。
import requests

res = requests.get('地址', cookies={'name': 'tom'})
post请求
基本使用
普通
import requests

res = requests.post('地址')
携带数据:默认数据格式为urlencoded
import requests

res = requests.post(
    '地址',
    data={
        'username': '',
        'password': '',
    }
)
# 数据格式是json格式
res=requests.post('地址',json={})
模拟登录流程
import requests

res = requests.post('地址', data={
    'username': '',
    'password': '',
})
print(res.cookies)  # 登录成功的cookie,cookieJar对象

# 登录成功,携带cookies
res1 = requests.get('地址', cookies=res.cookies)
requests.session
requests.session的使用,整个过程中自动维护cookie
import requests

session = requests.session()
# 使用session发送请求
session.post('地址', data={
    'username': '',
    'password': '',
})
res = session.get('地址')
文件上传
import requests
# 文件字典
files = {'file': open('a.jpg', 'rb')}
response = requests.post('地址', files=files)
response对象
各项属性
import requests

# 获取response对象
response = requests.get('https://www.cnblogs.com/')
print(response.text)  # 响应体的字符串
print(response.content)  # 响应体二进制数据
print(response.status_code)  # 响应状态码
print(response.headers)  # 响应头
print(response.cookies)  # 响应的cookie
print(response.cookies.get_dict())  # cookie转成dict
print(response.cookies.items())  # cookie拿出key和value
print(response.url)  # 请求的地址
print(response.history)  # 列表,有重定向,里面放了重定向之前的地址
print(response.encoding)  # 响应编码格式
print(response.iter_content)  # 响应体二进制数据生成器

res = requests.get('文件地址')
with open('xx', 'wb') as f:  # 保存文件
    for line in res.iter_content(chunk_size=1024):  # 按1024字节写
        f.write(line)
编码问题
大部分网站都是utf-8编码,老网站中文编码可能使用gbk,gb2312等,所以获取数据时需要将响应对象的编码格式改变。
import requests

response = requests.get('地址')
response.encoding = 'gbk'
print(response.text)  # 默认使用utf-8可能会导致中文乱码
获取二进制数据
import requests

response = requests.get('地址')

# 一次性写入
with open('xx', 'wb') as f:
    f.write(response.content)
# 分批写入
with open('xx', 'wb') as f:
    for line in response.iter_content(chunk_size=1024):  # 按1024字节写
        f.write(line)
解析json
方式一:通过自带方法
import requests
response = requests.get('地址').json()
方式二:通过json模块
import requests
response = requests.get('地址')
import json
res = json.loads(response.text)
代理
我们在爬取网站数据时,如果频率过高,可能会被封ip,让我们无法访问,所以就需要用到代理,通过代理ip来访问网站。
手动获取代理
免费代理可以从这个网站获取:国内高匿免费HTTP代理IP - 快代理 (kuaidaili.com)
import requests
# 代理ip,有一些是http的,有一些是https的
proxies = {
    'http': '112.14.47.6:52024',
    # 'https': '112.14.47.6:52024',
}
response = requests.get('地址', proxies=proxies)
print(response.text)
代理池
代理池即有很多代理ip,每次随机从里面取出一个ip使用。
搭建
基于网上别人开源的代理池的python代码,自己搭建(本质是爬取的免费代理,验证)————GitHub - jhao104/proxy_pool: Python爬虫代理IP池(proxy pool)
第一步:下载开源项目,地址:GitHub - jhao104/proxy_pool: Python爬虫代理IP池(proxy pool)
第二步:打开项目,安装依赖:
pip install -r requirements.txt
第三步:配置配置文件(setting.py),redis数据库连接地址
DB_CONN = 'redis://127.0.0.1:6379/0'
第四步:启动项目:如果报错,那就是依赖的版本问题,具体问题具体分析。
爬虫程序(爬取代理ip地址)
python proxyPool.py schedule
web服务程序
python proxyPool.py server
获取代理ip:
http://127.0.0.1:5010/get/
代码中使用:
import requests
# 获取代理ip
res = requests.get('http://127.0.0.1:5010/get/').json()
# 判断代理ip是http还是https的
if res['https']:
    h = 'https'
else:
    h = 'http'

proxies = {
    h: res['proxy'],
}
# 通过代理ip发送请求
res1 = requests.get('地址', proxies=proxies)
超时与异常处理
超时设置
超过时间还没有收到响应就报错
import requests
response = requests.get('https://www.cnblogs.com/', timeout=0.01)
异常处理
import requests
from requests.exceptions import *

try:
    response = requests.get('http://www.baidu.com', timeout=0.00001)
except ReadTimeout:
    print('获取超时')
except ConnectionError:
    print('网络不通')
except Timeout:
    print('超时')
except Exception:
    print('请求失败')
爬取梨视频
# https://www.pearvideo.com/category_loading.jsp?reqType=5&categoryId=5&start=0

import requests
import re

res = requests.get('https://www.pearvideo.com/category_loading.jsp?reqType=5&categoryId=5&start=0')
# print(res.text)

video_list = re.findall('<a href="(.*?)" class="vervideo-lilink actplay">', res.text)
print(video_list)
# https://www.pearvideo.com/video_1768482
for video in video_list:
    video_id = video.split('_')[-1]
    video_url = 'https://www.pearvideo.com/' + video
    header = {
        'User-Agent': 'Mozilla/5.0 (Windows NT 10.0; Win64; x64) AppleWebKit/537.36 (KHTML, like Gecko) Chrome/103.0.0.0 Safari/537.36',
        'Referer': video_url
    }
    res1 = requests.get('https://www.pearvideo.com/videoStatus.jsp?contId=%s&mrd=0.5602821872545047' % video_id,
                        headers=header
                        ).json()
    # print(res1['videoInfo']['videos']['srcUrl'])
    mp4_url = res1['videoInfo']['videos']['srcUrl']
    real_mp4_url = mp4_url.replace(mp4_url.split('/')[-1].split('-')[0], 'cont-%s' % video_id)
    print(real_mp4_url)
    # 下载视频
    res2 = requests.get(real_mp4_url)
    with open('video/%s.mp4' % video_id, 'wb') as f:
        for line in res2.iter_content(1024):
            f.write(line)

 浙公网安备 33010602011771号