Ubuntu的Anaconda3配置及使用
Anaconda在Ubuntu的配置及使用
1.下载
下载地址
官网:https://www.anaconda.com/products/distribution
清华源:https://mirrors.tuna.tsinghua.edu.cn/anaconda/archive/?C=M&O=Dhttps://mirrors.tuna.tsinghua.edu.cn/anaconda/archive/Anaconda3-2021.11-Linux-x86_64.sh)
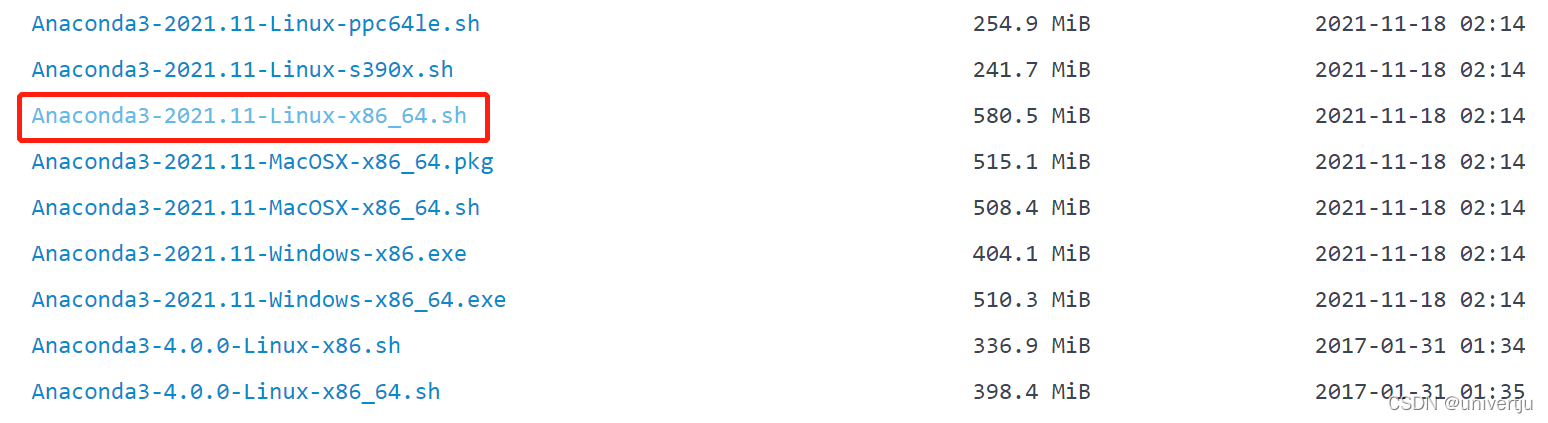
下载好的Anaconda3-2021.11-Linux-x86_64.sh如图所示:
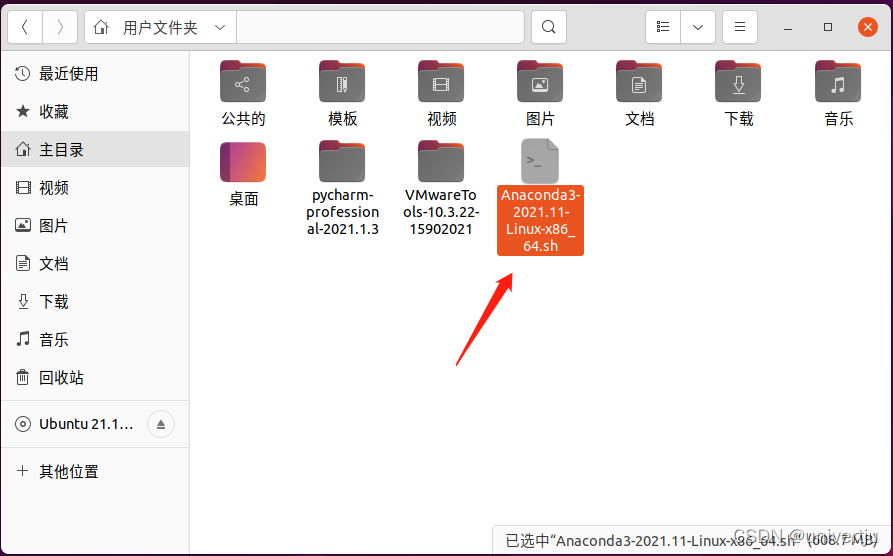
(可以先下载到自己本地电脑,再复制粘贴到Ubuntu虚拟机主目录中)
2.安装
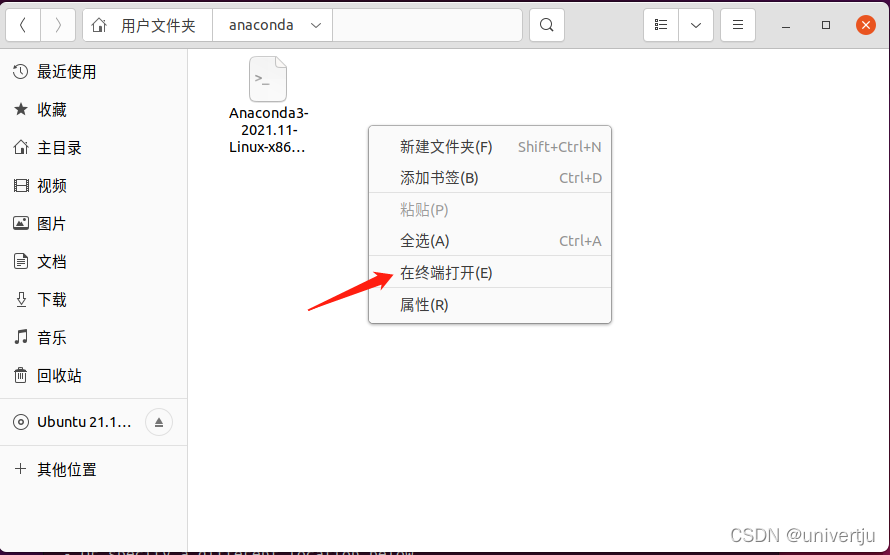
1.右键点击文件夹,点击在终端中打开
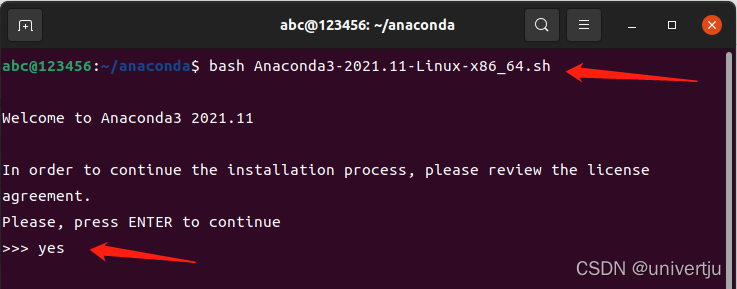
2.输入下面命令行
bash Anaconda3-2021.11-Linux-x86_64.sh
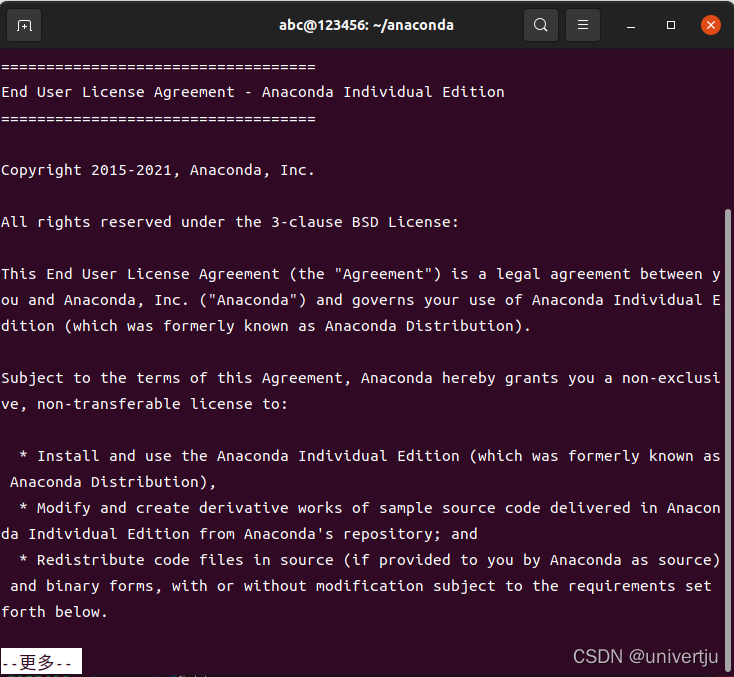
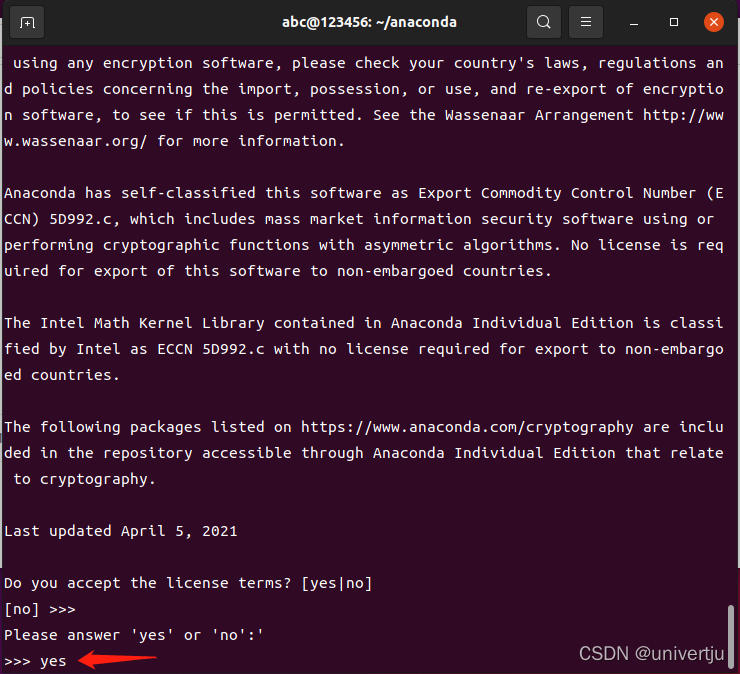
1.注意事项
3.输入yes,并按回车键
4.不断回车
5.输入yes,并按回车键
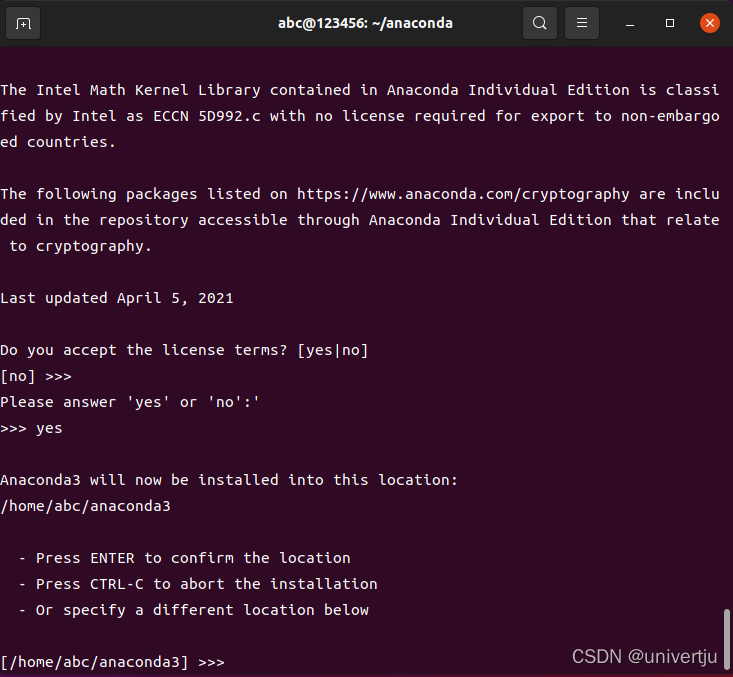
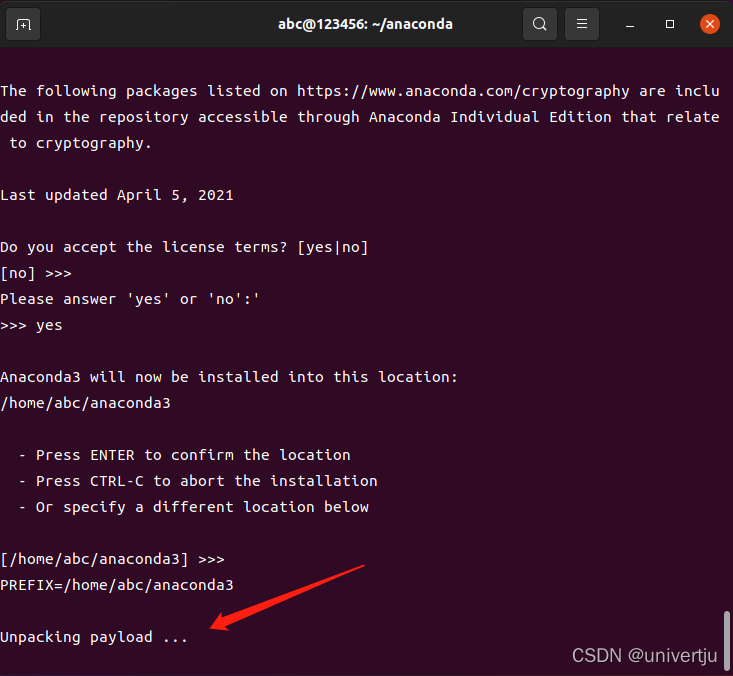
6.回车选择默认的安装目录(默认在用户主目录下创建一个名为anaconda3的文件夹作为安装地址)
7.等待安装
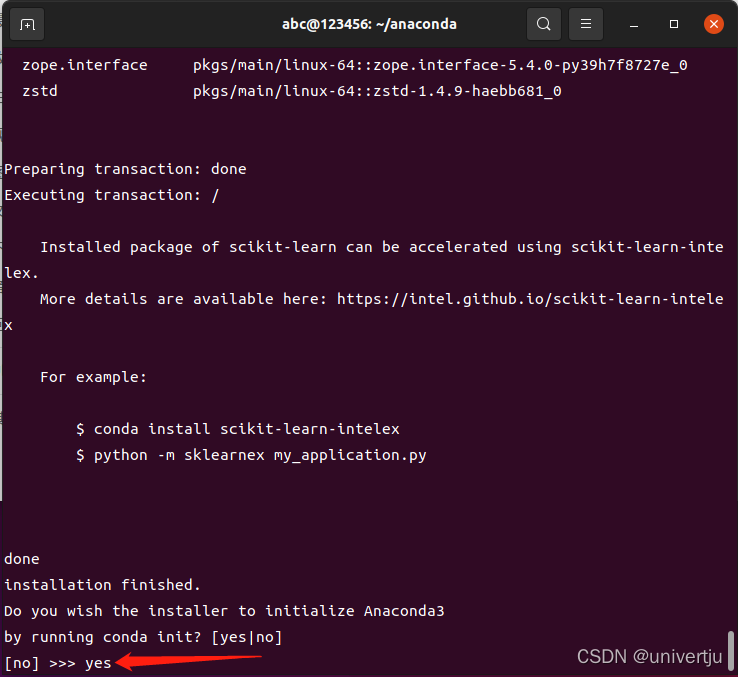
8.输入yes,并按回车键
以下参考内容
2.anaconda3选择初始化区别
9.Linux安装anaconda3提示是否初始化Anaconda3
Do you wish the installer to initialize Anaconda3 by running conda init?
官方建议的是选yes,那么选择yes和no有什么区别呢?
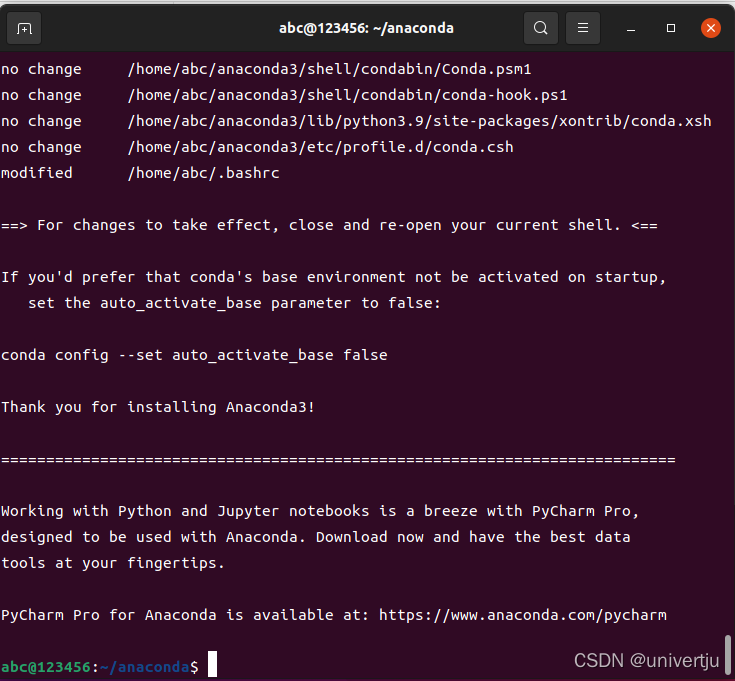
1、选择yes:
选择yes的话,bashrc文件中会添加以下内容,这样在打开终端时自动执行conda activate root命令,这样在终端输入python的时候默认是python3(CentOS7及
7以下默认装的是python2)。

这样的话,启动虚拟机shell命令前面出现(base)字样,默认python3(当然,conda deactivate这个命令又可以回去)

2、选择no:
选择no的话,在安装完anaconda后需手动添加环境变量:

以下是选择no的终端shell命令格式:

这里,终端输入python,就会选择python2,当然可以通过以下命令切换到python3:
conda activate root
不过,有的小伙伴会问,如果我安装过程选择了no,但是安装完还想初始化,该怎么操作?可以通过以下命令来实现:
source /usr/local/src/anaconda3/bin/activate
conda init
以实际安装目录为准。
执行完这两个命令,bashrc中也会添加上面那些内容。
ps:以下是官网的建议:

10.安装完成
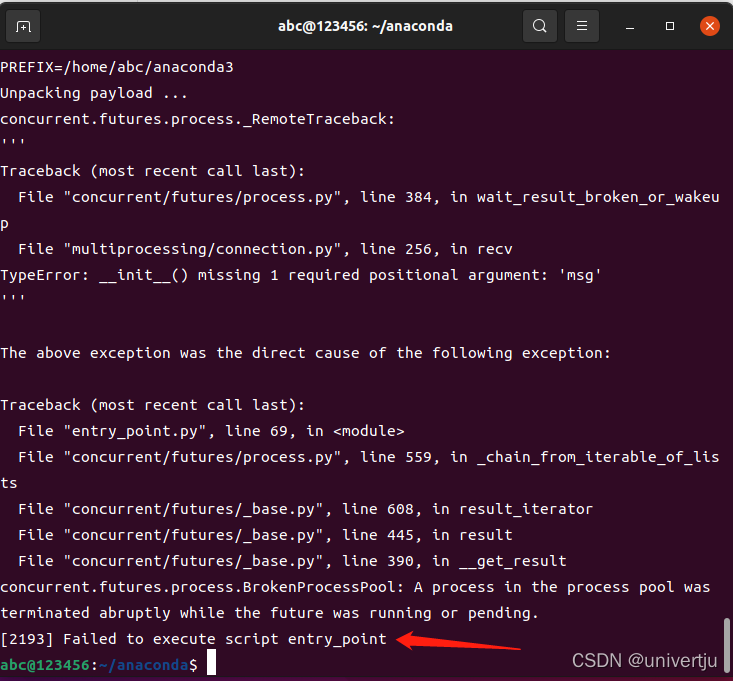
注意:
安装过程如果出现下图的错误Failed to execute script entry_point是因为Ubuntu文件系统根目录上的磁盘空间不足,具体解决方案可以查看此篇博客Ubuntu中文件系统根目录上的磁盘空间不足(解决方案)
3.配置环境变量
vim ~/.bashrc
在环境变量页面输入
#Anaconda
export PATH=/home/hadoop/anaconda3/bin:$PATH
source ~/.bashrc
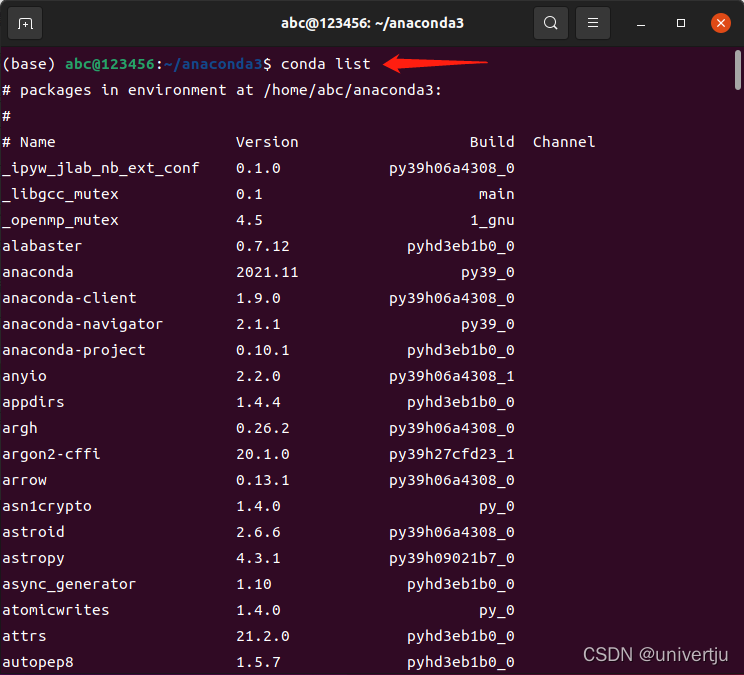
4.验证
输入
conda list
若有以下界面则安装成功
5.使用
1.检测安装的虚拟环境列表,anaconda自带base环境
conda env list
2.创建虚拟环境
conda create --name PythonName(虚拟环境名称) python=python?.?(python版本)
#or
conda create --name PythonName(虚拟环境名称) python=?.?
3.删除虚拟环境
conda remove --name PythonName(虚拟环境名称) --all
4.激活虚拟环境
source activate PythonName(虚拟环境名称)
or
conda activate PythonName(虚拟环境名称)
5.退出虚拟环境
conda deactivate
#or
source deactivate PythonName(虚拟环境名称)
6.在当前环境中安装包
conda install PackageName(包名)
#or
pip install PackageName(包名)
7.在当前环境中卸载包
conda remove PackageName(包名)
#or
pip uninstall PackageName(包名)
8.显示当前环境安装的包
conda list
9.显示当前使用的python,更换需要激活其他虚拟环境
python -V
10.升级当前conda
conda update conda
6.换源
1.conda换源
1.为conda配置清华的镜像
conda config --add channels https://mirrors.tuna.tsinghua.edu.cn/anaconda/pkgs/main/
conda config --add channels https://mirrors.tuna.tsinghua.edu.cn/anaconda/pkgs/r
conda config --add channels https://mirrors.tuna.tsinghua.edu.cn/anaconda/pkgs/msys2
#conda config --add channels https://mirrors.tuna.tsinghua.edu.cn/anaconda/pkgs/free/
#conda config --add channels https://mirrors.tuna.tsinghua.edu.cn/anaconda/cloud/conda-forge/
#conda config --add channels https://mirrors.tuna.tsinghua.edu.cn/anaconda/cloud/bioconda/
设置搜索时显示通道地址,该命令意思是从channel中安装包时显示channel的url,这样就可以知道包的安装来源
conda config --set show_channel_urls yes
2.检查否配置镜像成功
conda config --show channels
2.其他源
1.阿里云:https://mirrors.aliyun.com/anaconda/
conda config --add channels https://mirrors.aliyun.com/anaconda/pkgs/main/
conda config --add channels https://mirrors.aliyun.com/anaconda/cloud/conda-forge/
conda config --add channels https://mirrors.aliyun.com/anaconda/cloud/bioconda/
检查是否换源成功终端输入以下命令:
conda info
2.中国科技大学: https://pypi.mirrors.ustc.edu.cn/simple/
conda config --add channels https://mirrors.ustc.edu.cn/anaconda/pkgs/main/
conda config --add channels https://mirrors.ustc.edu.cn/anaconda/pkgs/free/
conda config --add channels https://mirrors.ustc.edu.cn/anaconda/cloud/conda-forge/
conda config --add channels https://mirrors.ustc.edu.cn/anaconda/cloud/msys2/
conda config --add channels https://mirrors.ustc.edu.cn/anaconda/cloud/bioconda/
conda config --add channels https://mirrors.ustc.edu.cn/anaconda/cloud/menpo/
#conda config --add channels https://mirrors.ustc.edu.cn/anaconda/cloud/pytorch/
//设置搜索时显示通道地址
conda config --set show_channel_urls yes
3.北京外国语大学https://mirrors.bfsu.edu.cn/help/anaconda/
conda config --add channels https://mirrors.bfsu.edu.cn/anaconda/pkgs/main/
conda config --add channels https://mirrors.bfsu.edu.cn/anaconda/cloud/conda-forge/
conda config --add channels https://mirrors.bfsu.edu.cn/anaconda/cloud/bioconda/
4.北京大学https://mirrors.pku.edu.cn/Help/Anaconda
conda config --add channels conda config --add channels https://mirrors.pku.edu.cn/anaconda/pkgs/main/
conda config --add channels conda config --add channels https://mirrors.pku.edu.cn/anaconda/cloud/conda-forge/
conda config --add channels conda config --add channels https://mirrors.pku.edu.cn/anaconda/cloud/bioconda/
5.哈尔滨工业大学https://mirrors.hit.edu.cn/anaconda/
conda config --add channels https://mirrors.hit.edu.cn/anaconda/pkgs/main/
conda config --add channels https://mirrors.hit.edu.cn/anaconda/cloud/conda-forge/
conda config --add channels https://mirrors.hit.edu.cn/anaconda/cloud/bioconda/
6.南京大学https://mirror.nju.edu.cn/help/anaconda
conda config --add channels https://mirror.nju.edu.cn/anaconda/pkgs/main/
conda config --add channels https://mirror.nju.edu.cn/anaconda/cloud/conda-forge/
conda config --add channels https://mirror.nju.edu.cn/anaconda/cloud/bioconda/
7.北京交通大学https://mirror.bjtu.edu.cn/anaconda/
conda config --add channels https://mirror.bjtu.edu.cn/anaconda/pkgs/main/
conda config --add channels https://mirror.bjtu.edu.cn/anaconda/cloud/conda-forge/
conda config --add channels https://mirror.bjtu.edu.cn/anaconda/cloud/bioconda/
8.西安交通大学https://mirrors.xjtu.edu.cn/
conda config --add channels https://mirrors.xjtu.edu.cn/anaconda/pkgs/main/
conda config --add channels https://mirrors.xjtu.edu.cn/anaconda/cloud/conda-forge/
conda config --add channels https://mirrors.xjtu.edu.cn/anaconda/cloud/bioconda/
9.重庆邮电大学https://mirrors.cqupt.edu.cn/anaconda/
conda config --add channels https://mirrors.cqupt.edu.cn/anaconda/pkgs/main/
conda config --add channels https://mirrors.cqupt.edu.cn/anaconda/cloud/conda-forge/
conda config --add channels https://mirrors.cqupt.edu.cn/anaconda/cloud/bioconda/
10.南方科技大学https://mirrors.sustech.edu.cn/help/anaconda.html#introduction
conda config --add channels https://mirrors.sustech.edu.cn/anaconda/pkgs/main/
conda config --add channels https://mirrors.sustech.edu.cn/anaconda/cloud/conda-forge/
conda config --add channels https://mirrors.sustech.edu.cn/anaconda/cloud/bioconda/
3.恢复默认源
conda config --remove-key channels
4.删除旧镜像源
conda config --remove channels https://mirrors.tuna.tsinghua.edu.cn/tensorflow/linux/cpu/
5.添加新镜像源
conda config --add channels https://mirrors.tuna.tsinghua.edu.cn/tensorflow/linux/cpu/
6.查看配置信息
conda config --show
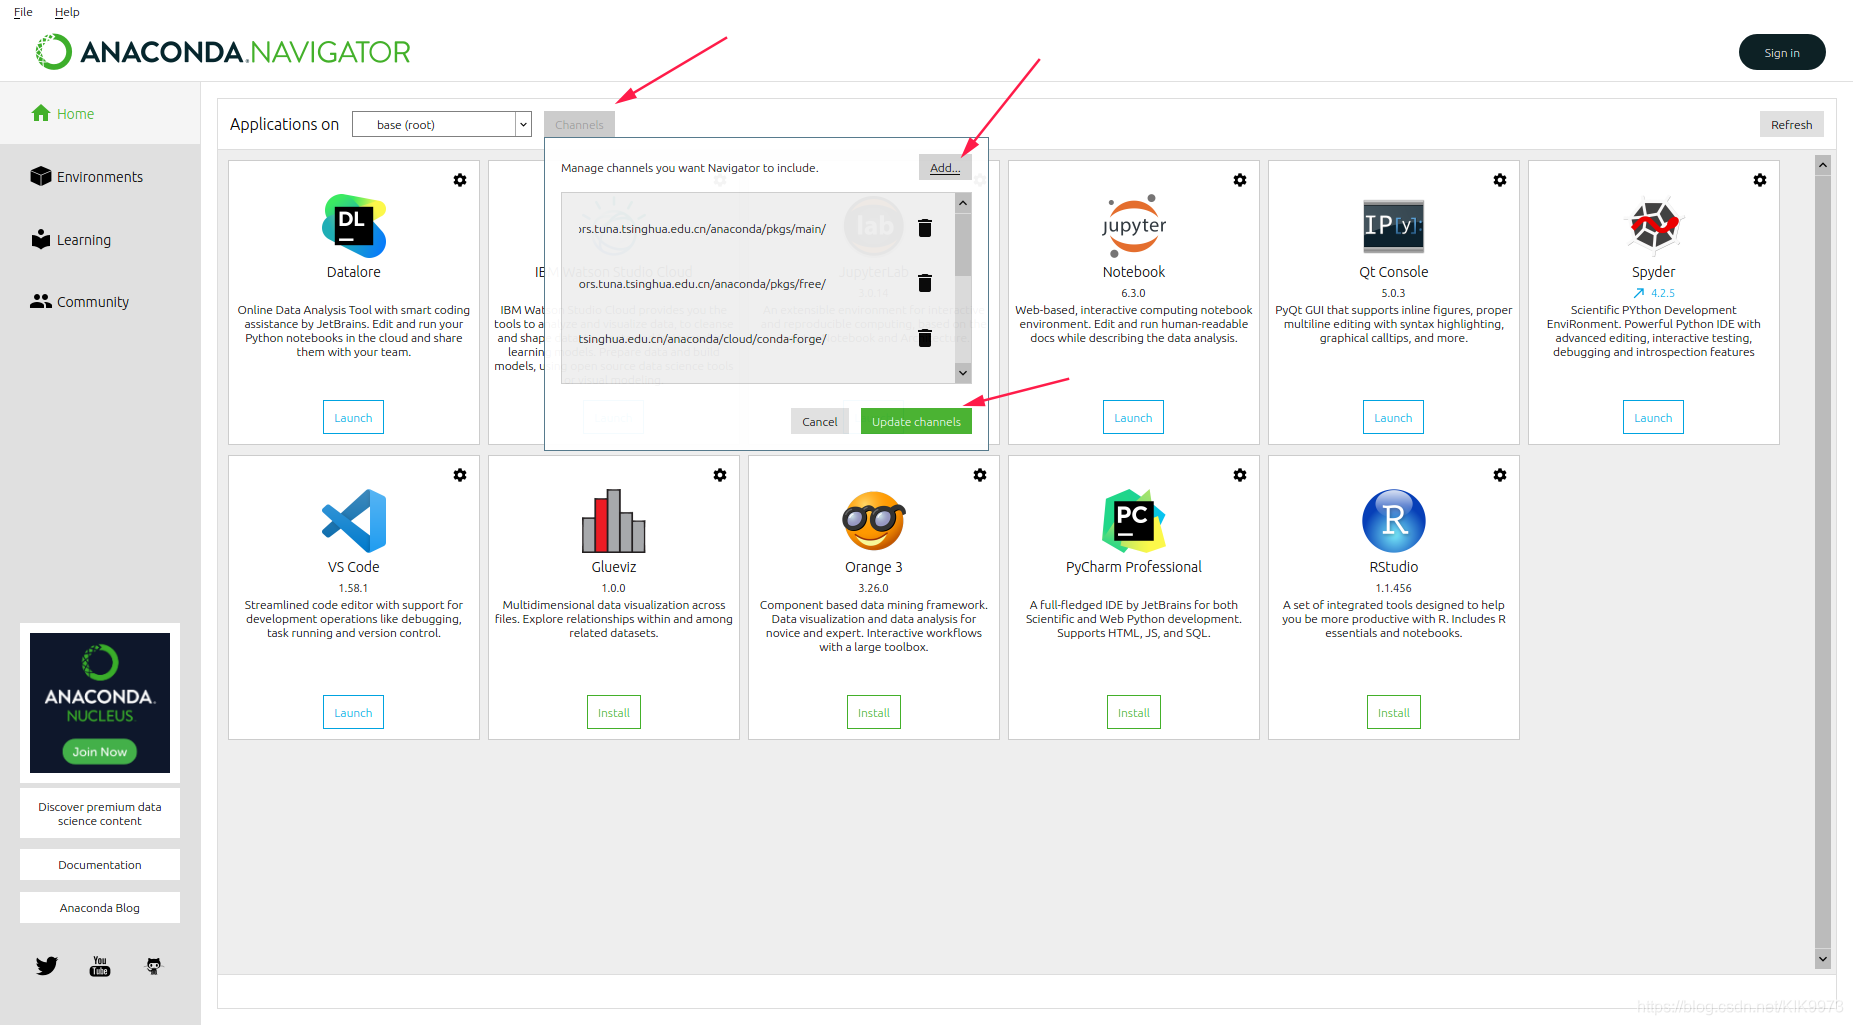
7.可视化界面换源
终端输入
anaconda-navigator
启动可视化界面 轻松完成channel源的添加,删除,检查。 在换国内源的时候,将网址一条条输入 后 update即可。
2.pip换源
1.配置
在终端新建pip的目录
mkdir ~/.pip
#(文件夹要加".",表示是隐藏文件夹)
cd ~/.pip
vim pip.conf
vim,按按键i编辑将下面代码输入
[global]
index-url = https://mirrors.aliyun.com/pypi/simple/
按esc,输入下面代码保存并退出
:wq
配置pip镜像完成
2.使用模式
1.临时使用
可以在使用pip的时候加参数 -i
-i https://pypi.tuna.tsinghua.edu.cn/simple
例如:
pip install -i http://mirrors.aliyun.com/pypi/simple/ tensorflow
这样就会从阿里云这边的镜像去安装tensorflow库。
2.永久使用
编辑配置时建立的pip.conf
[global]
index-url = https://pypi.tuna.tsinghua.edu.cn/simple
[install]
trusted-host=mirrors.aliyun.com
3.pip华为源
1.临时使用
运行以下命令使用华为开发云软件源安装软件包:
pip install --trusted-host https://repo.huaweicloud.com -i https://repo.huaweicloud.com/repository/pypi/simple
<some-package>
2.设为默认
Pip的配置文件为用户根目录下的:~/.pip/pip.conf, 您可以配置如下内容:
[global]
index-url = https://repo.huaweicloud.com/repository/pypi/simple
trusted-host = repo.huaweicloud.com
timeout = 120
3.国内pip常用镜像源
1.清华镜像
https://pypi.tuna.tsinghua.edu.cn/simple
2.中科大镜像
https://pypi.mirrors.ustc.edu.cn/simple/
3.阿里镜像
https://mirrors.aliyun.com/pypi/simple/
4.百度镜像
https://mirror.baidu.com/pypi/simple
7.Jupyter
0.创建一个环境安装Jupyter
conda create --name env_name(虚拟环境名称) python=?.?
1.安装jupyter notebook
conda install jupyter notebook
2.为Jupyter Notebook配置虚拟环境
conda install nb_conda
3.为Jupyter Notebook配置虚拟环境
conda install ipykernel
4.查看当前使用的 Python
which python
5.查看当前使用的 Jupyter
which jupyter
6.将虚拟环境 env_name写入 Jupyter 的kernel中
python -m ipykernel install --user --name env_name
7查看 Jupyter 下可用的kernel
jupyter kernelspec list
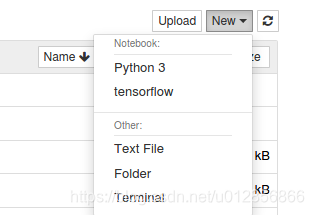
这时,在jupyter notebook新建文件时可以看到可用的kernel。
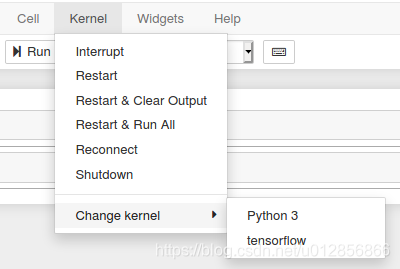
也可以在Jupyter主页切换可用的kernel。jupyter主页 -> Kernel -> Change kernel -> 可用的kernel
8.移除名为 tensorflow 的kernel
jupyter kernelspec remove tensorflow
8.Anaconda的卸载及重装
1.仅更新Anaconda,保留env
因为各种各样的原因,Anaconda突然就报错不好使了。
Traceback (most recent call last):

File “/home/xxx/anaconda3/bin/conda”, line 7, in

from conda.cli import main

ImportError: No module named conda.cli
原因1:误删Anaconda下python的软链接
原因2:安装tensorflow的时候将python和其他包也更新了,破坏了anaconda的基本环境(例如,原始Anaconda对应的python版本为3.6,更新后的python
版本为3.7)
解决方案:可以使用如下命令对Anaconda进行更新,重装Anaconda相关信息,同时保留env,且env自定义环境中的安装包不受影响(仅更新Anaconda,
之前建的环境和下载的包均保留)。
bash Anaconda3-5.3.0-Linux-x86_64.sh -u
2.卸载重装Anaconda
1.删除Anaconda原来的安装路径
sudo rm -rf /home/xxx/anaconda3
2.在根目录下,编辑~/.bashrc文件
sudo gedit ~/.bashrc
3.删除或者注释掉以下这段代码(注:Anaconda安装时会将PATH写入该文件中。)
#added by Anaconda3 installer
export PATH="/home/xxx/anaconda3/bin:$PATH"
4.为使其立即生效,在终端执行:
source ~/.bashrc
5.重新安装Anaconda
bash Anaconda3-5.3.0-Linux-x86_64.sh

 浙公网安备 33010602011771号