
vue 高德导航 轨迹查询,支持多条轨迹查询
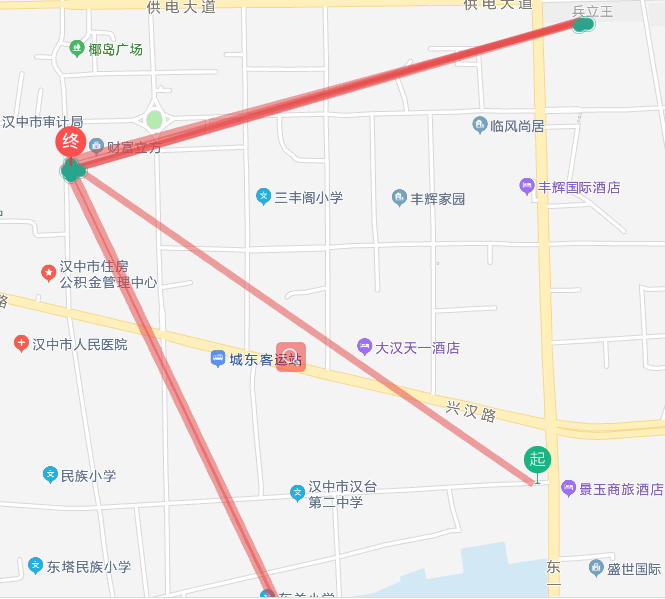
效果图如下:
单个轨迹查询
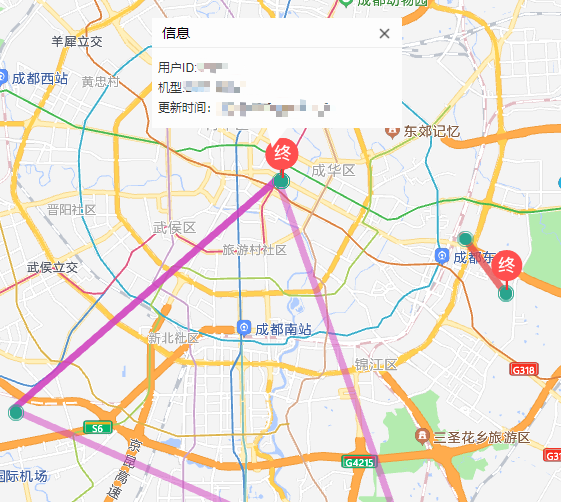
多条轨迹查询
1.创建地图
<div class="mapBox">
      <div id="container" style="width:87vw;height:85vh" />
    </div>
2.创建自定义窗体 ,代码我放在最后面
import createInfoWindow from '@/utils/amap'
3.初始化
 data() {
    return {
      lineArr2: [[116.478935, 30.997761], [116.478939, 38.997825], [116.478912, 38.998549], [116.478912, 38.998549], [116.478998, 38.998555]],
      trackList: [],
      roundList: [],
      colorList: ['#e64545', '#3f57d0', '#d03fbe', '#773fd0', '#d03f75', '#3fa1d0', '#3fc9d0', '#b7b939', '#b98639', '#81ce06', '#083bf9', '#3e3b3b', '#d800ff'],
      winInfo: null
    }
  },
4. 初始化地图
  initMap() {
      var that = this
      this.map = new AMap.Map('container', {
        resizeEnable: true, // 窗口大小调整
        center: [110.478935, 35.997761], // 中心
        zoom: 5
      })
      // 添加工具栏
      this.map.plugin(['AMap.ToolBar', 'AMap.Scale'], () => {
        // 工具条
        const toolbar = new AMap.ToolBar()
        // 比例尺
        const scale = new AMap.Scale()
        this.map.addControl(toolbar)
        this.map.addControl(scale)
      })
    },
5.初始化轨迹
 initroad2(i) {
      const index = null
      if (i > this.colorList.length) {
        index = 1
      }
      // 绘制还未经过的路线
      this.polyline = new AMap.Polyline({
        map: this.map,
        path: this.trackList[i].list,
        showDir: true,
        strokeColor: index ? this.colorList[i] : this.colorList[i], // 线颜色--蓝色
        // strokeOpacity: 1,     //线透明度
        strokeWeight: 7, // 线宽
        // strokeStyle: "solid"  //线样式
        lineJoin: 'round' // 折线拐点的绘制样式
      })

      this.map.add(this.polyline)
      // 绘制坐标的圆点
      const list = this.roundList[i]
      for (const x in list) {
        const center = list[x].center
        const icons = 'https://xxxxxx/icon/Marke.png'  // 绿色的圆形标记点
        const imageSize = new AMap.Size(40, 40) //标记点图标大小
        const sizes = new AMap.Size(40, 40) // 图标 容器大小
        const offset = new AMap.Pixel(-20, -40) // 图标偏移位置
        if (x == 0) {
          icons = 'https://xxxx/icon/qi.png'   //起点
        } else if (x == list.length - 1) {
          icons = 'https://xxxxxx/icon/zhong.png' //终点
        } else {
          icons = 'https://xxxxx/icon/Marker.png'  //绿色圆形标记点
          imageSize = new AMap.Size(16, 16)
          sizes = new AMap.Size(16, 16)
          offset = new AMap.Pixel(-5, -5)
        }
        this.circleMarker = new AMap.Marker({
          position: center,
          map: this.map,
          icon: icons,
          offset: offset,
          size: sizes,
          imageSize: imageSize
        })
        this.circleMarker.title = `<span>信息</span>`
        this.circleMarker.content = [
          '用户ID:' + list[x].info.i.userId,
          '机型:' + list[x].info.i.model,
          '更新时间:' + moment(parseInt(list[x].info.i.clientTime)).format('YYYY-MM-DD HH:mm:ss')
        ]
        this.circleMarker.on('click', this.markerClick)
        // this.circleMarker.emit('click', { target: this.circleMarker })
      }
      this.infoWindow = new AMap.InfoWindow({
        offset: new AMap.Pixel(0, -30),
        isCustom: true, // 使用自定义窗体
        content: this.winInfo
      })

      this.map.setFitView() // 合适的视口

    },
6.点击标记点
markerClick(e) {
      let content = e.target.content
      const self = this
      content = JSON.stringify(content)
      this.winInfo = JSON.parse(content)
      this.winTitle = e.target.title
      // 设置窗体内容
      this.infoWindow.setContent(
        createInfoWindow.createInfoWindow(
          self.winTitle,
          self.winInfo.join('<br/>'),
          function() {
            // 关闭窗体
            self.map.clearInfoWindow()
          }
        )
      )
      // 打开窗体
      self.infoWindow.open(self.map, e.target.getPosition())
    },
7 创建窗体 、打开窗体、关闭窗体
// 创建窗体
createInfoWindow() {
      const infoWindowData = new AMap.InfoWindow({
        isCustom: true, // 使用自定义窗体
        content: this.$refs.infoData,
        offset: new AMap.Pixel(16, -45)
      })
      return infoWindowData
    },
    // 5.打开窗体
    openInfoWindow(infoWindow, marker) {
      infoWindow.open(this.map, marker.getPosition())
    },
    // 6.关闭窗体
    closeInfoWindow() {
      this.map.clearInfoWindow()
    },
amap.js
// 高德导航 创建自定义窗体
function createInfoWindow(title, content, callback) {
  var info = document.createElement('div')
  info.className = 'custom-info input-card content-window-card'

  // 可以通过下面的方式修改自定义窗体的宽高
  info.style.width = '250px'
  // 定义顶部标题
  var top = document.createElement('div')
  // var titleD = document.createElement("div");
  var closeX = document.createElement('img')
  top.className = 'info-top'

  closeX.src = require('@/assets/close.png')
  closeX.onclick = callback

  // top.appendChild(titleD);
  top.innerHTML = title
  top.appendChild(closeX)
  info.appendChild(top)

  // 定义中部内容
  var middle = document.createElement('div')
  middle.className = 'info-middle'
  middle.style.backgroundColor = 'white'
  middle.innerHTML = content
  info.appendChild(middle)

  // 定义底部内容
  var bottom = document.createElement('div')
  bottom.className = 'info-bottom'
  bottom.style.position = 'relative'
  bottom.style.top = '0px'
  bottom.style.margin = '0 auto'
  info.appendChild(bottom)
  return info
}

export default {
  createInfoWindow
}
窗体 css
 >>> .input-card{
    background-color:rgba(000,000,000,0);

  }
  >>> .content-window-card {
       position: relative;
       box-shadow: none;
       bottom: 0;
       left: 0;
       width: auto;
       padding: 0;
     }

     >>>.content-window-card p {
       height: 2rem;
     }

    >>> .custom-info {
       /* border: solid 1px silver; */
     }

    >>> .info-top {
       position: relative;
       height: 30px;
       line-height: 30px;
       font-size: 14px;
       padding: 0 10px;
       background-color:#fdfdfd;
       border-bottom:1px #eee solid;
     }

     >>>.info-top span:nth-child(2) {
       position: absolute;
       left: 50%;
       transform: translateX(-50%);
       width: 200px;
       white-space: nowrap;
       overflow: hidden;
       text-overflow: ellipsis;
       text-align: center;
     }

    >>> .info-top img {
       position: absolute;
       top: 8px;
       right: 10px;
       transition-duration: 0.25s;
       width: 15px;
     }

     >>> .info-top img:hover {
       box-shadow: 0px 0px 5px #000;
     }

     >>>.info-middle {
       background: #fdfdfd !important;
       font-size: 12px;
       padding: 10px 6px;
       line-height: 20px;
       color: #333;
     }

     >>>.info-bottom {
       height: 0px;
       width: 100%;
       clear: both;
       text-align: center;
       width: 0;
         height: 0;
         border-left: 5px solid transparent;
         border-right: 15px solid transparent;
         border-top: 20px solid #fdfdfd;
     }

     >>>.info-bottom img {
       position: relative;
       z-index: 104;
     }

     >>>.info-middle img {
       float: left;
       margin-right: 6px;
     }

 浙公网安备 33010602011771号