spring-boot-2.0.3启动源码篇一 - SpringApplication构造方法
前言
spring-boot-2.0.3应用篇 - shiro集成,实现了spring-boot与shiro的整合,效果大家也看到了,工程确实集成了shiro的认证与授权功能。如果大家能正确搭建起来,并达到了认证和授权的效果,那说明我们会用了,说明我们知其然了;很好,能满足工作中的基本要求了。
但是这样就够了吗?很显然还是不够的,知其然而不知其所以然是一道瓶颈,如果我们能跨过这道瓶颈,后面的路会越来越坦荡。就拿上篇博客来讲,我们仅仅只是在ShiroConfig类中加入了几个bean配置,怎么就让spring-boot集成了shiro,shiro又是如何做到认证和授权的,等等一些列问题,如果我们去细想的话,真的有很多疑点需要我们去探索。
既然我们要去探索,势必就要读源码了。源码确实不好读,在我们工作当中,当我们读同事(或者前同事)写的代码的时候,总有那么一句话:草泥马,这是哪个sb写的,萦绕在我们的心头,甚至有时候会发现,这他么是我自己写的啊,哎,我操!有时候读自己写的代码都头疼,更别说看别人写的了。
说了那么多,我们切入到正题,接下来会有一系列的文章来解析springboot的启动过程,而今天我们只看SpringApplication类的构造方法。
SpringApplication类
入口还是那个熟悉的入口:main函数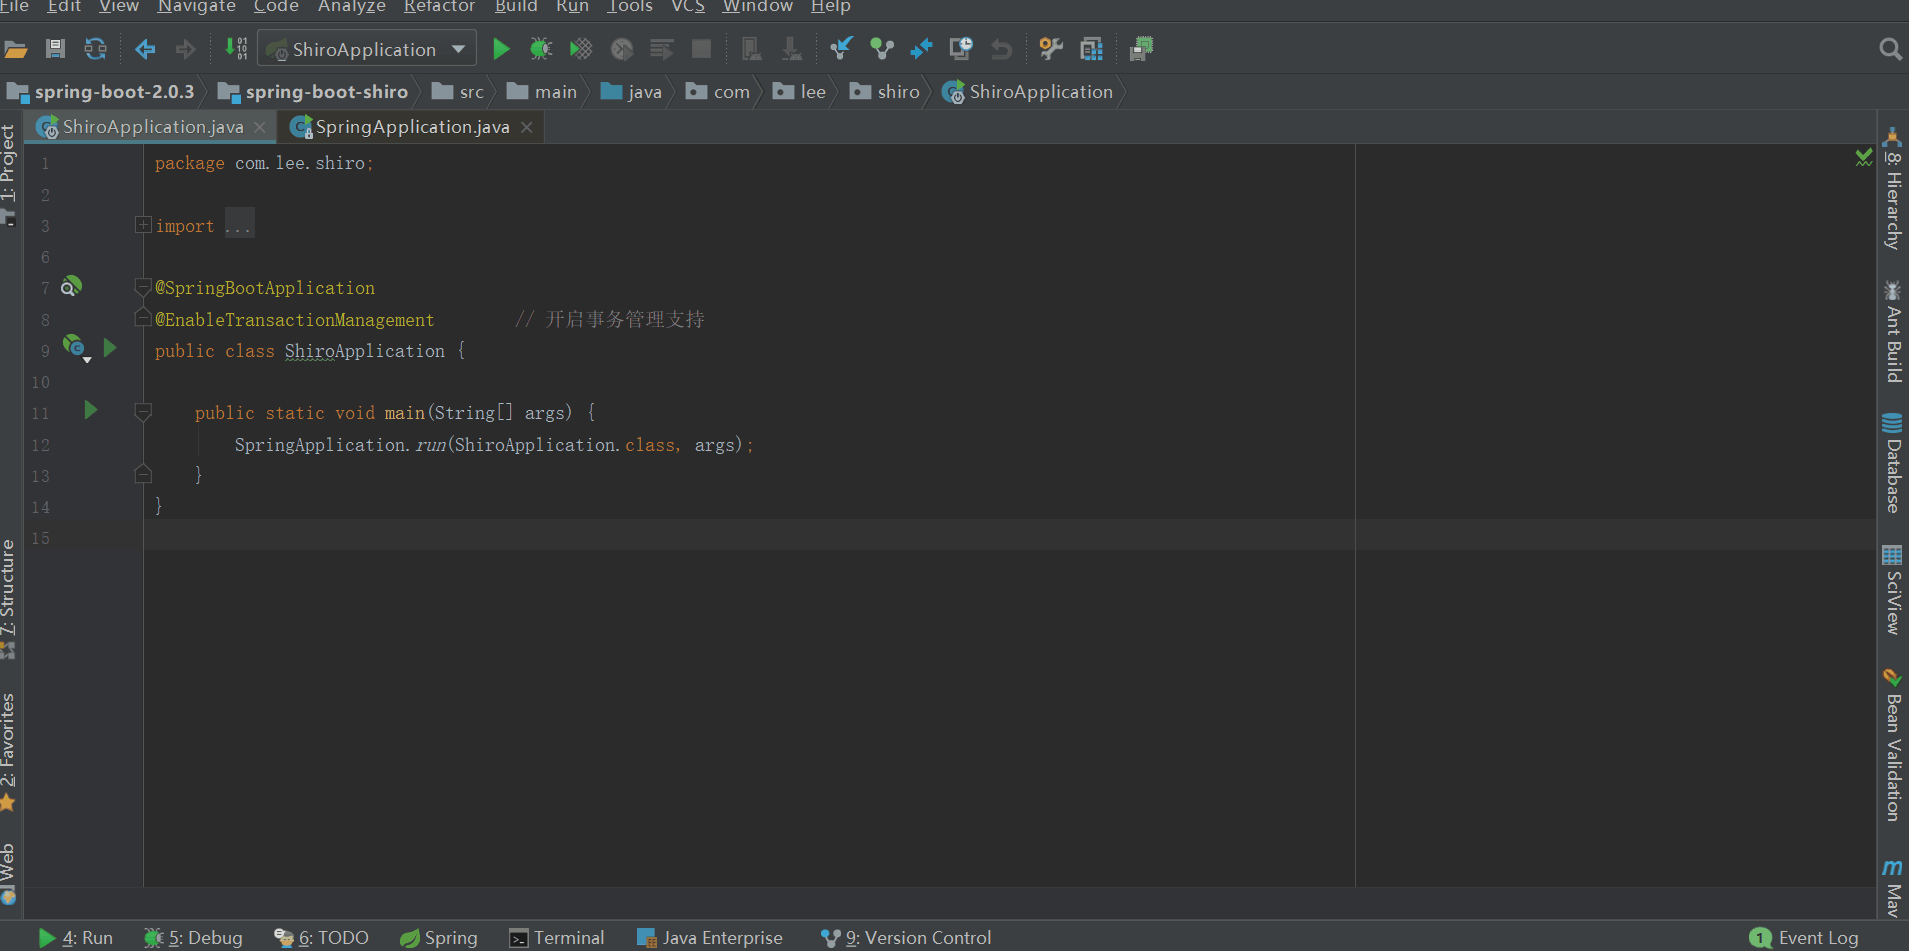
SpringApplication类注释


/** * Class that can be used to bootstrap and launch a Spring application from a Java main * method. By default class will perform the following steps to bootstrap your * application: * * <ul> * <li>Create an appropriate {@link ApplicationContext} instance (depending on your * classpath)</li> * <li>Register a {@link CommandLinePropertySource} to expose command line arguments as * Spring properties</li> * <li>Refresh the application context, loading all singleton beans</li> * <li>Trigger any {@link CommandLineRunner} beans</li> * </ul> * * In most circumstances the static {@link #run(Class, String[])} method can be called * directly from your {@literal main} method to bootstrap your application: * * <pre class="code"> * @Configuration * @EnableAutoConfiguration * public class MyApplication { * * // ... Bean definitions * * public static void main(String[] args) throws Exception { * SpringApplication.run(MyApplication.class, args); * } * } * </pre> * * <p> * For more advanced configuration a {@link SpringApplication} instance can be created and * customized before being run: * * <pre class="code"> * public static void main(String[] args) throws Exception { * SpringApplication application = new SpringApplication(MyApplication.class); * // ... customize application settings here * application.run(args) * } * </pre> * * {@link SpringApplication}s can read beans from a variety of different sources. It is * generally recommended that a single {@code @Configuration} class is used to bootstrap * your application, however, you may also set {@link #getSources() sources} from: * <ul> * <li>The fully qualified class name to be loaded by * {@link AnnotatedBeanDefinitionReader}</li> * <li>The location of an XML resource to be loaded by {@link XmlBeanDefinitionReader}, or * a groovy script to be loaded by {@link GroovyBeanDefinitionReader}</li> * <li>The name of a package to be scanned by {@link ClassPathBeanDefinitionScanner}</li> * </ul> * * Configuration properties are also bound to the {@link SpringApplication}. This makes it * possible to set {@link SpringApplication} properties dynamically, like additional * sources ("spring.main.sources" - a CSV list) the flag to indicate a web environment * ("spring.main.web-application-type=none") or the flag to switch off the banner * ("spring.main.banner-mode=off"). */
说的内容大概意思如下:
SpringApplication用于从java main方法引导和启动Spring应用程序,默认情况下,将执行以下步骤来引导我们的应用程序:
1、创建一个恰当的ApplicationContext实例(取决于类路径)
2、注册CommandLinePropertySource,将命令行参数公开为Spring属性
3、刷新应用程序上下文,加载所有单例bean
4、触发全部CommandLineRunner bean
大多数情况下,像SpringApplication.run(ShiroApplication.class, args);这样启动我们的应用,也可以在运行之前创建和自定义SpringApplication实例,具体可以参考注释中示例。
SpringApplication可以从各种不同的源读取bean。 通常建议使用单个@Configuration类来引导,但是我们也可以通过以下方式来设置资源:
1、通过AnnotatedBeanDefinitionReader加载完全限定类名
2、通过XmlBeanDefinitionReader加载XML资源位置,或者是通过GroovyBeanDefinitionReader加载groovy脚本位置
3、通过ClassPathBeanDefinitionScanner扫描包名称
也就是说SpringApplication还是做了不少事的,具体实现后续会慢慢讲来,今天的主角只是SpringApplication构造方法。
SpringApplication构造方法
源代码如下
/**
     * Create a new {@link SpringApplication} instance. The application context will load
     * beans from the specified primary sources (see {@link SpringApplication class-level}
     * documentation for details. The instance can be customized before calling
     * {@link #run(String...)}.
     * @param resourceLoader the resource loader to use
     * @param primarySources the primary bean sources
     * @see #run(Class, String[])
     * @see #setSources(Set)
     */
    @SuppressWarnings({ "unchecked", "rawtypes" })
    public SpringApplication(ResourceLoader resourceLoader, Class<?>... primarySources) {
        this.resourceLoader = resourceLoader;
        Assert.notNull(primarySources, "PrimarySources must not be null");
        this.primarySources = new LinkedHashSet<>(Arrays.asList(primarySources));
        this.webApplicationType = deduceWebApplicationType();
        setInitializers((Collection) getSpringFactoriesInstances(
                ApplicationContextInitializer.class));
        setListeners((Collection) getSpringFactoriesInstances(ApplicationListener.class));
        this.mainApplicationClass = deduceMainApplicationClass();
    }
从注释上来看,就是说创建一个ShiroApplication实例,应用上下文从特定的资源文件中加载bean。可以在调用run之前自定义实例。
从源码上来看,主要是deduceWebApplicationType();getSpringFactoriesInstances(xxx.class);deduceMainApplicationClass();这三个方法,我们一个一个来看。
deduceWebApplicationType
推断web应用类型
private WebApplicationType deduceWebApplicationType() {
    if (ClassUtils.isPresent(REACTIVE_WEB_ENVIRONMENT_CLASS, null)
            && !ClassUtils.isPresent(MVC_WEB_ENVIRONMENT_CLASS, null)) {
        return WebApplicationType.REACTIVE;
    }
    for (String className : WEB_ENVIRONMENT_CLASSES) {
        if (!ClassUtils.isPresent(className, null)) {
            return WebApplicationType.NONE;
        }
    }
    return WebApplicationType.SERVLET;
}

// 判断给定的类是否能够加载,就是说类路径下是否存在给定的类
public static boolean isPresent(String className, @Nullable ClassLoader classLoader) {
    try {
        forName(className, classLoader);
        return true;
    }
    catch (Throwable ex) {
        // Class or one of its dependencies is not present...
        return false;
    }
}
如果org.springframework.web.reactive.DispatcherHandler能够被加载且org.springframework.web.servlet.DispatcherServlet不能够被加载,那么断定web应用类型是REACTIVE;如果javax.servlet.Servlet和org.springframework.web.context.ConfigurableWebApplicationContext任意一个不能被加载,那么断定web应用类型是NONE;如果不能断定是REACTIVE和NONE,那么就是SERVLET类型;具体这三种类型代表什么含义,大家可以查看WebApplicationType中的说明。
getSpringFactoriesInstances
从字面意思看就是获取spring工厂实例,至于从哪获取哪些工厂实例,我们往下看。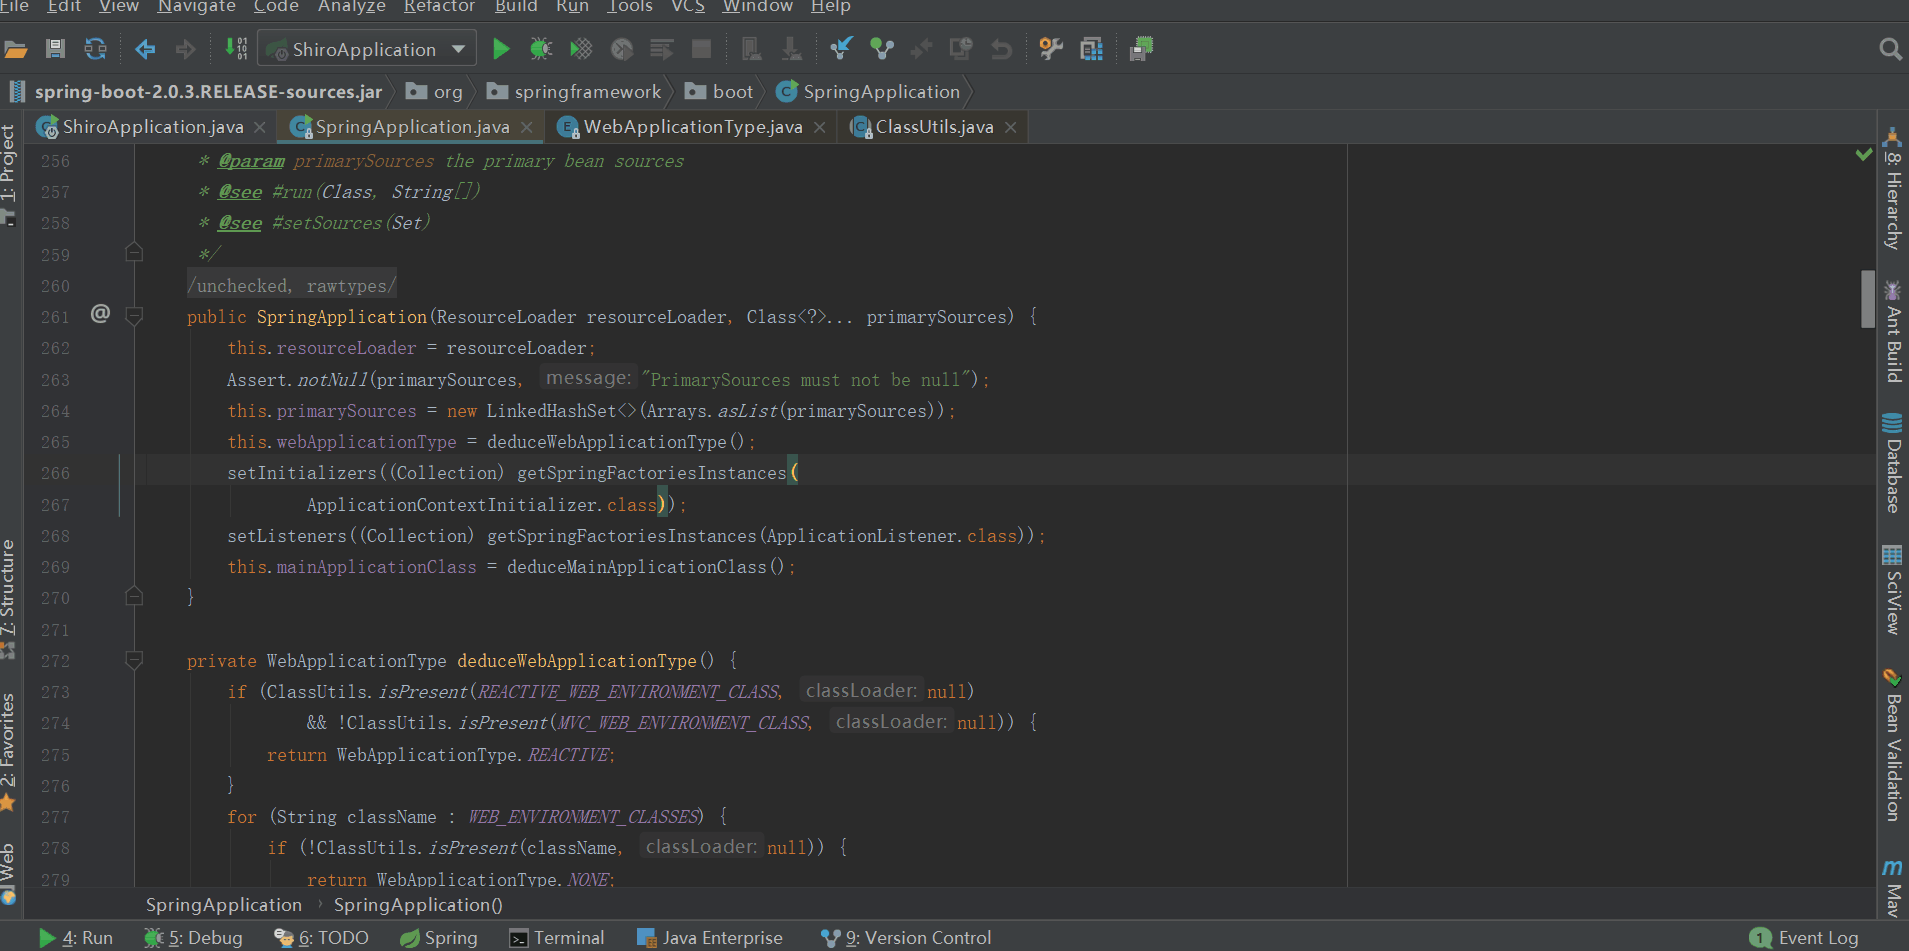
getSpringFactoriesInstances源码
private <T> Collection<T> getSpringFactoriesInstances(Class<T> type,
        Class<?>[] parameterTypes, Object... args) {
    ClassLoader classLoader = Thread.currentThread().getContextClassLoader();
    // Use names and ensure unique to protect against duplicates
    Set<String> names = new LinkedHashSet<>(
            SpringFactoriesLoader.loadFactoryNames(type, classLoader));            // 获取指定类型的工厂名字
    List<T> instances = createSpringFactoriesInstances(type, parameterTypes,    // 根据名字、类型创建工厂实例
            classLoader, args, names);
    AnnotationAwareOrderComparator.sort(instances);
    return instances;
}
从源码我们看出主要做了三件事:
1、loadFactoryNames,加载指定类型的工厂名称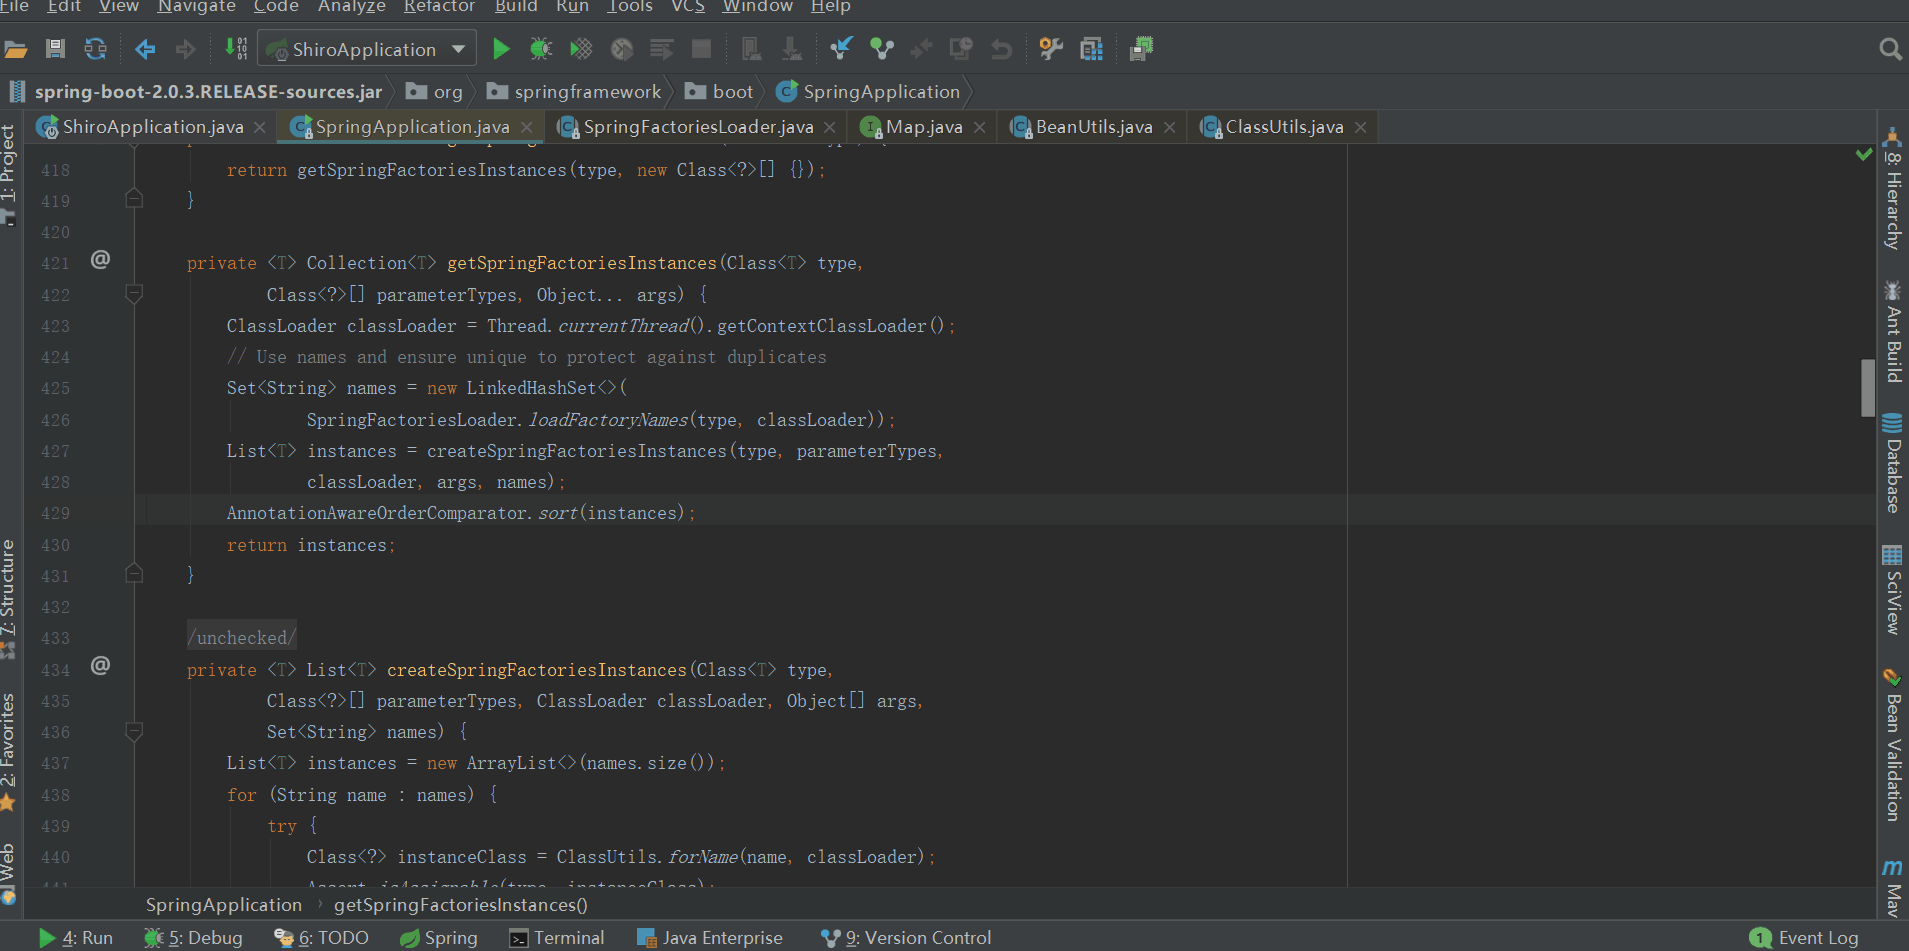
loadSpringFactories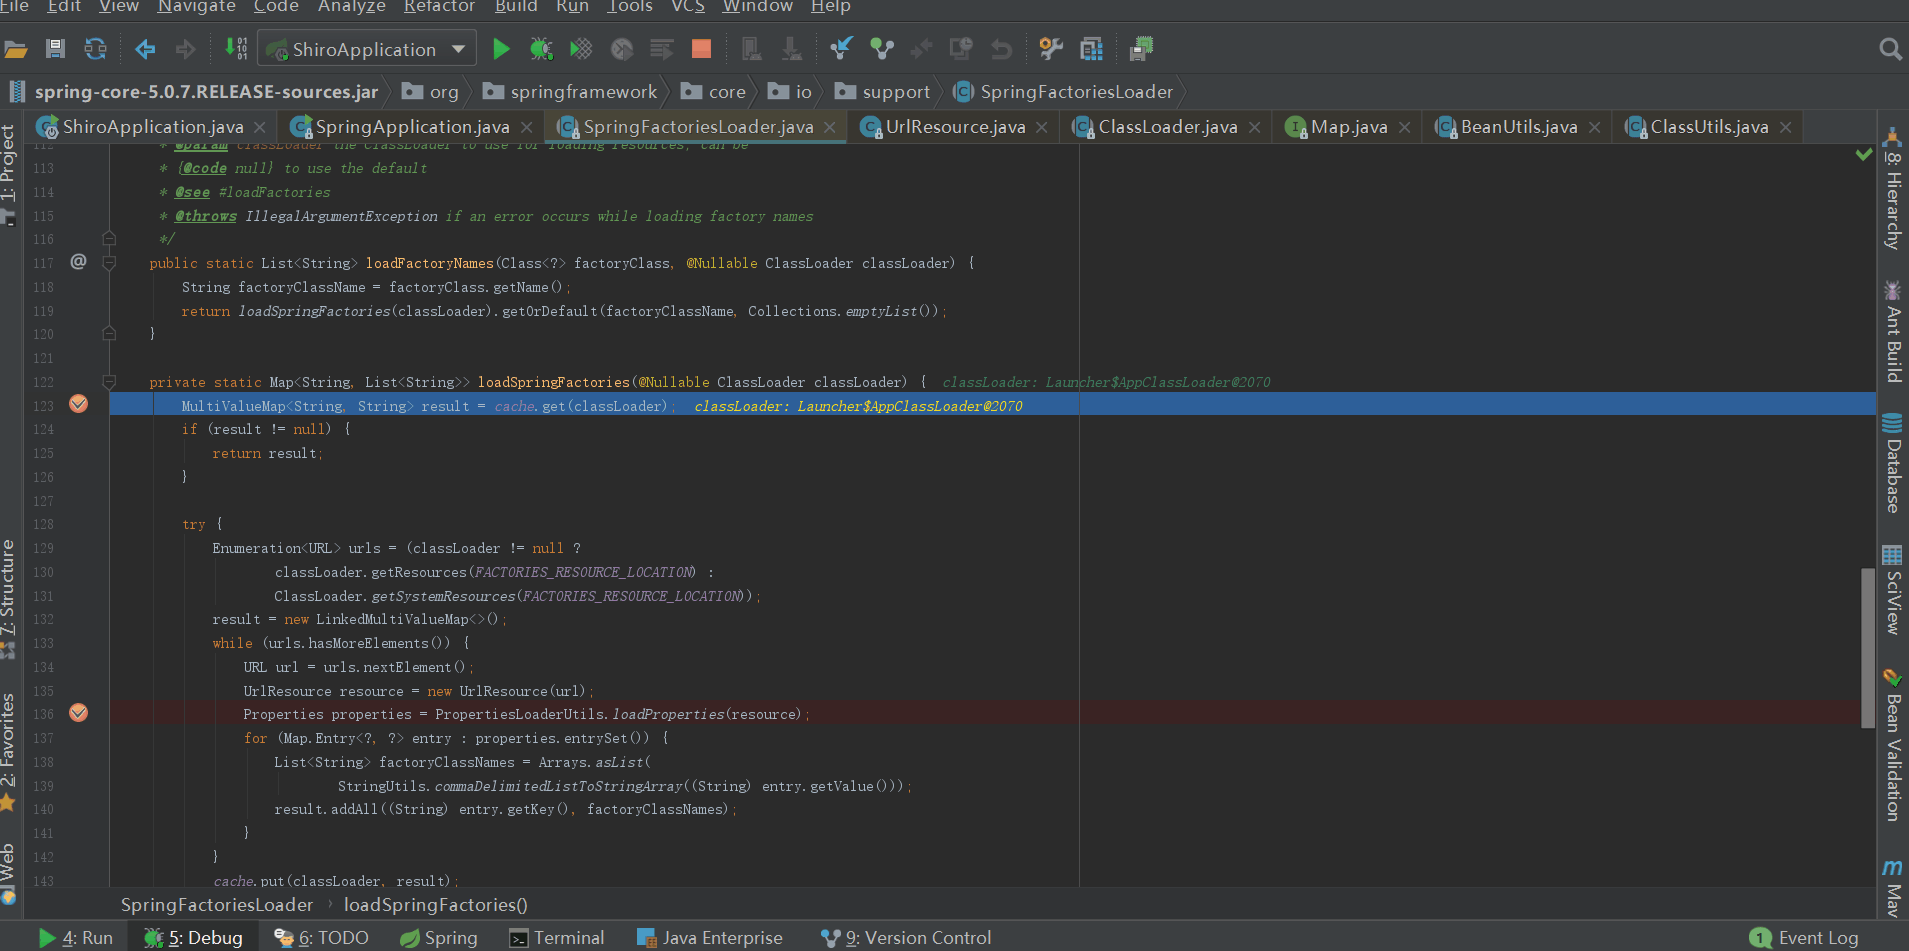
loadSpringFactories源码
private static Map<String, List<String>> loadSpringFactories(@Nullable ClassLoader classLoader) {
    MultiValueMap<String, String> result = cache.get(classLoader);
    if (result != null) {
        return result;
    }

    try {
        Enumeration<URL> urls = (classLoader != null ?
                classLoader.getResources(FACTORIES_RESOURCE_LOCATION) :
                ClassLoader.getSystemResources(FACTORIES_RESOURCE_LOCATION));    // classLoader.getResources(FACTORIES_RESOURCE_LOCATION)获取类路径下全部的META-INF/spring.factories的URL
        result = new LinkedMultiValueMap<>();
        while (urls.hasMoreElements()) {                                        // 遍历全部的URL,逐个读取META-INF/spring.factories中的属性
            URL url = urls.nextElement();
            UrlResource resource = new UrlResource(url);
            Properties properties = PropertiesLoaderUtils.loadProperties(resource);
            for (Map.Entry<?, ?> entry : properties.entrySet()) {
                List<String> factoryClassNames = Arrays.asList(
                        StringUtils.commaDelimitedListToStringArray((String) entry.getValue()));
                result.addAll((String) entry.getKey(), factoryClassNames);        // 属性全部放入MultiValueMap<String, String> result中,注意result的类型
            }
        }
        cache.put(classLoader, result);                                            // 结果放入缓存,方便下次查找
        return result;
    }
    catch (IOException ex) {
        throw new IllegalArgumentException("Unable to load factories from location [" +
                FACTORIES_RESOURCE_LOCATION + "]", ex);
    }
}
loadSpringFactories做了以下这些事
a、 查找类路径下全部的META-INF/spring.factories的URL
b、 根据url加载全部的spring.factories中的属性,spring.factories内容如下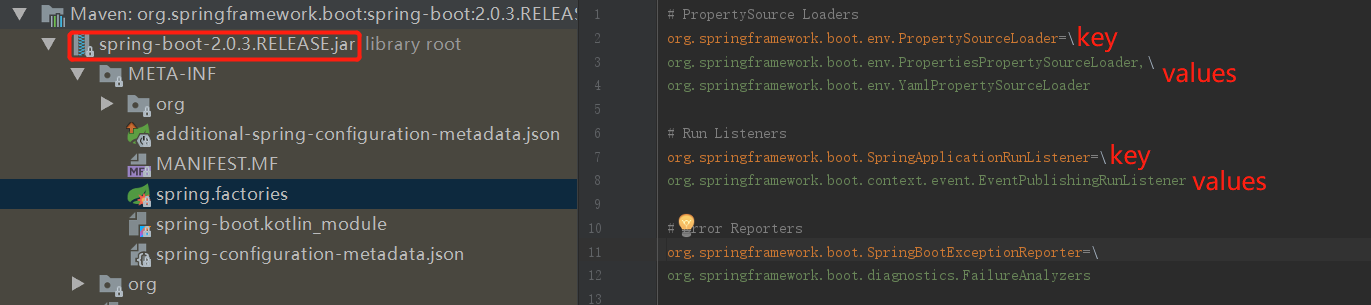
c、 将所有spring.factories中的值缓存到SpringFactoriesLoader的cache中:
private static final Map<ClassLoader, MultiValueMap<String, String>> cache = new ConcurrentReferenceHashMap<>();方便下次调用。
加载完所有的工厂名称之后,然后从中获取指定工厂类型的工厂名称列表,也就是getOrDefault(factoryClassName, Collections.emptyList())做的事。
2、createSpringFactoriesInstances,创建指定类型的工厂实例
根据上面获取的指定类型的工厂名称列表来实例化工厂bean,我们可以简单的认为通过反射来实例化,但是具体的实现也没那么简单,感兴趣的小伙伴可以自己去跟。
3、对工厂实例进行排序,然后返回排序后的实例列表
排序规则:@Order从小到大排序,没有order则按没排序之前的顺序。
deduceMainApplicationClass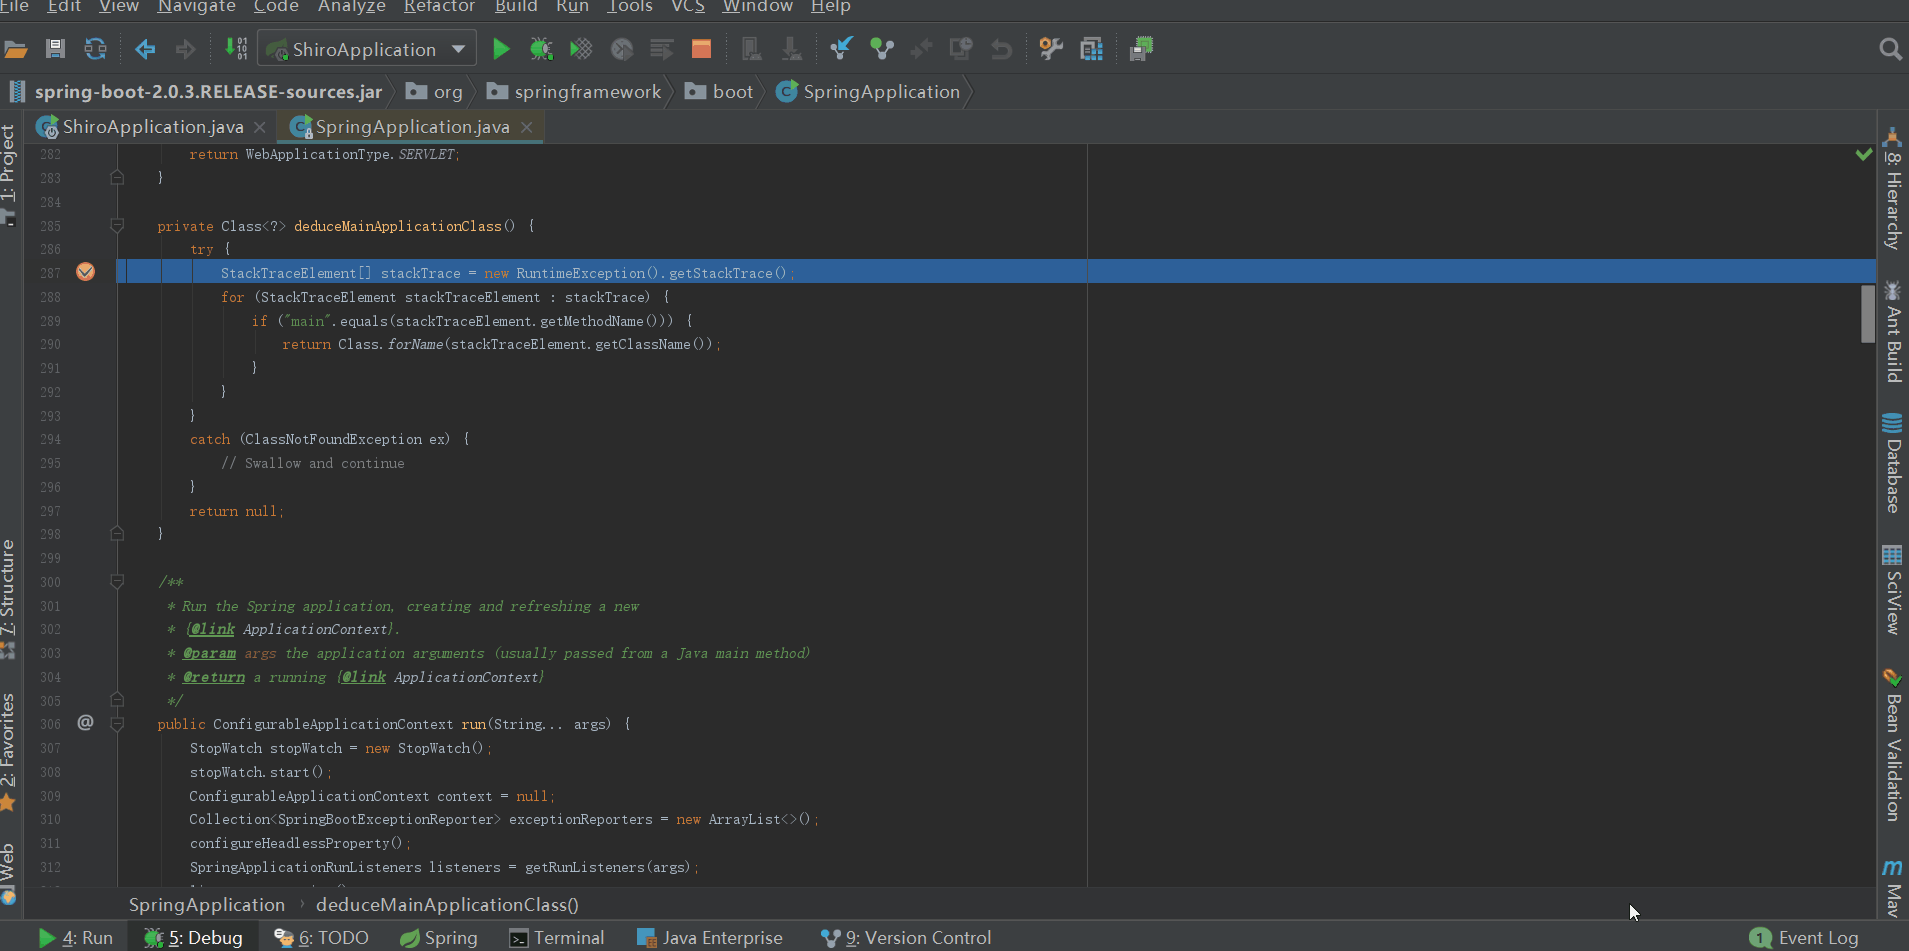
从当前堆栈跟踪列表中获取main方法所在的类名
构造方法总结
1、 构造自身实例
2、 推测web应用类型,并赋值到属性webApplicationType
3、 设置属性List<ApplicationContextInitializer<?>> initializers和List<ApplicationListener<?>> listeners
中途读取了类路径下所有META-INF/spring.factories的属性,并缓存到了SpringFactoriesLoader的cache缓存中
4、 推断主类,并赋值到属性mainApplicationClass
构造方法完成之后,实例的属性值如下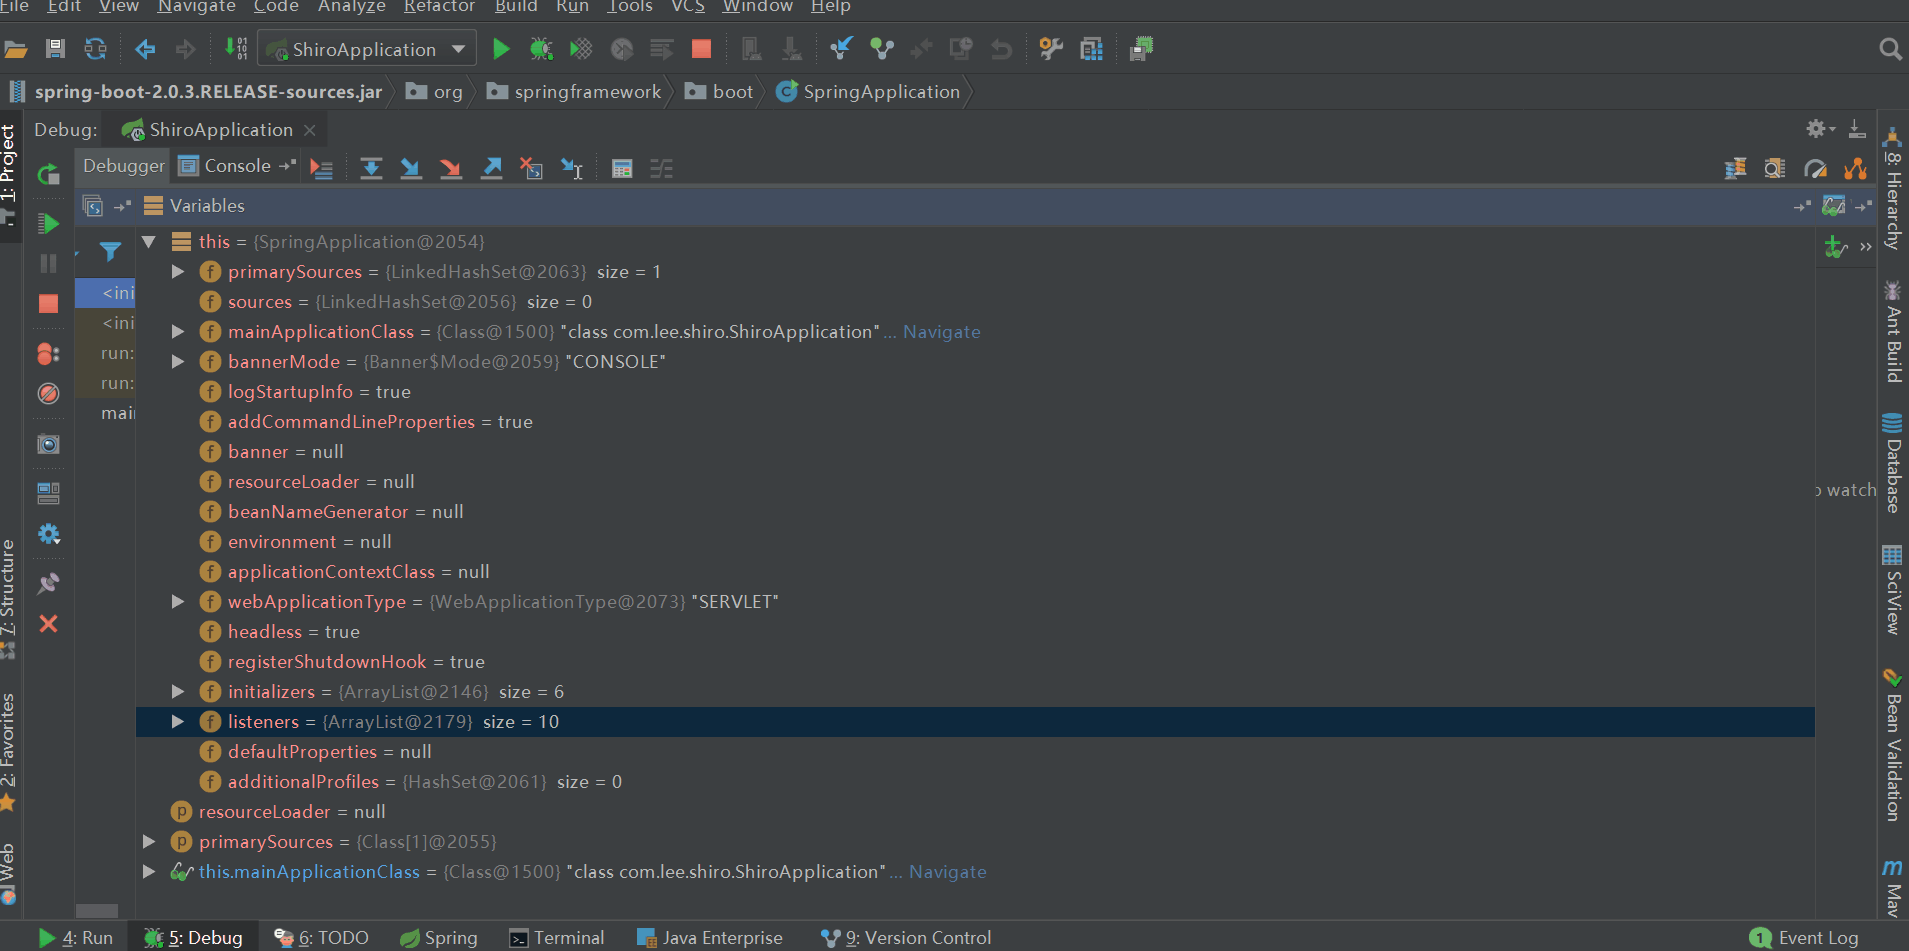
感想
本来是想着springboot启动源码解析只用两篇来说明的,之后讲shiro的源码;可我写着写着发现好多实例莫名奇妙的就被实例化了,很多细节没有读到,所以决定细抠,将springboot的启动过程拆分成多篇来讲解,真真正正的明白springboot在启动的过程都做了些什么。
补充一句:有时候,不是对手有多强大,只是我们不敢去尝试;勇敢踏出第一步,你会发现自己比想象中更优秀!诚如海因斯第一次跑进人类10s大关时所说:上帝啊,原来那扇门是虚掩着的!
参考
springboot源码

 浙公网安备 33010602011771号