01 . Go之Gin+Vue开发一个线上外卖应用

项目介绍
我们将开始使用Gin框架开发一个api项目,我们起名为:云餐厅。如同饿了么,美团外卖等生活服务类应用一样,云餐厅是一个线上的外卖应用,应用的用户可以在线浏览商家,商品并下单。
该项目分为客户端和服务端两端程序。
- 1、客户端程序通过接口从服务端获取数据,获取结果后展示数据。
- 2、服务端程序提供接口Api的访问功能,执行数据库操作,并组织数据返回。
客户端介绍
云餐厅客户端使用Vue、ES6、Webpack等技术进行开发,项目开发需要具备前端开发技能,我们聚焦于后端Api功能的开发。

环境准备
运行vue等技术开发的客户端项目,需要安装Node.js环境
下载
可以到nodejs的下载页面: http://nodejs.cn/download/下载对应的安装包
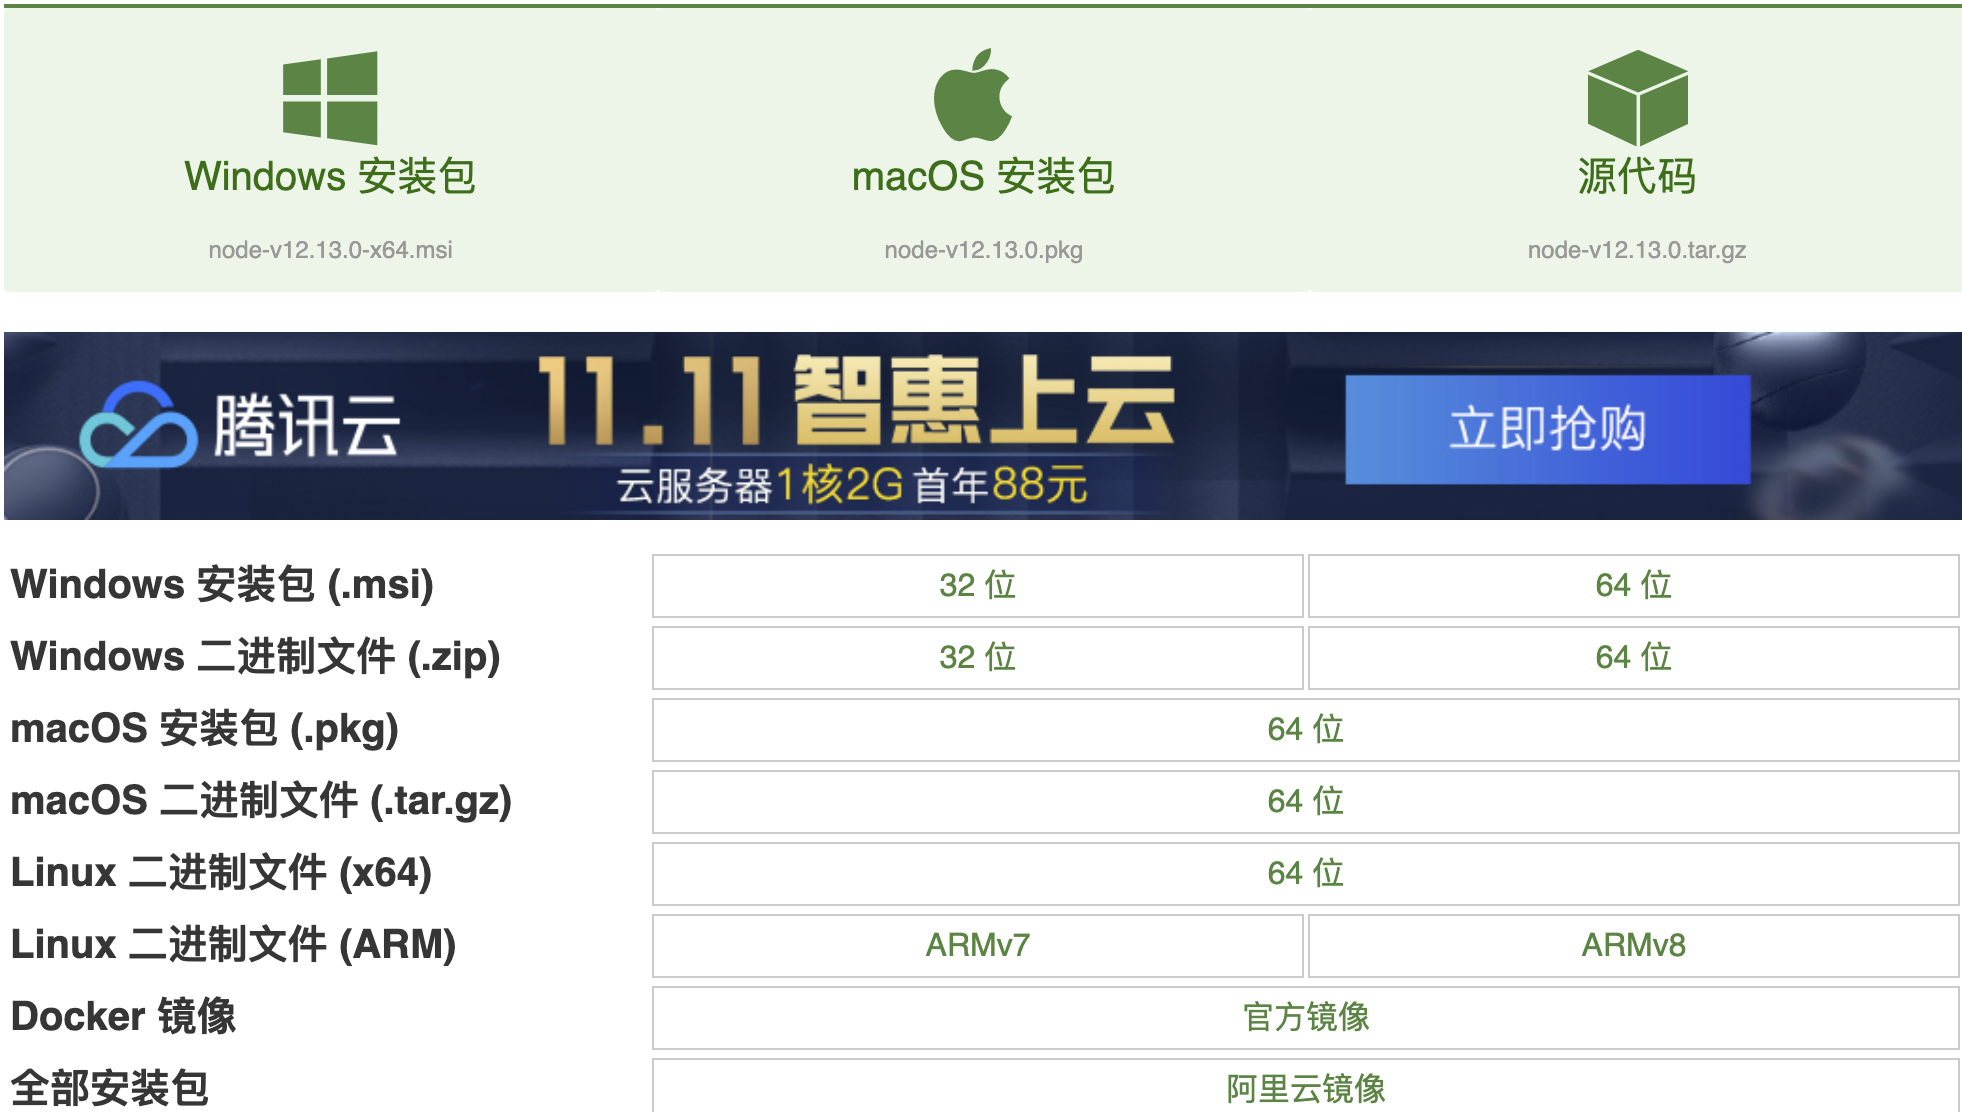
1.Windows电脑安装Nodejs环境
- 1、windows环境下选择.msi安装文件。然后进行双击node.msi,选择安装路径。
- 2、配置环境变量。在计算机(或者我的电脑)右击属性 -> 高级系统设置 -> 环境变量进行配置。新建NODE_PATH变量并设置Nodejs的安装目录。
macOS系统安装Nodejs
在终端中使用brew命令安装nodejs。详细命令:
brew install nodejs
Linux系统安装Nodejs
在nodejs的下载页面选择linux类别下的64位文件,下载文件为tar.xz格式的压缩文件。然后依次执行解压缩和建立软连接的命令:
tar -xvf   node-v10.15.3-linux-x64.tar.xz
vi /etc/profile
export NODEJS=/opt/node/node-v10.15.3-linux-x64
export PATH=$NODEJS/bin:$PATH

// 保存/etc/profile文件后
node -v
// 看版本
安装nvm
管理node版本,非必须
// mac
git clone https://github.com/nvm-sh/nvm.git
cd nvm
./install.sh

cat ~/.bash_profile
export NVM_DIR="$HOME/.nvm"
[ -s "$NVM_DIR/nvm.sh" ] && . "$NVM_DIR/nvm.sh" # This loads nvm

// 换源
export NVM_NODEJS_ORG_MIRROR=http://npm.taobao.org/mirrors/node
export NVM_IOJS_ORG_MIRROR=http://npm.taobao.org/mirrors/iojs

source ~/.bash_profile
nvm --version
0.37.0

// 安装指定版本
nvm install 10.14.2
安装yarn
包管理工具
brew install yarn
安装vue cli
npm config set registry https://registry.npm.taobao.org/
npm install -g @vue/cli


yarn global add @vue/cli
创建vue项目
vue create ginessentail-vue
Vue CLI v4.5.8
? Please pick a preset: (Use arrow keys)
  Default ([Vue 2] babel, eslint)
  Default (Vue 3 Preview) ([Vue 3] babel, eslint)
❯  Manually select features


Vue CLI v4.5.8
? Please pick a preset: Manually select features
? Check the features needed for your project:
 ◉ Choose Vue version
 ◉ Babel
 ◯ TypeScript
 ◯ Progressive Web App (PWA) Support
 ◉ Router
 ◉ Vuex
❯◯ CSS Pre-processors
 ◉ Linter / Formatter
 ◯ Unit Testing
 ◯ E2E Testing


Vue CLI v4.5.8
? Please pick a preset: Manually select features
? Check the features needed for your project: Choose Vue version, Babel, Router, Vuex, Lin
ter
? Choose a version of Vue.js that you want to start the project with 2.x
? Use history mode for router? (Requires proper server setup for index fallback in product
ion) (Y/n) y


Vue CLI v4.5.8
? Please pick a preset: Manually select features
? Check the features needed for your project: Choose Vue version, Babel, Router, Vuex, CSS
 Pre-processors, Linter
? Choose a version of Vue.js that you want to start the project with 3.x (Preview)
? Use history mode for router? (Requires proper server setup for index fallback in product
ion) Yes
? Pick a CSS pre-processor (PostCSS, Autoprefixer and CSS Modules are supported by default
):
  Sass/SCSS (with dart-sass)
❯ Sass/SCSS (with node-sass)
  Less
  Stylus


Vue CLI v4.5.8
? Please pick a preset: Manually select features
? Check the features needed for your project: Choose Vue version, Babel, Router, Vuex, CSS
 Pre-processors, Linter
? Choose a version of Vue.js that you want to start the project with 3.x (Preview)
? Use history mode for router? (Requires proper server setup for index fallback in product
ion) Yes
? Pick a CSS pre-processor (PostCSS, Autoprefixer and CSS Modules are supported by default
): Sass/SCSS (with node-sass)
? Pick a linter / formatter config:
  ESLint with error prevention only
❯ ESLint + Airbnb config
  ESLint + Standard config
  ESLint + Prettier


Vue CLI v4.5.8
? Please pick a preset: Manually select features
? Check the features needed for your project: Choose Vue version, Babel, Router, Vuex, CSS
 Pre-processors, Linter
? Choose a version of Vue.js that you want to start the project with 3.x (Preview)
? Use history mode for router? (Requires proper server setup for index fallback in product
ion) Yes
? Pick a CSS pre-processor (PostCSS, Autoprefixer and CSS Modules are supported by default
): Sass/SCSS (with node-sass)
? Pick a linter / formatter config: Airbnb
? Pick additional lint features: Lint on save
? Where do you prefer placing config for Babel, ESLint, etc.? (Use arrow keys)
❯ In dedicated config files
  In package.json


success Saved lockfile.
✨  Done in 17.00s.
🚀  Invoking generators...
📦  Installing additional dependencies...

yarn install v1.22.10
[1/4] 🔍  Resolving packages...
[2/4] 🚚  Fetching packages...
[3/4] 🔗  Linking dependencies...
[4/4] 🔨  Building fresh packages...
success Saved lockfile.
✨  Done in 8.86s.
⚓  Running completion hooks...

📄  Generating README.md...

🎉  Successfully created project ginessentail-vue.
👉  Get started with the following commands:

 $ cd ginessentail-vue
 $ yarn serve

cd ginessentail-vue
yarn serve
引入bootstrap
yarn add vue bootstrap-vue bootstrap
服务端介绍
我们着重后端项目开发
创建项目
在gopath的src目录下,创建OnlineRestaurant目录,作为服务端项目。
mkdir CloudRestaurant
创建配置文件目录
mkdir config
config目录中,配置app.json配置文件
{
  "app_name": "youmen",
  "app_mode": "debug",
  "app_host": "localhost",
  "app_port": "8090"
}
创建一个tool目录
里面创建config.go文件,用于解析项目配置信息,config.go如下
type Config struct {
	AppName  string         `json:"app_name"`
	AppMode  string         `json:"app_mode"`
	AppHost  string         `json:"app_host"`
	AppPort  string         `json:"app_port"`
}
var _cfg *Config = nil
func GetConfig() *Config {
	return _cfg
}

func ParseConfig(path string) (*Config, error) {
	file, err := os.Open(path)
	if err != nil {
		panic(err)
	}
	defer file.Close()

	reader := bufio.NewReader(file)
	decoder := json.NewDecoder(reader)
	if err := decoder.Decode(&_cfg); err != nil {
		return nil, err
	}
	return _cfg, nil
}
编写main.go
func main() {
    //读取配置文件
	cfg, err := toolbox.ParseConfig("./config/app.json")
	if err != nil {
		toolbox.Error(err.Error())
		return
	}
	app := gin.Default()
	app.Run(cfg.AppHost + ":" + cfg.AppPort)
}
编写hello world
编写Controller: 创建controller,并创建HelloController。
package controller

import "github.com/gin-gonic/gin"

type HelloController struct {
}

func (hello *HelloController) Router(engine *gin.Engine) {
	engine.GET("/hello", hello.Hello)
}

func (hello *HelloController) Hello(context *gin.Context) {
	context.JSON(200, map[string]interface{}{
		"message": "hello world",
	})
}
添加路由
在main.go程序中添加路由设置
func registerRouter(router *gin.Engine) {
     new(controller.HelloController).Router(router)
}
项目前端使用及调试
前端项目目录说明
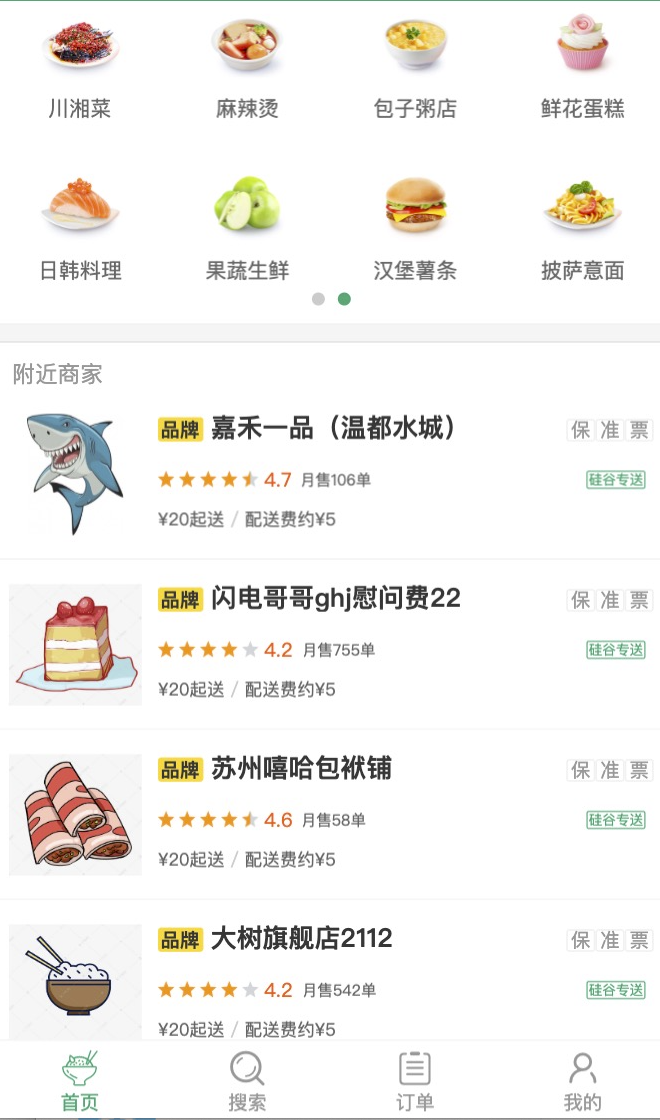
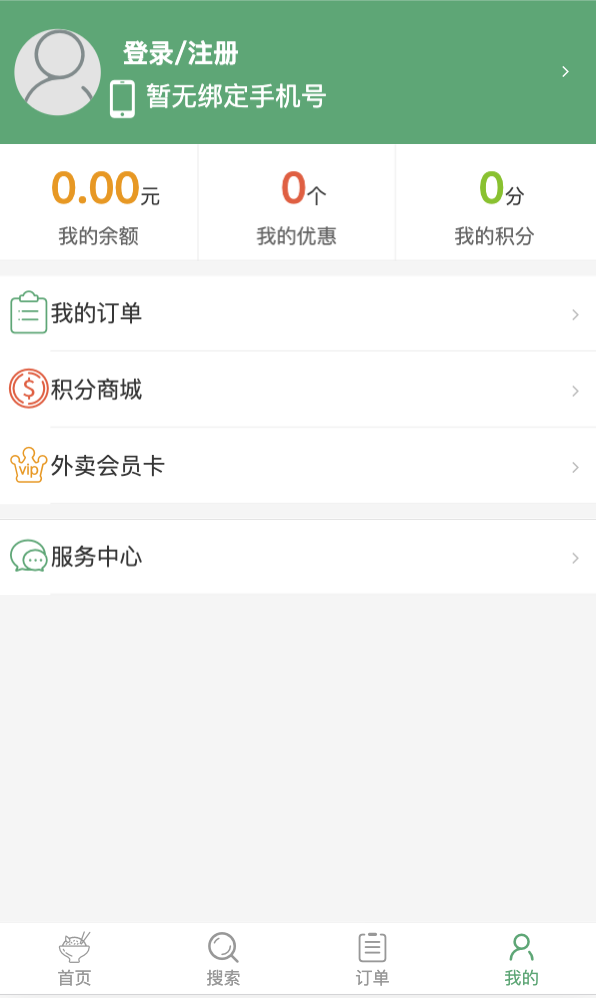
本项目的前端项目是使用nodejs的vue框架进行开发而成的。名称为shop-client。该项目的源码如下图所示:
如上图所示的是shop-client前端项目.对该前端项目框架作如下解释说明:
- build:build目录是指定的项目编译目录,该项目的编译配置相关的操作,都在该目录中进行配置和指定。
- config:config目录主要是对项目全局进行相关的配置,以及测试或者发布版本进行配置。
- dist:所有的.vue页面编译后成为的js文件,都会输出到该目录中。
- node_modules:该目录是nodejs项目所需要的依赖的第三方库的代码目录。由于该目录体积较大,在进行项目迁移或者项目拷贝时,可以将该目录删除,在项目的根目录中执行npm install命令会重新生成并下载所需要的第三方的代码库。
- src:该目录是存放前端工程项目的源码目录。
- static:该目录用于存放静态的文件,比如js、css文件等。
- package.json:执行npm init命令会生成该文件,该文件是node项目的配置文件,其中包含项目的编译和第三方依赖库依赖信息等内容。
运行前端项目
安装好了nodejs环境后,可以使用命令对前端项目进行操作
进入项目中
cd shop-client
常用命令
...
"scripts": {
    "dev": "webpack-dev-server --inline --progress --config build/webpack.dev.conf.js",
    "start": "npm run dev",
    "lint": "eslint --ext .js,.vue src",
    "build": "node build/build.js"
}
...
按照上述的脚本命令配置,可以实现很多指令功能.
比如说,可以使用如下命令运行编译项目:
npm run build
因为在scripts脚本中配置了start命令,只有start命令可以忽略run,当然,npm start会具体执行的命令是npm run dev, 因此可以通过npm run dev命令来运行项目.
请求接口API
在shop-client前端项目的src目录下的api目录中,有两个js文件,分别为ajax.js文件和index.js文件。
- ajax.js文件:该文件中封装了前端项目进行异步网络请求的方法ajax,该函数包含三个参数,分别是:url、data、type,表示请求路径,请求参数和请求方法。
- index.js文件:在该文件中,引入了ajax.js文件和其中的ajax方法,定义了基础请求路径BASE_URL常量,此项目中的请求端口为8090,与后台服务器监听的端口一致。如果想自己修改服务器监听端口,要记得将前端代码BASE_URL常量中的端口也要一并修改。另外,在index.js文件中定义了本项目功能开发所需要的接口,供在.vue文件中进行使用。
前端页面vue源文件
在shop-client前端项目的src目录下的pages目录中,存放的是项目的页面源文件,页面源文件是.vue为扩展名的文件。
在该项目中,根据项目功能和模块划分为更详细的目录:Login、Msite、Order、Profile、Search、Shop等几个目录。
路由文件
在src目录下存在有router目录,其中包含一个index.js文件,该文件是前端页面的路由页面,通过该页面的路由配置,进行展示对应的前端页面的vue源文件。
路由模块使用到了第三方的路由库:vue-router。对于第三方vue-router的配置依赖,可以在package.json文件中的dependencies配置模块中找到:
...
"dependencies": {
    "axios": "^0.18.0",
    "better-scroll": "^1.12.6",
    "date-fns": "^1.29.0",
    "fastclick": "^1.0.6",
    "mint-ui": "^2.2.13",
    "mockjs": "^1.0.1-beta3",
    "swiper": "^4.3.3",
    "vue": "^2.5.2",
    "vue-router": "^3.0.1",
    "vuex": "^3.0.1"
}
...
项目入口
在shop-client项目根目录下的src目录中,有两个代表项目入口的文件,分别是js文件和vue文件。main.js是项目运行的总入口,在main.js文件内部,引入并使用了App.vue文件,同时引入了router路由文件。
App.vue是项目的主页面的布局,并引入了页面样式文件。
项目运行
需要运行前端项目进行调试时,执行以下步骤
/*
		cd shop-client
		npm run dev
*/
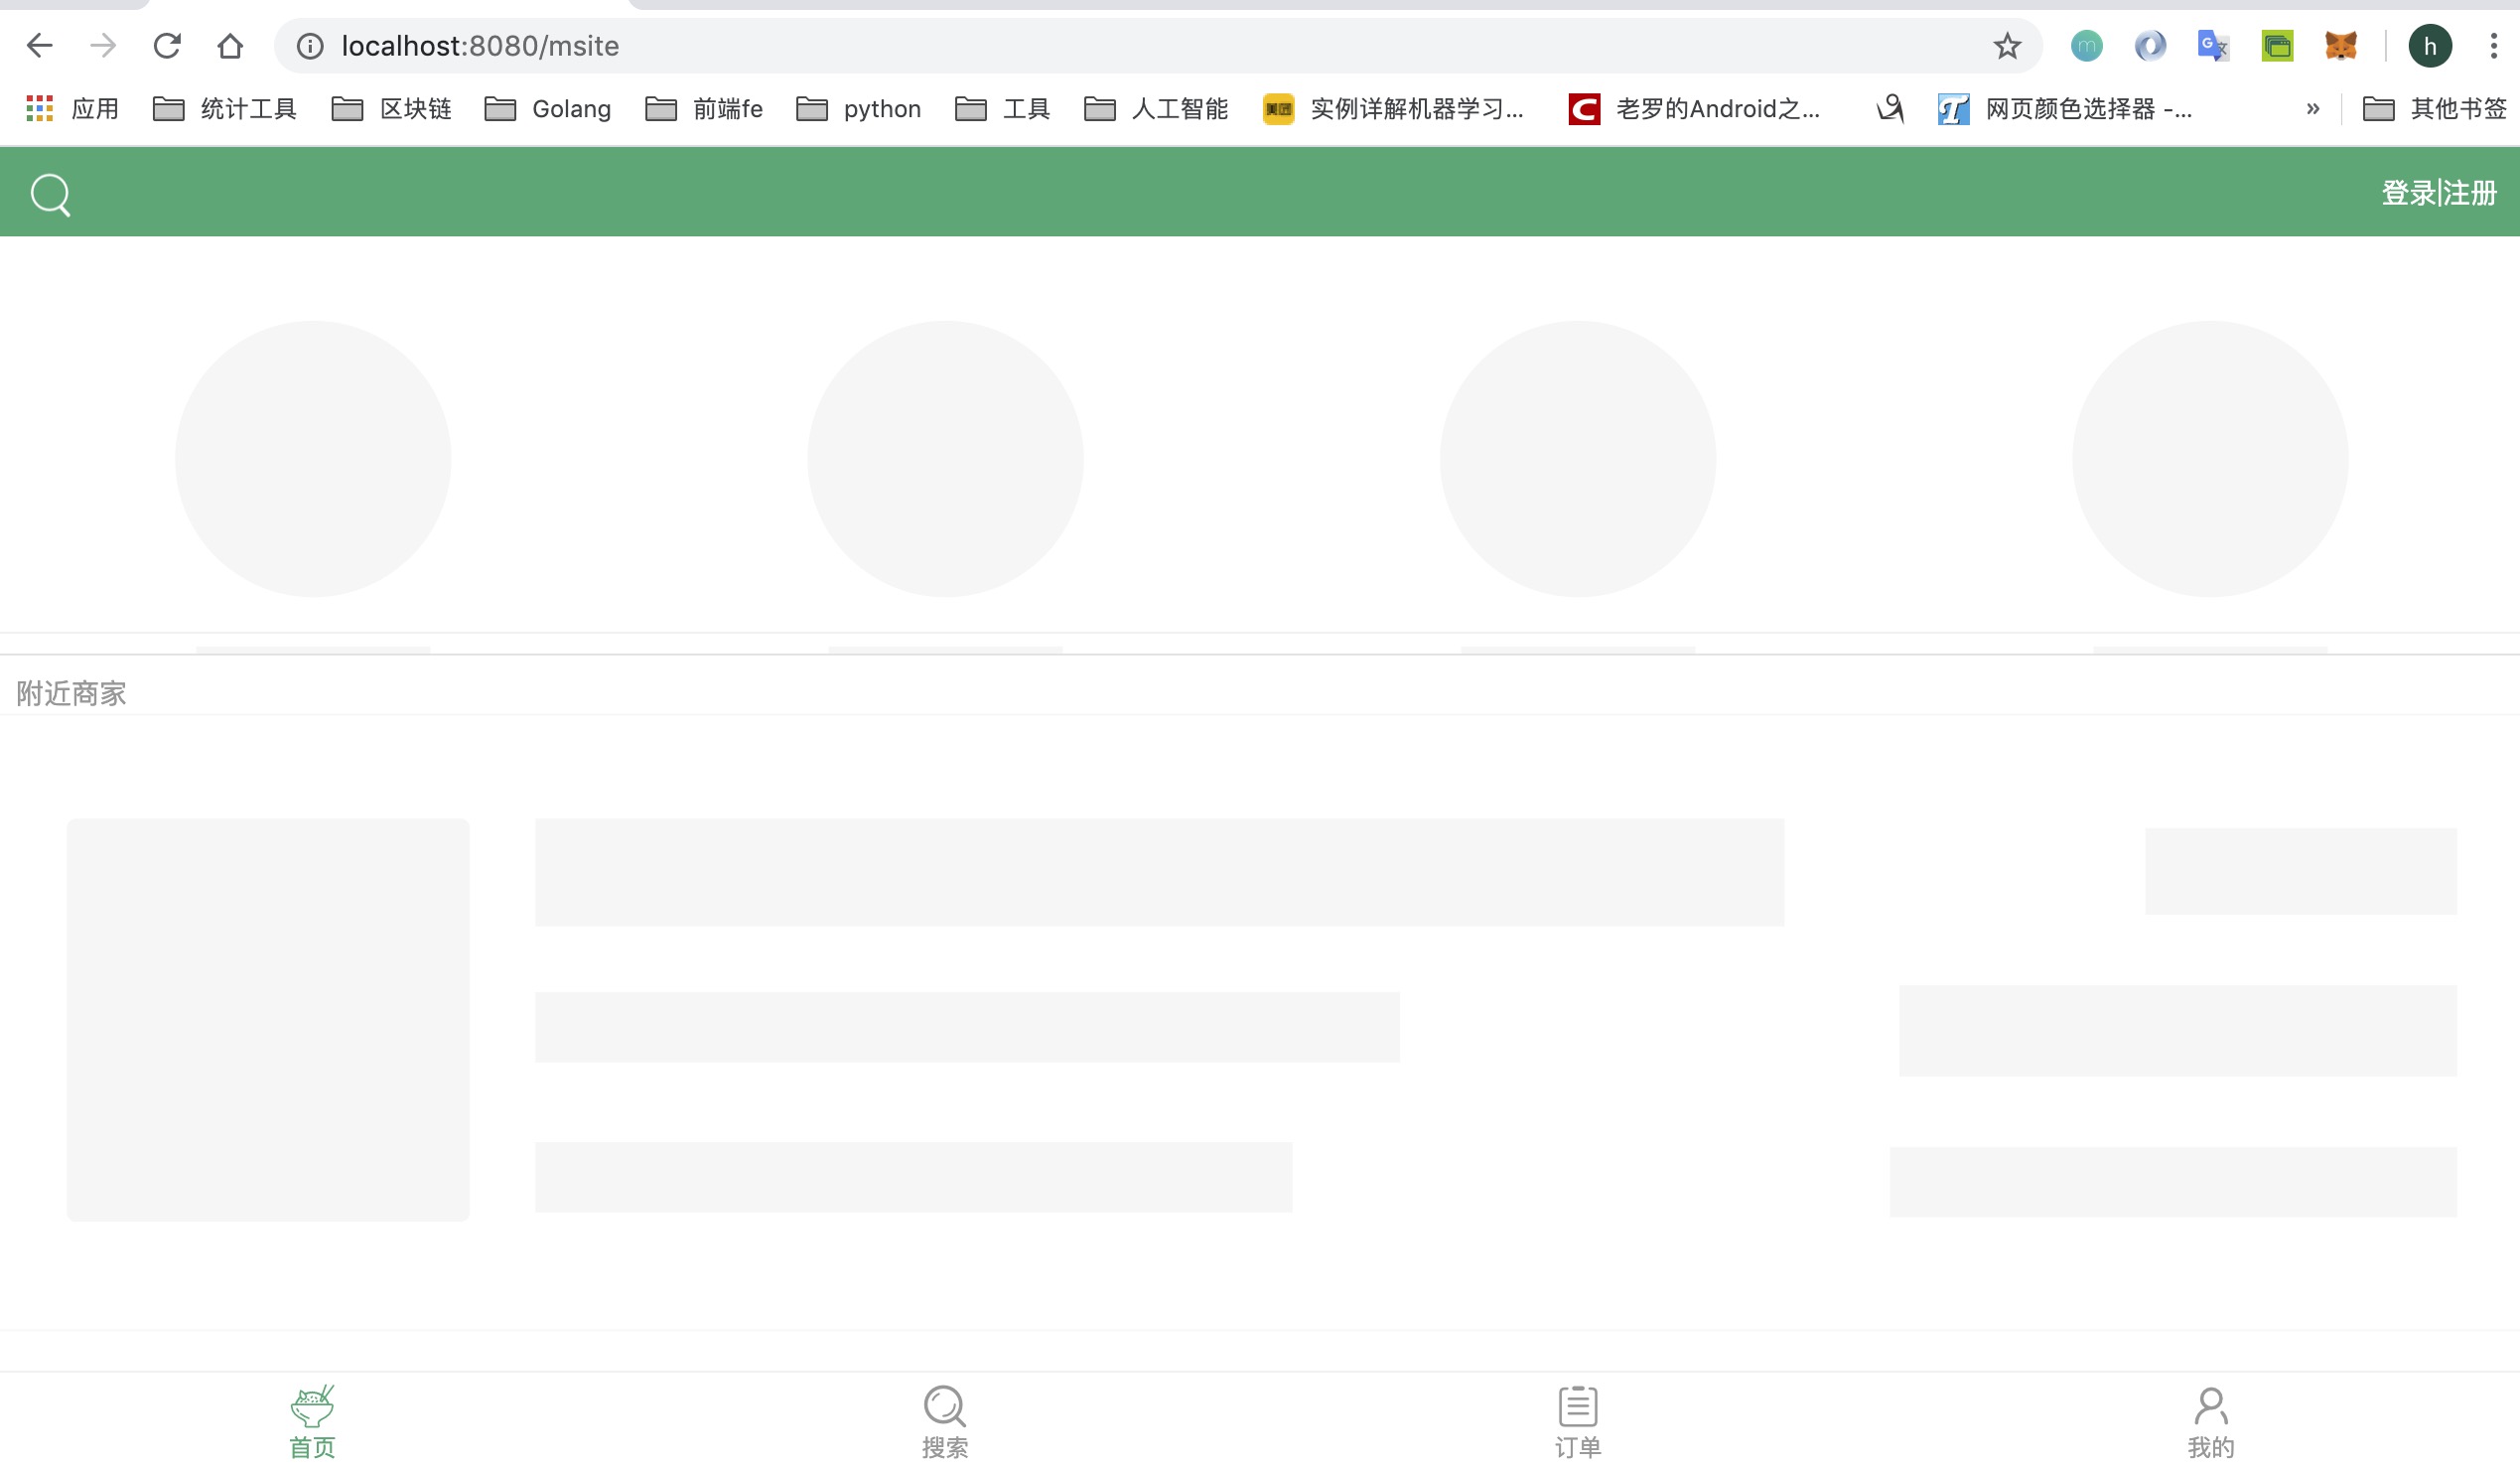
然后在浏览器中访问8080端口: http://localhost:8080 可以访问到前端页面,如下图所示:

 浙公网安备 33010602011771号