
PXE+Kickstart 批量安装CentOS 7
安装之前
将需要安装 CentOS 的服务器与 PXE 服务器通过网络设备连接;PXE 服务器安装 CentOS,并且关闭firewalld、selinux,设置静态IP地址,本例设为10.0.0.1;一般来说因为是在内网操作,还需要配置本地YUM源。本例仅适用UEFI引导,BIOS稍有不同。
配置PXE服务器
配置tftp服务器
1.安装tftp服务器
[root@localhost ~]# yum -y install tftp-server
2.配置tftp服务器支持xinetd
在 /etc/xinet.d/tftp 配置文件中,将 disabled 参数从 yes 改为 no
配置DHCP服务器
1.安dhcp服务器
[root@localhost ~]# yum -y install dhcp
2.将您的 DHCP 服务器配置为使用采用 shim 打包的 EFI 引导映象。
[root@localhost ~]# vi /etc/dhcp/dhcpd.conf
示例如下
option space pxelinux;
option pxelinux.magic code 208 = string;
option pxelinux.configfile code 209 = text;
option pxelinux.pathprefix code 210 = text;
option pxelinux.reboottime code 211 = unsigned integer 32;
option architecture-type code 93 = unsigned integer 16;

subnet 10.0.0.0 netmask 255.255.255.0 {
  option routers 10.0.0.1;
  range 10.0.0.2 10.0.0.253;

  class "pxeclients" {
      match if substring (option vendor-class-identifier, 0, 9) = "PXEClient";
      next-server 10.0.0.1;

      if option architecture-type = 00:07 {
        filename "uefi/shim.efi";
      } else {
        filename "pxelinux/pxelinux.0";
      }
  }
}
关于dhcp配置文件的简要说明:
subnet 10.0.0.0 netmask 255.255.255.0 {    //DHCP地址池网段,子网掩码
  option routers 10.0.0.1;    //dhcp服务器的IP地址
  range 10.0.0.2 10.0.0.253;    //DHCP地址池
提取引导文件
需要提取shim 软件包中的 shim.efi 文件,以及 ISO 映像文件中 grub2-efi 软件包的 grubx64.efi 文件
[root@localhost ~]# mount /dev/cdrom /mnt/  //挂载镜像文件,视实际情况而定
[root@localhost ~]# cp -pr /mnt/Packages/shim-x64-12-1.el7.centos.x86_64.rpm /tmp/
[root@localhost ~]# cp -pr /mnt/Packages/grub2-efi-x64-2.02-0.64.el7.centos.x86_64.rpm
[root@localhost ~]# cd  /tmp/
[root@localhost tmp]#  rpm2cpio shim-x64-12-1.el7.centos.x86_64.rpm | cpio -dimv
[root@localhost tmp]#  rpm2cpio grub2-efi-x64-2.02-0.64.el7.centos.x86_64.rpm | cpio -dimv
添加引导文件进tftp目录
[root@localhost ~]# mkdir /var/lib/tftpboot/uefi
[root@localhost ~]# cp /tmp/boot/efi/EFI/centos/shim.efi /var/lib/tftpboot/uefi/
[root@localhost ~]# cp /tmp/boot/efi/EFI/centos/grubx64.efi /var/lib/tftpboot/uefi/
[root@localhost ~]# cp /mnt/images/pxeboot/{vmlinuz,initrd.img} /var/lib/tftpboot/uefi/
添加 grub.cfg 配置文件
[root@localhost ~]# vi /var/lib/tftpboot/uefi/grub.cfg
set timeout=60
  menuentry 'CentOS 7' {
  linuxefi uefi/vmlinuz ip=dhcp inst.repo=http://10.0.0.1/
  initrdefi uefi/initrd.img
}
配置文件简要说明
menuentry 'CentOS 7' //这个是个引导项,之后安装会看到,引号部分可以自定义
linuxefi uefi/vmlinuz ip=dhcp inst.repo=http://10.0.0.1/
initrdefi uefi/initrd.img
//这两行是定制引导项,相当于安装进入引导菜单时,按e将看到这两行,inst.repo=10.0.0.1指定安装源。
准备安装源
这里我采用的是通过http提供安装树
[root@localhost ~]# yum -y install httpd
[root@localhost ~]# mount /dev/cdrom /mnt/  //如果之前挂载的镜像没卸载,则无需重新挂载
[root@localhost ~]# cp -rv /mnt/* /var/www/html/
开启所需服务
[root@localhost ~]# systemctl start httpd dhcpd xinetd
自此,PXE 服务器已经准备完成,设置需要安装系统的计算机从网络(PXE)启动,即可。
Tips:tftp服务属于瞬时服务,即使手动开启,一段时间后,无连接请求,也会自动关闭,而且也无法在系统引导时自动启动(也就是说systemctl enable tftp是无效的),平时tftp服务不启动,只有用户请求tftp服务的时候,才会被xinetd启动,接受客户端的请求。配置tftp支持xinetd就是之前的启用tftp的步骤:在 /etc/xinet.d/tftp 配置文件中,将 disabled 参数从 yes 改为 no
Tips:此例我将10.0.0.1这台服务器设置为 PXE 服务器,提供引导安装功能,同时也在10.0.0.1上配置了安装源(此例是通过http提供安装树),需要注意的就是10.0.0.1这台服务器上的防火墙、SElinux一定要关闭,或者打开防火墙中httpd、dhcpd、tftp这些服务的端口,配置SElinux。至此已经提供了我们需要安装的服务器只需要设置从网络(PXE)启动就可以开始安装了,但是实现PXE+Kickstart自动安装,还需要一些步骤。
完全的PXE+Kickstart自动化安装
准备Kickstart文件
一般是单用PXE服务器手动设定配置项目后,安装一台,使用其 /root 目录下面将 anaconda-ks.cfg,可以重命名为 ks.cfg 。手动编辑 Kickstart 文件较为繁琐,也可以通过工具 system-config-kickstart 生成,该工具需要在图形化界面下运行。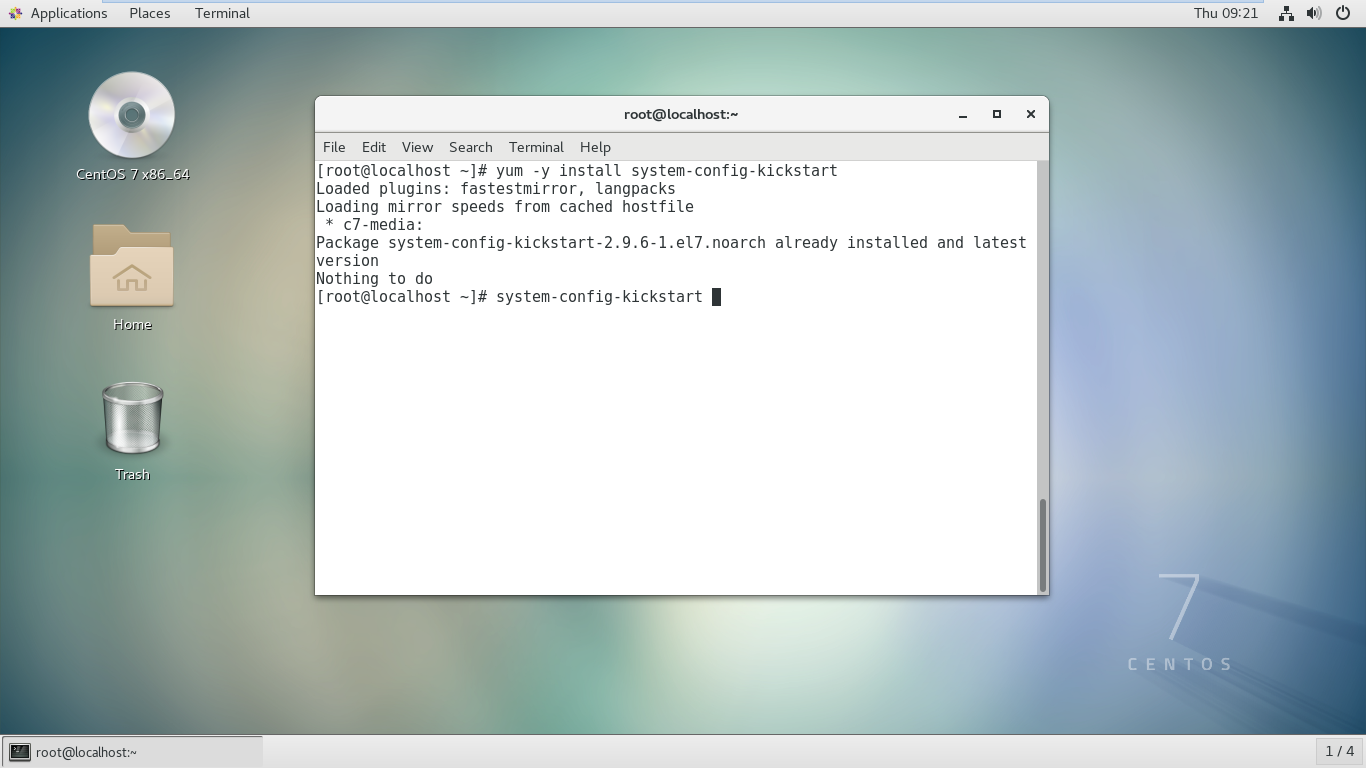
对于 anaconda-ks.cfg 通常我们还需要做一些修改,使安装后重启,运行一些脚本。
将Kickstart文件部署与网络中
这里我们可以使用之前用作提供安装源的http服务器,将 Kickstart 文件放入 http 服务器中 /var/www/html 目录中。
添加定制引导项支持 Kickstart
修改之前创建的 grub.efi 文件如下:
[root@localhost ~]# vi /var/lib/tftpboot/uefi/grub.cfg
set timeout=60
  menuentry 'CentOS 7' {
  linuxefi uefi/vmlinuz ip=dhcp inst.repo=http://10.0.0.1/ inst.st=http://10.0.0.1/ks.cfg
  initrdefi uefi/initrd.img
}
实际上只是添加了
inst.st=http://10.0.0.1/ks.cfg
重启所需的服务,设置需要安装的系统从网络(PXE)启动

 浙公网安备 33010602011771号