Vue-cli项目中使用Vuex,快速上手的简单使用方法
Vuex 是一个专为 Vue.js 应用程序开发的状态管理模式。它采用集中式存储管理应用的所有组件的状态,并以相应的规则保证状态以一种可预测的方式发生变化。
安装Vuex
npm install vuex --save
新建仓库
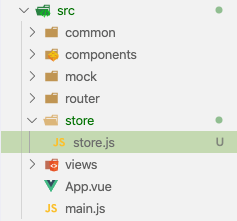
在src目录下新建一个store文件夹,然后在store文件夹里新建store.js文件
main.js中引入Vuex
import Vue from 'vue'
import App from './App'
// 引入路由
import router from './router'
// 引入vant
import Vant from 'vant'
import 'vant/lib/index.css'
// 引入axios
import axios from 'axios'
// 引入样式文件
import '@/common/stylus/index.styl'
// 引入mock文件,正式发布时,注释掉该处即可
import '@/mock'

// 引入Vuex
import Vuex from 'vuex'
import store from '@/store/store'
// 使用Vuex
Vue.use(Vuex)

// 配置axios到原型链中
Vue.prototype.$axios = axios
// 使用Vant
Vue.use(Vant)

// 消息提示的环境配置
Vue.config.productionTip = false

/* eslint-disable no-new */
new Vue({
  el: '#app',
  router,
  store, // 使用store
  render: h => h(App)
})
编辑store文件
import Vue from 'vue'
import Vuex from 'vuex'
Vue.use(Vuex)

const store = new Vuex.Store({
  state: {
    name: '倒霉熊',
    age: '18'
  },
  mutations: {
    showName (state, value) {
      state.name = value
    }
  }
})

export default store
页面上的查看和使用
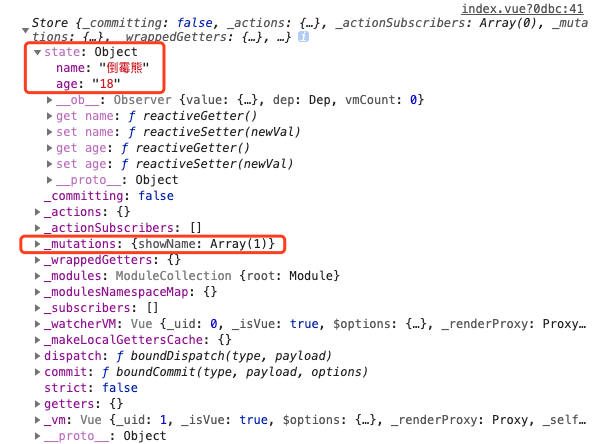
查看数据
console.log(this.$store)
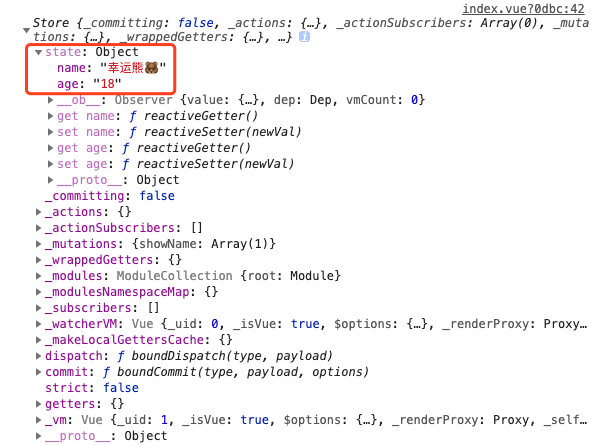
修改数据
在vuex中,更改store中state数据的唯一方法是commit提交 mutation.
在vuex严格模式下,直接修改state数据会使控制台报错!
this.$store.commit('showName', '幸运熊🐻')
console.log(this.$store)
这只是一个简单的使用,想要了解更多请参考官网文档。
如有错误,请多指教,谢谢!

 浙公网安备 33010602011771号