
Windows 环境下 Qt利用第三方Qrencode库生成二维码
前言
由于项目需要,需要使用到二维码的功能。第一时间的想法就是找到第三方的库,然后调用方法函数就可以了。结果还是遇到了很多问题。第一次接触,网上搜索到的大多是Linux下的或者windows的VS多一些。综合一些了博文,有2种方式实现生成二维码的效果。第一种是源码编译生成静态库并调用。第二种是直接引入源码文件(*.c和*.h),然后调用方法。接下来分别说明。
前期准备
libqrencode官网下载:https://fukuchi.org/works/qrencode/。
我下载的是此时最新的qrencode-4.0.2.tar.gz版本(点击此链接可直接下载)。先进行解压,备份(每次操作的都是文件夹副本,防止出错又得重新下载)。
源码编译成静态库
第一步 文件预处理
找到文件夹中的 config.h.in 文件,重命名为 config.h 。会出现弹框,确认即可。这个文件是整个过程中最重要的文件。
文件夹空白处鼠标右键-->分组依据类型-->类型。这样方便操作文件。除了 *.c 和 *.h 文件,其他文件全部删除。最后应该只剩下下图的文件。
然后在删除 qrenc.c 文件。这个文件是用于测试的,我们不需要用到。不删除的话编译通不过。
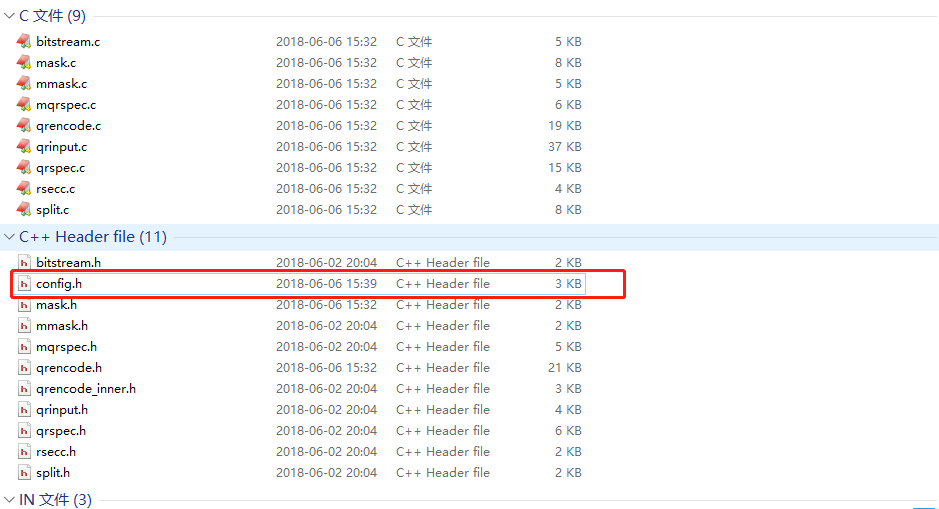
注意删除的是文件夹的副本文件哦。因为谁都不敢保证一次一定成功的。红色框的就是刚才重命名后的 config.h 文件。
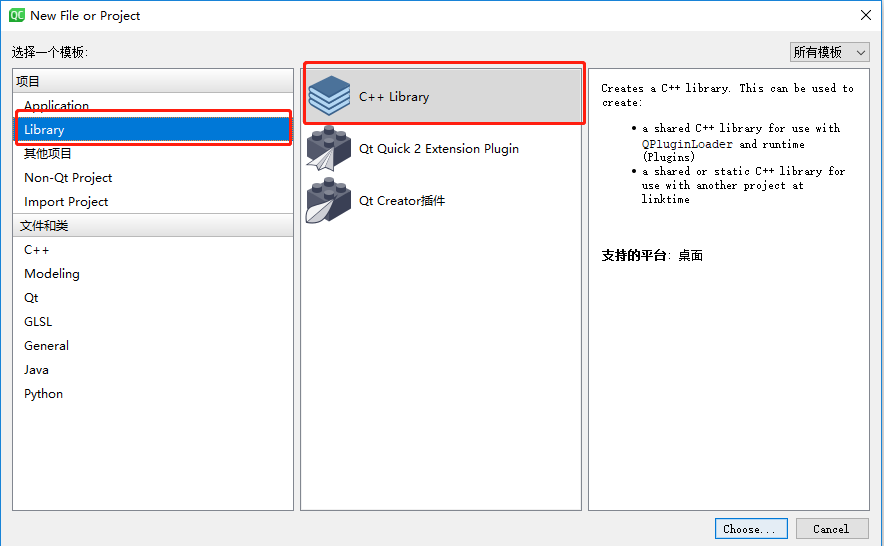
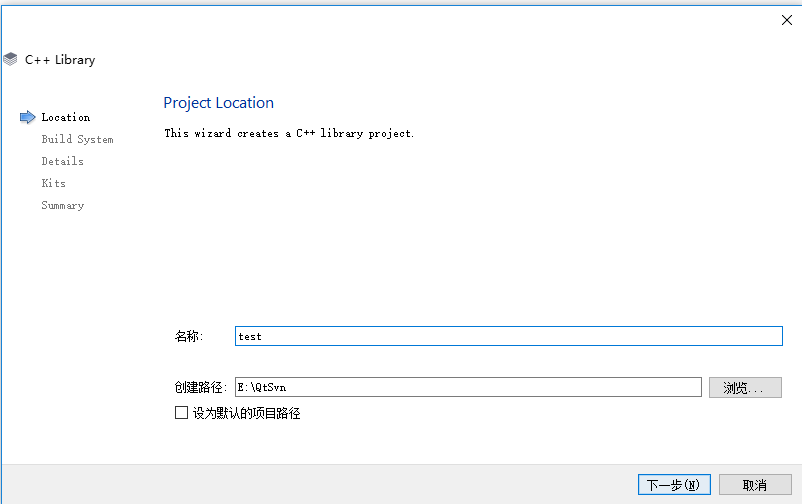
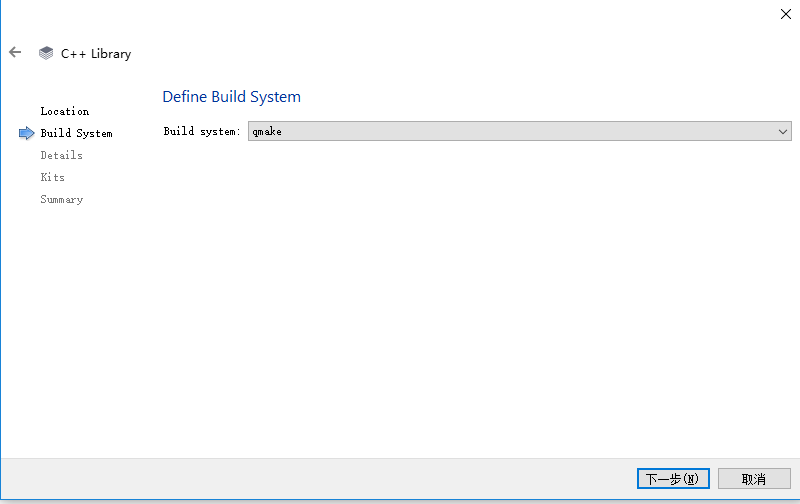
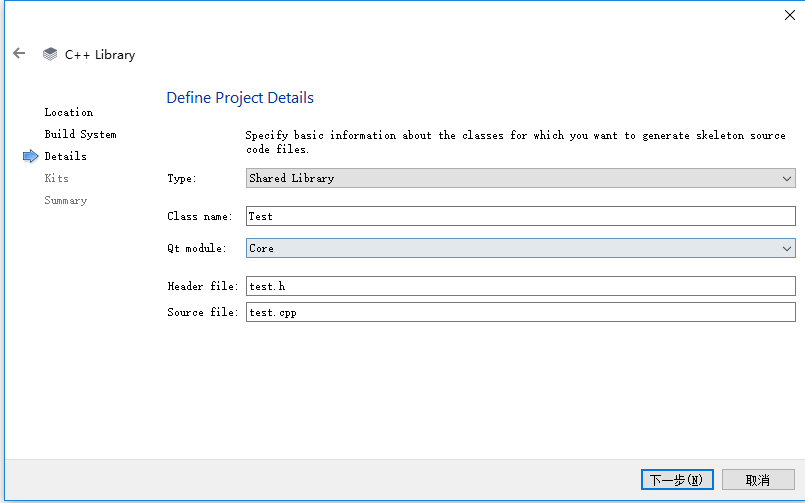
第二步 新建一个C++库
新建一个C++的库项目。虽然qrencode的源码是.c文件但是没关系的,可以成功。
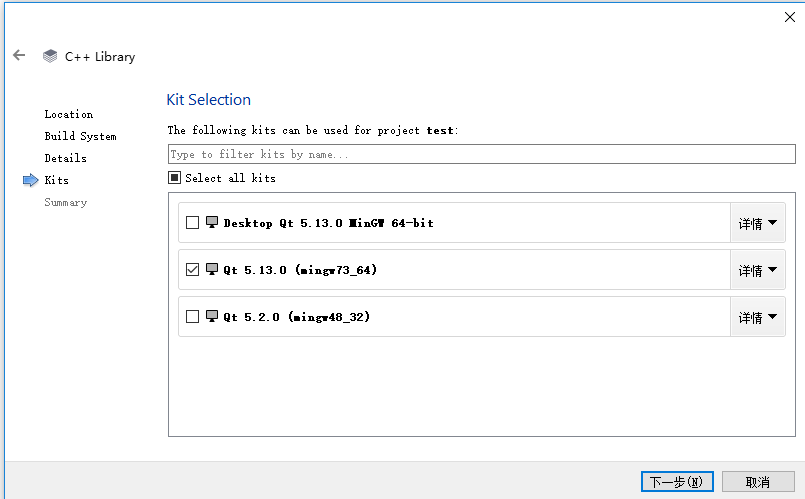
最后一步kits选择第一个还是第二个没关系的,都可以成功。只要保证和自己Qt软件的编译器位数相同就可以了,我这里都是64位。
第三步 源码添加到项目
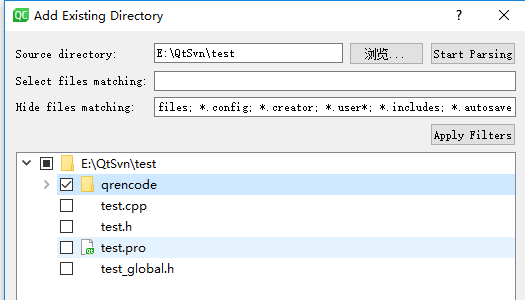
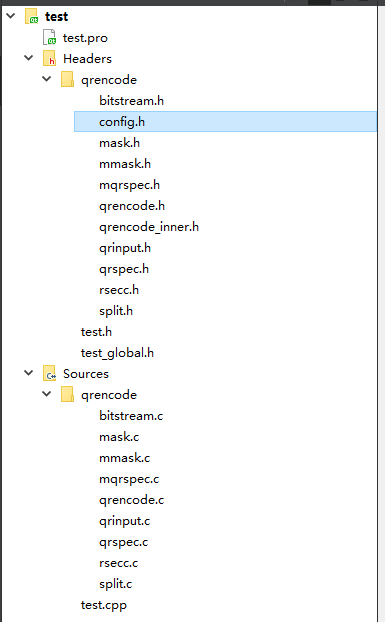
在项目目录下新建libqrencode文件夹,将刚才准备好的 *.c 和 *.h 文件全部复制到libqrencode文件夹下。然后把整个libqrencode文件夹添加到项目中。
第四步 配置config.h
先在.pro文件中添加一句 DEFINES += HAVE_CONFIG_H ;
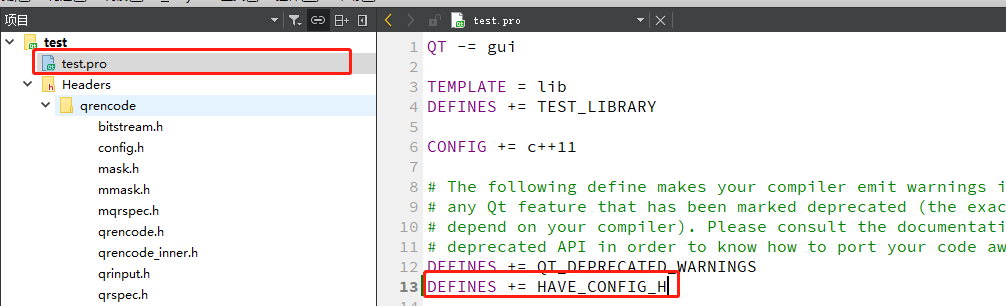
然后编辑 config.h 文件。在编译时,编译器会根据该文件中的编译条件选项对源码进行选择性编译。刚下载下来的 config.h 可以看到全是undef + 宏名,也就是全部是条件关闭的状态。我们需要正确修改它才能正确编译。下面是我的 config.h ,可以作为参考。


/* config.h.in.  Generated from configure.ac by autoheader.  */

/* Define to 1 if you have the <dlfcn.h> header file. */
#define HAVE_DLFCN_H 1

/* Define if you have the iconv() function and it works. */
#undef HAVE_ICONV

/* Define to 1 if you have the <inttypes.h> header file. */
#define HAVE_INTTYPES_H 1

/* Define to 1 if using pthread is enabled. */
#undef HAVE_LIBPTHREAD

/* Define to 1 if you have the <memory.h> header file. */
#define HAVE_MEMORY_H 1

/* Define to 1 if using libpng is enabled. */
#undef HAVE_PNG

/* Define to 1 if using SDL is enabled. */
#undef HAVE_SDL

/* Define to 1 if you have the <stdint.h> header file. */
#define HAVE_STDINT_H 1

/* Define to 1 if you have the <stdlib.h> header file. */
#define HAVE_STDLIB_H 1

/* Define to 1 if you have the `strdup' function. */
#define HAVE_STRDUP 1

/* Define to 1 if you have the <strings.h> header file. */
#define HAVE_STRINGS_H 1

/* Define to 1 if you have the <string.h> header file. */
#define HAVE_STRING_H 1

/* Define to 1 if you have the <sys/stat.h> header file. */
#define HAVE_SYS_STAT_H 1

/* Define to 1 if you have the <sys/types.h> header file. */
#define HAVE_SYS_TYPES_H 1

/* Define to 1 if you have the <unistd.h> header file. */
#define HAVE_UNISTD_H 1

/* Define to the sub-directory where libtool stores uninstalled libraries. */
#undef LT_OBJDIR

/* Major version number */
#define MAJOR_VERSION 4

/* Micro version number */
#define MICRO_VERSION 0

/* Minor version number */
#define MINOR_VERSION 2

/* Name of package */
#define PACKAGE "qrencode"

/* Define to the address where bug reports for this package should be sent. */
#define PACKAGE_BUGREPORT ""

/* Define to the full name of this package. */
#define PACKAGE_NAME "QRencode"

/* Define to the full name and version of this package. */
#define PACKAGE_STRING "QRencode 4.0.2"

/* Define to the one symbol short name of this package. */
#define PACKAGE_TARNAME "qrencode"

/* Define to the home page for this package. */
#define PACKAGE_URL ""

/* Define to the version of this package. */
#define PACKAGE_VERSION "4.0.2"

/* Define to 1 if you have the ANSI C header files. */
#define STDC_HEADERS 1

/* Version number of package */
#define VERSION "4.0.2"

/* Define to empty if `const' does not conform to ANSI C. */
#define const

/* Define to `__inline__' or `__inline' if that's what the C compiler
   calls it, or to nothing if 'inline' is not supported under any name.  */
#ifndef __cplusplus
#undef inline
#endif

/* Define to 'static' if no test programs will be compiled. */
#define STATIC_IN_RELEASE static
#undef WITH_TESTS
特别注意:配置 config.h 是整个过程中最重要的步骤。
配置错误可能出现的错误:
- 编译报错,无法出错
- 编译通过,可以生成静态库。但添加外部库后,使用出现问题(包括关键函数未定义、参数重复定义等等)
- 编译通过,可以生成静态库。Debug模式下使用正常,Release模式下报错。
在搜索博文的时候,我们不应该直接复制他们的 config.h ,而是应该一项一项看里面的注释,自己定义。第一,我们使用的qrencode源码版本和他们不一定相同。比如3.0.0和4.0.2,对同样的 static 定义的宏名称都不一样。就算同样是4系列版本,4.0.0和4.0.2也会有一些小差异。不注意这些,很容易就会出现上诉的问题。
我的配置思路:
- *_H可以看成系统自带的文件,都开启(define XXX_H 1)
- VERSION有关的变量设置和源码相同版本号。这里的版本其实就是控制生成二维码的尺寸、纠错级别等。详细了解:http://news.cnblogs.com/n/191671/
- ANSI C有关的都开启
- 不知道的,就复制全局搜索,找不到的就关闭(undef XXX)
第五步 构建生成静态库
清除----执行qmake----重新构建

如果没有报错的话,就会在自己的编译模式下的目录中可以找到我们需要的静态库文件了。它是以lib+项目名命名的,我这里就是 libtest.a 文件了,为了方便,我们重命名为 libqrencode.a 。
文件所在目录:点击左侧“项目”图标查看

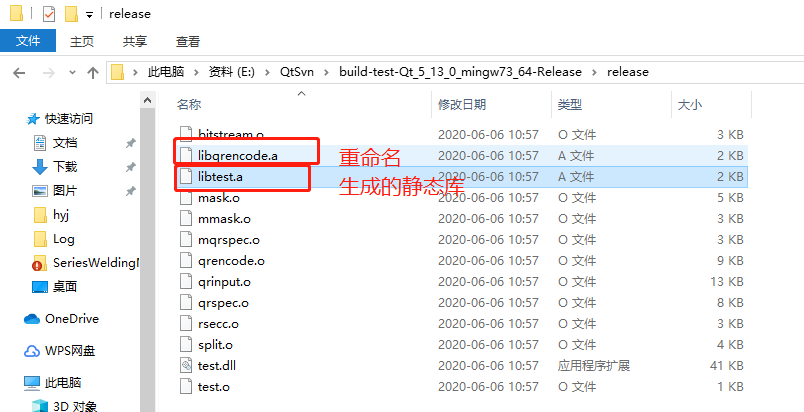
静态库文件是需要和头文件一起使用的,我们新建一个libqrencode的文件夹,然后把 libqrencode.a 和 qrencode.h 这两个文件放进去。这样在项目需要使用时,把文件夹libqrencode复制到项目路径下,配置一下就可以了。
第六步 使用静态库
libqrencode.a 通过添加外部库的方式加入; qrencode.h 通过添加现有文件的方式加入。
添加外部库

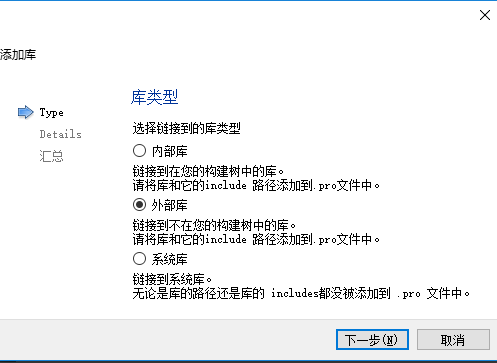
选择项目路径下的libqrencode文件夹下的静态库
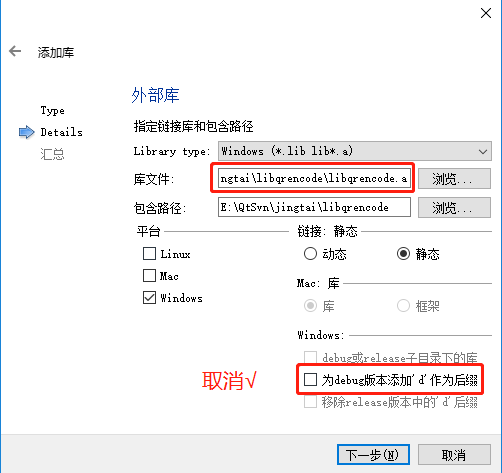
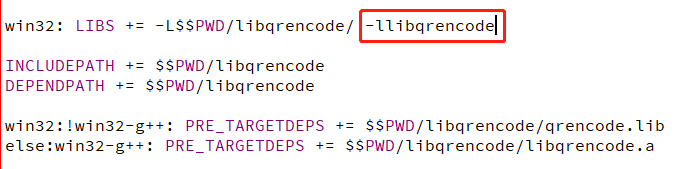
执行完后,在.pro文件中会自动添加一些代码。也不知道哪里配置错了,自动生成的代码中是-lqrencode。按道理是-llibqrencode (-l 后面加的应该是静态库的名字)。这里我们需要改一下,不然会报错找不到库qrencode。
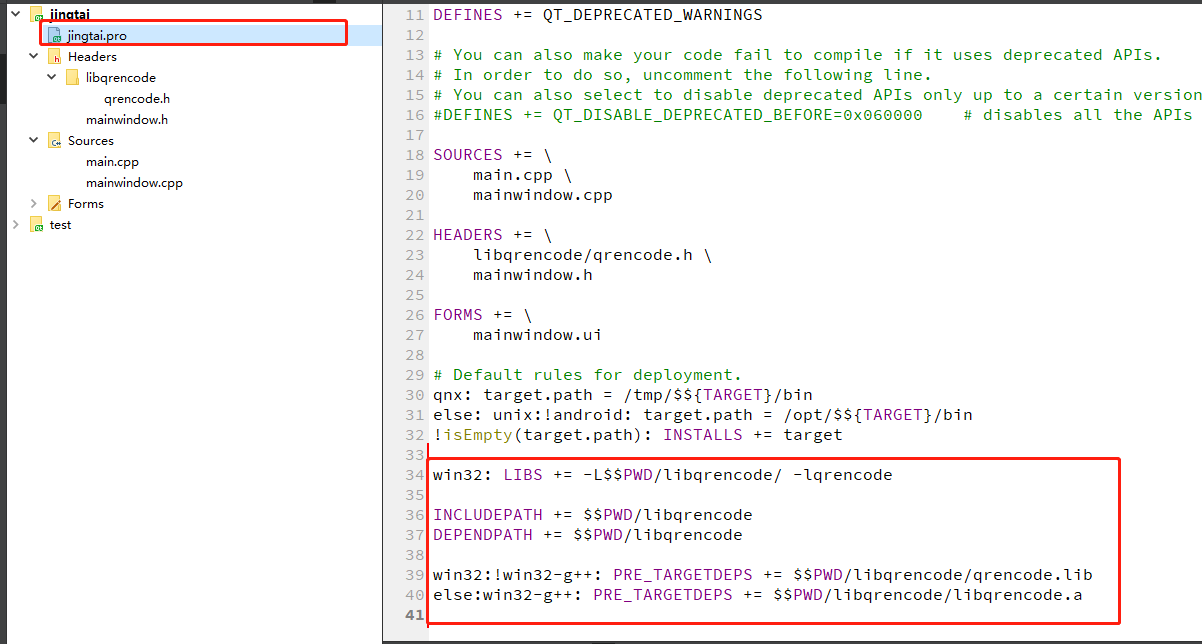
改成
添加头文件
在用到的地方
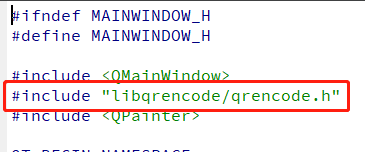
这样就可以直接调用API了。
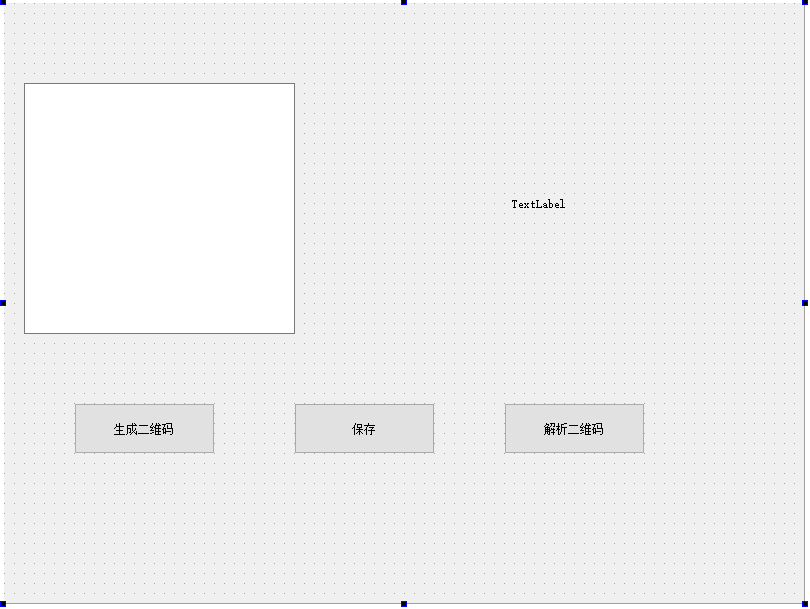
界面
目前只实现了生成二维码的方法。
实现代码
mainwindow.h
#ifndef MAINWINDOW_H
#define MAINWINDOW_H

#include <QMainWindow>
#include "libqrencode/qrencode.h"
#include <QPainter>

QT_BEGIN_NAMESPACE
namespace Ui { class MainWindow; }
QT_END_NAMESPACE

class MainWindow : public QMainWindow
{
    Q_OBJECT

public:
    MainWindow(QWidget *parent = nullptr);
    ~MainWindow();
    void GernerateQRCode(const QString &text, QPixmap &qrPixmap, int scale);

private slots:
    void on_generateBtn_clicked();

    void on_saveBtn_clicked();

    void on_analysisBtn_clicked();

private:
    Ui::MainWindow *ui;
};
#endif // MAINWINDOW_H
mainwindow.cpp
#include "mainwindow.h"
#include "ui_mainwindow.h"

MainWindow::MainWindow(QWidget *parent)
    : QMainWindow(parent)
    , ui(new Ui::MainWindow)
{
    ui->setupUi(this);
}

MainWindow::~MainWindow()
{
    delete ui;
}

/**
  * @brief GernerateQRCode
  * 生成二维码函数
  * @param text  二维码内容
  * @param qrPixmap  二维码像素图
  * @param scale 二维码缩放比例
  */
void MainWindow::GernerateQRCode(const QString &text, QPixmap &qrPixmap, int scale)
{
    if(text.isEmpty())
    {
        return;
    }

    //二维码数据
    QRcode *qrCode = nullptr;

    //这里二维码版本传入参数是2,实际上二维码生成后,它的版本是根据二维码内容来决定的
    qrCode = QRcode_encodeString(text.toStdString().c_str(), 2,
                                 QR_ECLEVEL_Q, QR_MODE_8, 1);
    if(nullptr == qrCode)
    {
        return;
    }

    int qrCode_Width = qrCode->width > 0 ? qrCode->width : 1;
    int width = scale * qrCode_Width;
    int height = scale * qrCode_Width;

    QImage image(width, height, QImage::Format_ARGB32_Premultiplied);

    QPainter mPainter(&image);
    QColor background(Qt::white);
    mPainter.setBrush(background);
    mPainter.setPen(Qt::NoPen);
    mPainter.drawRect(0, 0, width, height);
    QColor foreground(Qt::black);
    mPainter.setBrush(foreground);
    for(int y = 0; y < qrCode_Width; ++y)
    {
        for(int x = 0; x < qrCode_Width; ++x)
        {
            unsigned char character = qrCode->data[y * qrCode_Width + x];
            if(character & 0x01)
            {
                QRect rect(x * scale, y * scale, scale, scale);
                mPainter.drawRects(&rect, 1);
            }
        }
    }

    qrPixmap = QPixmap::fromImage(image);
    QRcode_free(qrCode);
}


void MainWindow::on_generateBtn_clicked()
{
    QPixmap qrPixmap;
    int width = ui->imageLabel->width();
    int height = ui->imageLabel->height();
    GernerateQRCode(ui->content->toPlainText(), qrPixmap, 2);
    qrPixmap = qrPixmap.scaled(QSize(width, height),
                               Qt::IgnoreAspectRatio, Qt::SmoothTransformation);
    ui->imageLabel->setPixmap(qrPixmap);
    qrPixmap.save("qrencode.jpg",nullptr,-1);//这里直接就保存为图片
}

void MainWindow::on_saveBtn_clicked()
{

}

void MainWindow::on_analysisBtn_clicked()
{

}
效果
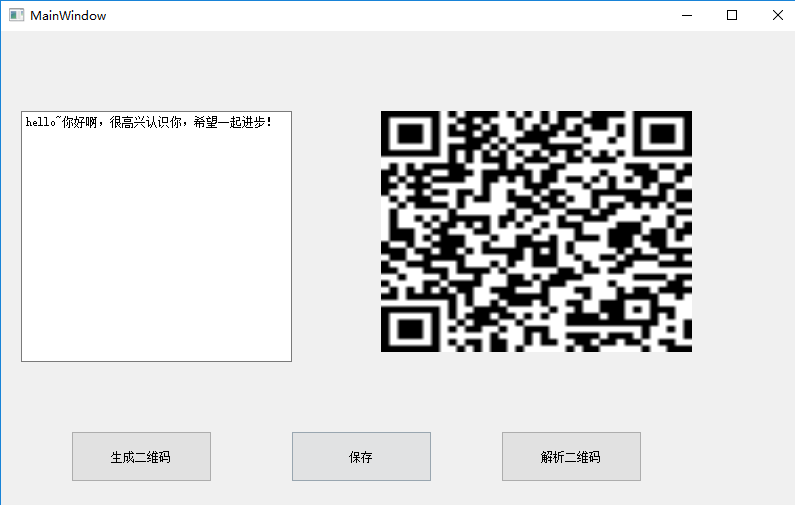
手机扫描二维码的结果是和输入的信息是一致的。
包含源码调用API
其实生成静态库的方法就是把源码编译打包成一个静态库文件,等到调用的时候再到静态库调用API。那么直接把源码包含进项目的做法,就是不编译打包了,直接访问源文件。缺点是文件多,会很乱(不推荐)。要是用一个第三库就包含一个源码文件夹,多了以后就很乱了。我在尝试过程中,是按照网上静态库的方法失败后,无奈尝试这种方法。毕竟先弄出效果再说不是?
前期步骤和上面的方法相似,文件预处理--->所有 .c 和 .h 打包进文件夹libqrencode--->复制到项目路径--->以已存在文件的形式把整个文件夹添加到项目中去--->配置 config.h (注意点和上面一样)
----->需要使用的地方 #include "libqrencode/qrencode.h" ---->调用API。这里就不再重复叙述了。
参考博文
- https://blog.csdn.net/tanglj86/article/details/79208246(采用包含源码调用API的方式,用他的 config.h Debug模式下正常,Release模式下报错多重定义)
- https://www.cnblogs.com/grebamboo/p/12743373.html(他这边直接提供了静态库,直接使用,出现函数已声明未定义的错误。生成二维码的按钮槽函数参考的他)
- http://news.cnblogs.com/n/191671/ (有关二维码的基础知识,大概了解下就可以了)
后续
第一次发布的随笔,有存在错误或者错别字请指出,感谢。有疑惑的可以在评论里提出,人不经常在线。
后续还会尝试解析二维码。不过我相信有了这个经验,使用其他库应该不是问题。
希望可以让一开始接触完全不知道怎么着手的同学(说的就是自己啊)看得懂,暂时就先这样吧~
