

接口自动化:HttpClient + TestNG + Java(四) - 封装和测试post方法请求
在上一篇中,我们对第一个自动化接口测试用例做了初步优化和断言,这一篇我们处理POST请求。
4.1 发送POST方法请求
post方法和get方法是我们在做接口测试时,绝大部分场景下要应对的主要方法。
在发送请求时他们显著的一个差别就在于,get方法我们只需要组在url内发送即可,post我们还需发送一个请求主体。
4.1.1 修改restfulClient实现发送POST请求
    //通过httpclient获取post请求的反馈
    public void sendPost(String url, List<NameValuePair> params, HashMap<String, String> headers) throws ClientProtocolException, IOException{
        //创建post请求对象
        httpPost = new HttpPost(url);

     //设置请求主体格式
        httpPost.setEntity(new UrlEncodedFormEntity(params, "UTF-8"));

        //设置头部信息
        Set<String> set = headers.keySet();
        for(Iterator<String> iterator = set.iterator(); iterator.hasNext();){
            String key = iterator.next();
            String value = headers.get(key);
            httpPost.addHeader(key, value);
        }
        httpResponse = httpclient.execute(httpPost);
    }
这里考虑用List来发送NameValuePair键值对来设置请求的主体。
头部信息仍然采用哈希图的方式设置。
其他接收反馈进行储存和处理暂时不用做调整。
4.1.2 在测试类中测试
在src/test/java下新建testPost.java,代码如下:
package com.test.api;

import org.testng.annotations.Test;

import com.alibaba.fastjson.JSONObject;
import com.test.client.RestfulClient;
import com.test.utils.JSONParser;

import java.io.IOException;
import java.util.ArrayList;
import java.util.HashMap;
import java.util.List;

import org.apache.http.NameValuePair;
import org.apache.http.client.ClientProtocolException;
import org.apache.http.message.BasicNameValuePair;
import org.testng.Assert;
import org.testng.annotations.BeforeClass;

public class testPost {
    RestfulClient client;
    JSONObject responseBody;
    JSONParser jParser;
    int responseCode;
    String city;
    String url = "https://api.apishop.net/communication/phone/getLocationByPhoneNum";
    String postBody;

  @Test
  public void testPostRequest() {
    //断言反馈中城市信息是否正确
      Assert.assertEquals(city, "北京");
    //断言反馈的状态码是否正确
      Assert.assertEquals(responseCode, 200);
  }
  @BeforeClass
  public void beforeClass() throws ClientProtocolException, IOException {
      client = new RestfulClient();

    //用NameValuePair的list来添加请求主体参数
      List<NameValuePair> params = new ArrayList<NameValuePair>();
      params.add(new BasicNameValuePair("apiKey", "nMke6NK29c40b1d******b3eec8aa0808389b16c4"));
      params.add(new BasicNameValuePair("phoneNum", "1861196136"));

    //用哈希图准备请求头部信息
      HashMap<String, String> hashHead = new HashMap<String, String>();
      hashHead.put("Content-Type", "application/x-www-form-urlencoded");

    //传参发送post请求并接收反馈
      client.sendPost(url, params, hashHead);

      responseBody = client.getBodyInJSON();
      responseCode = client.getCodeInNumber();

      System.out.println(responseBody);
      jParser = new JSONParser();
      city = jParser.getCity(responseBody);
  }

}
相较于前面测试get请求,最大的调整在于post请求我们设置了头部信息和请求主体的参数。
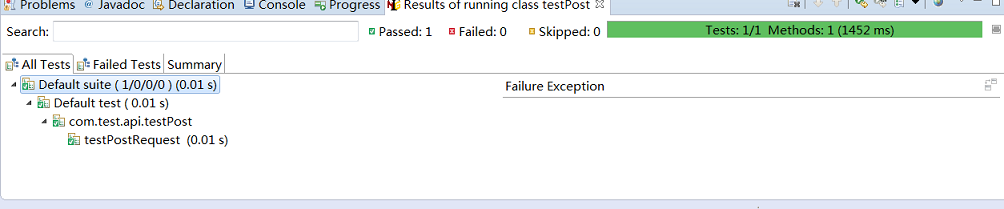
4.1.3 TestNG测试结果
测试通过。
接下来的任务我们做进一步代码优化、封装,数据分离等。
============================================ PS ============================================
请大家支持原创,尊重原创,如要转载,请注明出处:“转载自:https://www.cnblogs.com/yingyingja”,谢谢!!有任何疑问,欢迎大家留言区艾特我。
- 软件测试技术交流:【939885326 】
- 个人工作qq:【2049427226】
- 功能测试,自动化测试,性能测试,测试开发,测试架构,测试管理方面的问题欢迎与加群与我交流,加群时请备注下:博客园-Vincent


 浙公网安备 33010602011771号