

Vue.js的组件化思想--下
Vue.js的组件化思想--下
一、组件间的通信
组件实例的作用域是孤立的;这意味着不能并且不应该在子组件的模板内直接引用父组件的数据。但是父子组件之间需要通信:父组件要给子组件传递数据,子组件需要将它内部发生的事情告知给父组件。
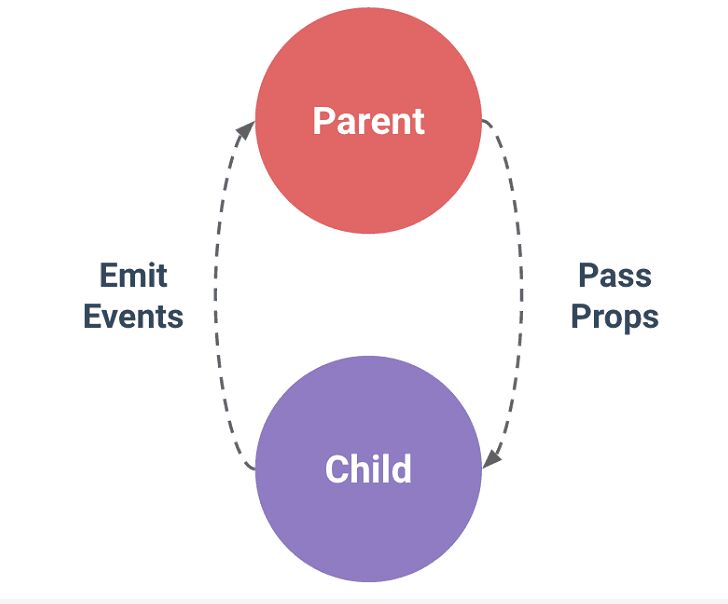
在 Vue.js 中,父子组件的关系可以总结为 props down, events up 。父组件通过 props 向下传递数据给子组件,子组件通过 events 给父组件发送消息。如下图所示:
二、 Prop — 父组件传递数据给子组件
prop 是父组件用来传递数据的一个自定义属性。子组件需要显式地用 props 选项声明 “prop”:
Vue.component('child', {
// 声明 props
props: ['message'],
// 就像 data 一样,prop 可以用在模板内
// 同样也可以在 vm 实例中像 “this.message” 这样使用
template: '<span>{{ message }}</span>'
})
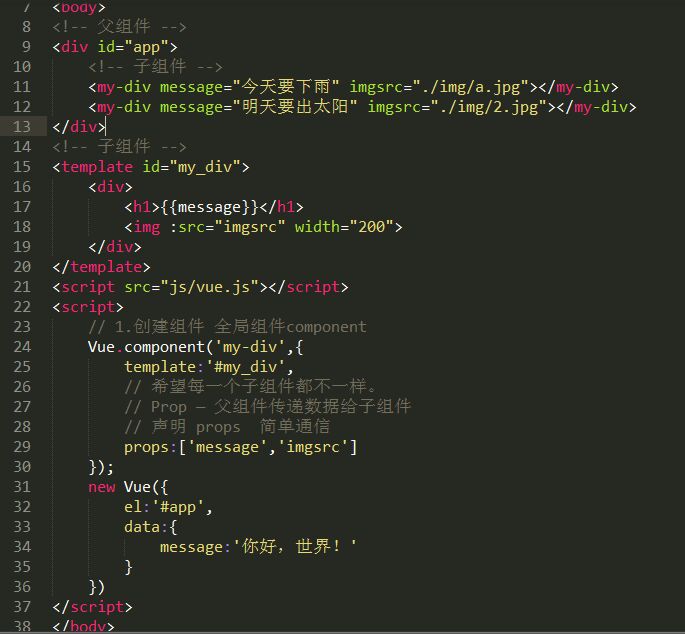
2.1 简单的传值
<!DOCTYPE html>
<html lang="en">
<head>
	<meta charset="UTF-8">
	<title>Prop — 父组件传递数据给子组件</title>
</head>
<body>
<!-- 父组件 -->
<div id="app">
	<!-- 子组件 -->
	<my-div message="今天要下雨" imgsrc="./img/a.jpg"></my-div>
	<my-div message="明天要出太阳" imgsrc="./img/2.jpg"></my-div>
</div>

<!-- 子组件 -->
<template id="my_div">
	<div>
		<h1>{{message}}</h1>
		<img :src="imgsrc" width="200">
	</div>
</template>

<script_top src="js/vue.js"></script_top>
<script_top>

	// 1.创建组件 全局组件component
	Vue.component('my-div',{
		template:'#my_div',
		// 希望每一个子组件都不一样。
		// Prop — 父组件传递数据给子组件
		// 声明 props  简单通信
		props:['message','imgsrc']
	})

	new Vue({
		el:'#app',
		data:{
			message:'你好,世界!'
		}
	})
</script_top>
</body>
</html>
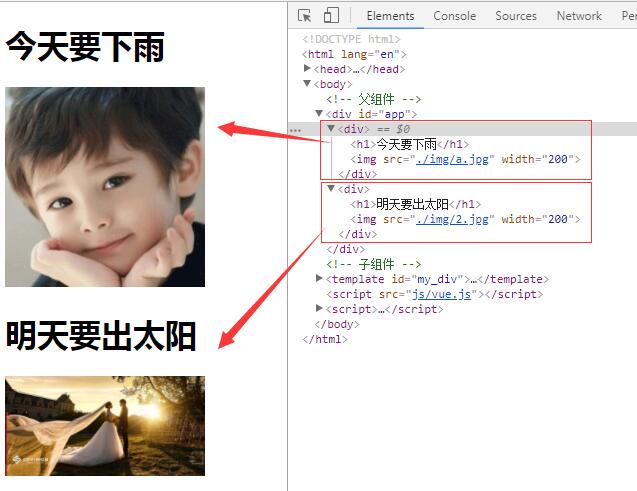
运行结果:
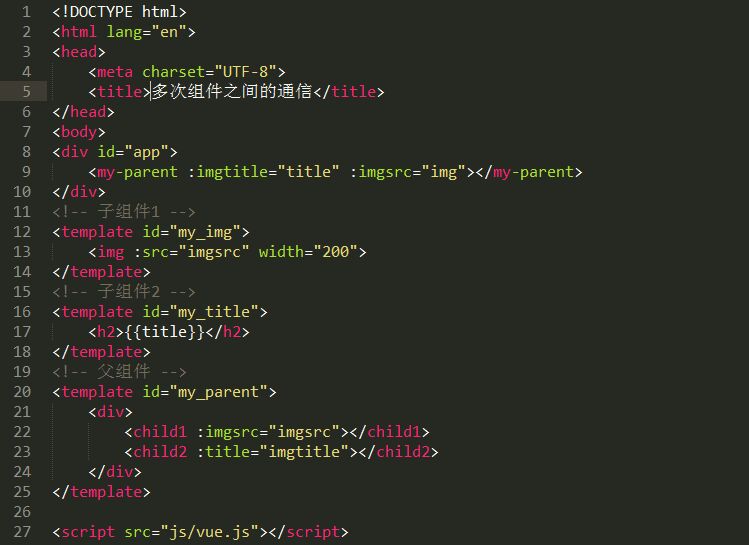
2.2 父组件传值给子组件,动态绑定
<!DOCTYPE html>
<html lang="en">
<head>
<meta charset="UTF-8">
<title>多次组件之间的通信</title>
</head>
<body>
<div id="app">
<my-parent :imgtitle="title" :imgsrc="img"></my-parent>
</div>
<!-- 子组件1 -->
<template id="my_img">
<img :src="imgsrc" width="200">
</template>
<!-- 子组件2 -->
<template id="my_title">
<h2>{{title}}</h2>
</template>
<!-- 父组件 -->
<template id="my_parent">
<div>
<child1 :imgsrc="imgsrc"></child1>
<child2 :title="imgtitle"></child2>
</div>
</template>
<script_top src="js/vue.js"></script_top>
<script_top>
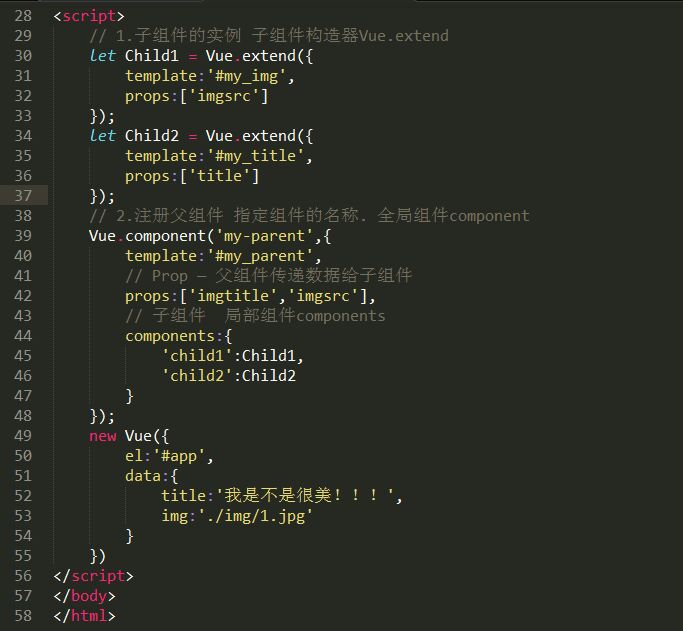
// 1.子组件的实例 子组件构造器Vue.extend
let Child1 = Vue.extend({
template:'#my_img',
props:['imgsrc']
});
let Child2 = Vue.extend({
template:'#my_title',
props:['title']
});
// 2.注册父组件 指定组件的名称. 全局组件component
Vue.component('my-parent',{
template:'#my_parent',
// Prop — 父组件传递数据给子组件
props:['imgtitle','imgsrc'],
// 子组件 局部组件components
components:{
'child1':Child1,
'child2':Child2
}
});
new Vue({
el:'#app',
data:{
title:'我是不是很美!!!',
img:'./img/1.jpg'
}
})
</script_top>
</body>
</html>
运行结果:

三、自定义事件
我们知道,父组件是使用 props 传递数据给子组件,但如果子组件要把数据传递回去,应该怎样做?那就是自定义事件!
每个 Vue 实例都实现了事件接口(Events interface),即:
使用 $on(eventName) 监听事件
使用 $emit(eventName) 触发事件
另外,父组件可以在使用子组件的地方直接用 v-on 来监听子组件触发的事件。
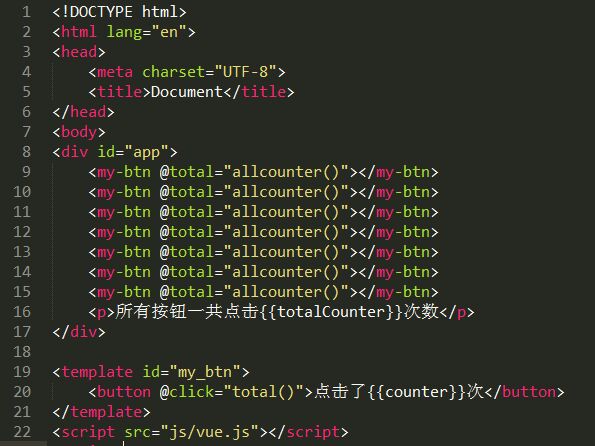
一个简单的案例帮助我们来理解:
<!DOCTYPE html>
<html lang="en">
<head>
<meta charset="UTF-8">
<title>Document</title>
</head>
<body>
<div id="app">
<my-btn @total="allcounter()"></my-btn>
<my-btn @total="allcounter()"></my-btn>
<my-btn @total="allcounter()"></my-btn>
<my-btn @total="allcounter()"></my-btn>
<my-btn @total="allcounter()"></my-btn>
<my-btn @total="allcounter()"></my-btn>
<my-btn @total="allcounter()"></my-btn>
<p>所有按钮一共点击{{totalCounter}}次数</p>
</div>
<template id="my_btn">
<button @click="total()">点击了{{counter}}次</button>
</template>
<script_top src="js/vue.js"></script_top>
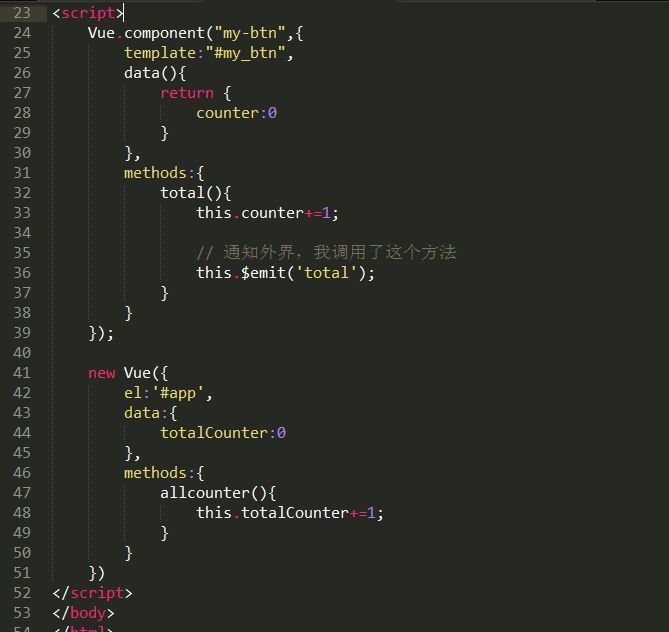
<script_top>
Vue.component("my-btn",{
template:"#my_btn",
data(){
return {
counter:0
}
},
methods:{
total(){
this.counter+=1;
// 通知外界,我调用了这个方法
this.$emit('total');
}
}
});
new Vue({
el:'#app',
data:{
totalCounter:0
},
methods:{
allcounter(){
this.totalCounter+=1;
}
}
})
</script_top>
</body>
</html>
运行结果:
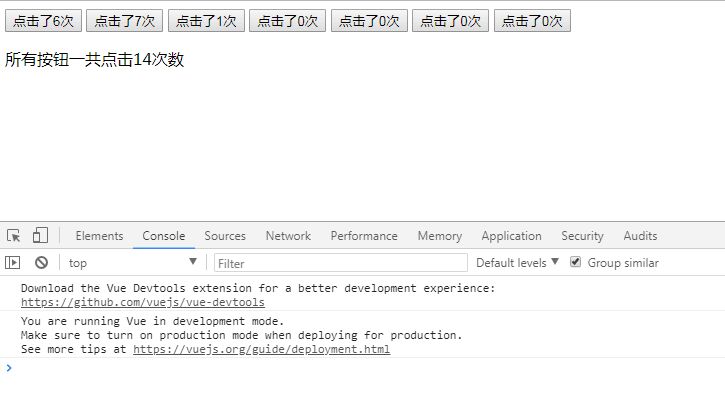
运行结果:子组件已经和它外部完全解耦了。它所做的只是触发一个父组件关心的内部事件。
四、Slot插槽 — 实现内容分发
父组件模板的内容在父组件作用域内编译;子组件模板的内容在子组件作用域内编译
上面话的意思在于:在子组件中定义的数据,只能用在子组件的模板;在父组件中定义的数据,只能用在父组件的模板。如果父组件的数据要在子组件中使用,则需要子组件定义props。
4.1 什么是slot?
slot的意思是插槽,其目的在于让组件的可扩展性更强。打个比方说:假如父组件需要在子组件内放一些DOM,那么这些DOM是显示、不显示、在哪个地方显示、如何显示,就是slot分发负责的。
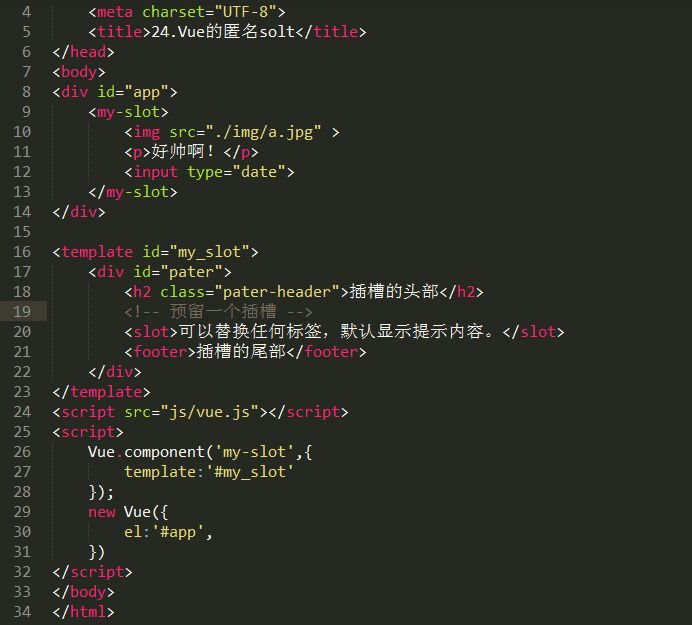
(1) 匿名solt
下面这个示例是一个匿名slot,它只能表示一个插槽:
<!DOCTYPE html>
<html lang="en">
<head>
	<meta charset="UTF-8">
	<title>24.Vue的匿名solt</title>
</head>
<body>
<div id="app">
    <my-slot>
		<img src="./img/a.jpg" >
		<p>好帅啊!</p>
		<input type="date">
    </my-slot>
</div>

<template id="my_slot">
	<div id="pater">
		<h2 class="pater-header">插槽的头部</h2>
		<!-- 预留一个插槽 -->
		<slot>可以替换任何标签,默认显示提示内容。</slot>
		<footer>插槽的尾部</footer>
	</div>
</template>
<script_top src="js/vue.js"></script_top>
<script_top>
	Vue.component('my-slot',{
		template:'#my_slot'
	});
	new Vue({
		el:'#app',
	})
</script_top>
</body>
</html>
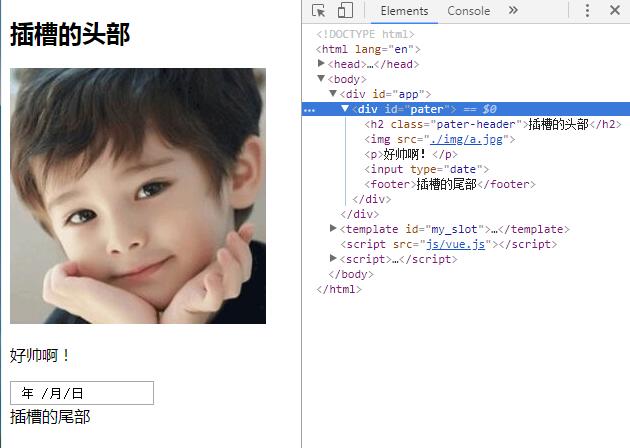
运行结果:
结合上述案例,我们再进一步来了解:比如我们定制了一个button组件,在根组件里注册为vButton,从而复用。那么各个button上的文字肯定是不同的,但是这些文字大部分情况下也是不需要动态更新的,那么就不必用props之类的方法从根组件向子组件传递文字,直接用slot即可。
(2) 实名solt
假设你的电脑主板上的各种插槽,有插CPU的,有插显卡的,有插内存的,有插硬盘的,所以假设有个组件是computer,其模板是:
<template id="computer">
<div>
<slot name="CPU">这儿插你的CPU</slot>
<slot name="GPU">这儿插你的显卡</slot>
<slot name="Memory">这儿插你的内存</slot>
<slot name="Hard-drive">这儿插你的硬盘</slot>
</div>
</template>
那么,你想要配置一台电脑,就可以这么写:
<computer>
<div slot="CPU">Intel Core i7</div>
<div slot="GPU">GTX980Ti</div>
<div slot="Memory">Kingston 32G</div>
<div slot="Hard-drive">Samsung SSD 1T</divt>
</computer>
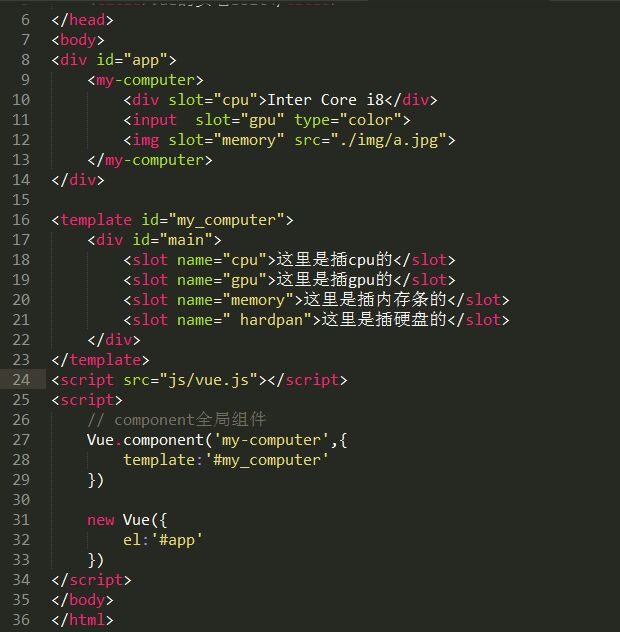
具体代码如下:
<!DOCTYPE html>
<html lang="en">
<head>
	<meta charset="UTF-8">
	<title>Vue的实名solt</title>
</head>
<body>
<div id="app">
    <my-computer>
    	<div slot="cpu">Inter Core i8</div>
    </my-computer>
</div>

<template id="my_computer">
	<div id="main">
		<slot name="cpu">这里是插cpu的</slot>
		<slot name="gpu">这里是插gpu的</slot>
		<slot name="memory">这里是插内存条的</slot>
		<slot name=" hardpan">这里是插硬盘的</slot>
	</div>
</template>
<script_top src="js/vue.js"></script_top>
<script_top>
	// component全局组件
	Vue.component('my-computer',{
		template:'#my_computer'
	})

	new Vue({
		el:'#app',
		data:{
			message:'你好,世界!'
		}
	})
</script_top>
</body>
</html>
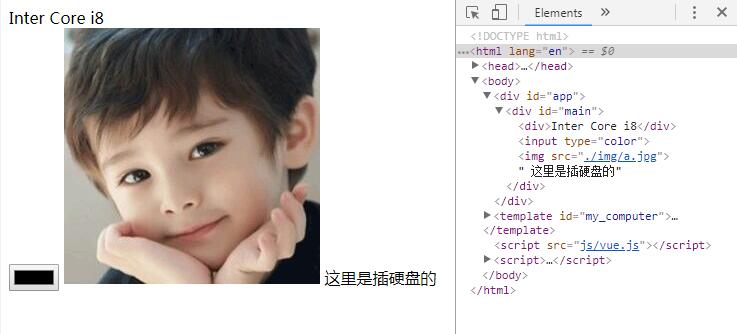
运行结果:

 浙公网安备 33010602011771号