1、Nginx安装方式
1.1、源码编译
1.2、epel仓库
1.3、官方yum仓库【推荐】
2、安装Nginx【官方yum仓库】
2.1、配置nginx官方仓库
cat >/etc/yum.repos.d/nginx.repo<<'EOF'
[nginx-stable]
name=nginx stable repo
baseurl=http://nginx.org/packages/centos/$releasever/$basearch/
gpgcheck=1
enabled=1
gpgkey=https://nginx.org/keys/nginx_signing.key
EOF
2.3、安装
2.3.1、安装依赖包
yum install -y gcc gcc-c++ autoconf pcre pcre-devel make automake httpd-tools
2.3.2、安装nginx
2.4、启动服务并且设置开机自启动
systemctl start nginx
systemctl enable nginx
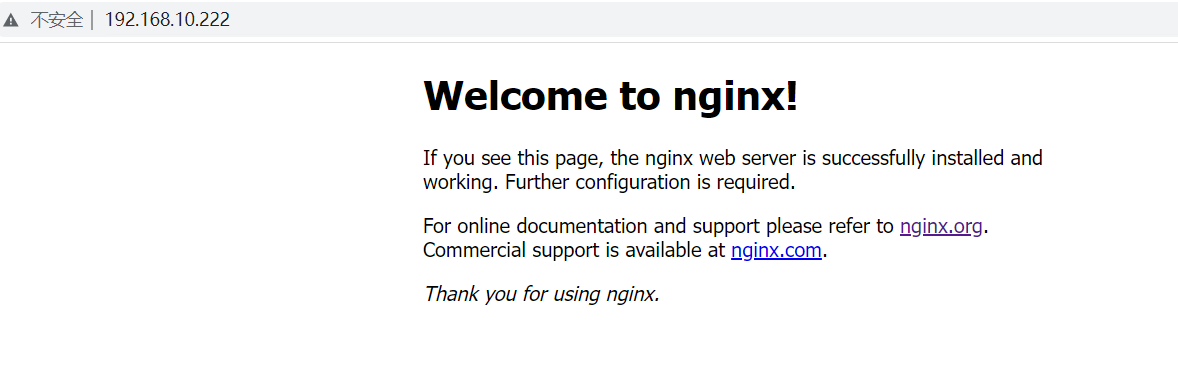
2.5、浏览器测试访问

2.6、检查nginx版本
]# nginx -v
nginx version: nginx/1.24.0

]# nginx -V
nginx version: nginx/1.24.0
built by gcc 4.8.5 20150623 (Red Hat 4.8.5-44) (GCC)
built with OpenSSL 1.0.2k-fips  26 Jan 2017
TLS SNI support enabled
configure arguments: --prefix=/etc/nginx --sbin-path=/usr/sbin/nginx --modules-path=/usr/lib64/nginx/modules --conf-path=/etc/nginx/nginx.conf --error-log-path=/var/log/nginx/error.log --http-log-path=/var/log/nginx/access.log --pid-path=/var/run/nginx.pid --lock-path=/var/run/nginx.lock --http-client-body-temp-path=/var/cache/nginx/client_temp --http-proxy-temp-path=/var/cache/nginx/proxy_temp --http-fastcgi-temp-path=/var/cache/nginx/fastcgi_temp --http-uwsgi-temp-path=/var/cache/nginx/uwsgi_temp --http-scgi-temp-path=/var/cache/nginx/scgi_temp --user=nginx --group=nginx --with-compat --with-file-aio --with-threads --with-http_addition_module --with-http_auth_request_module --with-http_dav_module --with-http_flv_module --with-http_gunzip_module --with-http_gzip_static_module --with-http_mp4_module --with-http_random_index_module --with-http_realip_module --with-http_secure_link_module --with-http_slice_module --with-http_ssl_module --with-http_stub_status_module --with-http_sub_module --with-http_v2_module --with-mail --with-mail_ssl_module --with-stream --with-stream_realip_module --with-stream_ssl_module --with-stream_ssl_preread_module --with-cc-opt='-O2 -g -pipe -Wall -Wp,-D_FORTIFY_SOURCE=2 -fexceptions -fstack-protector-strong --param=ssp-buffer-size=4 -grecord-gcc-switches -m64 -mtune=generic -fPIC' --with-ld-opt='-Wl,-z,relro -Wl,-z,now -pie'
3、安装Nginx【使用源码包】
3.1、下载软件
wget http://nginx.org/download/nginx-1.24.0.tar.gz
3.2、安装
3.2.1、安装依赖包
yum install gcc make pcre pcre-devel openssl openssl-devel -y
3.2.2、安装nginx
useradd -s /sbin/nologin -M nginx
tar xvf nginx-1.24.0.tar.gz && cd nginx-1.24.0
./configure \
--user=nginx \
--group=nginx \
--prefix=/usr/local/nginx-1.24.0 \
--with-http_ssl_module \
--with-http_stub_status_module \
--pid-path=/var/run/nginx.pid \
--lock-path=/var/run/nginx.lock \
--with-stream && make && make install
ln -s /usr/local/nginx-1.24.0 /usr/local/nginx
3.3、编写和设置开机自动启动
chown nginx /usr/local/nginx/ -R
cat >/lib/systemd/system/nginx.service<<'EOF'
[Unit]
Description=nginx - high performance web server
Documentation=http://nginx.org/en/docs/
After=network-online.target remote-fs.target nss-lookup.target
Wants=network-online.target

[Service]
Type=forking
PIDFile=/var/run/nginx.pid
ExecStart=/usr/local/nginx/sbin/nginx -c /usr/local/nginx/conf/nginx.conf
ExecReload=/bin/sh -c "/bin/kill -s HUP $(/bin/cat /var/run/nginx.pid)"
ExecStop=/bin/sh -c "/bin/kill -s TERM $(/bin/cat /var/run/nginx.pid)"

[Install]
WantedBy=multi-user.target
EOF

systemctl daemon-reload;
systemctl start nginx;
systemctl enable nginx;
3.4、浏览器测试访问
3.5、检查nginx版本
]# /usr/local/nginx/sbin/nginx -v
nginx version: nginx/1.24.0

]# /usr/local/nginx/sbin/nginx -V
nginx version: nginx/1.24.0
built by gcc 4.8.5 20150623 (Red Hat 4.8.5-44) (GCC)
built with OpenSSL 1.0.2k-fips  26 Jan 2017
TLS SNI support enabled
configure arguments: --user=nginx --group=nginx --prefix=/usr/local/nginx-1.24.0 --with-http_ssl_module --with-http_stub_status_module --pid-path=/var/run/nginx.pid --lock-path=/var/run/nginx.lock --with-stream

 浙公网安备 33010602011771号