FastDFS
一、前言
1.1 什么是FastDFS?
FastDFS是用c语言编写的一款开源的分布式文件系统。FastDFS为互联网量身定制,充分考虑了冗余备份、负载均衡、线性扩容等机制,并注重高可用、高性能等指标,使用FastDFS很容易搭建一套高性能的文件服务器集群提供文件上传、下载等服务。
1.2 FastDFS架构
FastDFS架构包括 Tracker server和Storage server。客户端请求Tracker server进行文件上传、下载,通过Tracker server调度最终由Storage server完成文件上传和下载。
Tracker server作用是负载均衡和调度,通过Tracker server在文件上传时可以根据一些策略找到Storage server提供文件上传服务。可以将tracker称为追踪服务器或调度服务器。
Storage server作用是文件存储,客户端上传的文件最终存储在Storage服务器上,Storage server没有实现自己的文件系统而是利用操作系统 的文件系统来管理文件。可以将storage称为存储服务器。
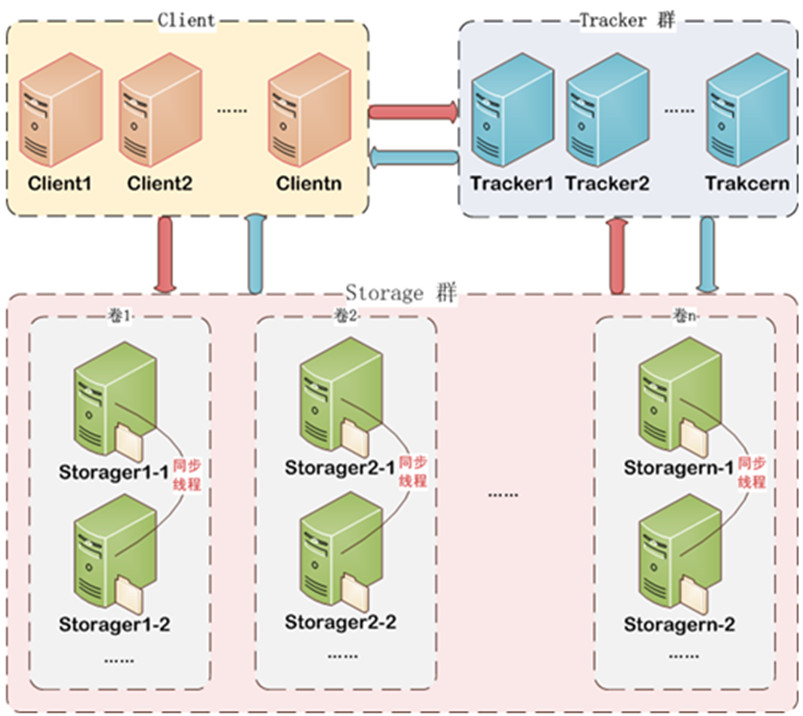
服务端两个角色:
Tracker:管理集群,tracker也可以实现集群。每个tracker节点地位平等。收集Storage集群的状态。
Storage:实际保存文件。Storage分为多个组,每个组之间保存的文件是不同的。每个组内部可以有多个成员,组成员内部保存的内容是一样的,组成员的地位是一致的,没有主从的概念。、
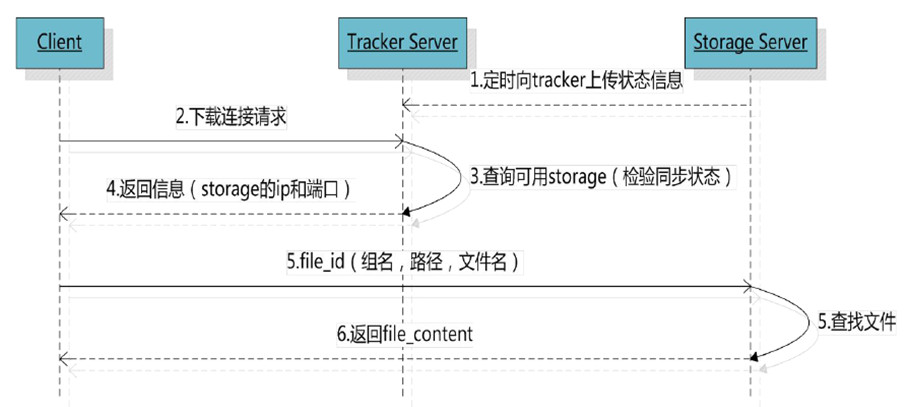
1.3 文件上传的流程

客户端上传文件后存储服务器将文件ID返回给客户端,此文件ID用于以后访问该文件的索引信息。文件索引信息包括:组名,虚拟磁盘路径,数据两级目录,文件名。

- 组名:文件上传后所在的storage组名称,在文件上传成功后有storage服务器返回,需要客户端自行保存。
- 虚拟磁盘路径:storage配置的虚拟路径,与磁盘选项store_path*对应。如果配置了store_path0则是M00,如果配置了store_path1则是M01,以此类推。
- 数据两级目录:storage服务器在每个虚拟磁盘路径下创建的两级目录,用于存储数据文件。
- 文件名:与文件上传时不同。是由存储服务器根据特定信息生成,文件名包含:源存储服务器IP地址、文件创建时间戳、文件大小、随机数和文件拓展名等信息。
1.4 文件下载
二、安装FastDFS
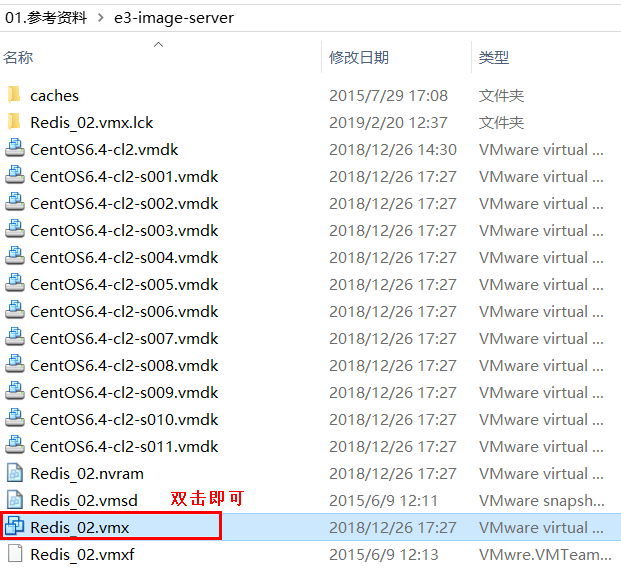
第一步:将图片服务器添加到Vmware中
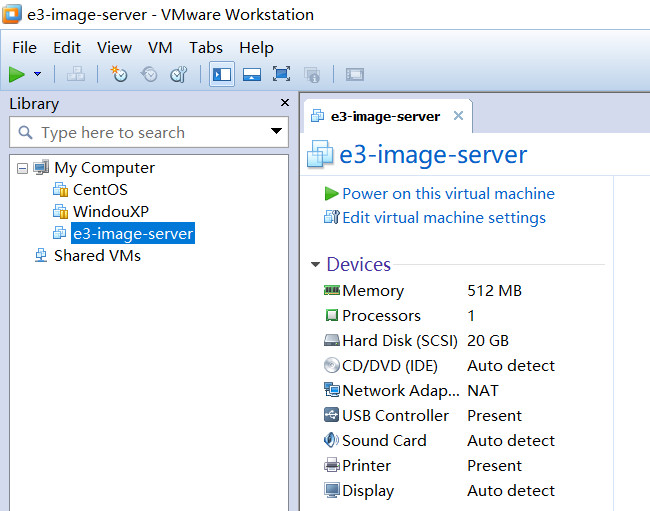
第二步:Vmware的网络配置

第三步:开机
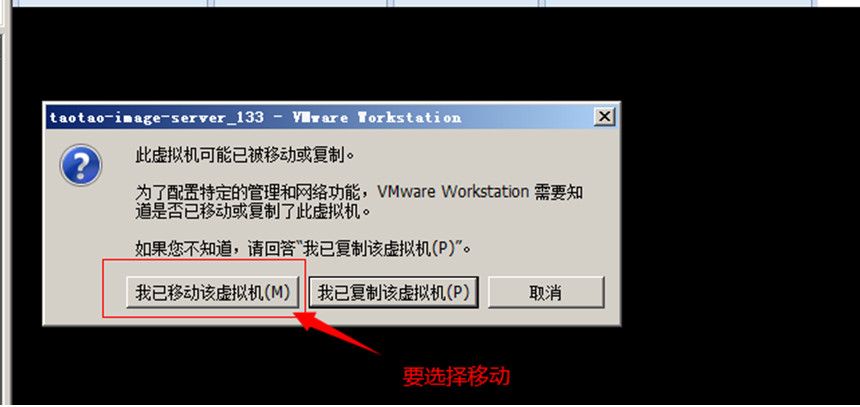
移动:网络配置不发生变化。要使用图片服务器,需要保证网络配置不变。
复制:重新生成一块网卡mac地址是新地址。
注意:如果开机时出现“The configuration file “xxx.vmx” was created by a VMware product that is incompatible with this version"的错误,说明你要打开的虚拟机版本和你的虚拟机不同。
解决办法:
首先查看你自己的虚拟机版本,点击 Help----->about...----->

然后修改你要打开的vmx配置文件,用文本打开,把里面版本号修改为你的

第四步:登录图片服务器(用户名:root 密码:itcast)(输入startx命令,可进入图形界面)
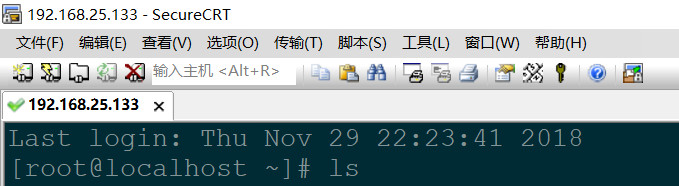
第五步:使用SecureCRTPortable连接图片服务器
三、图片服务器的使用
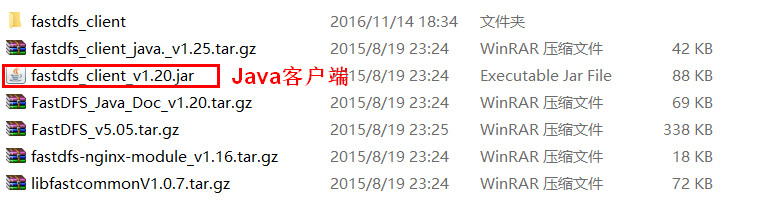
Java客户端:
Maven环境:
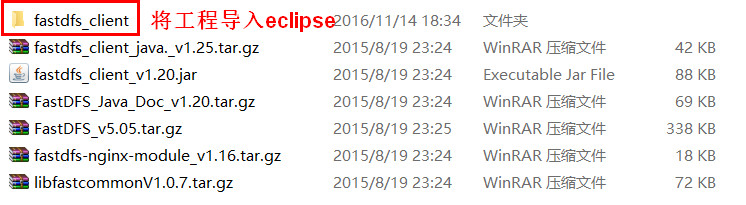
第一步:FastDFS_client导入eclipse中
第二步:将工程安装到本地仓库
第三步:在项目web工程的pom.xml中引入FastDFS的依赖
<dependency>
    <groupId>fastdfs_client</groupId>
    <artifactId>fastdfs_client</artifactId>
    <version>1.25</version>
</dependency>
第四步:书写上传图片的测试方法
上传步骤:
1、加载配置文件,配置文件中的内容就是tracker服务的地址。
配置文件内容:tracker_server=192.168.25.133:22122
2、创建一个TrackerClient对象。直接new一个。
3、使用TrackerClient对象创建连接,获得一个TrackerServer对象。
4、创建一个StorageServer的引用,值为null
5、创建一个StorageClient对象,需要两个参数TrackerServer对象、StorageServer的引用
6、使用StorageClient对象上传图片。
7、返回数组。包含组名和图片的路径。
代码实现:
public class FastDFSTest {
    @Test
    public void testFileUpload() throws Exception {
        // 1、加载配置文件,配置文件中的内容就是tracker服务的地址。
        ClientGlobal.init("D:/workspaces-itcast/e3-manager-web/src/main/resources/resource/client.conf");
        // 2、创建一个TrackerClient对象。直接new一个。
        TrackerClient trackerClient = new TrackerClient();
        // 3、使用TrackerClient对象创建连接,获得一个TrackerServer对象。
        TrackerServer trackerServer = trackerClient.getConnection();
        // 4、创建一个StorageServer的引用,值为null
        StorageServer storageServer = null;
        // 5、创建一个StorageClient对象,需要两个参数TrackerServer对象、StorageServer的引用
        StorageClient storageClient = new StorageClient(trackerServer, storageServer);
        // 6、使用StorageClient对象上传图片。
        // 扩展名不带“.”
        String[] strings = storageClient.upload_file("D:/Documents/Pictures/images/200811281555127886.jpg", "jpg",null);
        // 7、返回数组。包含组名和图片的路径。
        for (String string : strings) {
            System.out.println(string);
            /*
             * group1
             * M00/00/00/wKgZhVwA5cOANM4jAADOS1MzFx8986.jpg
             */
        }
    }
}
第五步:访问上传的图片
![]()
使用工具类上传图片:
FastDFSClient工具类:
public class FastDFSClient {

    private TrackerClient trackerClient = null;
    private TrackerServer trackerServer = null;
    private StorageServer storageServer = null;
    private StorageClient1 storageClient = null;

    public FastDFSClient(String conf) throws Exception {
        if (conf.contains("classpath:")) {
            conf = conf.replace("classpath:", this.getClass().getResource("/").getPath());
        }
        ClientGlobal.init(conf);
        trackerClient = new TrackerClient();
        trackerServer = trackerClient.getConnection();
        storageServer = null;
        storageClient = new StorageClient1(trackerServer, storageServer);
    }

    /**
     * 上传文件方法
     * <p>Title: uploadFile</p>
     * <p>Description: </p>
     * @param fileName 文件全路径
     * @param extName 文件扩展名,不包含(.)
     * @param metas 文件扩展信息
     * @return
     * @throws Exception
     */
    public String uploadFile(String fileName, String extName, NameValuePair[] metas) throws Exception {
        String result = storageClient.upload_file1(fileName, extName, metas);
        return result;
    }

    public String uploadFile(String fileName) throws Exception {
        return uploadFile(fileName, null, null);
    }

    public String uploadFile(String fileName, String extName) throws Exception {
        return uploadFile(fileName, extName, null);
    }

    /**
     * 上传文件方法
     * <p>Title: uploadFile</p>
     * <p>Description: </p>
     * @param fileContent 文件的内容,字节数组
     * @param extName 文件扩展名
     * @param metas 文件扩展信息
     * @return
     * @throws Exception
     */
    public String uploadFile(byte[] fileContent, String extName, NameValuePair[] metas) throws Exception {

        String result = storageClient.upload_file1(fileContent, extName, metas);
        return result;
    }

    public String uploadFile(byte[] fileContent) throws Exception {
        return uploadFile(fileContent, null, null);
    }

    public String uploadFile(byte[] fileContent, String extName) throws Exception {
        return uploadFile(fileContent, extName, null);
    }
}
测试方法:
  @Test
    public void testFastDfsClient() throws Exception {
        FastDFSClient fastDFSClient = new FastDFSClient("D:/workspaces-itcast/e3-manager-web/src/main/resources/resource/client.conf");
        String file = fastDFSClient.uploadFile("D:/Documents/Pictures/images/2f2eb938943d.jpg");
        System.out.println(file);
    }

 浙公网安备 33010602011771号